


Check out our tutorial and learn how to paint and decorate Spun Cotton Eggs. We’ll also share with you some of our painting projects for inspiration purposes. Decorating eggs is a fun family friendly activity for Easter or anytime of the year.
Painting Spun Cotton Eggs – the basics
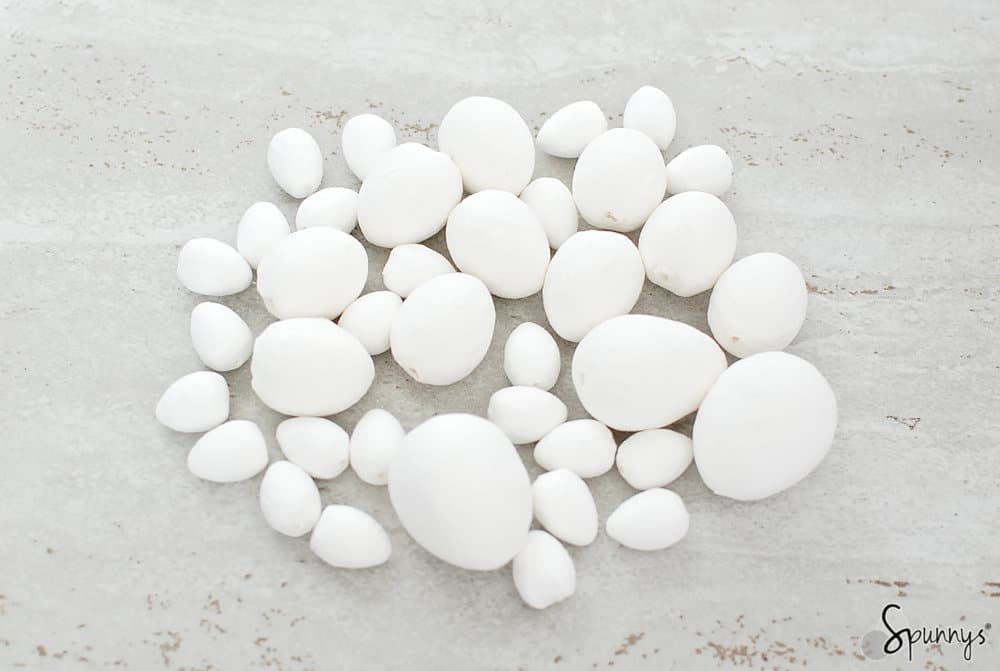
Spun Cotton Eggs are made of paper and are very easy to paint and decorate. You can use any acrylic paint that you find at craft stores.
To paint a spun cotton egg, start with inserting a wooden pick (a bamboo skewer for example) at the bottom of the egg (they all have a small hole at the bottom). When this is done, simply hold the bamboo stick in one hand, and your paintbrush in the other hand. This way, you can paint the egg without getting paint on your fingers.

If you want to paint a straight line around the egg, simply spin the bamboo stick between your fingers while you hold the brush steady against the spun cotton egg.
You can also decorate the eggs with Glitter, trims of paper, Dresden… To do so, you can simply use regular white tacky glue, it works very well.
You can visit our online store Spun Cotton Egg Page to browse through our large collection of sizes and styles.
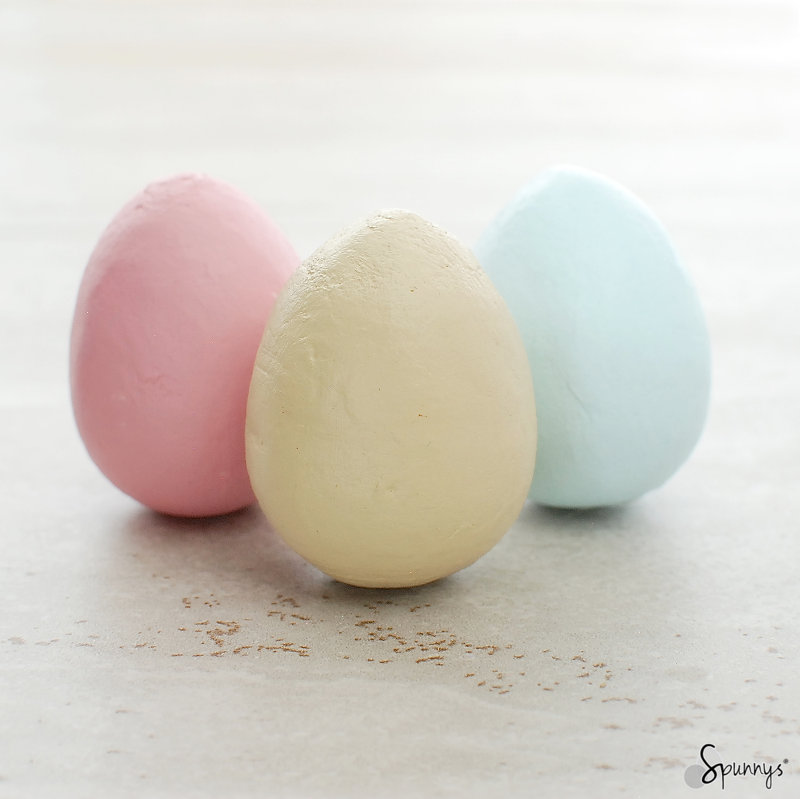
Project idea #1: Solid color Easter egg ornaments
These are the easiest of all Easter egg ornament projects. We used 60mm spun cotton blank eggs and covered them with one layer of regular acrylic paint. 60mm eggs are a popular size because they are the size of real eggs.
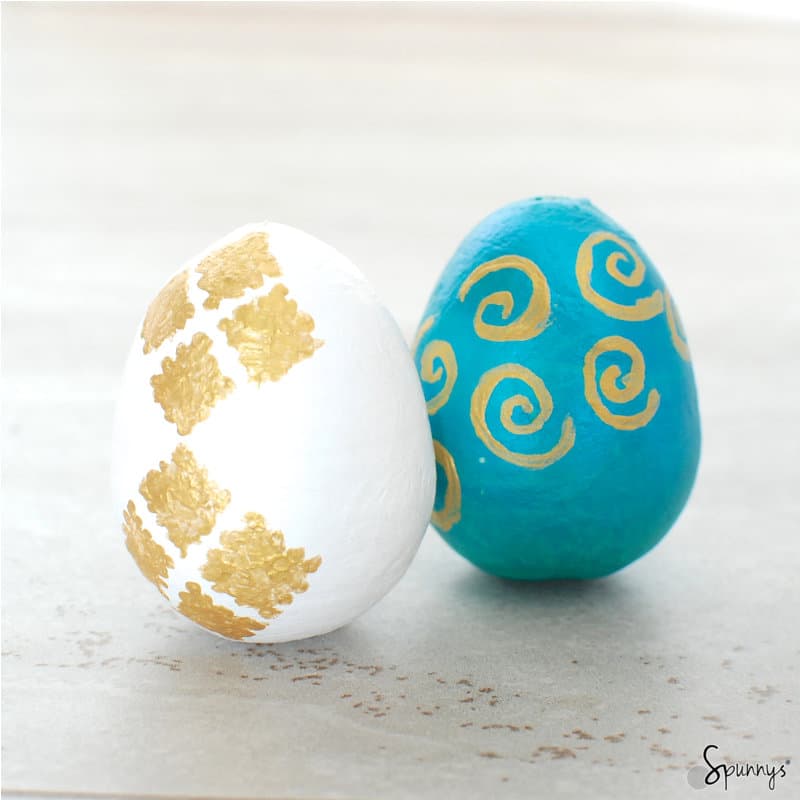
Project Idea #2: Solid color eggs with patterns
Below are a few patterns that you can use for inspiration.

Project Idea #3: Eggs tied in ribbons!
Easter egg ornaments can be decorated with almost anything: ribbon, paper, fabric, felt, crystals, beads, glitter. For the picture below, I used a simple red ribbon and tied it into a knot.

Project idea #4: Eggs decorated with homemade decals
It is possible to make your own decal, with just a printer and a box of tissues.
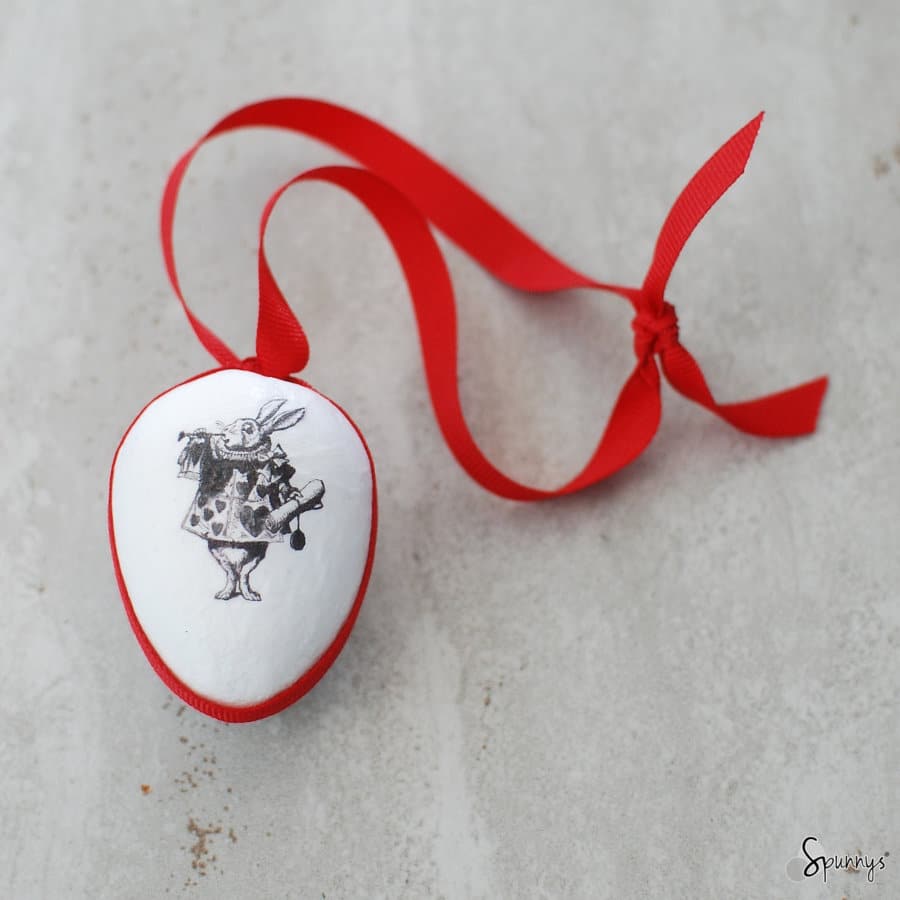
Vintage Rabbit decal on 60mm Spun Cotton Egg
Here is the technique:
- Search the internet for an illustration that you like. Make sure not to use any copyrighted work.
- Open your image in an image editor. Adjust the size of your image so that it fits the size of your spun cotton egg. Verify that the size is right by printing the image and comparing it to the size of your egg.
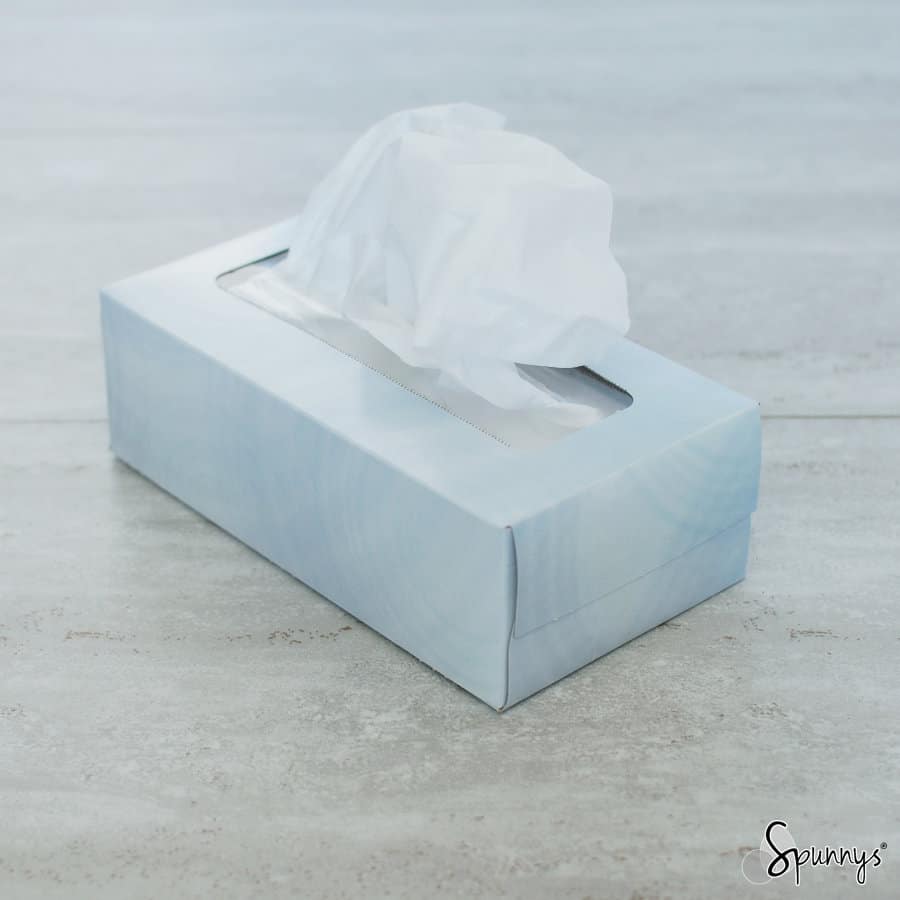
- Tape a tissue (the kind we blow our noses in) onto a piece of printing paper. It is important to use a thin type of tissue, like the ones that come in boxes. Feed this paper to your printer and print your illustration on the tissue side of the paper.
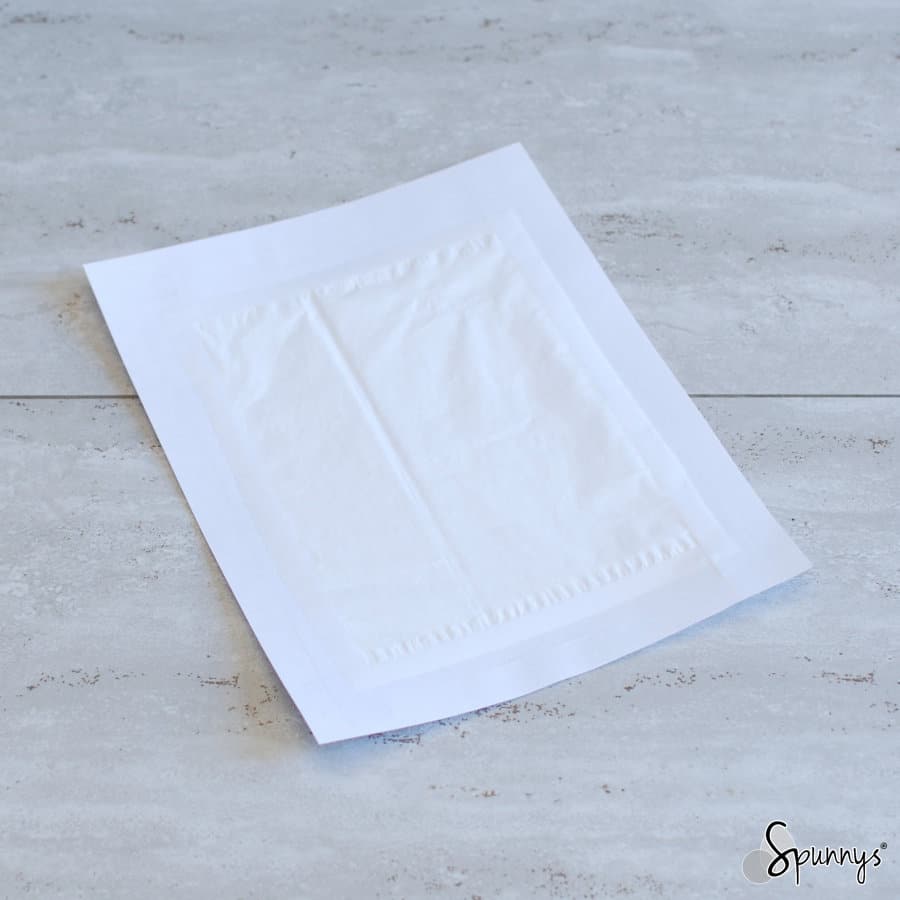
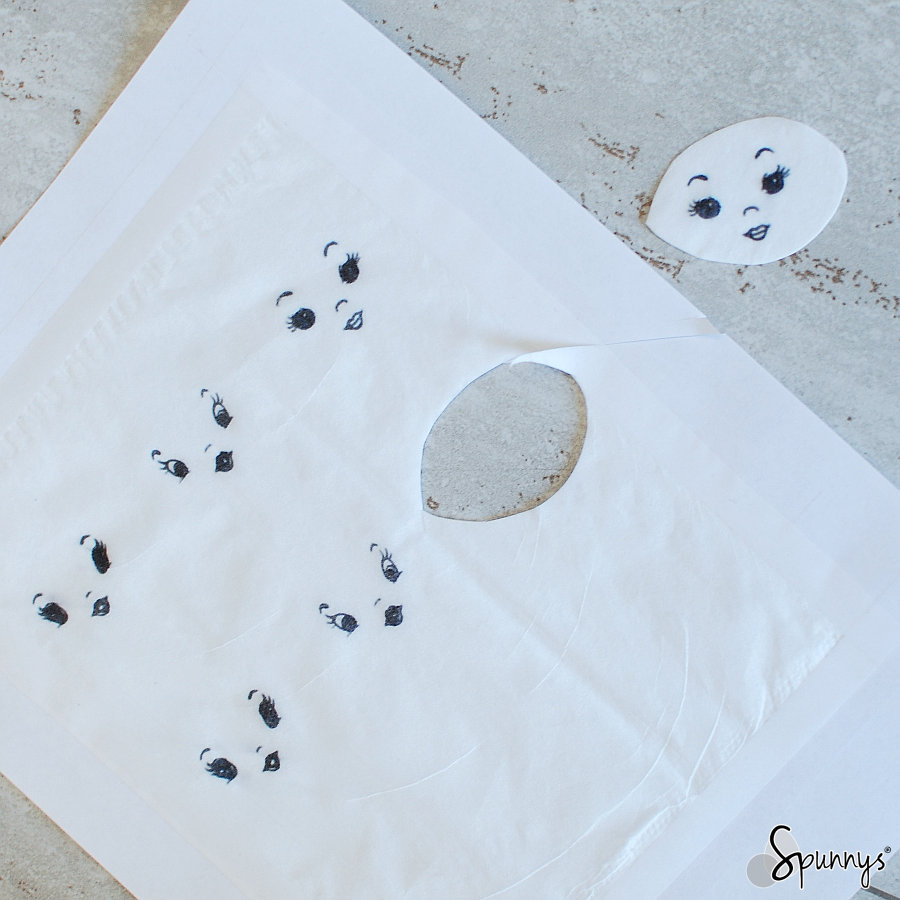
- Cut out your illustration. To do so, just imagine an oval line going around your image and cut out along this line. Leave about 1/4″ between the edges of your image and the edges of your oval shape.
- Only use the upper ply of your tissue (the one with the print on).
- Brush mod podge or tacky glue over your spun cotton shape.
- Gently lower your print onto the egg.
- With a clean finger, tap around the print to make sure it is flush against the shape. Be careful not to tap on the ink or you may smear it.
- Brush a little more mod podge or tacky glue over the tissue. Don’t brush directly onto the ink. It will smear.
- Brush over the wrinkles to make them disappear.
- When the mod podge or the glue are dry and clear, you will not see the tissue over the spun cotton egg anymore. Instead, it will look like a decal.
Note: The print transfer technique works with both color and black and white prints.
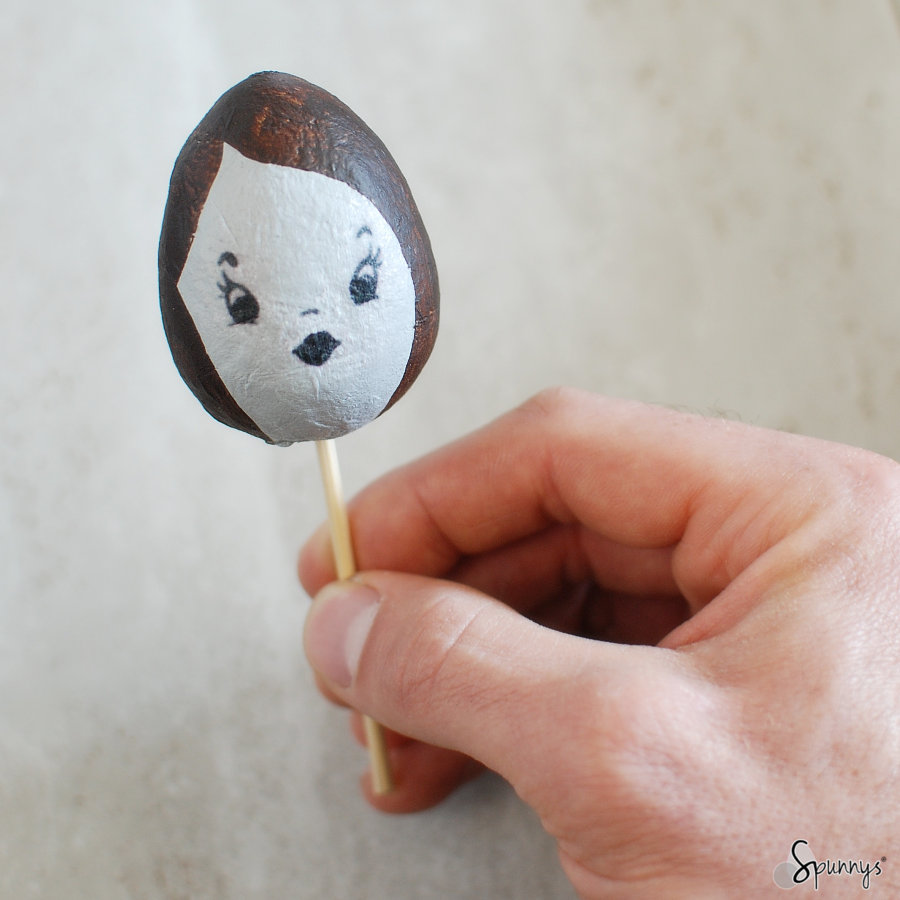
Vintage Doll face Decal
Displaying your work of art
You could display your painted eggs in little nests made of straw or small twigs, hang them from a door handle or a kitchen hook, or display them in vases (picture below).

We hope you enjoyed this tutorial and found some ideas for your own projects.
Do you have any questions about this page? Please feel free to leave a comment below!