


Check out our tutorial and learn how you can make beautiful Pipe Cleaner Animals by combining pipe cleaners and spun cotton balls.
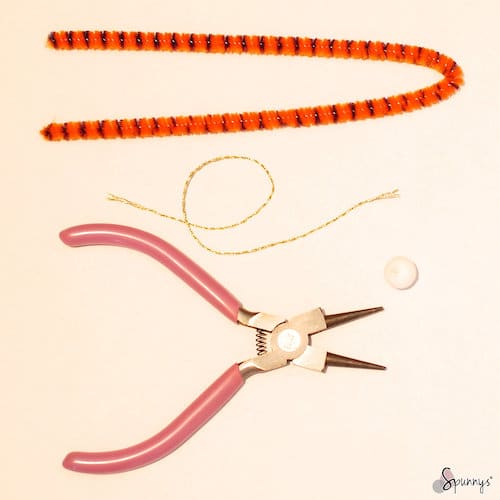
Pipe Cleaner Animals – project materials:
– A few pipe cleaners (chenille). Pipe cleaners come in many different styles: solid color pipe cleaners, glitter pipe cleaners, zebra marking pipe cleaners, “plush” pipe cleaners….You can experiment with different colors and different styles.
– A pair of round nose pliers (useful to make perfectly round animal ears)
– Some thread to make the hanging loops.
– A pair of scissors.
– A ball pen, to draw the faces.
– A few ø 12mm small spun cotton balls to make the heads.
Step by Step instructions:
Start by gathering your materials. Bend the full length pipe cleaner in half.
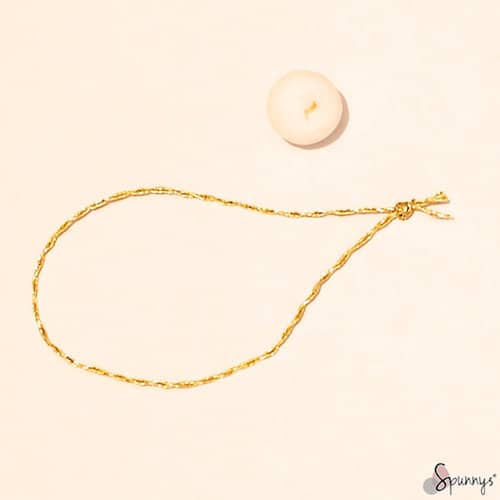
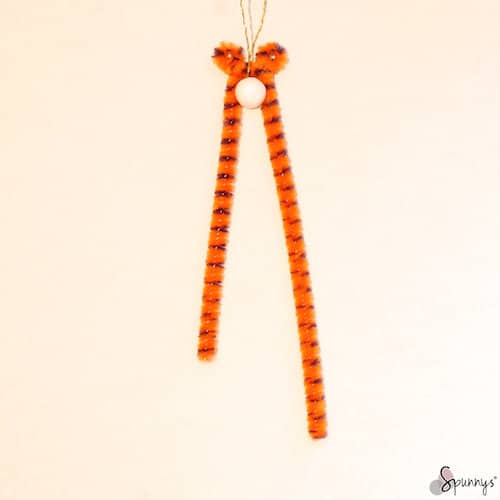
Make a loop with the piece of thread. Tie a knot.
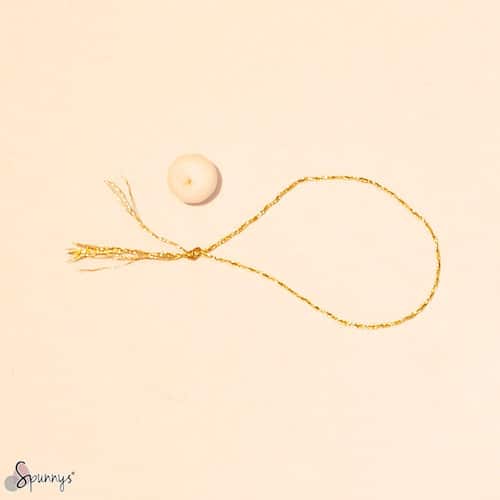
Cut off the excess thread to get a clean knot.
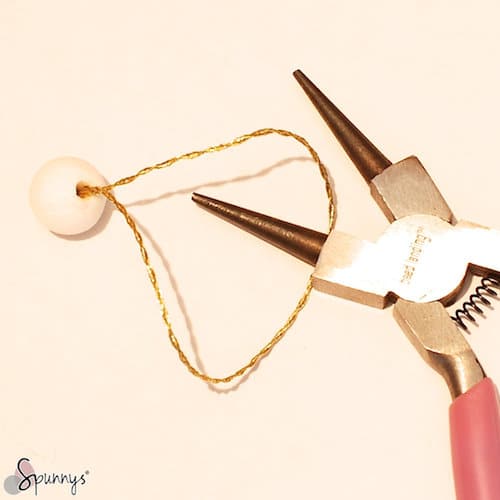
Insert the knot in the hole. Push the knot down into the hole with the round pair of pliers. It is not necessary to use any glue. The pipe cleaner will cover the hole.
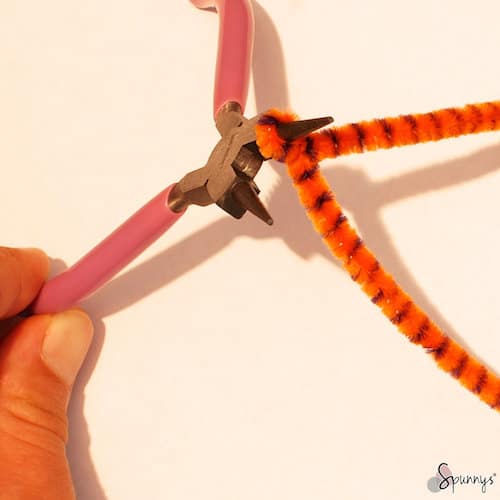
Use the round pliers to make a loop in the middle of the pipe cleaner strand. Twist the loop a few times so it doesn’t get untied. This is the first ear.
Notice how the ear is in the center of the piece of pipe cleaner. This is important for later.
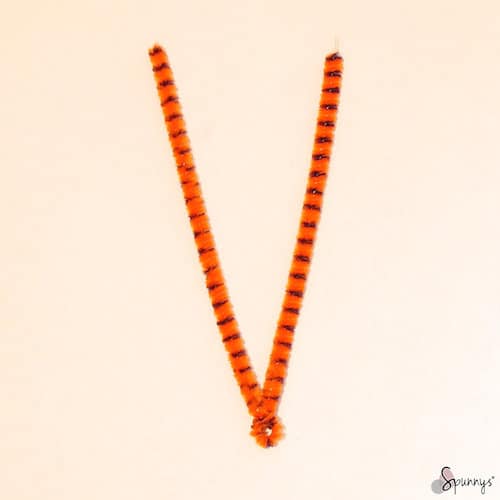
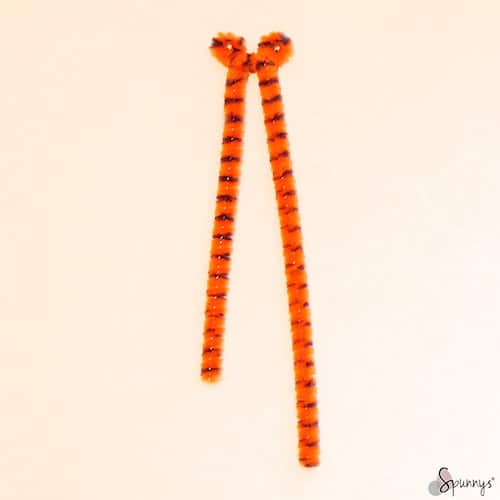
Following the same technique, create a second loop. Notice how the two strands have different lengths.
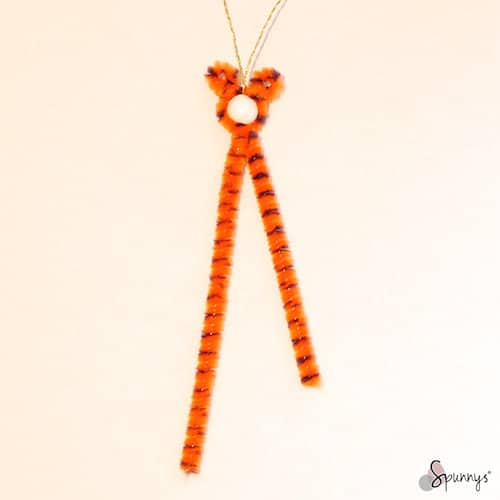
Position the ball between the two ears. The hole faces up.
With the pliers, twist the pipe cleaner under the ball. Make it tight.
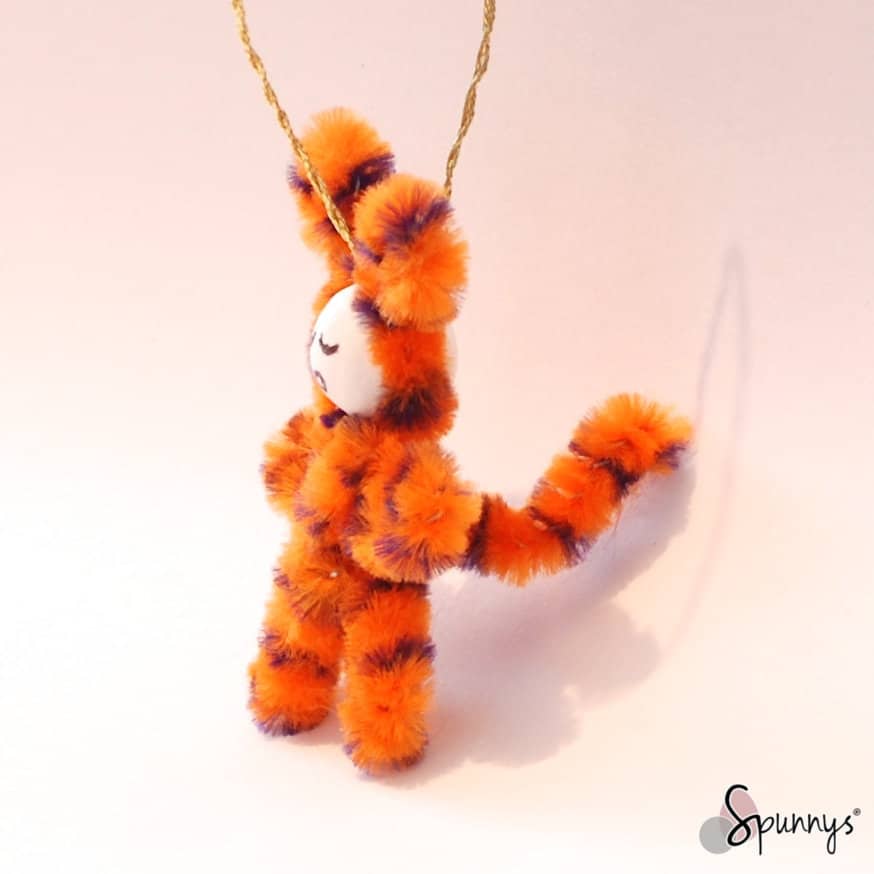
Shape the arms. Have them go out horizontally and then down in an X pattern.
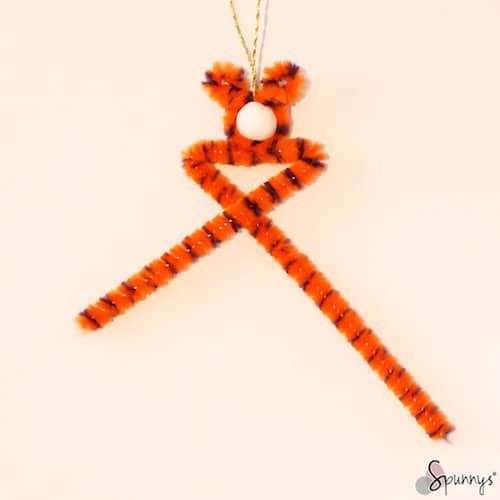
Start shaping the torso. Grab one of the two strands of pipe cleaner and fold it up and across.
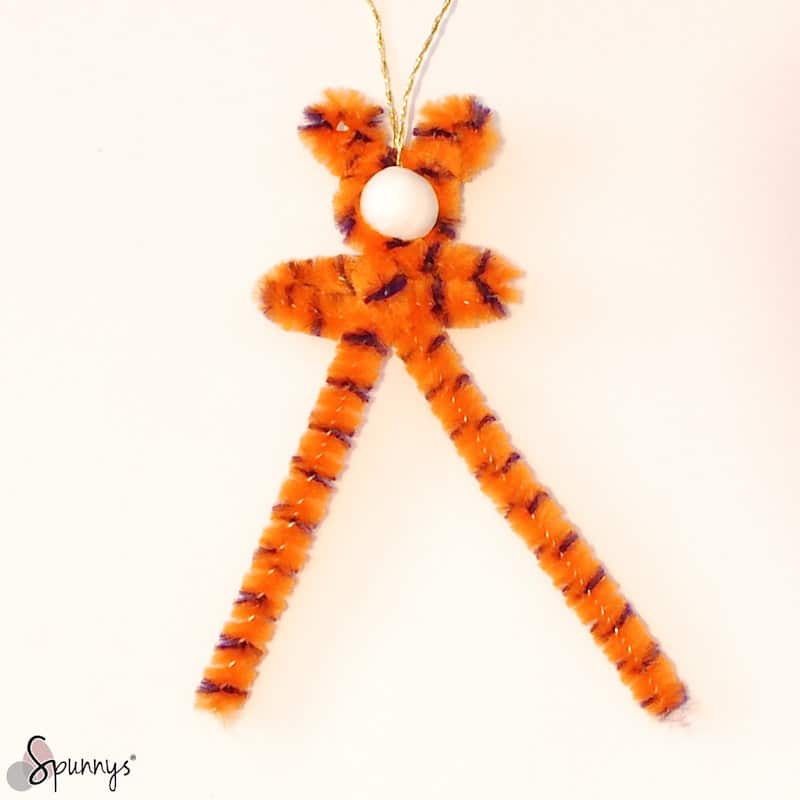
Then fold the pipe cleaner strand down and across again, but behind the animal’s back this time.
Repeat with the other strand. Except this time, go behind the back first and come back in front. When you are done with the torso, the two legs should have different lengths.
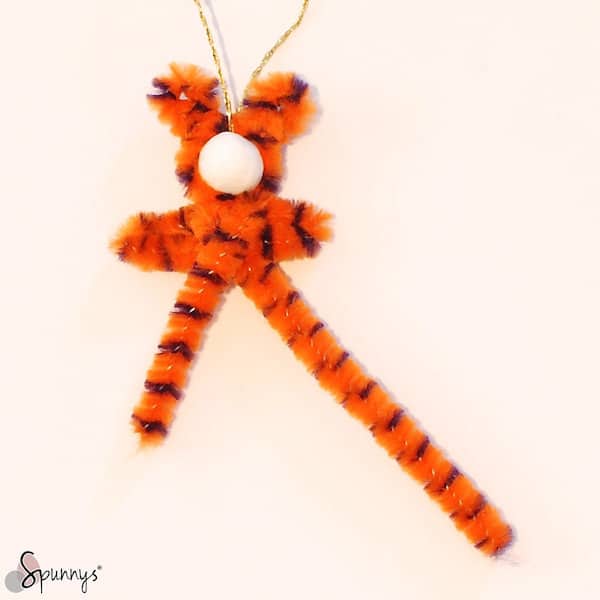
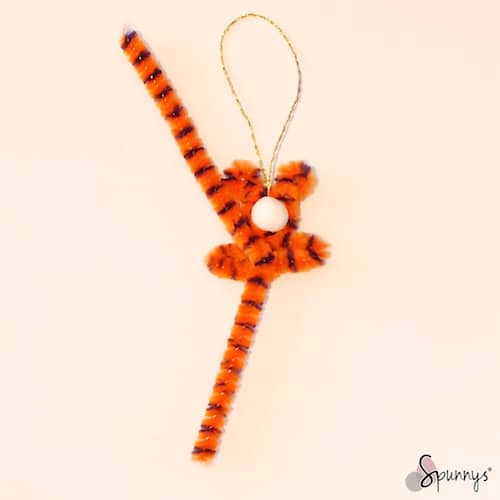
Shape the first leg by folding back the shortest strand.
Shape the second leg by folding back the other strand of pipe cleaner.

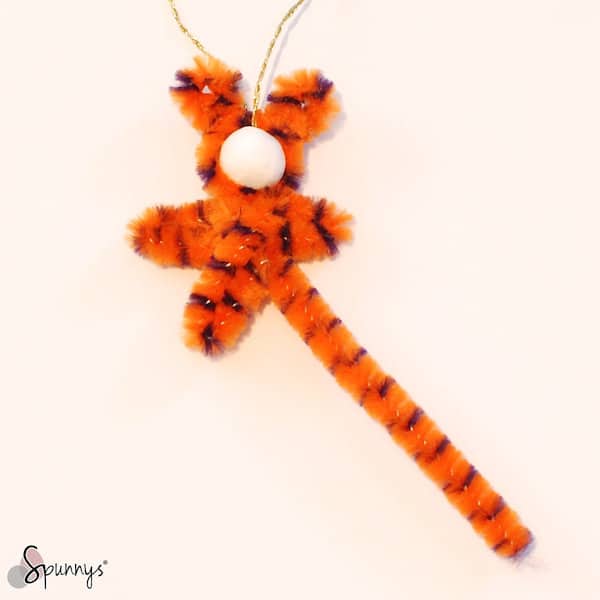
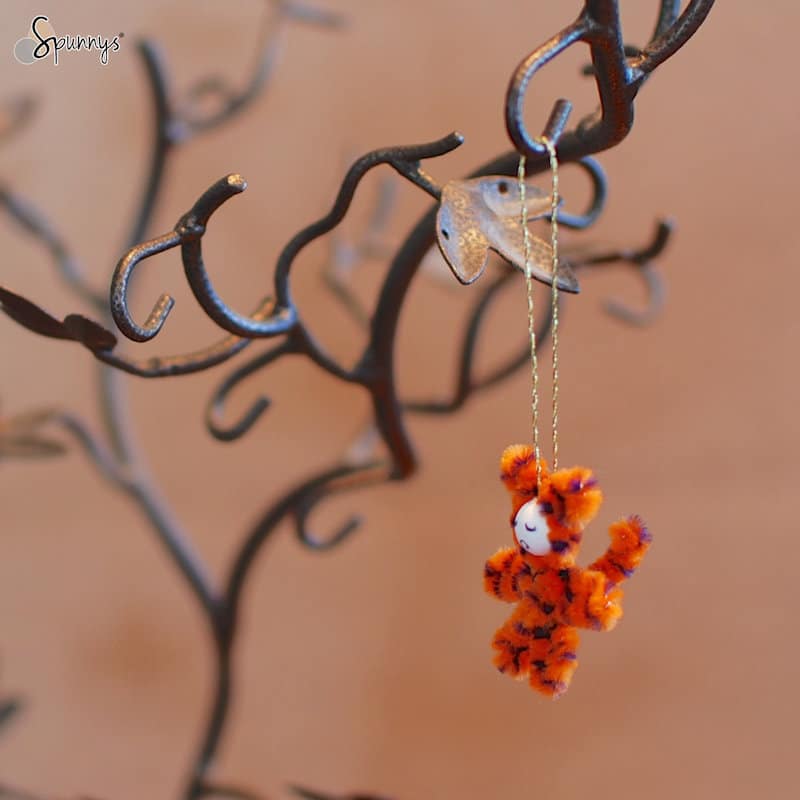
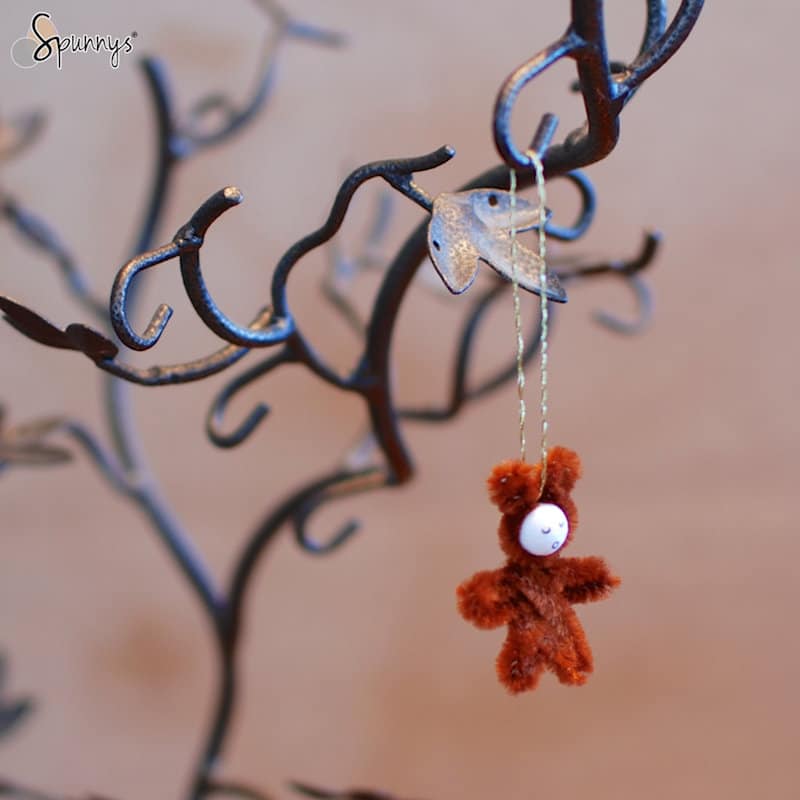
Notice how you have enough pipe cleaner left to make the tail. To make the tail, just bend the end of the pipe cleaner onto itself so the tail ends in a gentle loop. Draw a face.
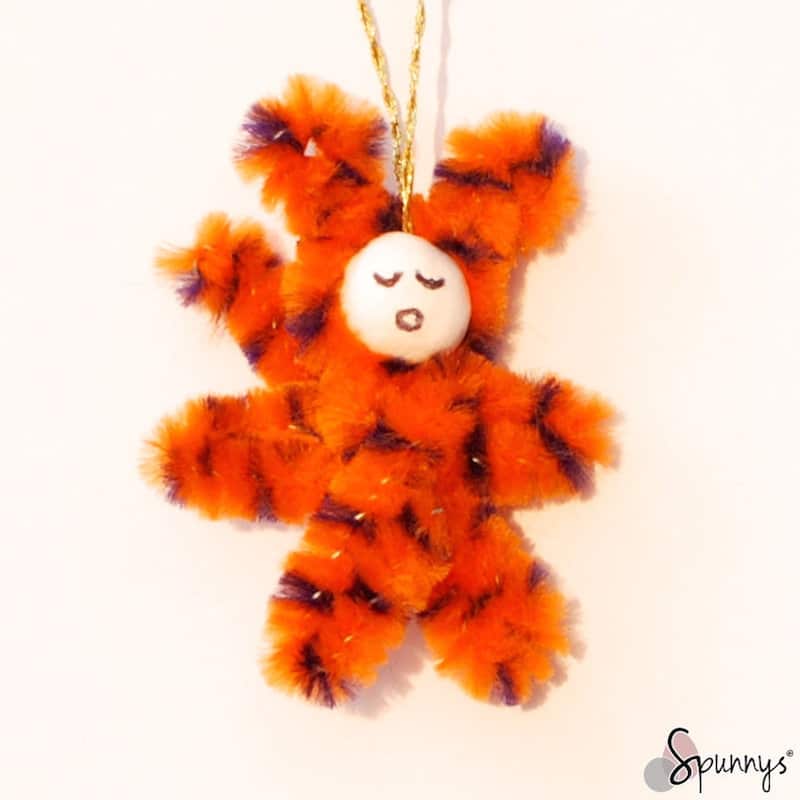
You are done :)
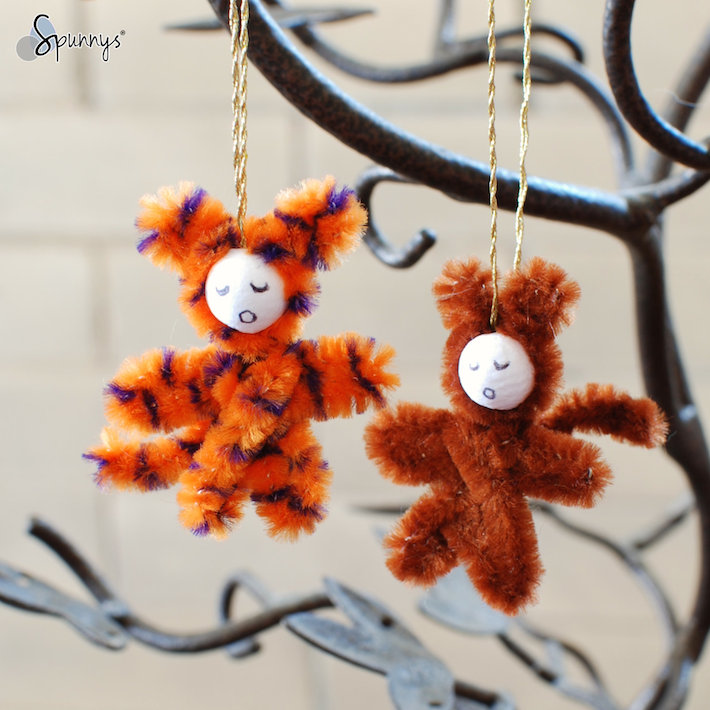
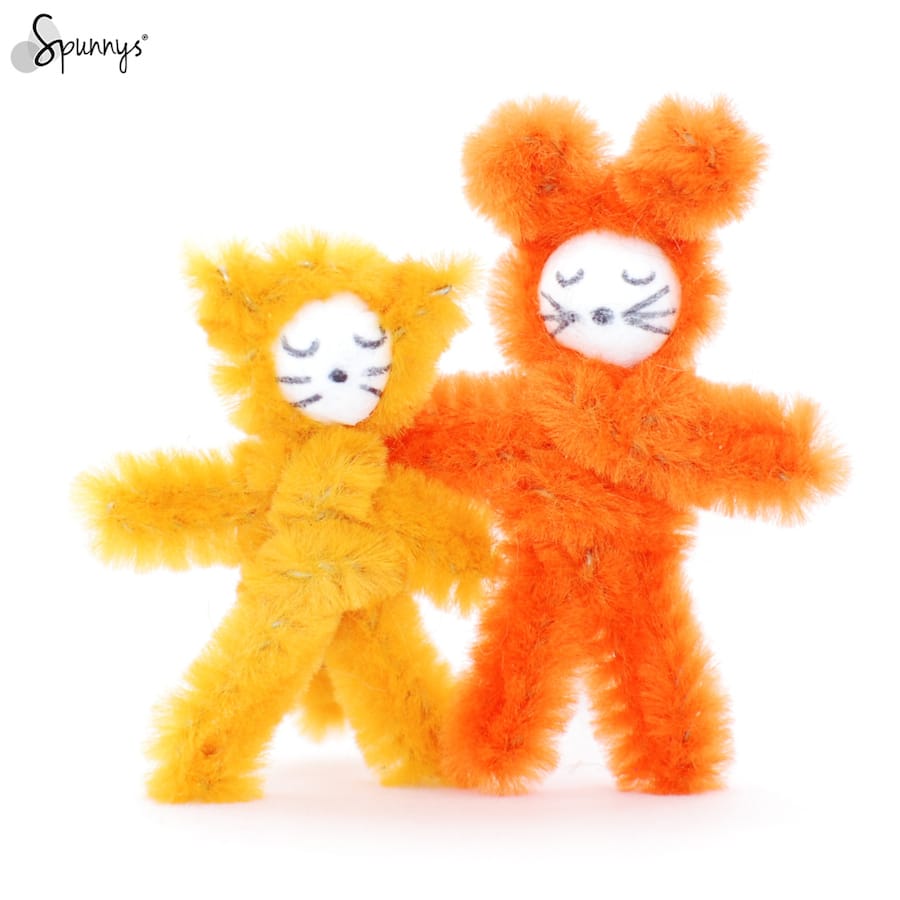
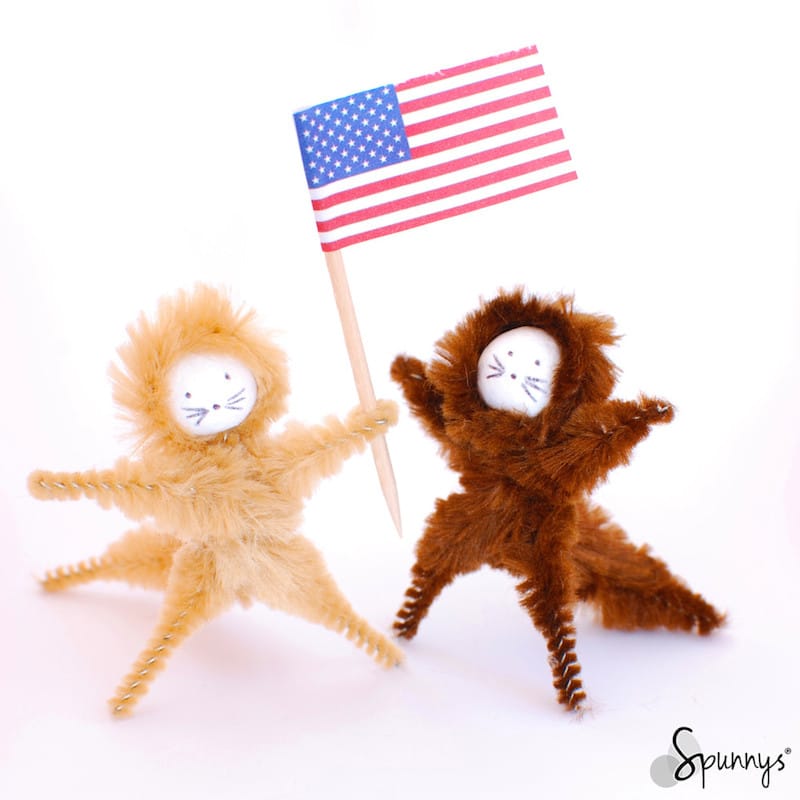
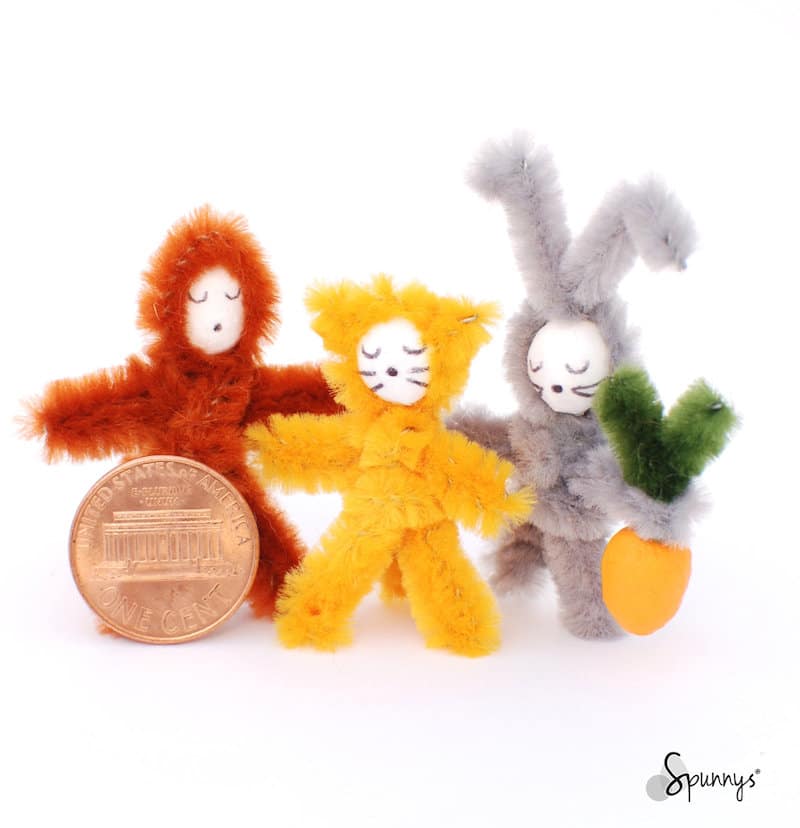
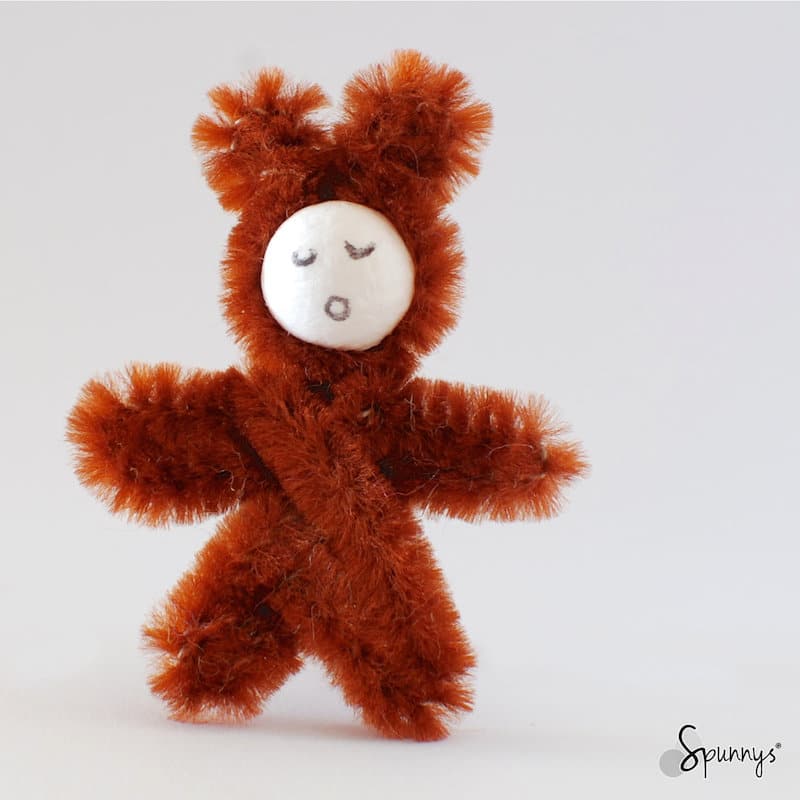
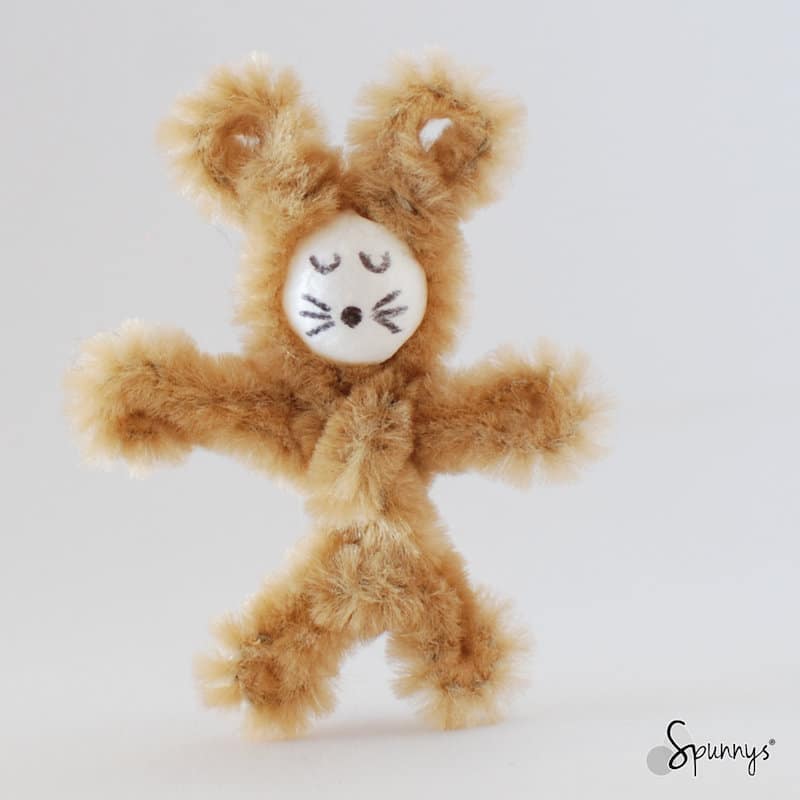
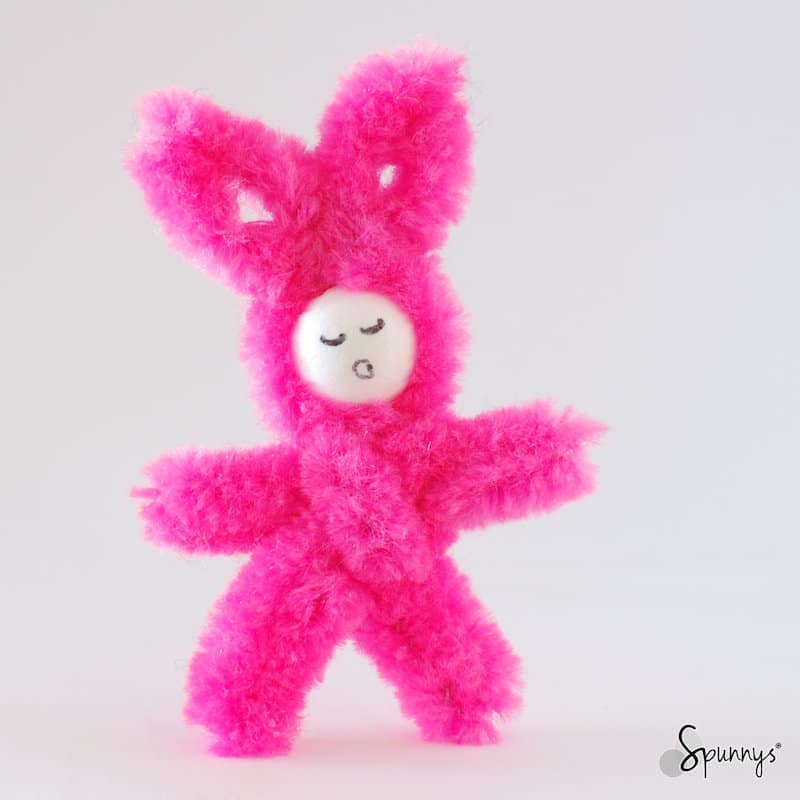
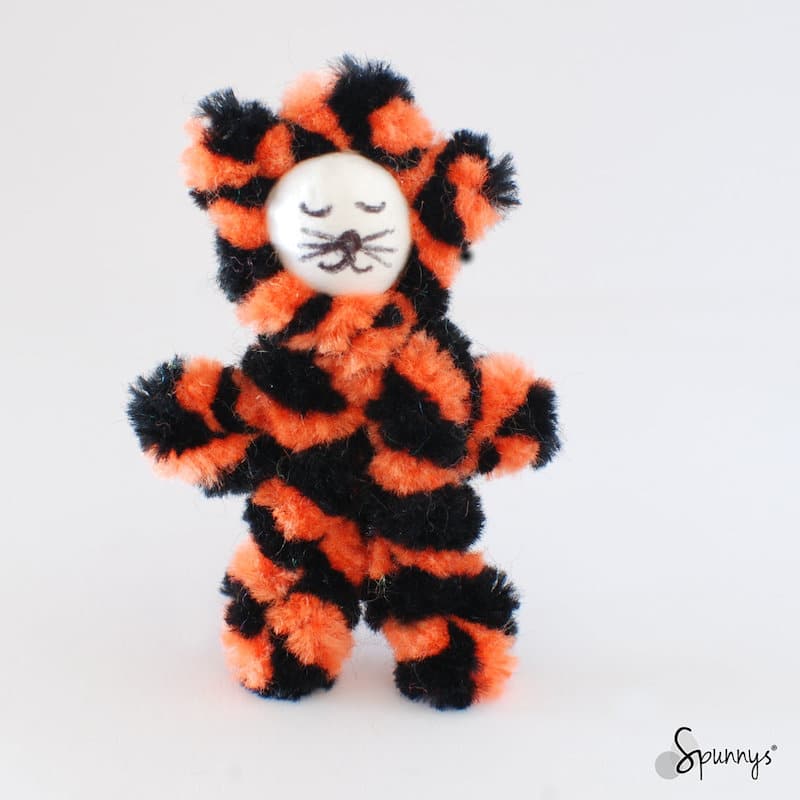
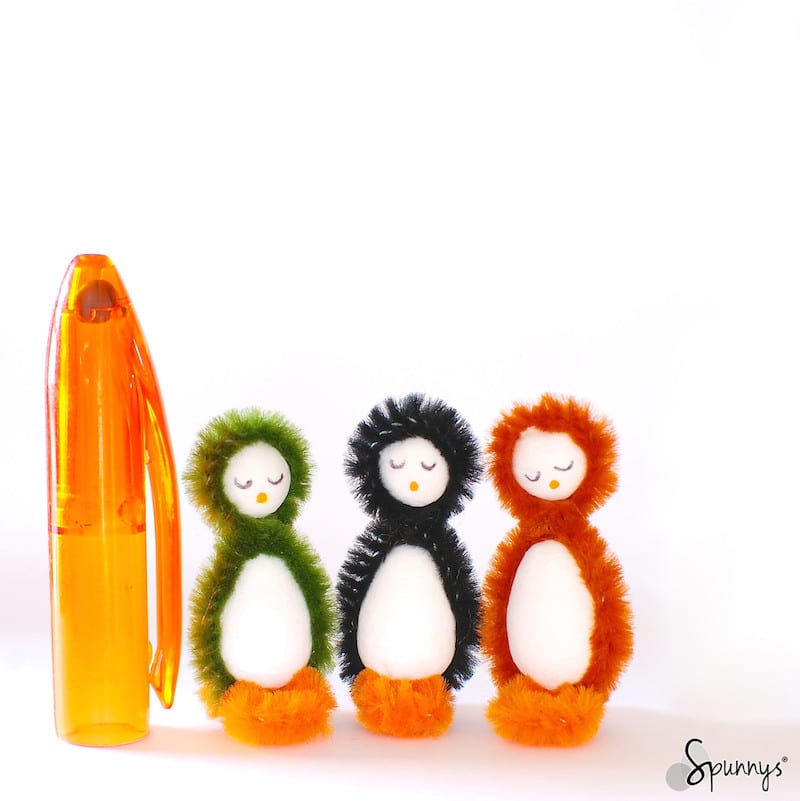
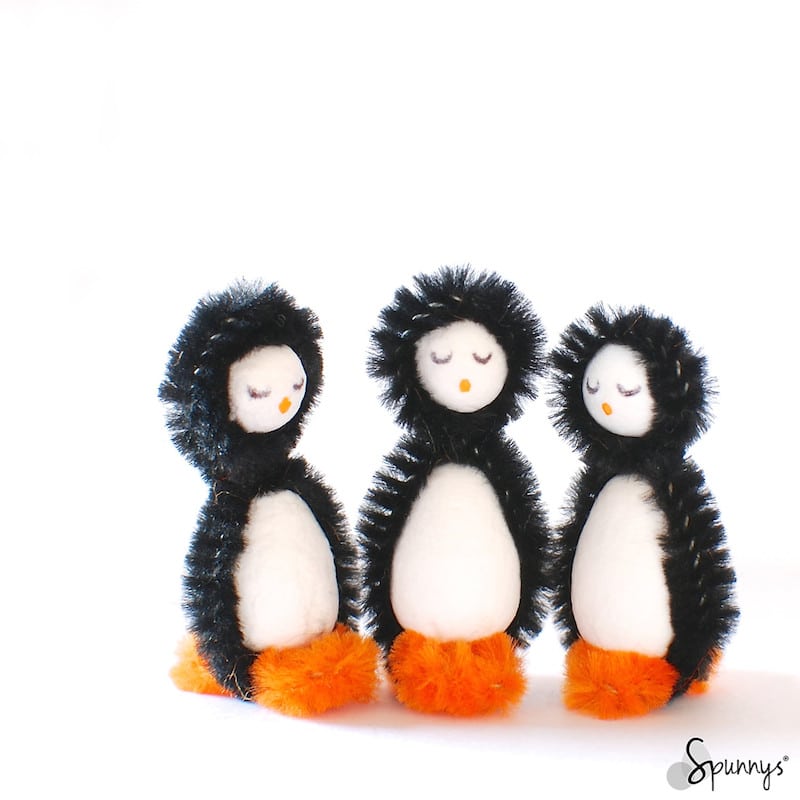
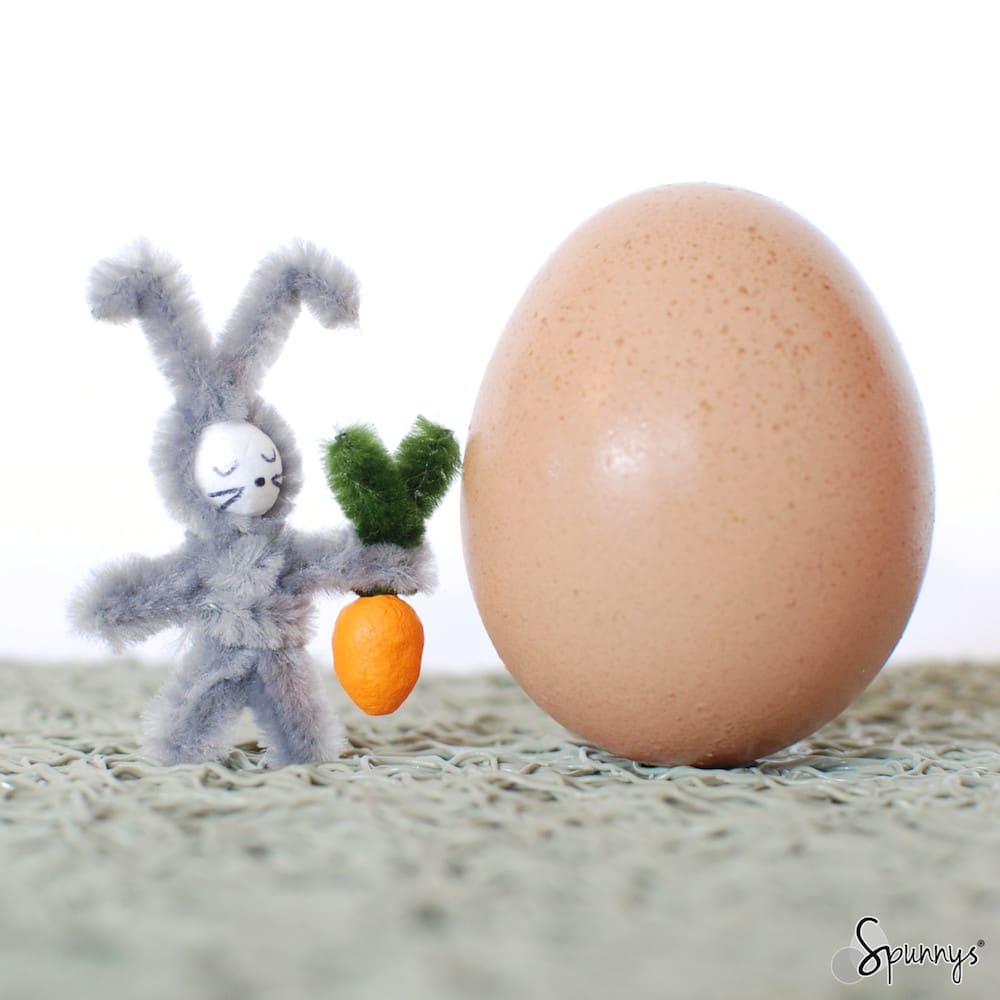
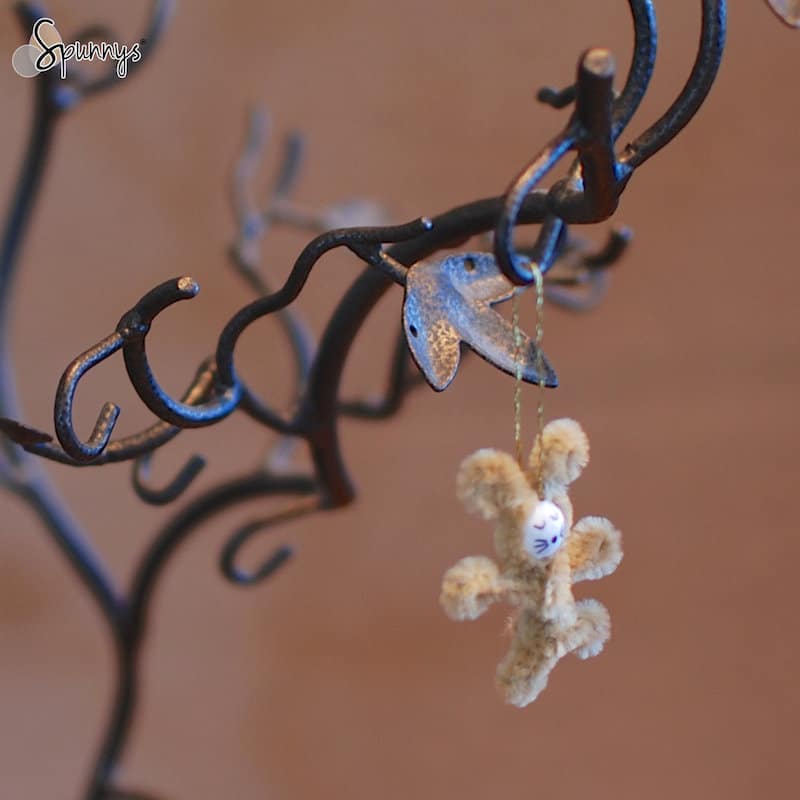
More pipe cleaner animal DIY craft projects to get you inspired


A few final thoughts
I hope you enjoyed this page and found some inspiration for your next DIY craft projects.
Pipe cleaner animals are great everyday projects because they are fun to make, they look cute, and they require only inexpensive materials.
Moreover, making pipe cleaner animals is a great way to work on our creative skills. You don’t have to twist and bend your pipe cleaners exactly the same way I did. You can create your own style of pipe cleaner animals.
As alway, do not hesitate to send us your questions, it’s always a pleasure to hear from you. Until then, happy crafting!