Follow our tutorial and learn how you can make beautiful polymer clay beads using spun cotton shapes as lightweight fillers. This creative tutorial is courtesy of Greek clay artist Klio Tsaliki (https://www.etsy.com/people/1000and1).
Any spun cotton shapes (egg, roll, cone, teardrop…) can be covered with polymer clay to create unique jewelry pieces or decorative items. The final pieces can reflect the original nature of the shapes, or transform them in creative ways.

Spun cotton cone and egg filler 
Spun Cotton Mushroom filler 
35mm spun cotton balls fillers 
40mm spun cotton balls fillers 
Spun cotton rolls fillers 
Large spun cotton ball filler
Polymer Clay Beads tutorial Step 1: drilling through the ball
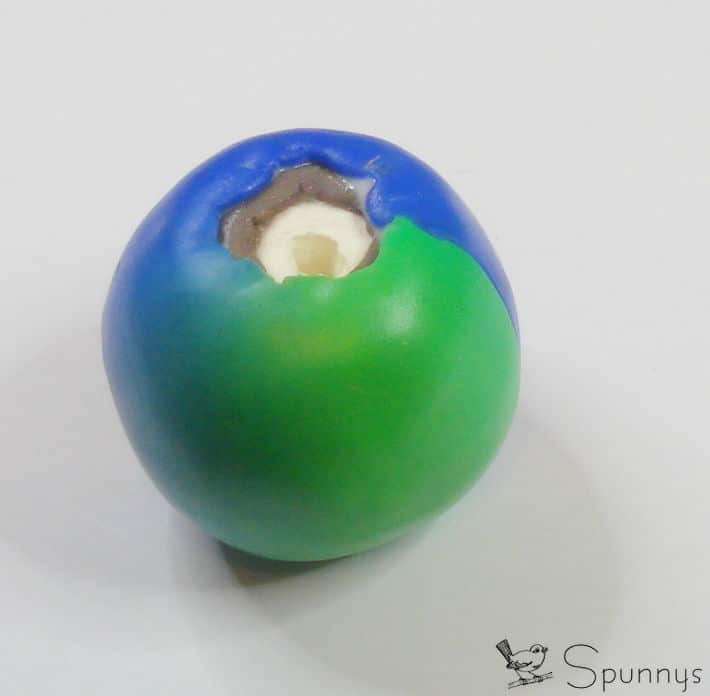
As you can see, all spun cotton balls carry a hole at the bottom. However, this hole doesn’t go through the ball. For this purpose you need to “continue” the drilling to the other end, to create the tunnel which is necessary to pass the headpins or other stringing materials.
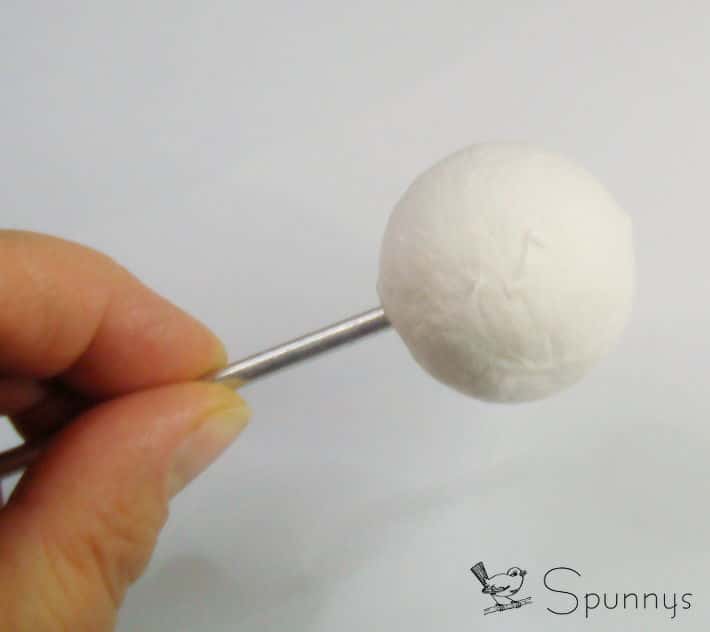
To do this you can use either the needle you use to drill your unbaked beads, or any drilling tool sharp enough to pass through the spun cotton layers. Insert the drilling tool through while rotating it, moving your tool towards the opposite side, to make the hole. Don’t use drilling tools like Dremel for example, you may destroy the shape.
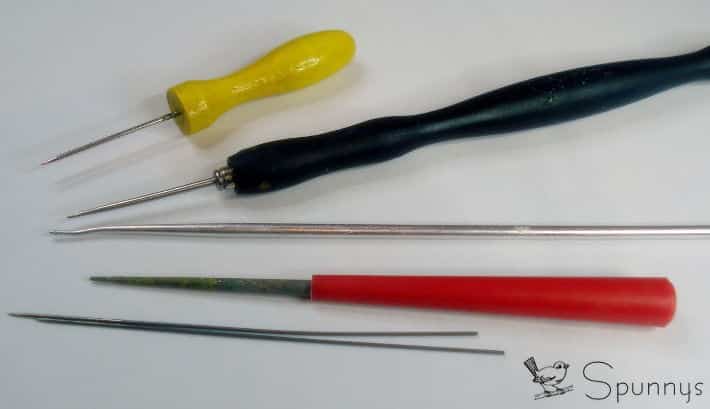
Klio’s drilling tools
Always work slowly and patiently, not only for your own safety but also to protect your shape which is made out of paper and it will deform if you press or treat it hardly.
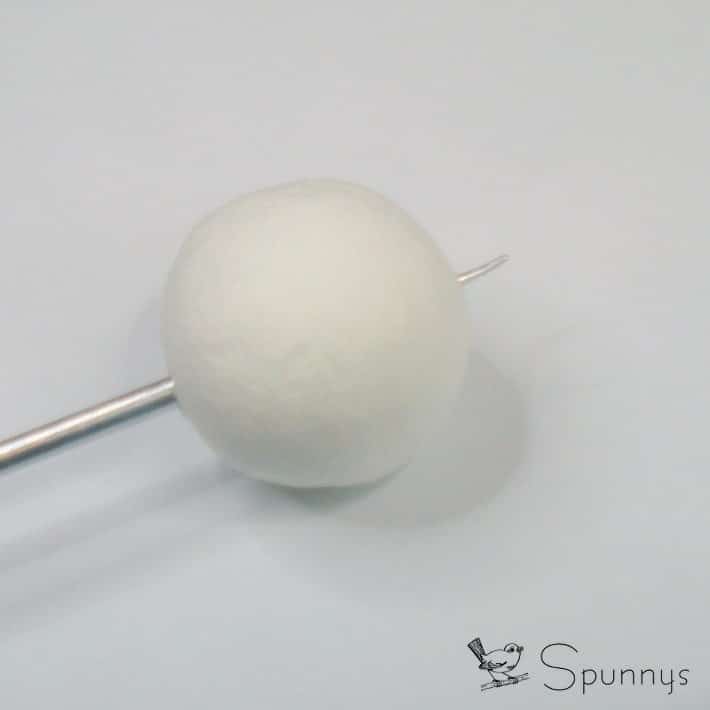
Having completed the drilling process, rotate the tool a couple of times, to make the hole perfect and similar to the original one, at the opposite side. Now you have a nicely drilled through shape and you are ready for the next step.
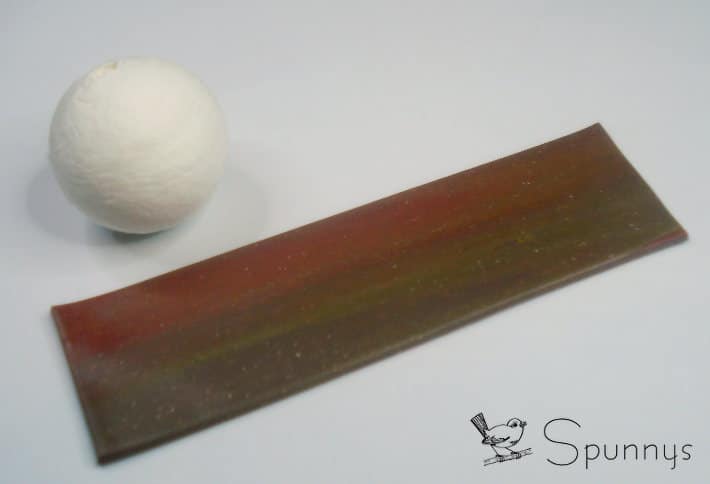
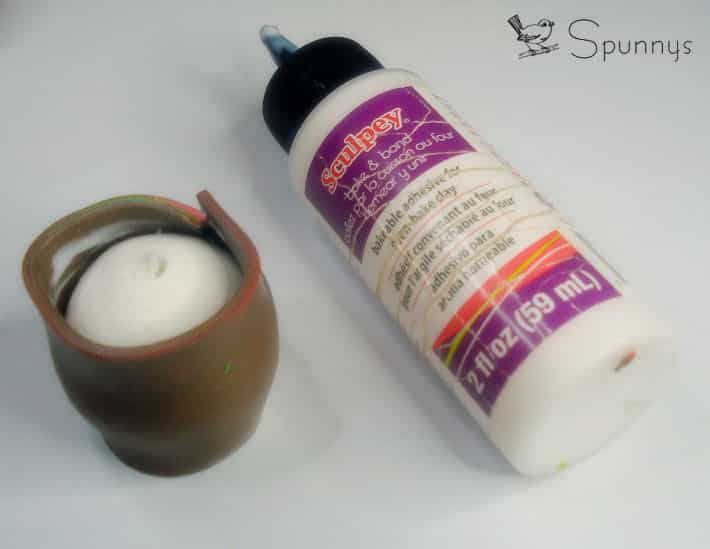
Step 2: Cover the ball with a first layer of clay.
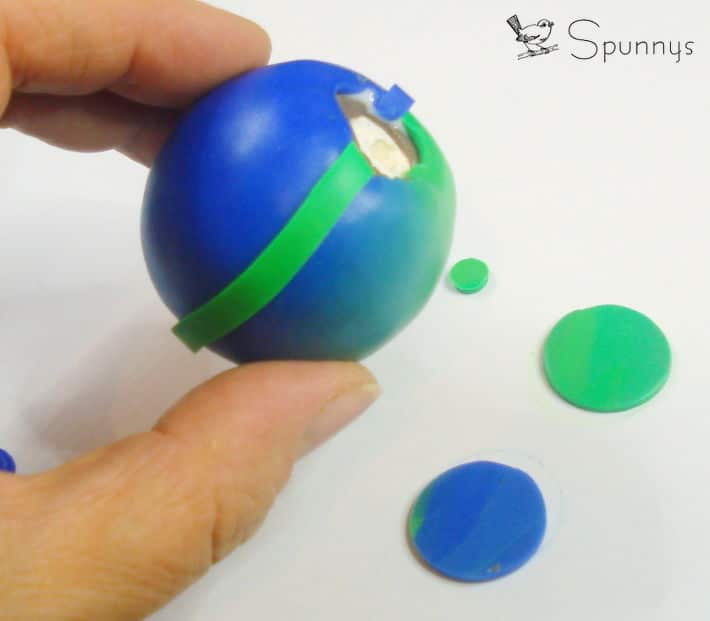
To cover the shape, prepare a rather thick sheet of scrap polymer clay and run it through the pasta machine to make it smooth. Cut a strip long enough to wrap the shape.
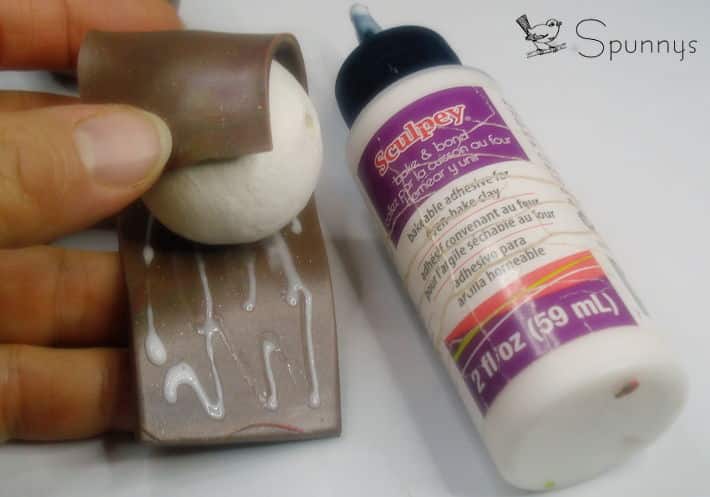
Using Sculpey “Bake and Bond” (or any other brand you have in hand for the same use), apply some “glue” on the strip. This step is necessary, because the spun cotton shape is not smooth and so the clay will not stick on it. It is also possible to trap air between the spun cotton core and the clay which results in air bubbles after baking. Wrap the clay around the shape and then with your fingers press gently so that the clay sticks to the shape. Stretch the clay towards the top and bottom holes.
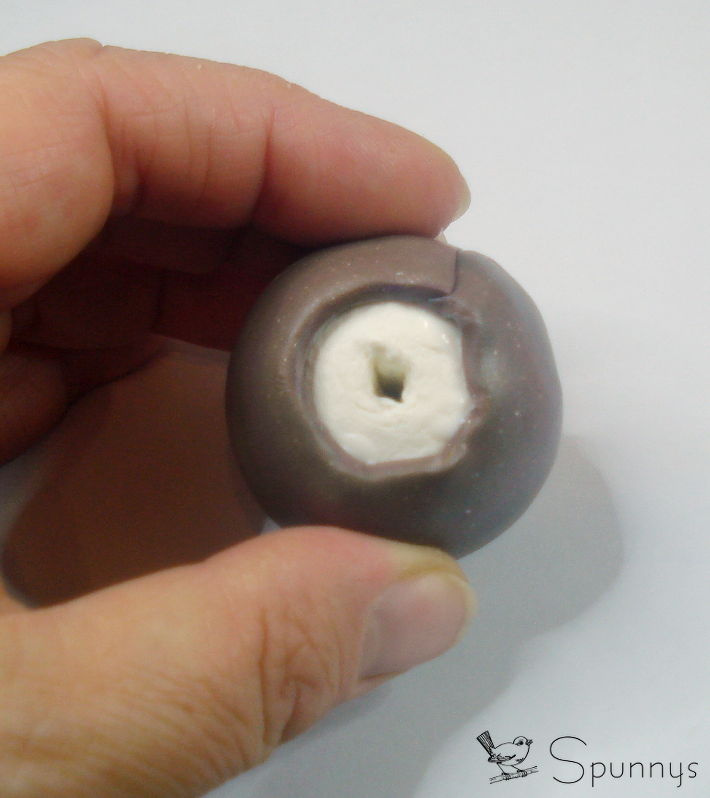
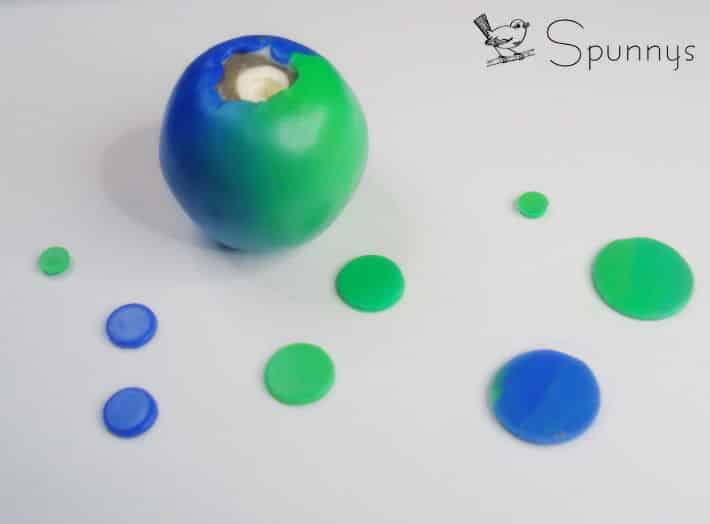
Smooth the surface of the clay with your fingers; if your item is round, roll it on your working surface with your finger to get the perfect round shape. Always remember to check that the two holes are not covered with polymer clay. If they are, use a tool to create the holes again.

Step 3: First bake.
Bake as any other polymer clay item, depending on the clay layer thickness, according to the instructions given by the manufacturer. Tent your tray with a piece of oven paper and stay close to the oven. Although it is safe to bake the spun cotton items, it is always better to be careful.
Let the beads cool down normally. When they are at normal temperature, you can cover them as usual.
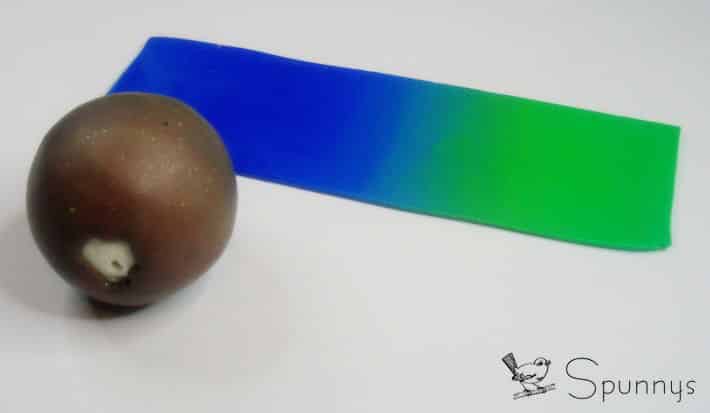
Step 4: Add the second layer of clay
This first layer offers a stable and smooth surface. You can then apply more layers, depending on the technique you want to use. I suggest to use again a bit of “bake and bond” between the first and second layers, the baked and the unbaked. This process will keep the two layers together during the baking time.
Cut a strip of a skinner blend or any other clay sheet you are planning to use.
Apply some “bake and bond” on the baked bead and wrap the bead carefully.
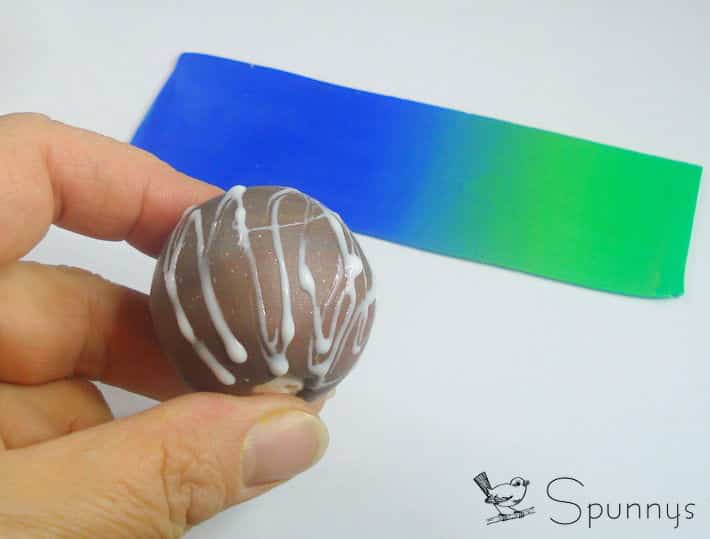
Wrap the already baked bead with the final clay sheet and work the top and bottom parts around the holes as discussed earlier. Make sure there is no clay over the holes. After baking it will be difficult to find them if it they are covered with clay.
Cut two thin strips of clay and wrap around the bead. Make sure to cover the seam (where the green clay meets the blue clay on the picture). Your polymer clay bead is now really starting to take shape.
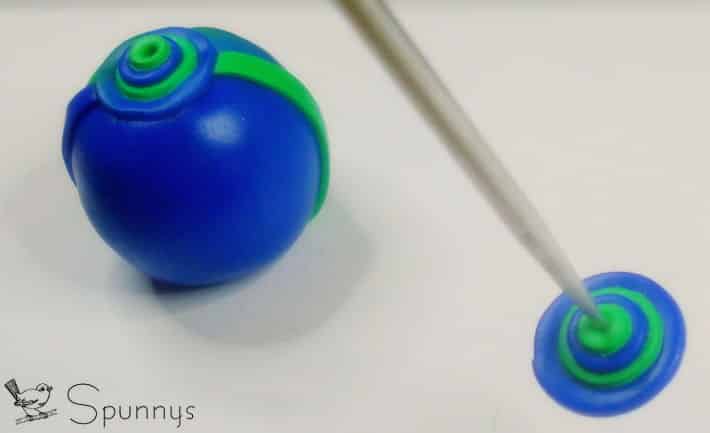
Using your mini cutters cut mini circles of different sizes in pairs, one for the top and one for the bottom of each beads, playing a bit with the different colors used in the basic clay sheet which covers the bead.
Stack them putting the biggest at the bottom and the smallest on top. Drill them all at once with your drilling tool (needle etc). Place them over the predrilled holes of the bead and with your drilling tool make sure that all the holes are properly aligned so that the headpin will pass properly.
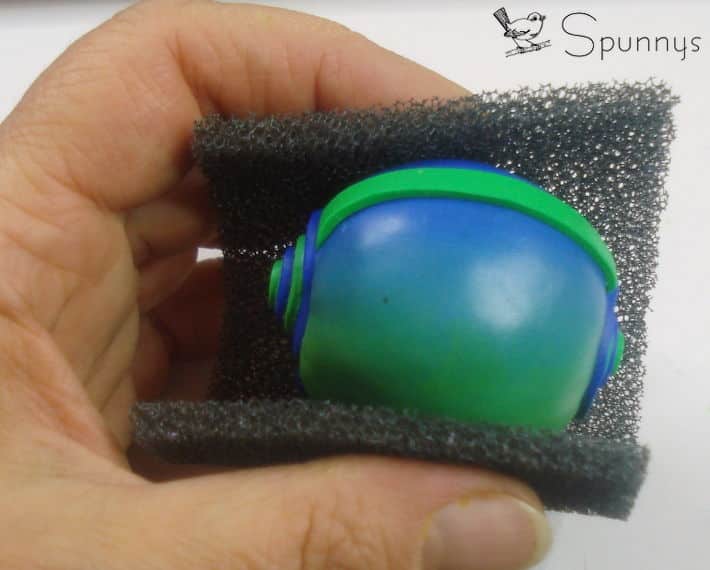
You can make your future polymer clay beads even more interesting by giving them a little texture. (This has an extra advantage: it removes the fingerprints). Press slightly and gently a piece of fabric i.e. a piece of an old jeans, a sponge, anything which is large enough to wrap your bead and give it a texture.
Step 5: second bake
Bake as usual, covering the beads or items you made with some oven paper. Always stay close to the oven during the baking process and keep an eye on your items.
Note: When possible, because the ball will be covered with two layers of clay, select a spun cotton ball a bit smaller than your target bead size. Also remember that a thicker second layer is less likely to keep air bubbles between itself and the prebaked bead.
Let the beads cool down normally. When you try to pass the headpin through, always start with the original hole. As you twist your drilling tool in the hole, you create a tunnel which works much better when you follow the original direction. Sometimes, if the item is big, you may need to try a few times until you find the opposite hole. It is normal, don’t push and be patient. Use a long needle to make sure your hole is still open and try again.
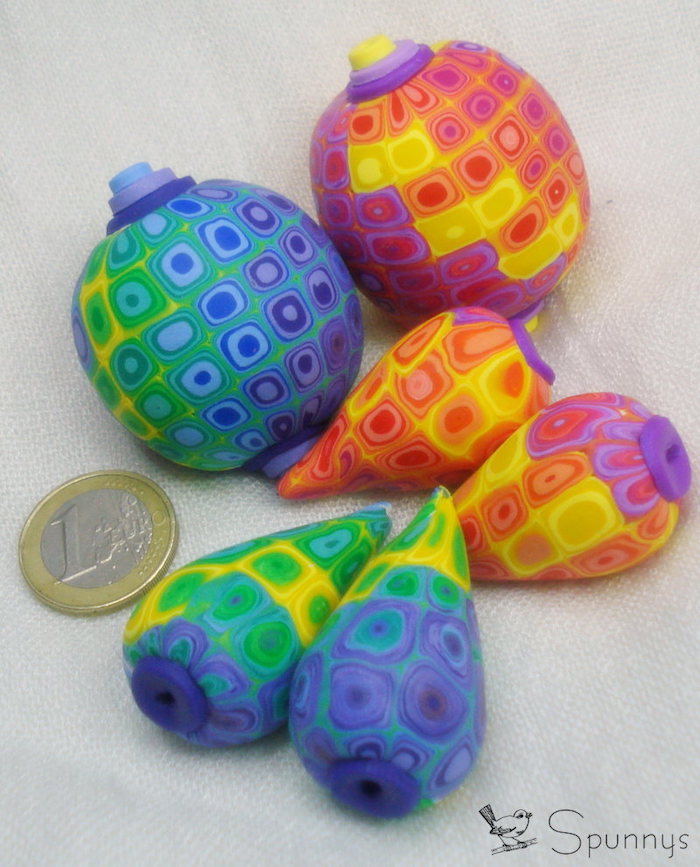
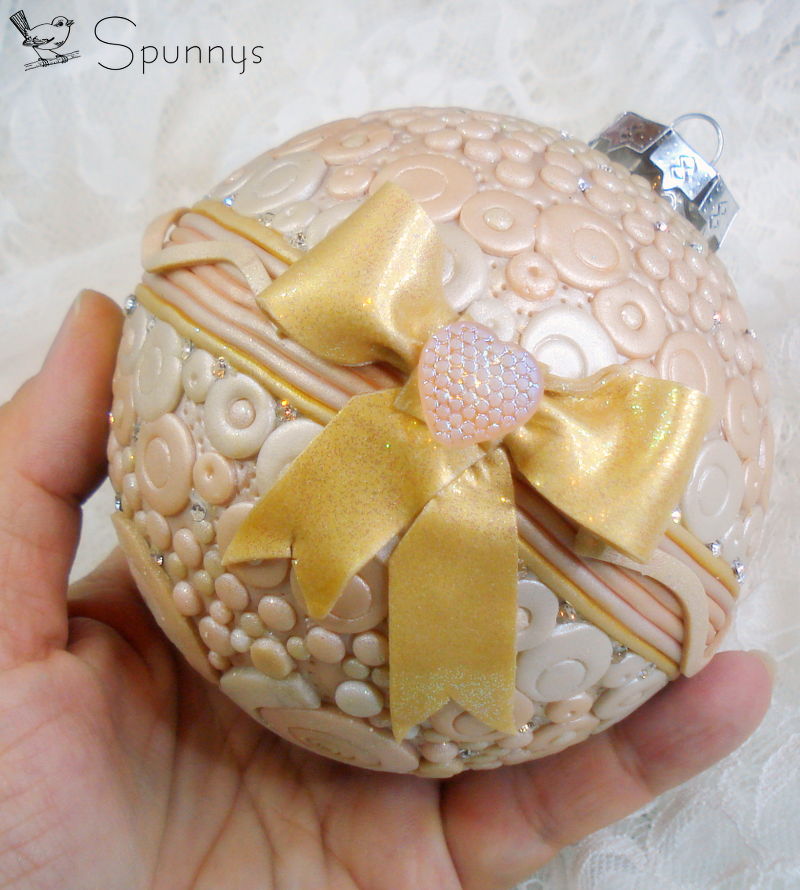
You can use the smaller sizes for jewelry use and the bigger ones for craft and decorative use. Make Christmas ornaments, mobiles, enjoy this new way of using your favorite polymer clay. As spun cotton shapes are very lightweight, you can create bigger items without the challenges of the extra weight. So many shapes, so many possibilities!!!
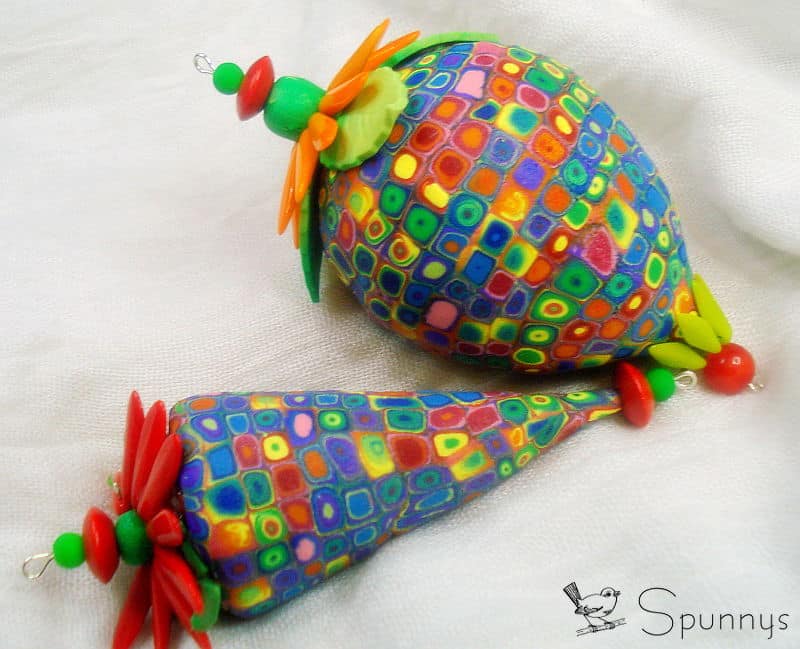
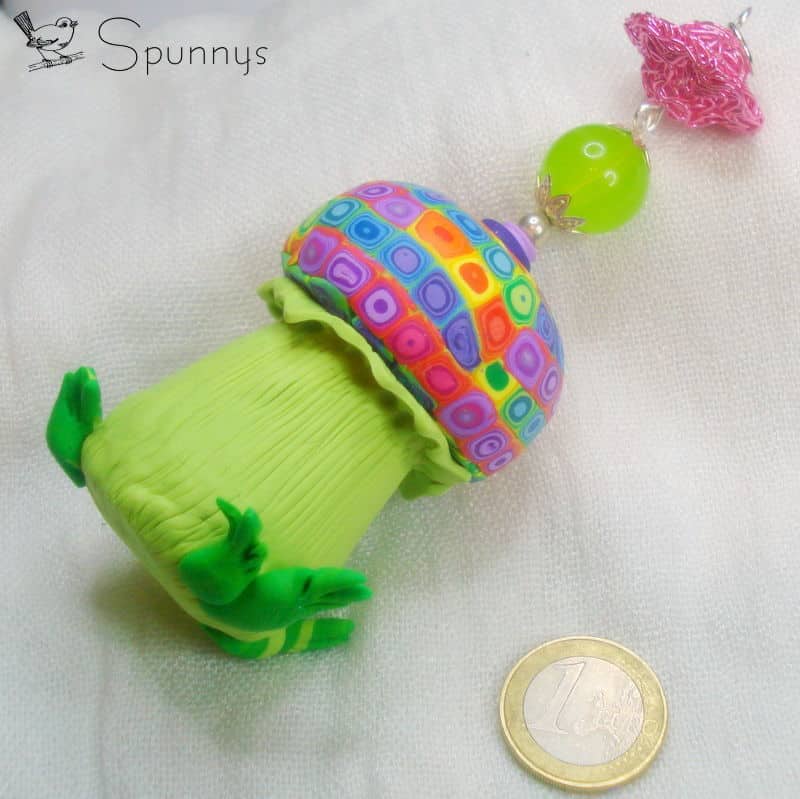
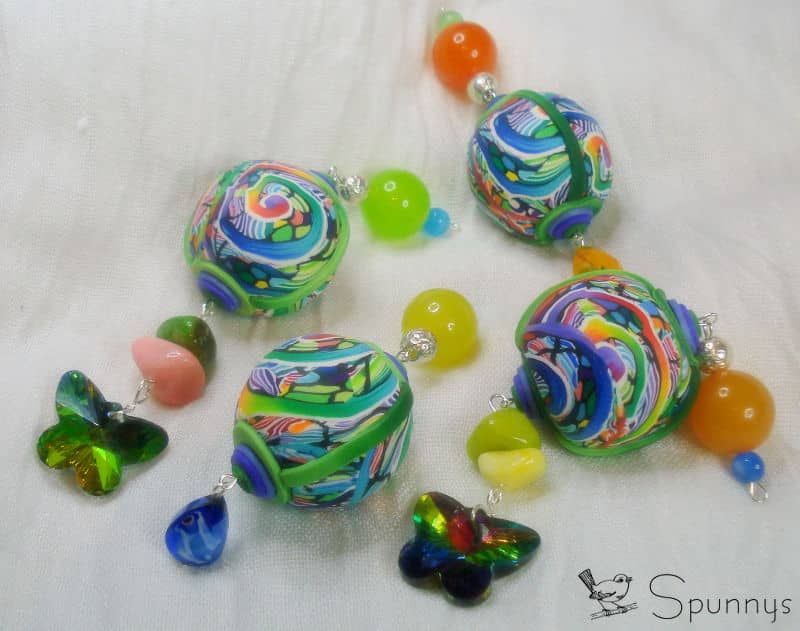
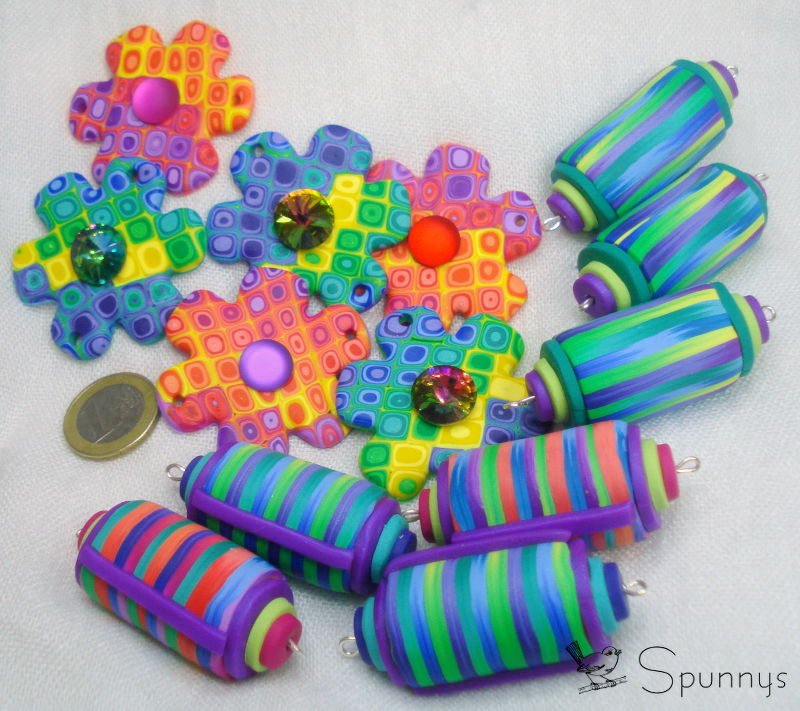
More work by Klio:

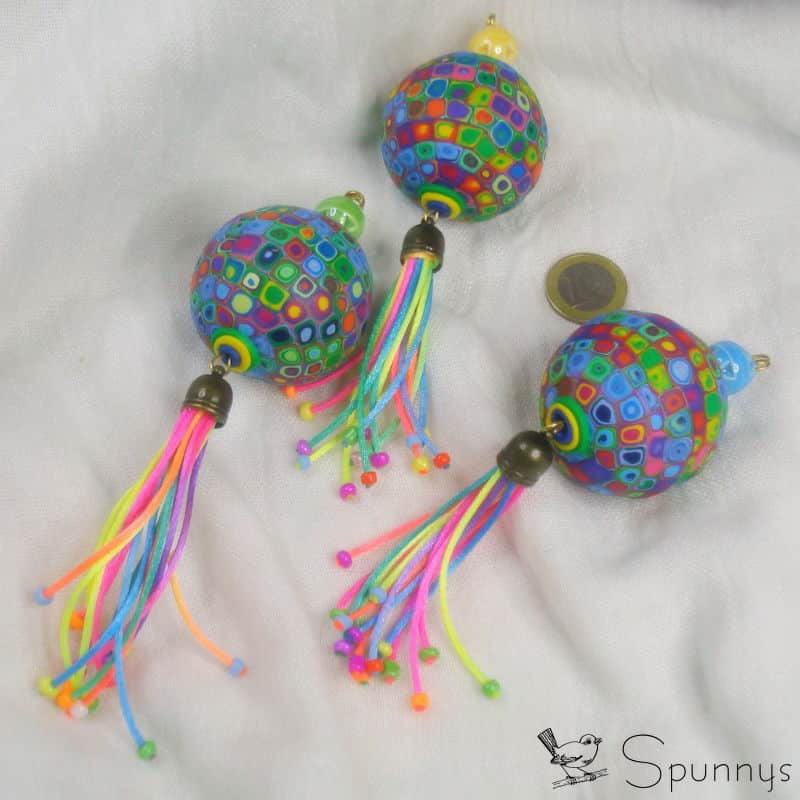
Incredible polymer clay beads and charms mobile.
We can hardly imagine the work that went into this project!