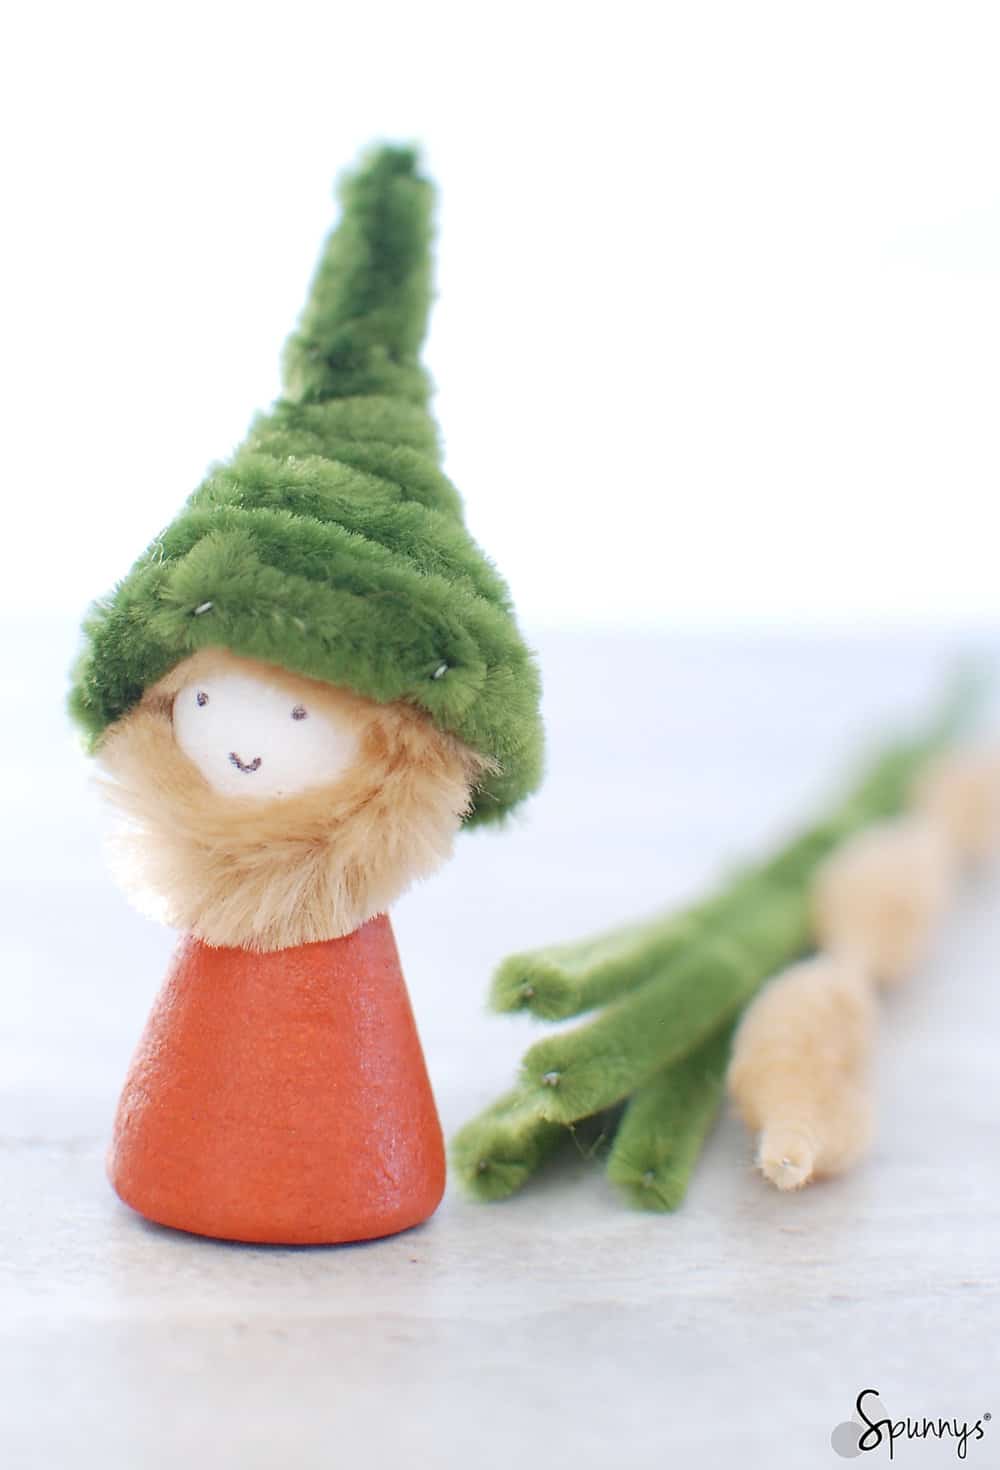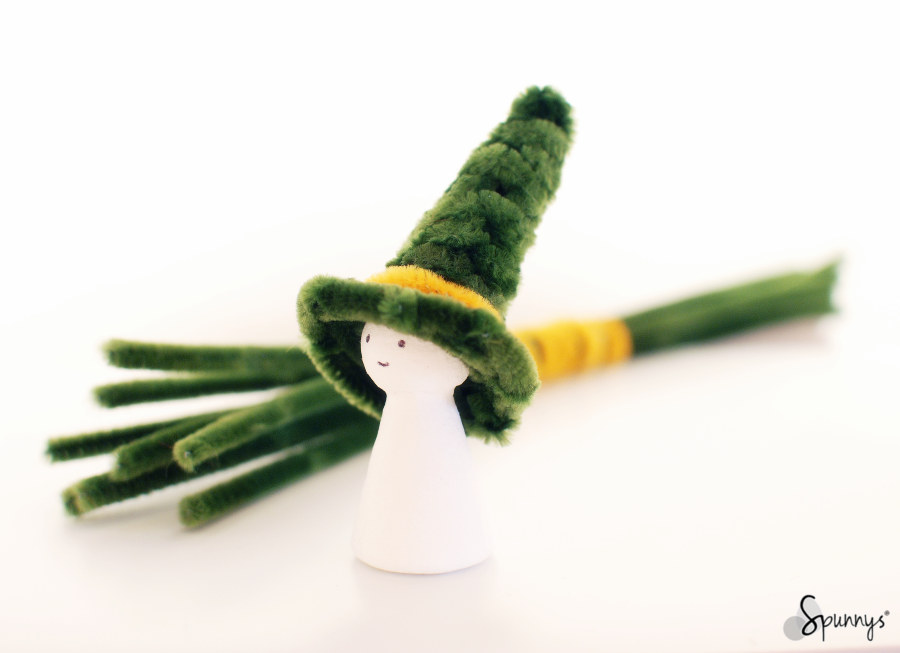
Check out our tutorial and learn how you can make your own miniature pipe cleaner hats. With a little bit of practice, you will be able to make pipe cleaner hats in as little as 5 minutes.
You can use miniature hats for decorations, but also to dress up peg dolls and figurines.
One technique – many styles of hats.
You can use our technique to make almost any styles of hats: hats for Santa, elves, pilgrims, leprechauns, wizards, top hats, bucket hats, swinger hats, sun hats, beanie hats, boater hats, cloche hats, and more.

Pipe Cleaner Hats – Materials needed
- Each hat requires 4 to 5 strands of pipe cleaners (also known as chenille stems)
- You will also need a pair of wire cutters and a pair of pliers. No other materials and/or tools are needed.
You can use any type of pipe cleaners: plush pipe cleaner, bump pipe cleaner, glitter pipe cleaner, narrow pipe cleaner… For this tutorial, I used regular pipe cleaner (12″ long, .23″/6mm wide).
Pipe cleaners are pretty affordable, you can buy a few different types and experiment with color combinations and shapes.
Step by step tutorial
To illustrate the technique, we are going to make a simple hat. You can then modify this basic technique to make different styles of hats.
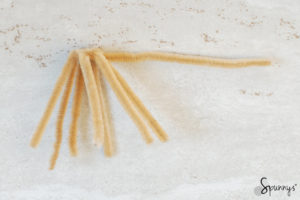
1: Gather 5 strands of pipe cleaners.
2: Cut 2 strands in half.
You are now left with 4 half strands and 3 full strands
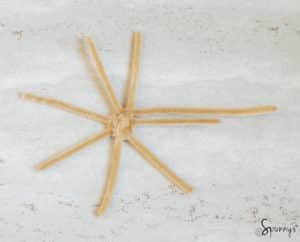
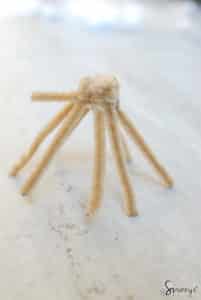
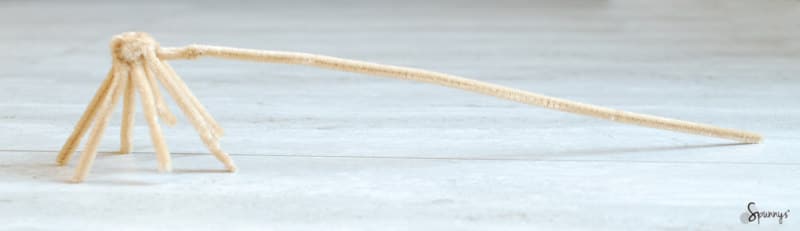
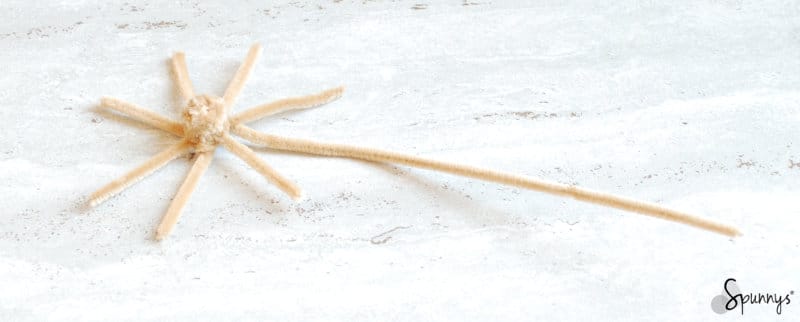
3: Build the frame of your hat.
The frame is a 7-arm star, plus an eighth arm longer than the others. To create your star, do the following:
- On your workstation, lay out a bunch of 3 half strands perpendicular to one full strand (see picture below)
- Grab the full-length strand, loop it around the bunch and pull on both ends to tighten the loop.
- Separate the strands from one another to create a star shape.

The 7 arm star is the frame of your hat. The 8th arm will be weaved through the frame to build the hat.
4: The weaving of the crown.
Grab the long strand and slowly roll it clockwise around the center of the frame, as if you wanted to create a licorice roll. When you meet the strand just next to it, go under it, then when you meet the next strand, go over it, and then go under the next strand, and then over the next strand, and so on. After a few revolutions, you will have made a disc (the top of the crown)
When you are done with the top of the crown, bend all of the 7 arms down and continue weaving.
When you run out of pipe cleaner, attach a new strand to the old strand and continue weaving until you are satisfied with the size of your crown.
5: The weaving of the brim.
When you are done with the crown of the hat, bend the pipe cleaners again to make the brim of the hat. Continue to weave with the similar technique as the one described above until you are happy with the size of the brim.
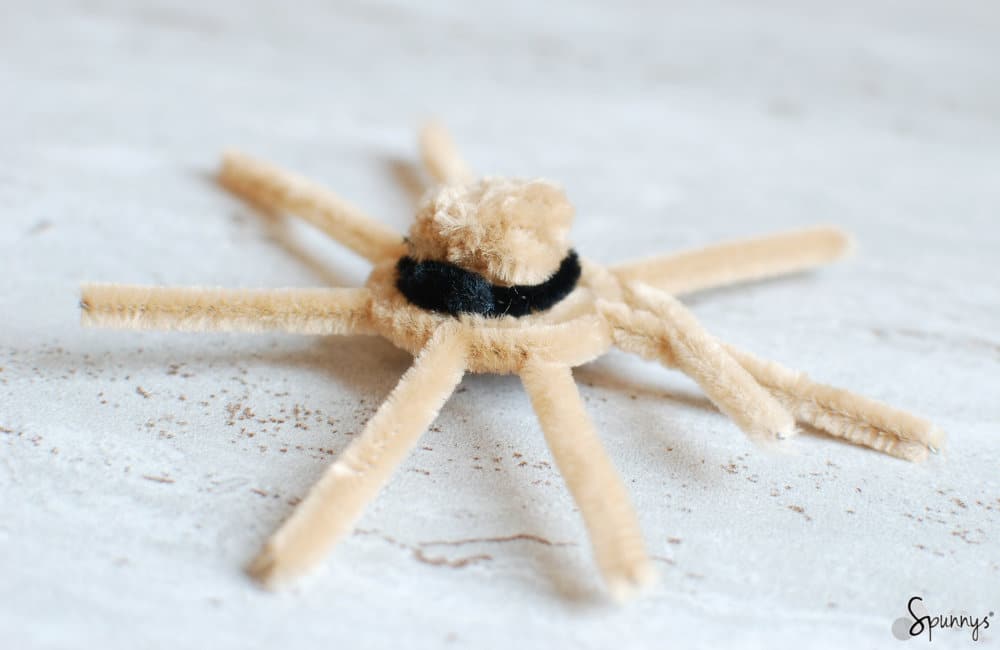
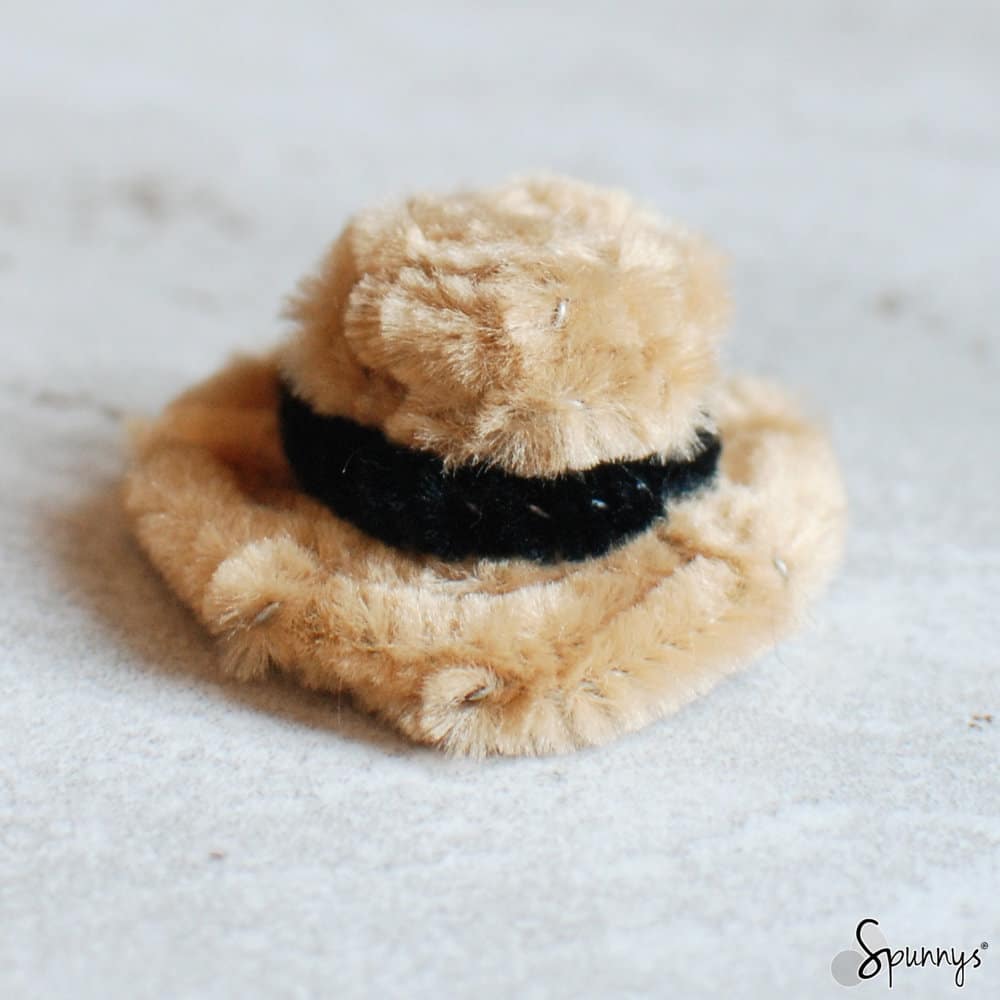
You are almost done. If you want, you can fashion a little pipe cleaner decorative band and wrap it around the crown of the hat.
Very important: before cutting the ends of the pipe cleaner strands, fold them under the brim first, otherwise you will see pieces of metal sticking out of the brim.

You are done :) You can now try to make another hat and experiment a little.
- Try different kinds of pipe cleaners.
- Experiment with longer crowns, longer brims
- Keep the same technique but try to change the shape of your hats: make pointy hats or hats that tapper out
I hope you enjoyed this tutorial. As always, if you have any questions, do not hesitate to use the comment section below. Happy crafting!