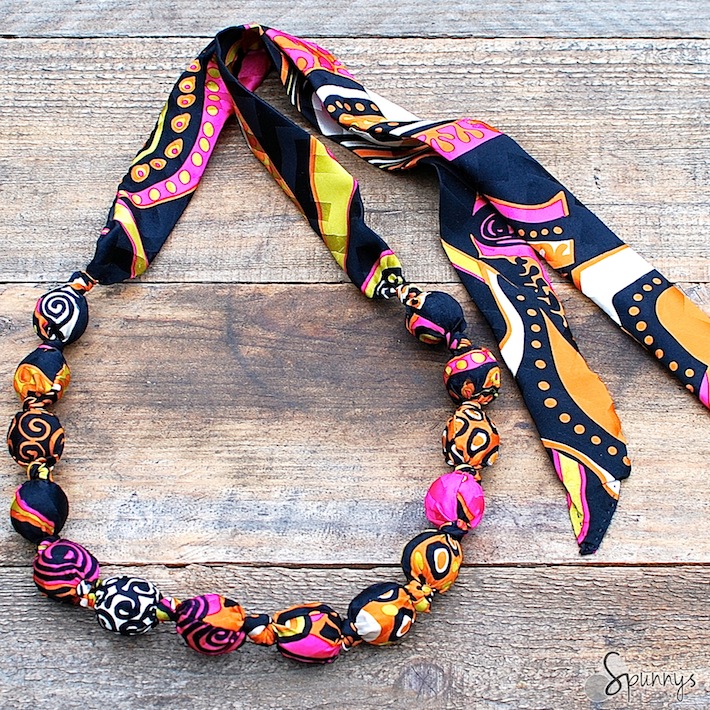
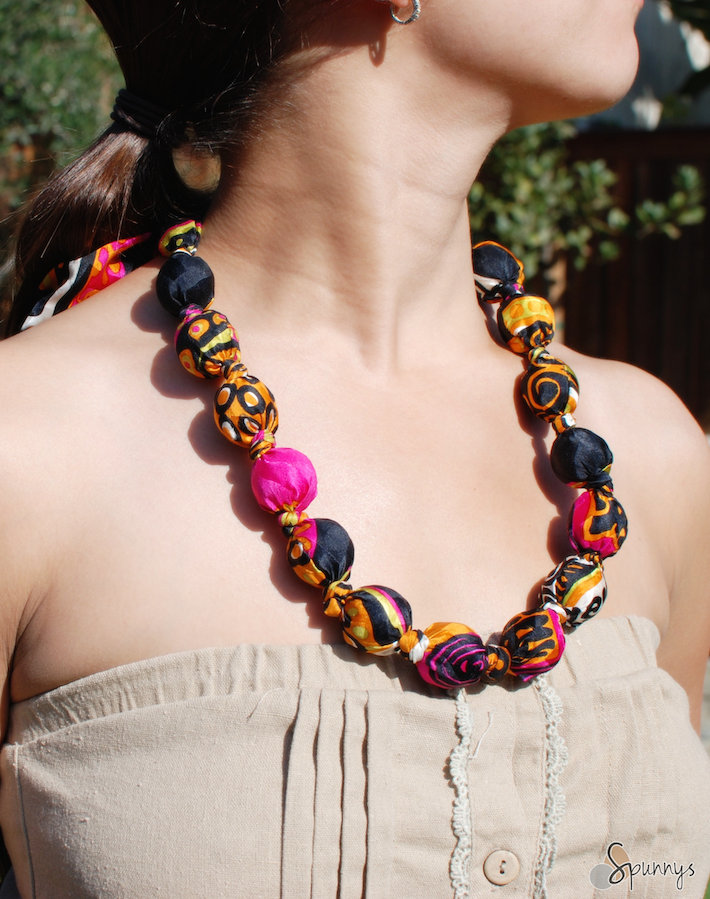
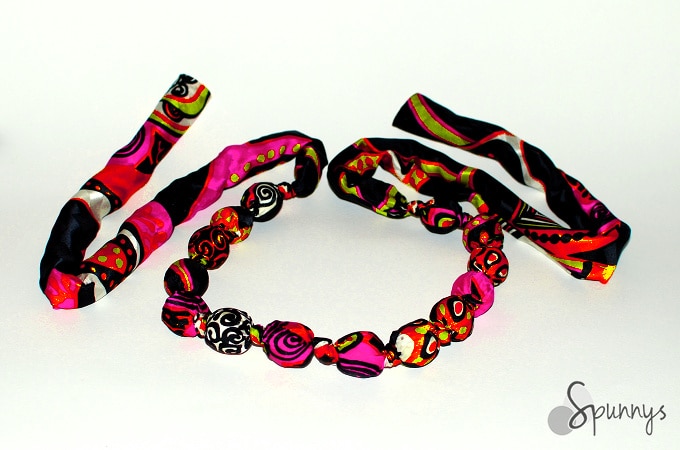
Follow our tutorial and learn how you can make a beautiful and comfortable Fabric Covered Bead Necklace using spun cotton balls are lightweight fillers.
Materials to make one fabric covered bead necklace
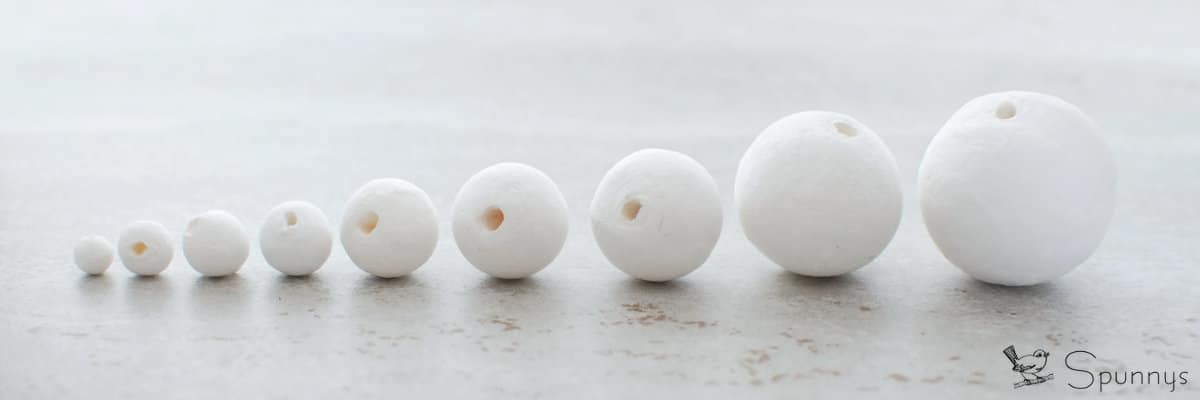
- 14 spun cotton balls, 1.18″ diameter (30mm).
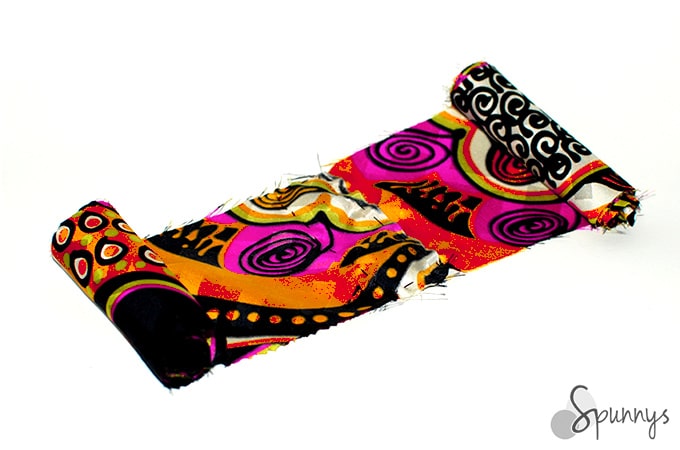
- A long and narrow, 4.5″ x 90″ (7.5′) strip of silk fabric. You will have to stitch two 4.5″ x 45″ pieces together.
- Needle and some extra strong thread (or better, a sewing machine if you have one).
- A long ruler, pencil, scissors, or craft knife, paper clip.
Directions
Step 1: Cut a long and narrow strip of fabric (4.5 inches x 7.5 feet)
At the fabric store, you probably will not find a piece of fabric that is 7.5 feet long. Fabric comes on bolts and bolts are typically 36″, 44″-45″, or 54″ wide. So you may have to sew two pieces of fabric together.
The fabric I bought came on a 45″ wide bolt. So I ended up having to sew two long and narrow strips of fabric together to achieve the required length.
To cut the fabric, I used a long ruler and a craft knife over a piece of plywood. I cut two strips, each measuring 4.5″x 45″. It’s ok to use a pair of scissors if you don’t want to mess with a sharp knife. The cut doesn’t have to be exactly straight.
Before sewing the 2 strips together, I overlapped them by about an inch. [divider_flat]
Step 2: Fold the strip of fabric into a tube shape
Fold the long piece of fabric in half lengthwise and sew the long edges together. Try to sew small stitches for a more secure seam. This is easy to accomplish but time consuming without a sewing machine.
VERY IMPORTANT: For now, the “good” side of the fabric goes inside the tube. We will turn the tube inside out once the sewing is done.
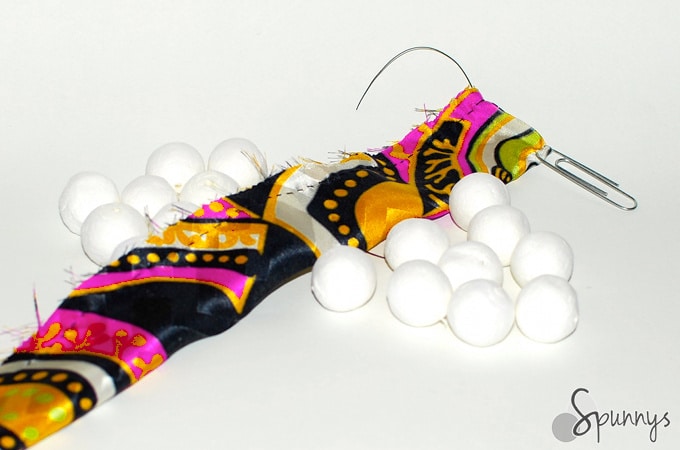
Once done with sewing, turn the tube inside out with a loop turner or a paper clip.
The paper clip method: Start by solidly anchoring the paper clip to one end of the tube (it’s ok to poke a hole in the fabric with the paper clip). Then, just slide the clip through the tube from one end to the other. The tube will turn inside out very easily. [divider_flat]
Step 3: Slide in the spun cotton balls and tie the knots
Tie the first knot where you sewed the two strips of fabric together (to hide the stitches).
Slide a ball down one end of the tube until it reaches the middle of the necklace. Twist the fabric to push the ball as close to the middle as possible and tie a simple knot.
Slide a second ball down the other end of the tube, twist the fabric and tie a new knot.
Do the same with all the balls or until the desired necklace length has been reached.
Step 4: Adding finishing touches to your necklace
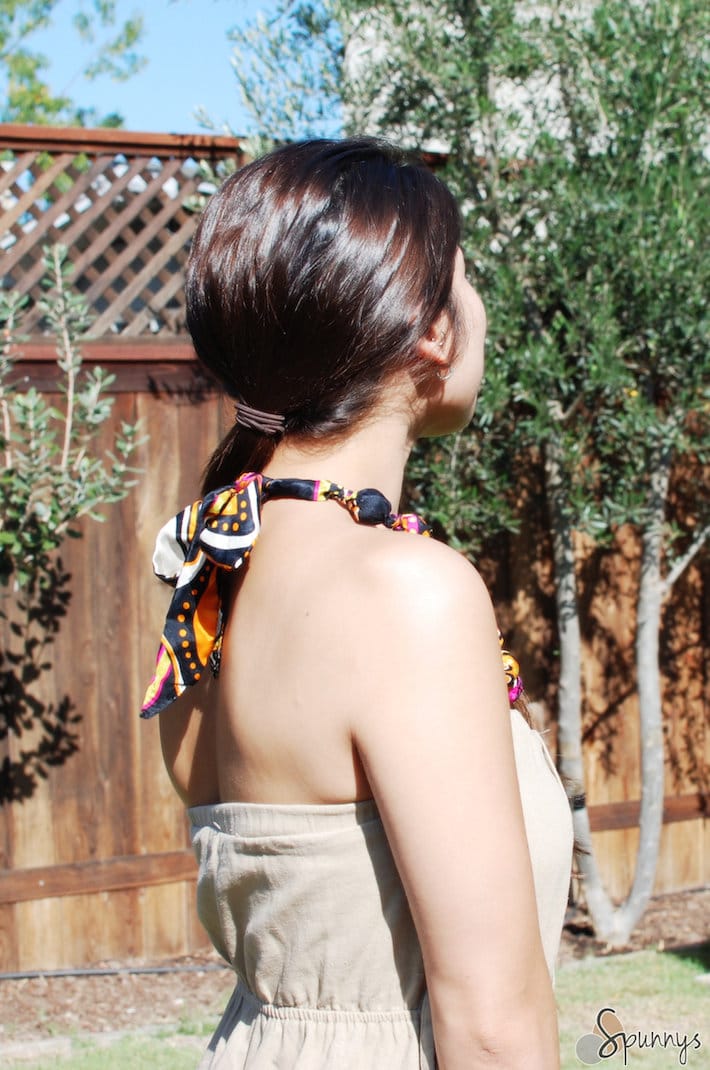
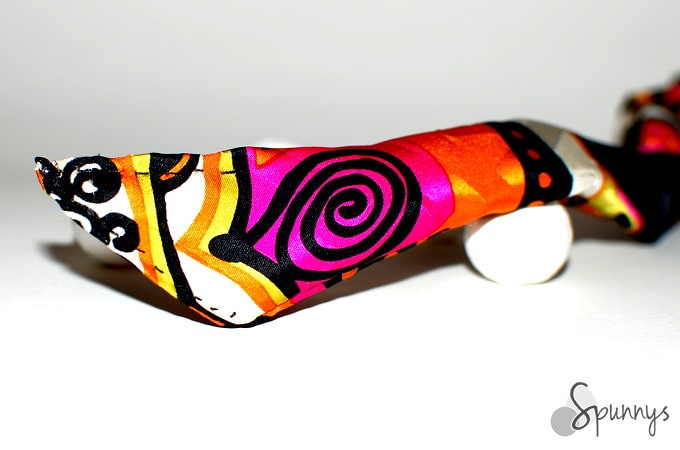
For the endings to look nice, fold the fabric to create a 45 degree angle. Sew along the edges.
Iron your fabric covered bead necklace on low heat to remove all the wrinkles. You are done :)
I hope you enjoyed this tutorial. As always, if you have any questions, do not hesitate to get in touch. Happy crafting!
Note: If you like this tutorial, you may also enjoy my other necklace tutorial: Paper bead necklace DIY.

Will this work with good quality rayon challis??
Hello Pam,
I never tried it but rayon being comfortable and breathable, I think that it would work great.
I would love to know more about this. If you try it, could you kindly let us know ?