Veröffentlicht am Schreibe einen Kommentar

Why We’re Transitioning from Spun Cotton Shapes to Spun Paper Shapes

spun paper balls

For many years, the craft world has used the term spun cotton shapes to describe lightweight decorative craft blanks used for painting, decorating, and DIY projects.

At Spunnys, we’ve used that name too — simply because it was familiar and what most people searched for.

Over time, however, we felt it was important to be more accurate and transparent about the product itself. These shapes are not made from cotton. Instead, they’re made from soft paper that is spun into solid, symmetrical craft shapes.

That’s why we are transitioning to the term spun paper shapes — a name that better reflects both how the product is made and what it truly is.

👉 Want to learn more about what spun paper shapes are and how to use them? Check out our full guide here.


Spun Paper Shapes vs. Traditional Spun Cotton Shapes

What People Traditionally Called Spun Cotton Shapes

Historically, spun cotton shapes referred to handmade craft figures made by:

• Building a wire or metal frame
• Wrapping cotton fibers around the frame by hand
• Layering and shaping the cotton
• Painting and decorating the finished piece

These handmade spun cotton creations still exist and remain beautiful examples of traditional craftsmanship. But when machine-made paper shapes became common, the name carried over even though the material had changed.


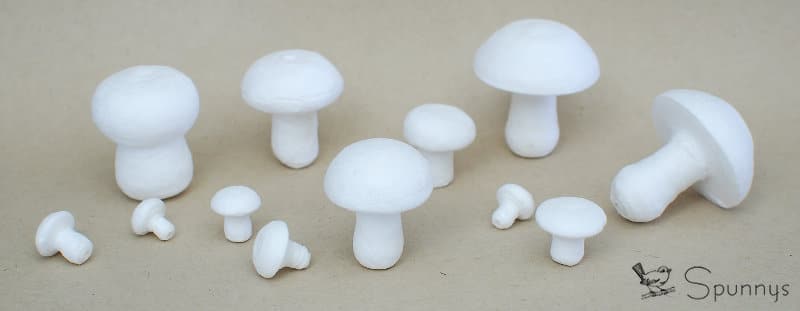
What Spun Paper Shapes Are and How They Are Made

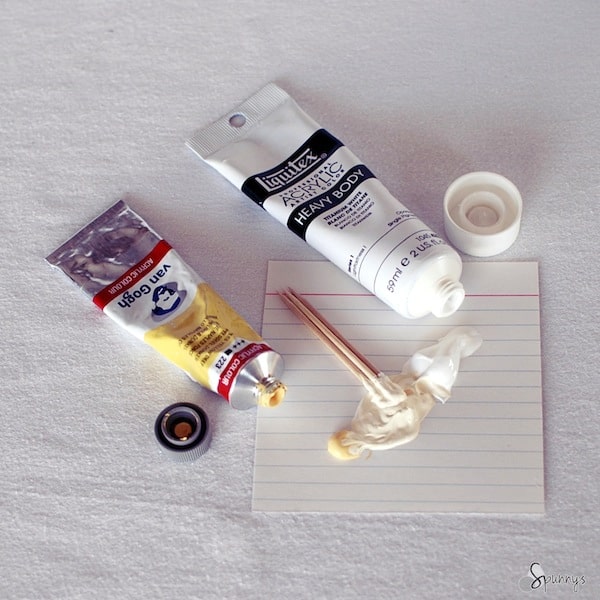
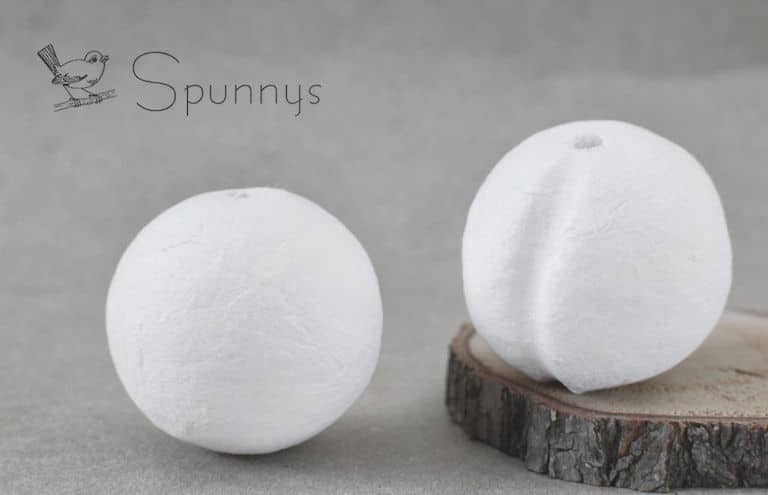
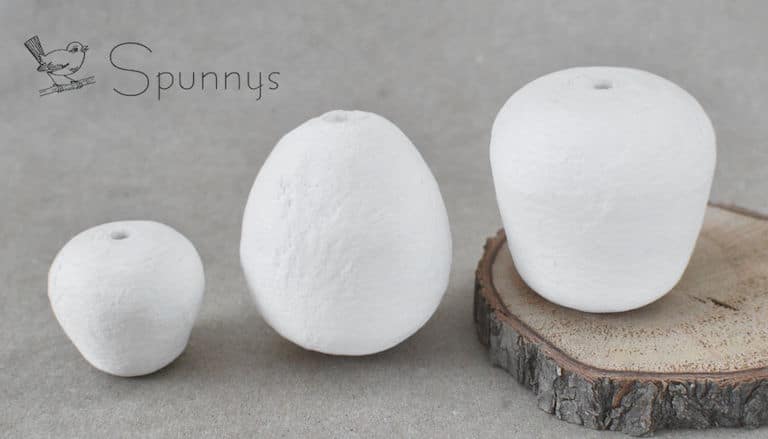
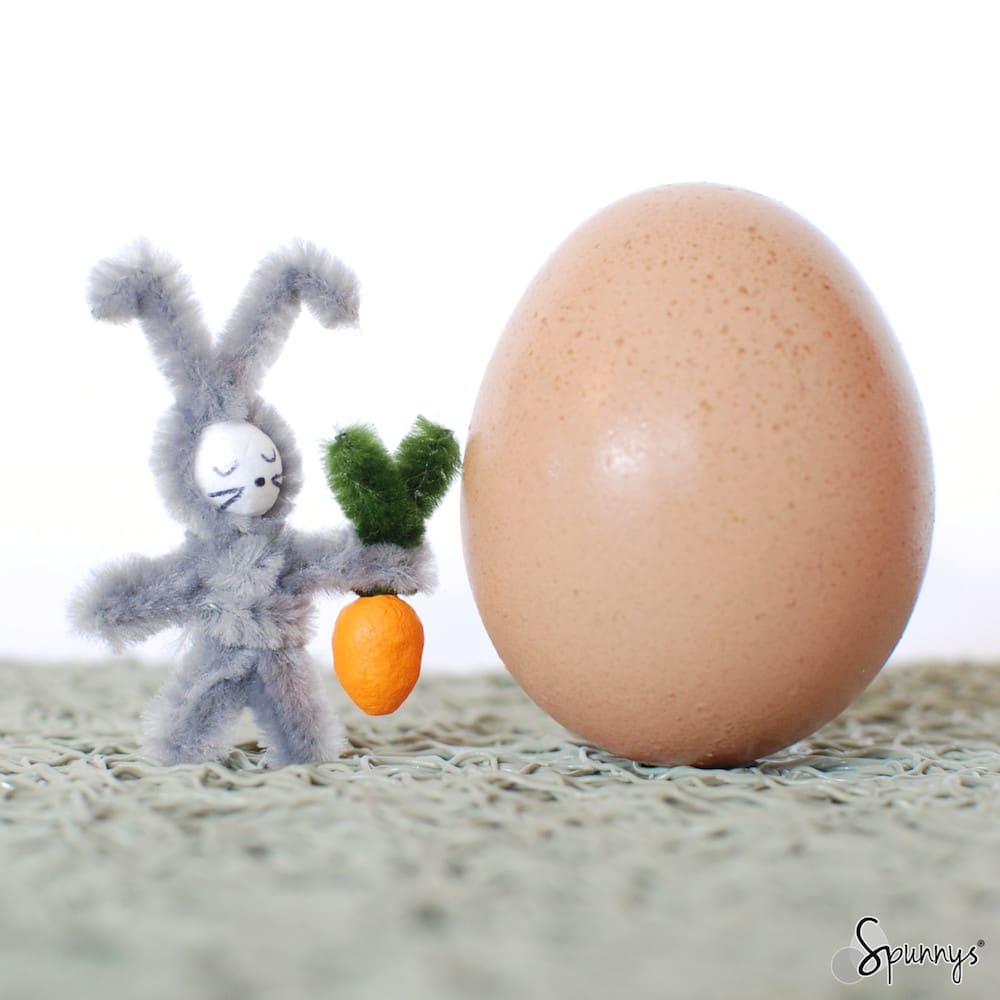
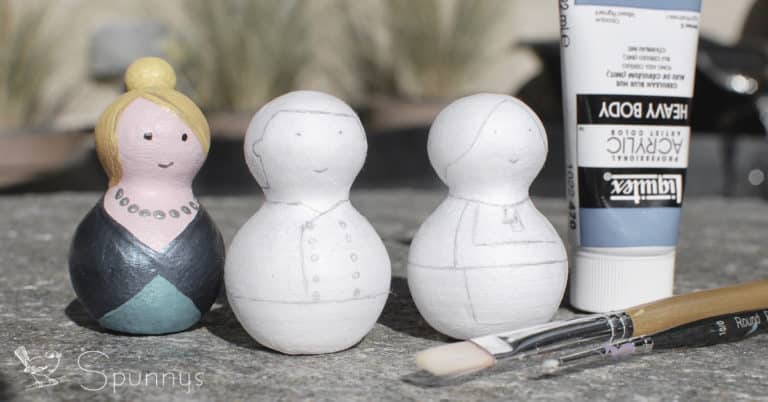
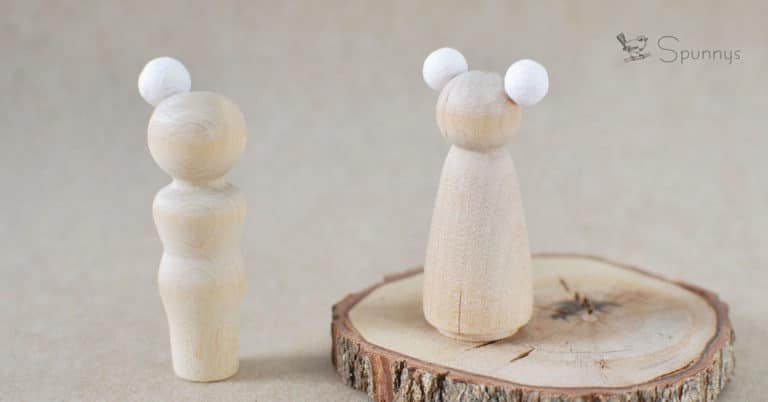
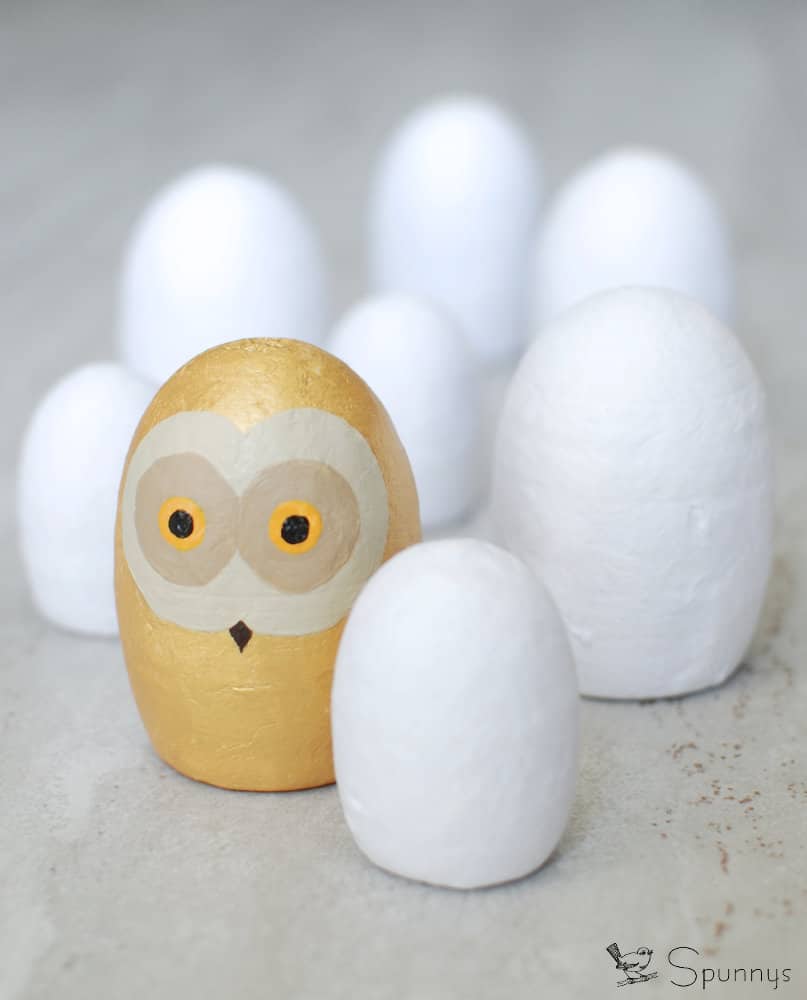
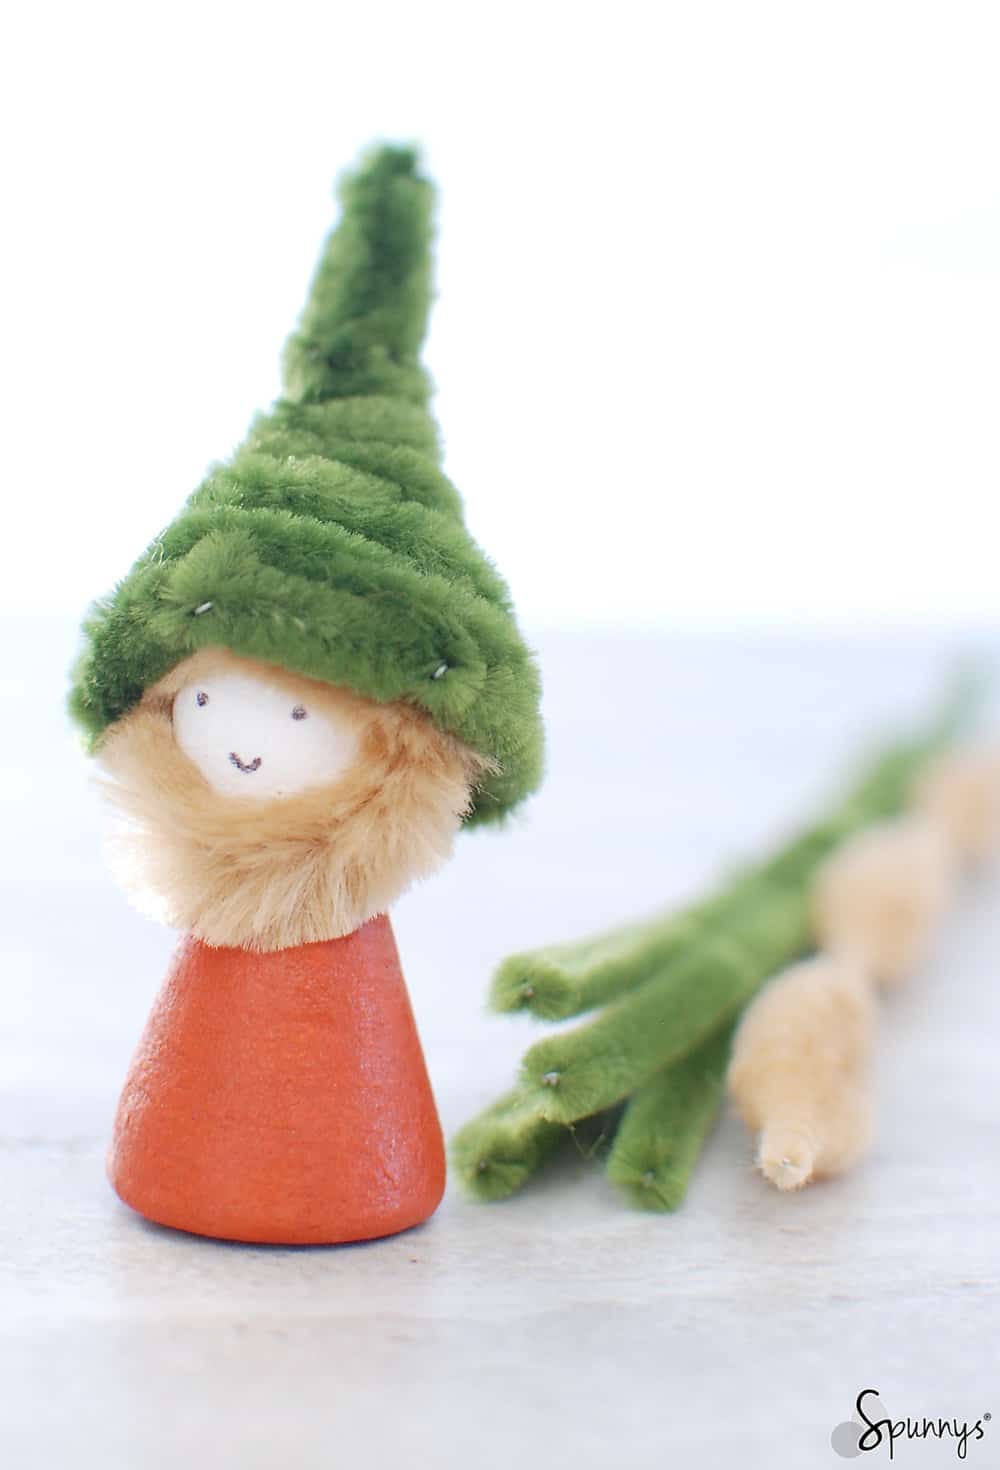
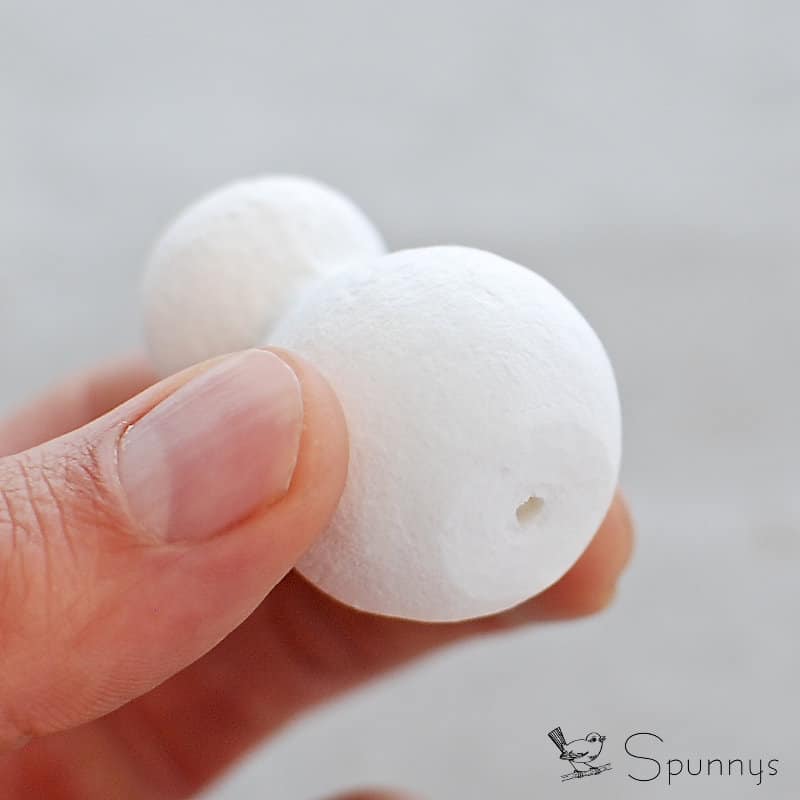
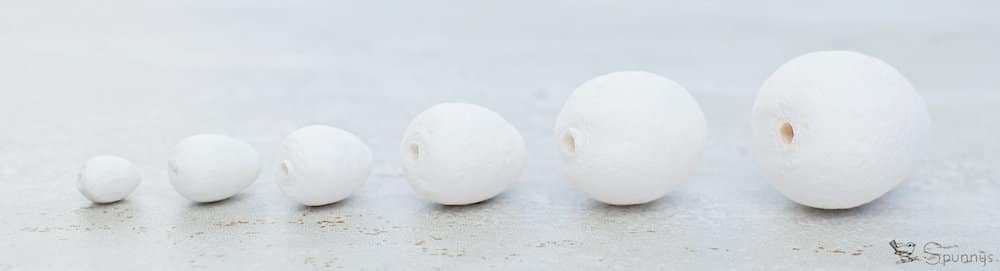
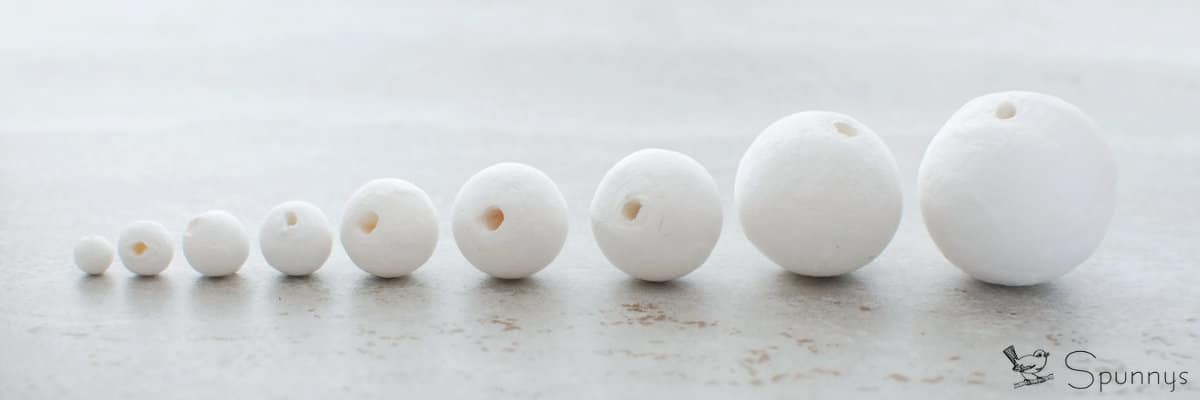
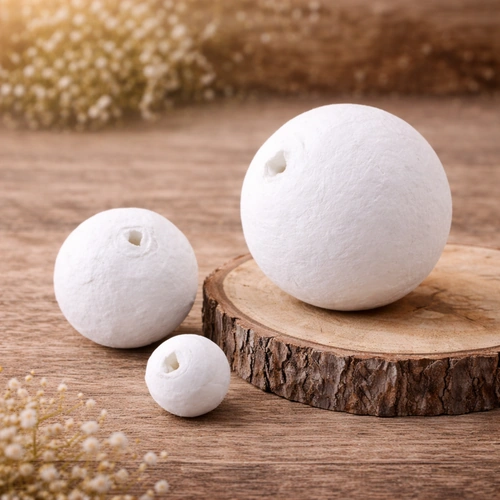
Spun paper shapes are created using a mechanical spinning process that forms soft paper into solid, lightweight craft blanks.

In this process, soft paper enters a shaped mold and is rapidly spun around a central axis, building up layers of paper fibers until a smooth, symmetrical shape is formed. Once complete, the shape dries and becomes ready for decorating.

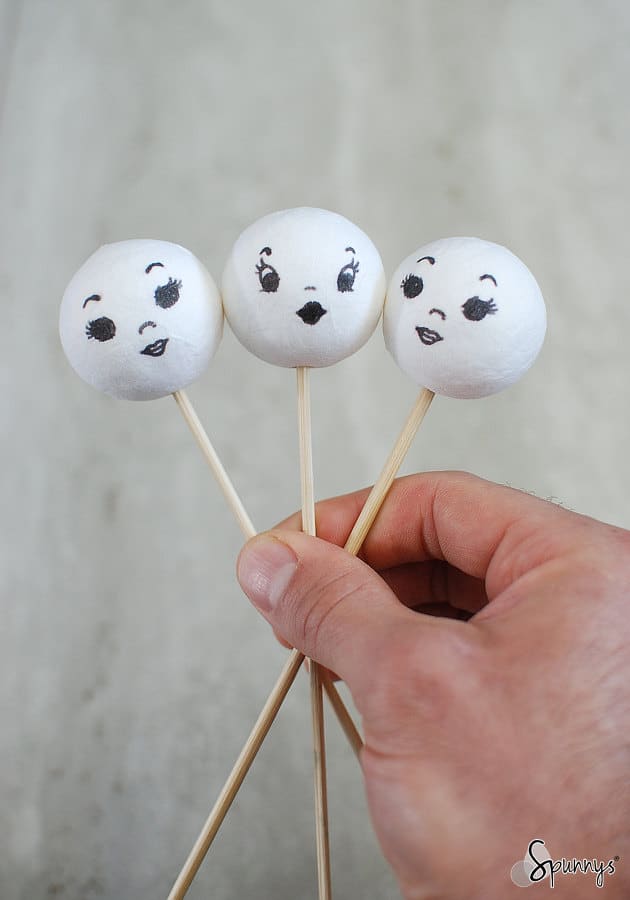
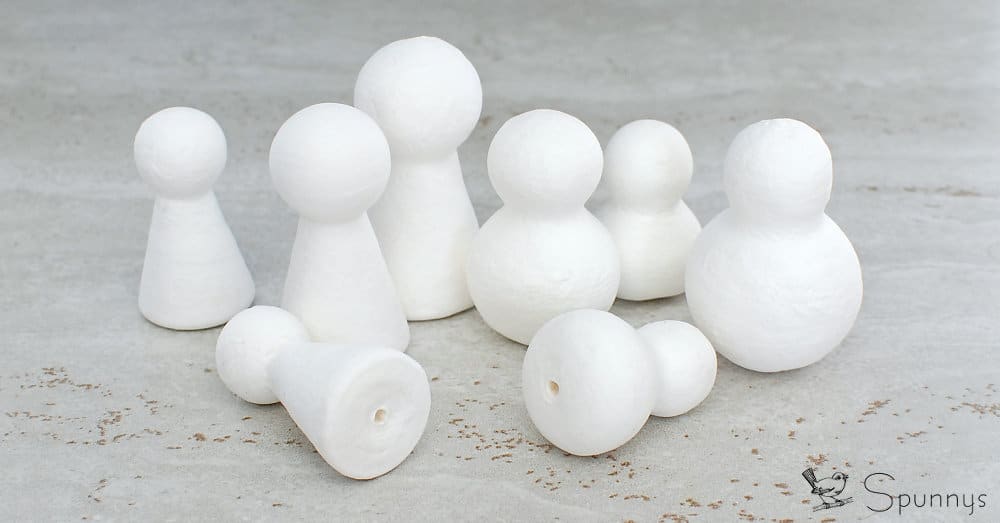
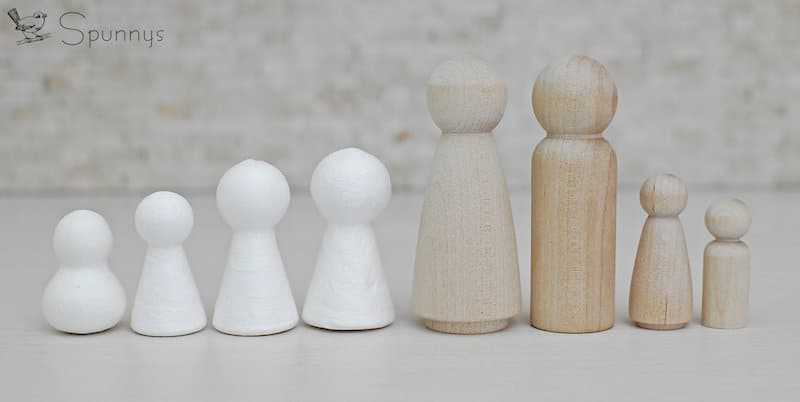
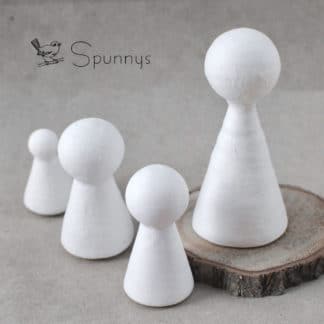
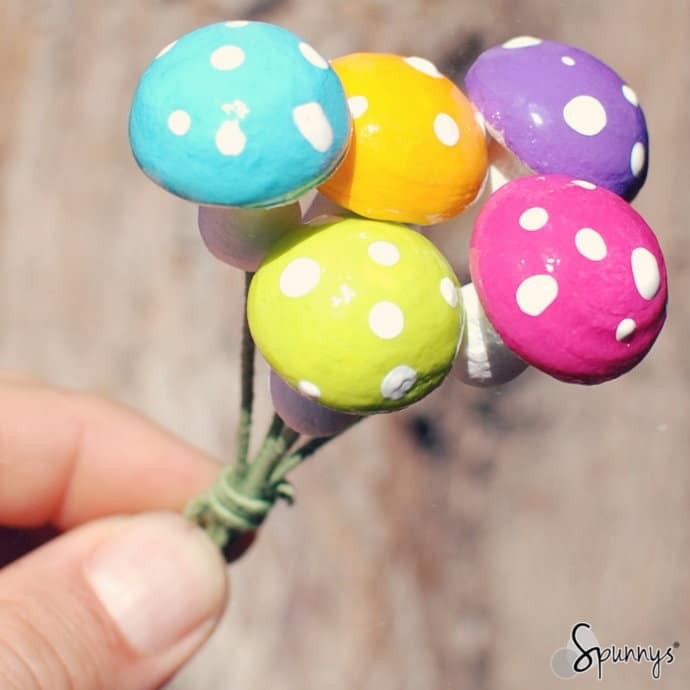
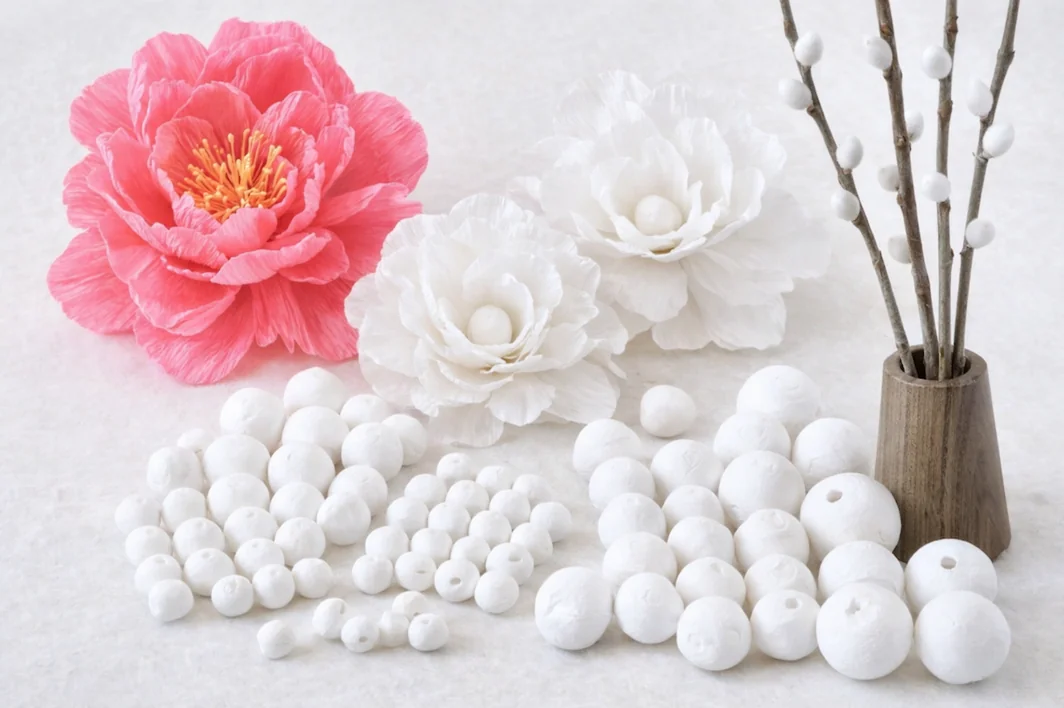
Spun paper shapes are:

• Solid (not hollow)
• Lightweight
• Smooth and easy to decorate
• Made entirely from paper fibers

This manufacturing approach is what makes them ideal for DIY craft projects of all kinds.


A More Eco-Friendly Craft Material

We’re especially excited about spun paper shapes because of their sustainability. Our shapes are made from FSC-certified paper sourced from responsibly managed forests, supporting forest conservation, responsible harvesting, and long-term sustainability.

In an industry where many craft blanks are plastic or foam, spun paper shapes offer a more environmentally thoughtful alternative that aligns with a future of greener crafting. believe this makes them not only a wonderful creative material, but also a product aligned with the future.

Spunnys FSC ecofriendly

Why This Product Inspires Us

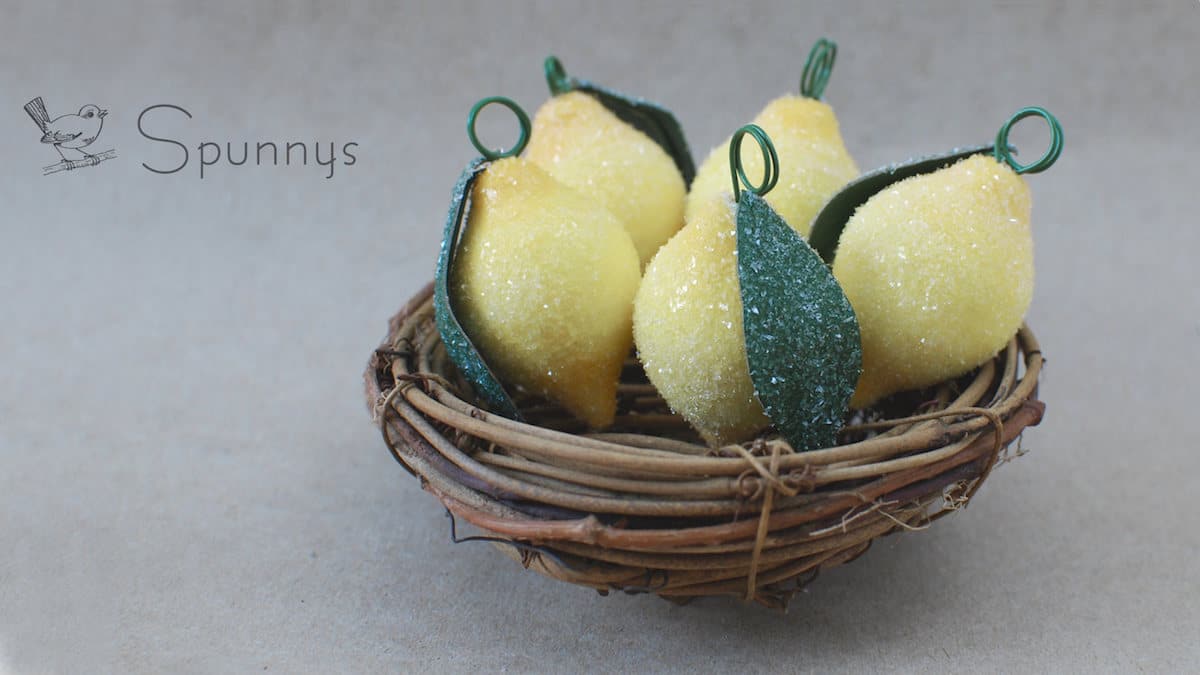
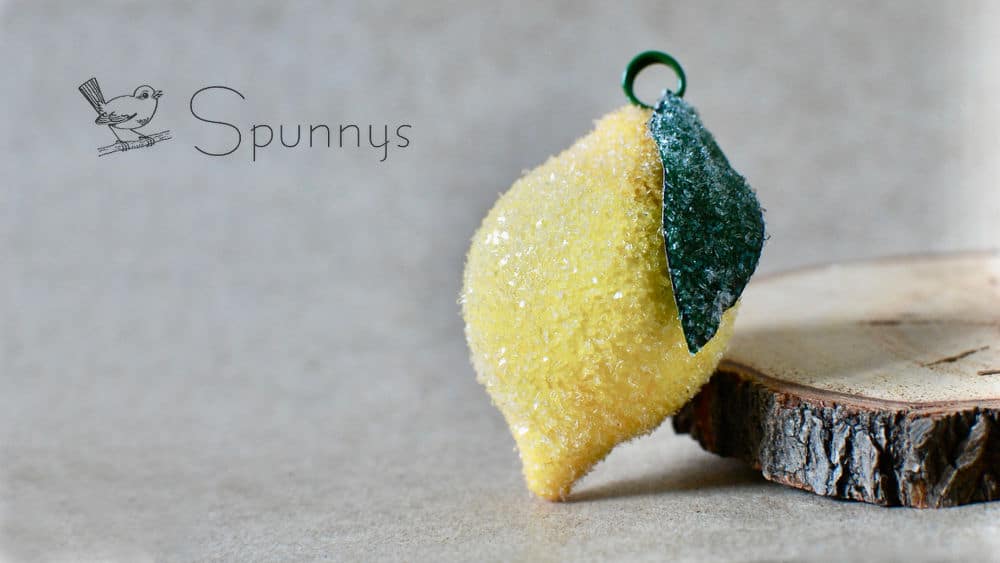
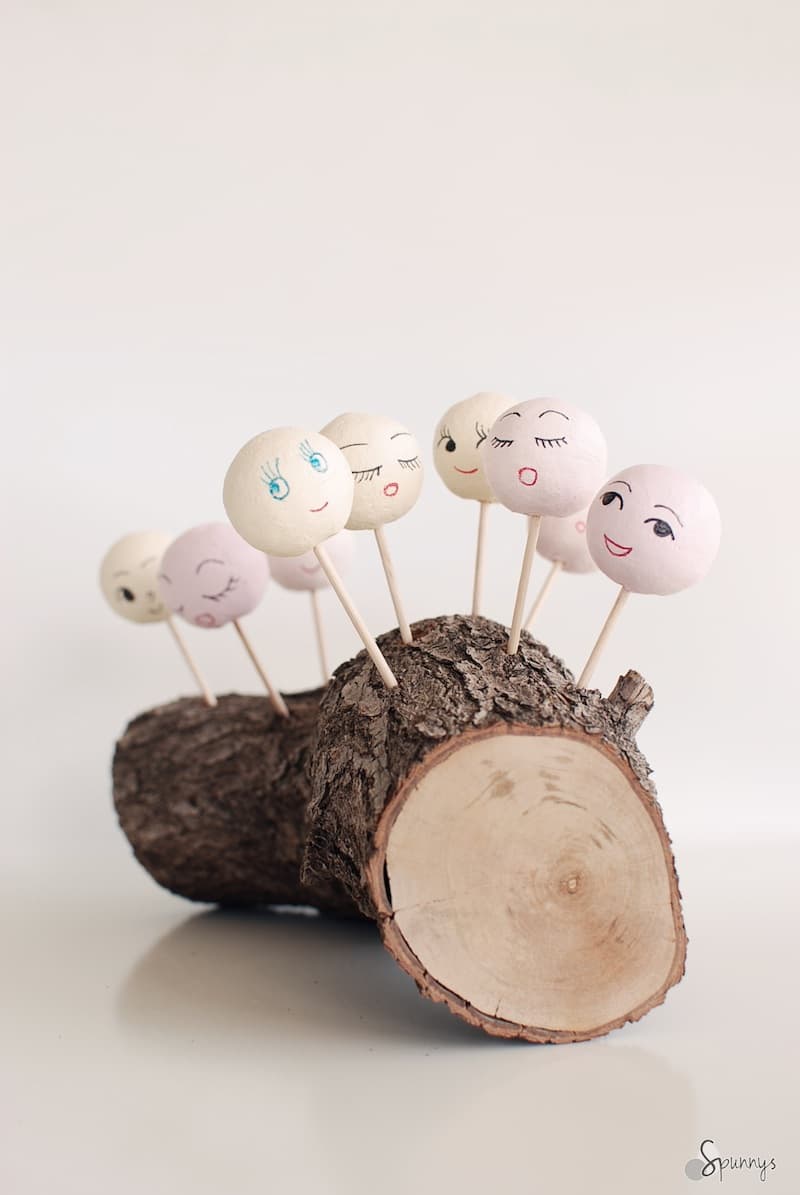
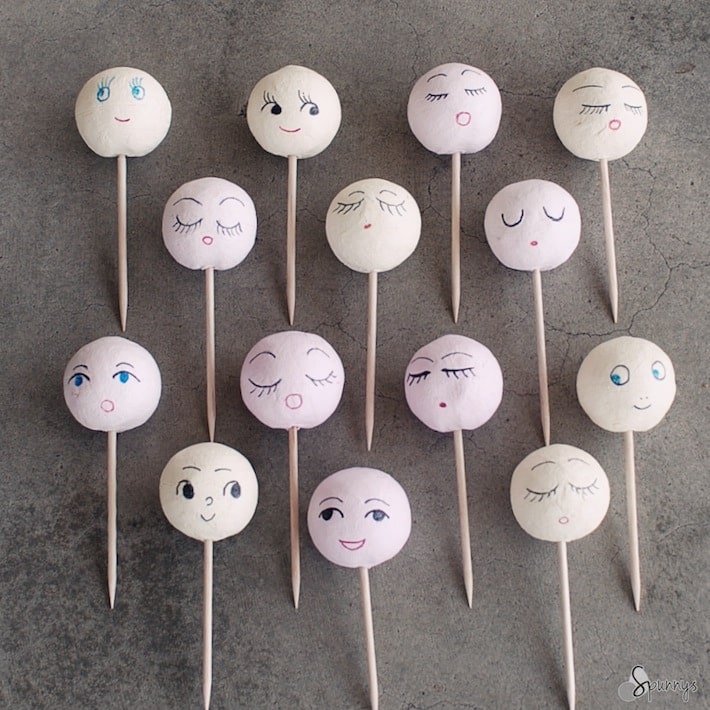
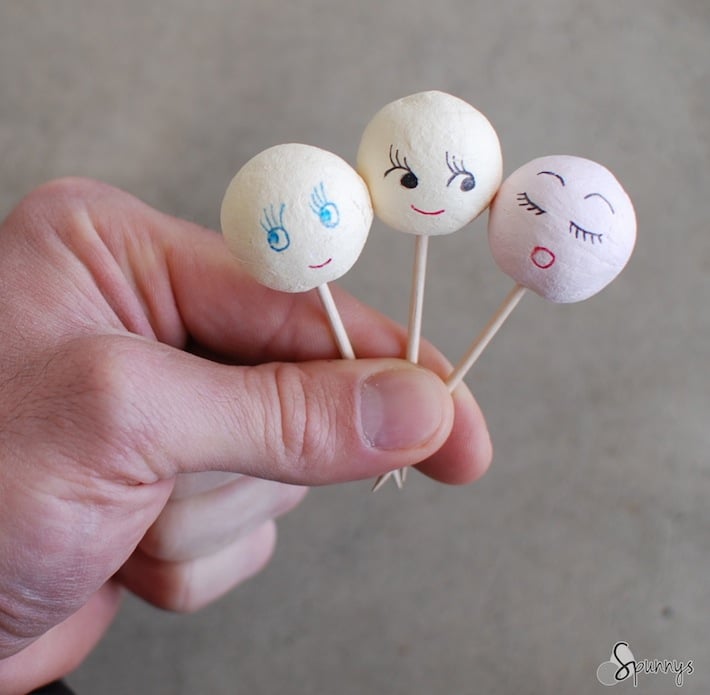
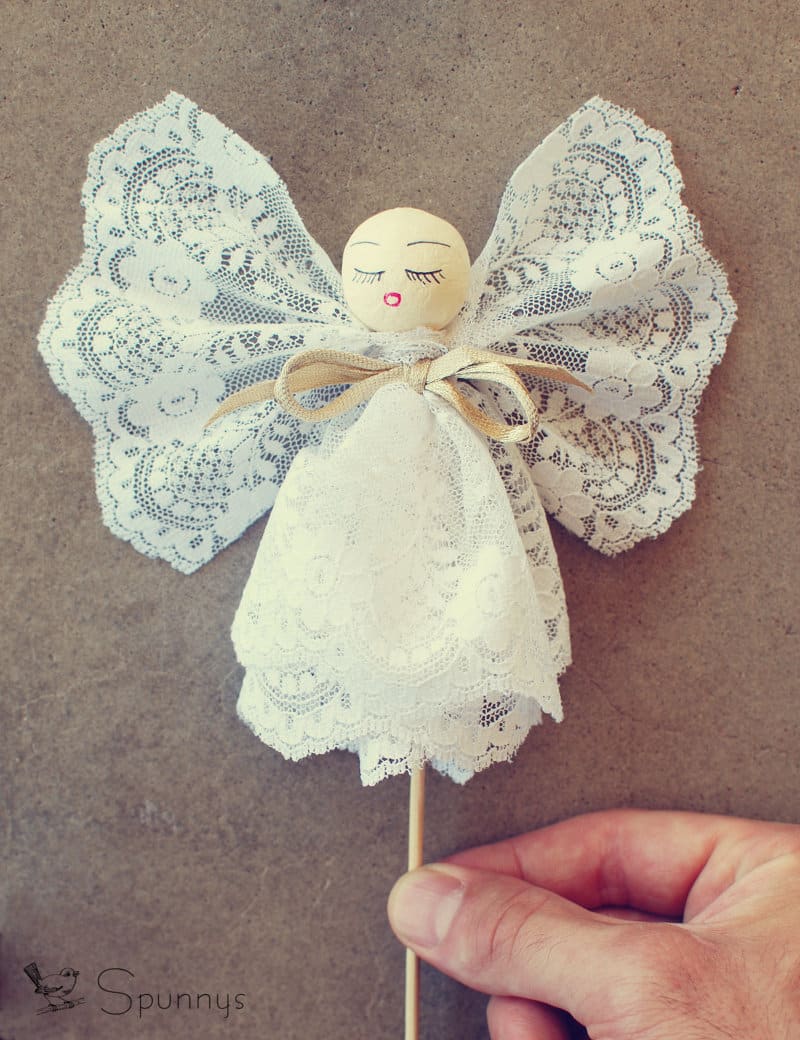
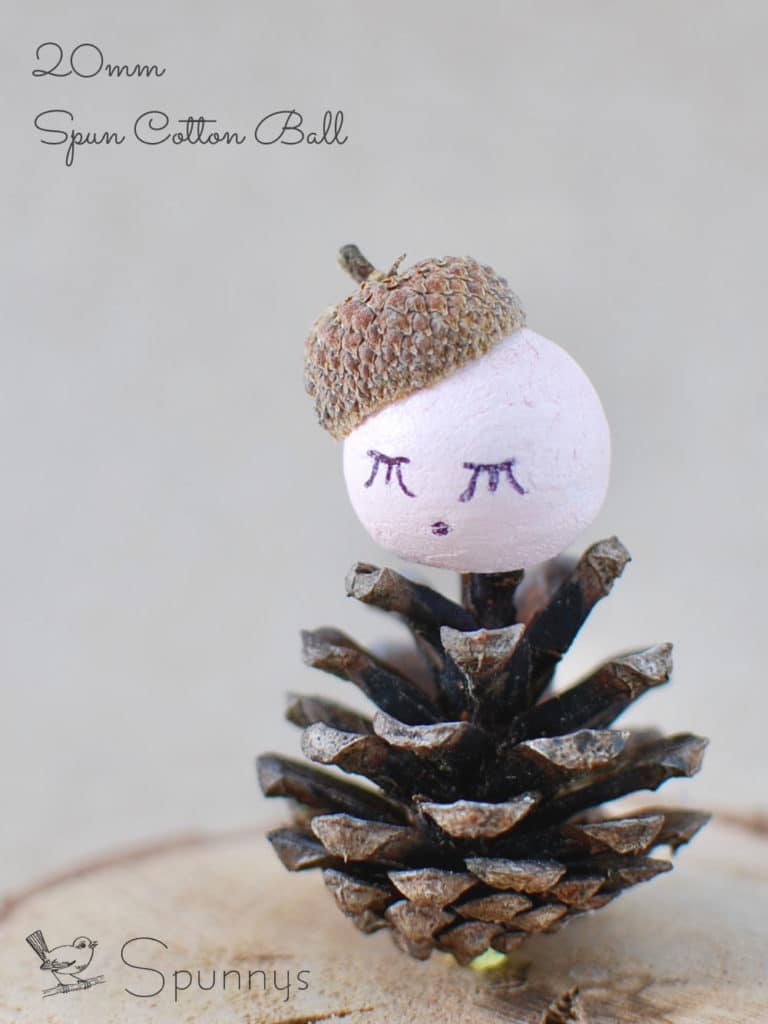
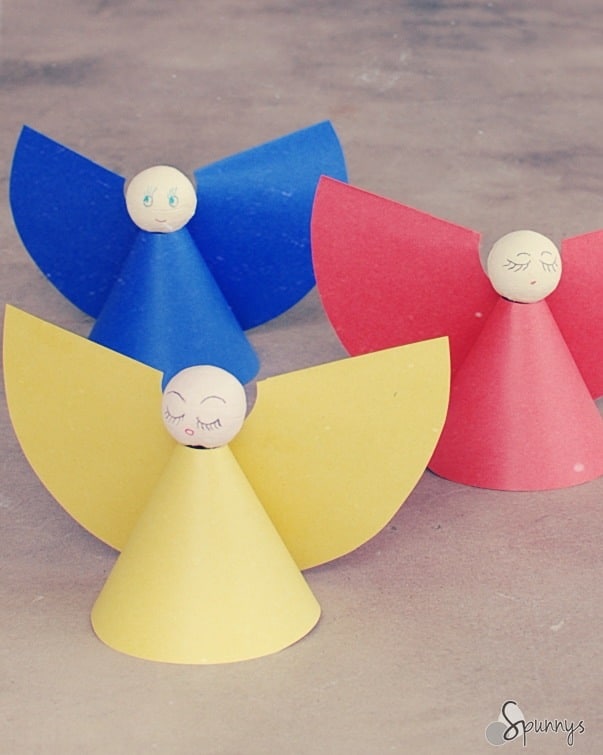
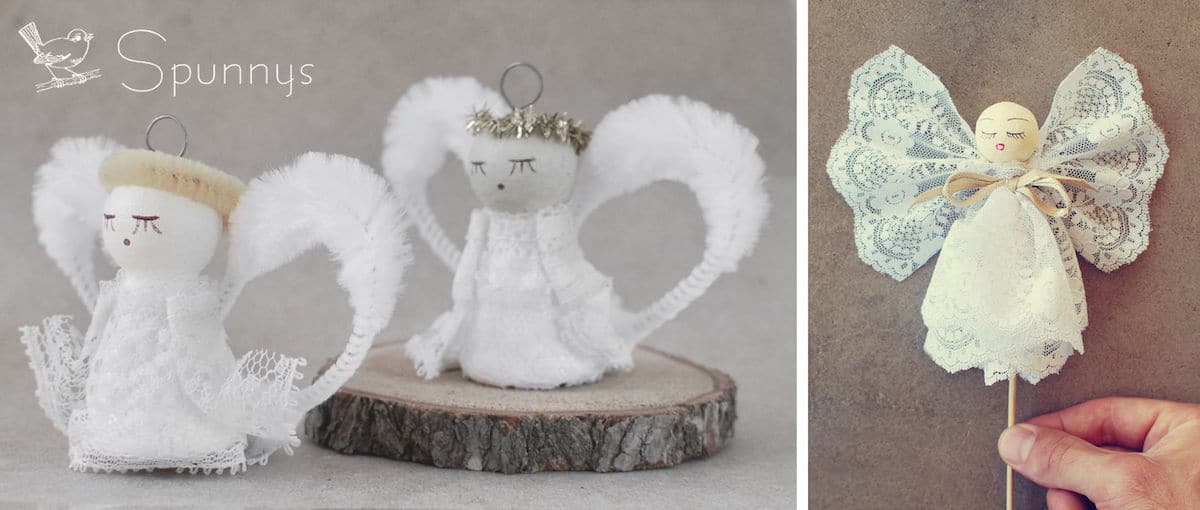
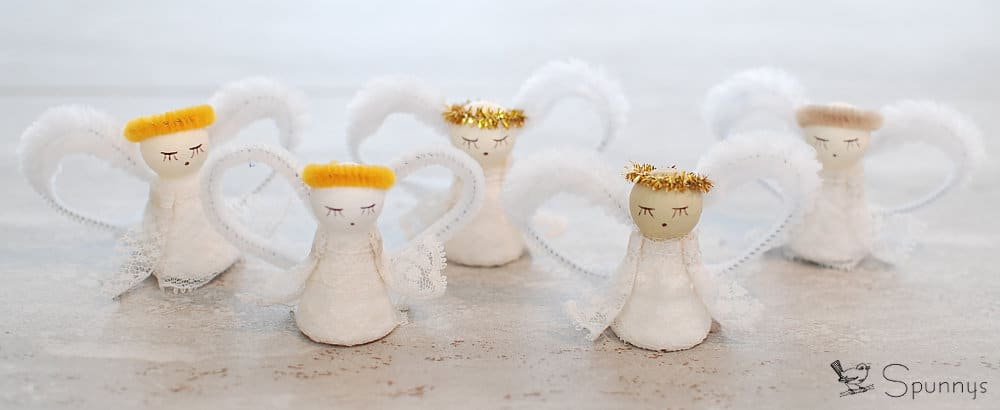
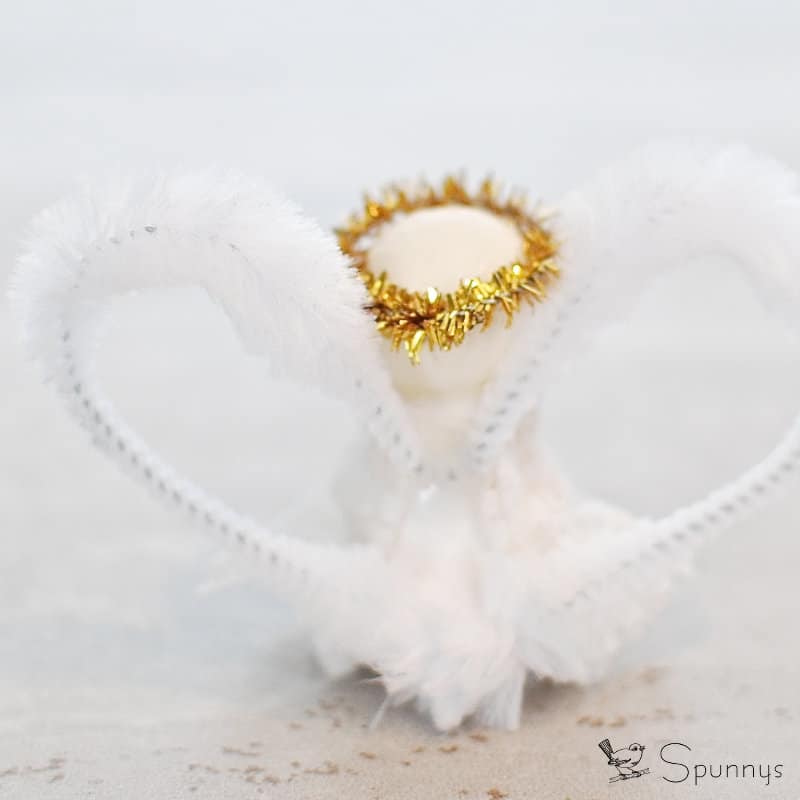
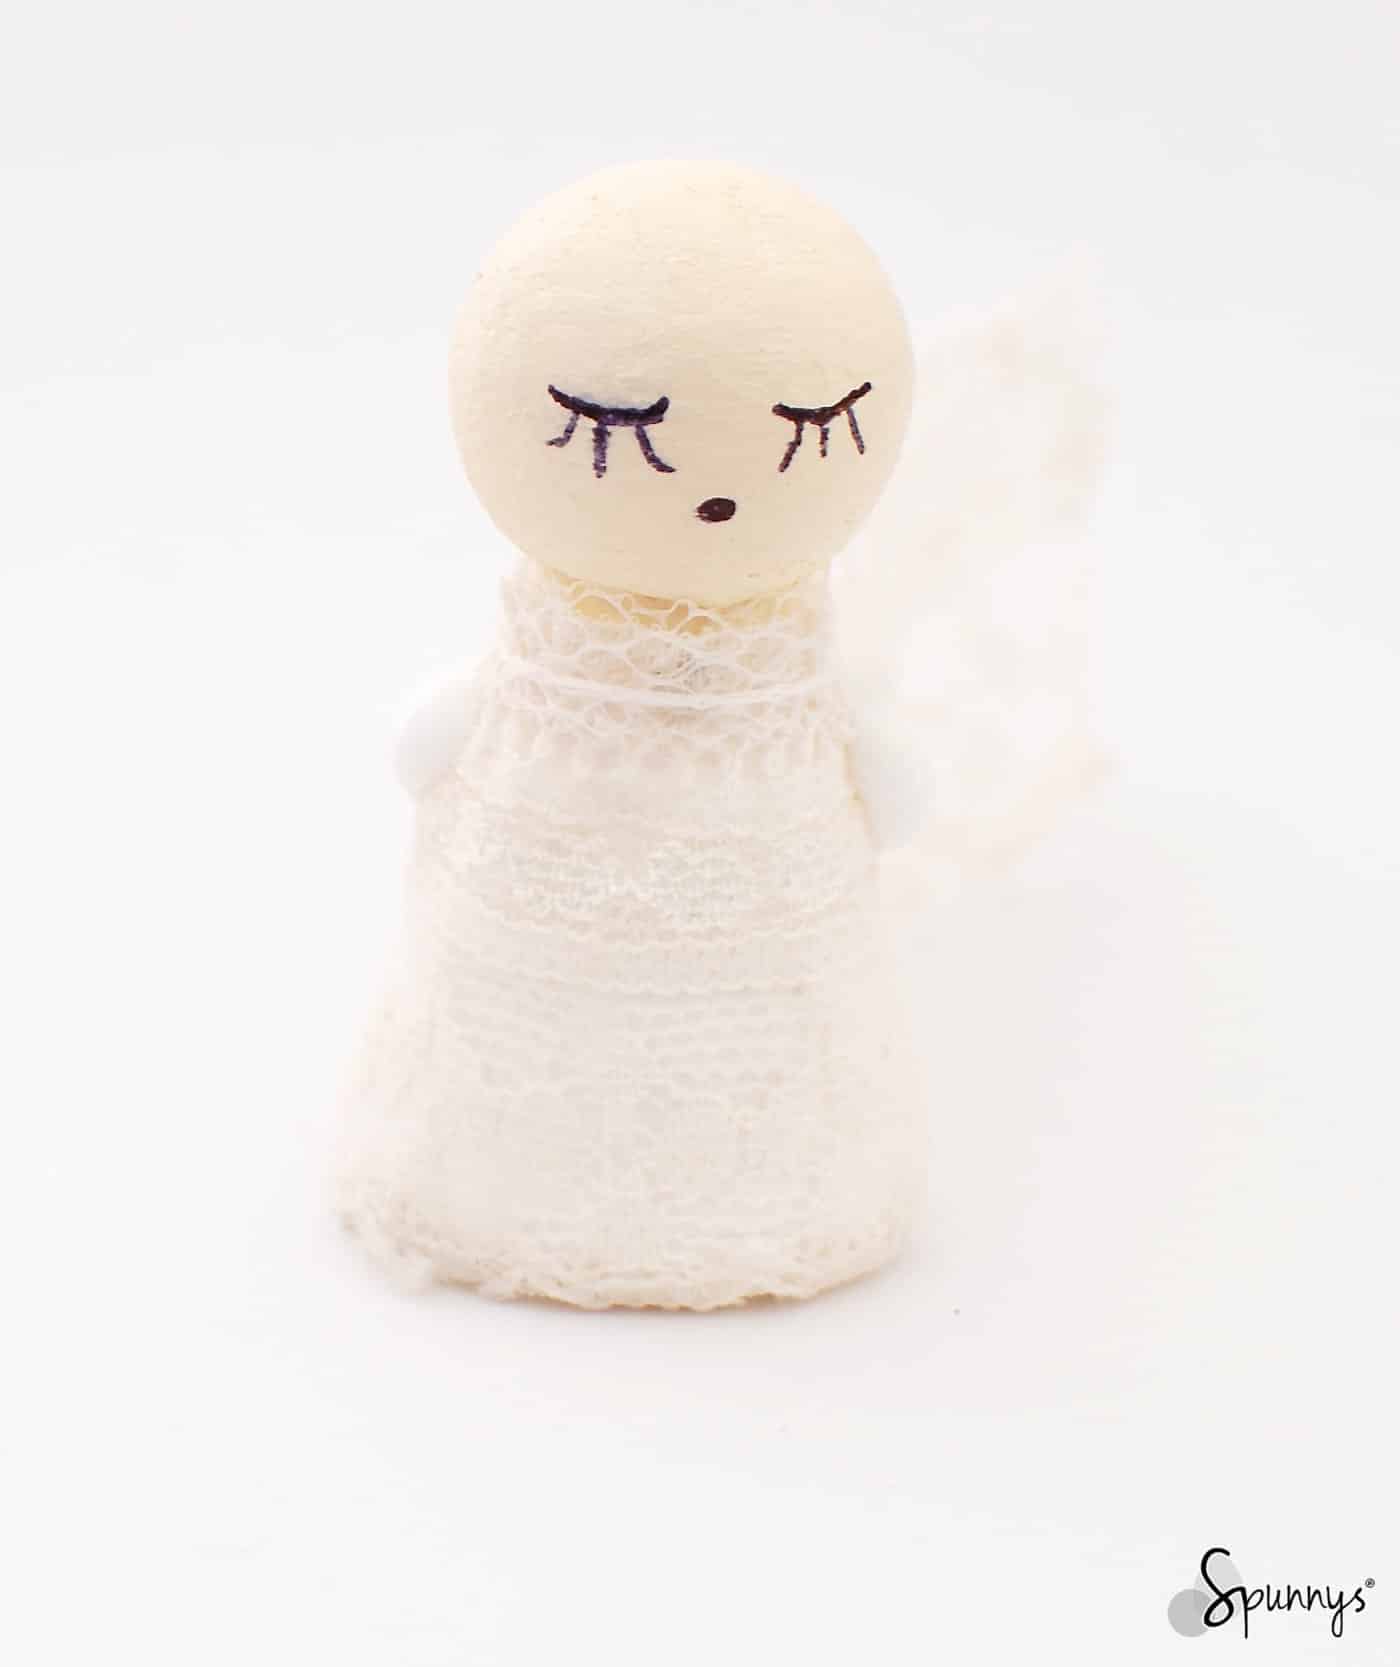
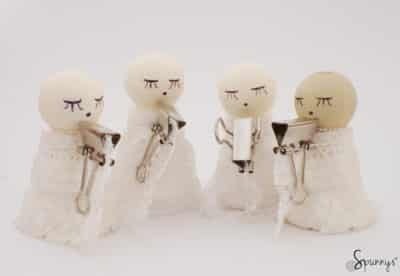
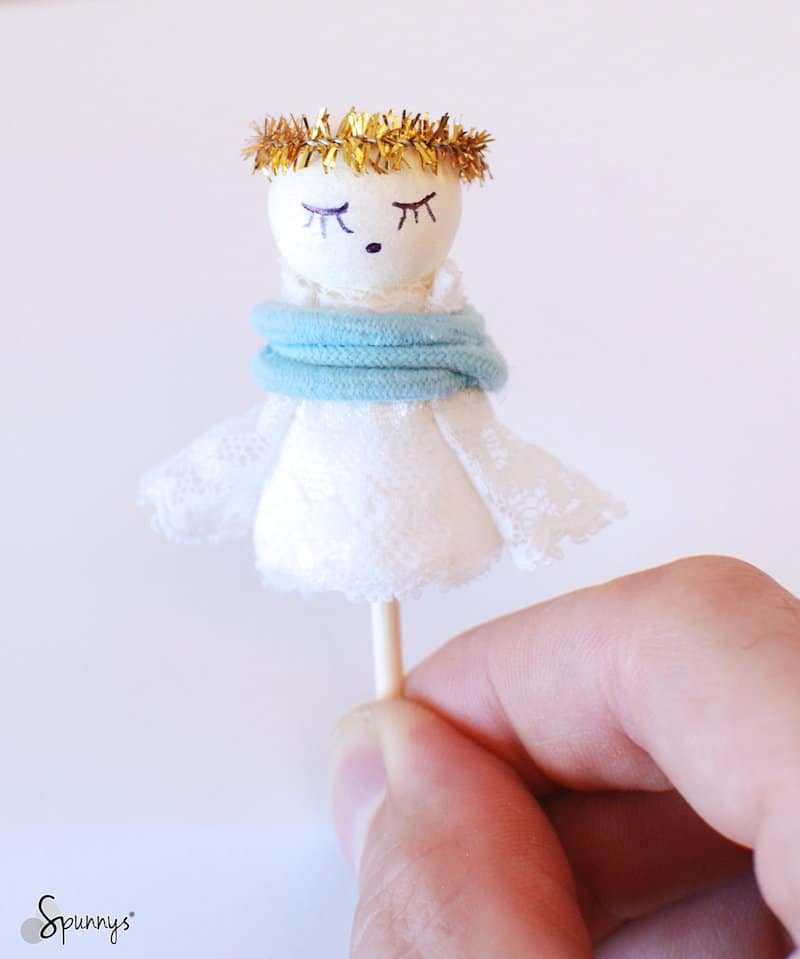
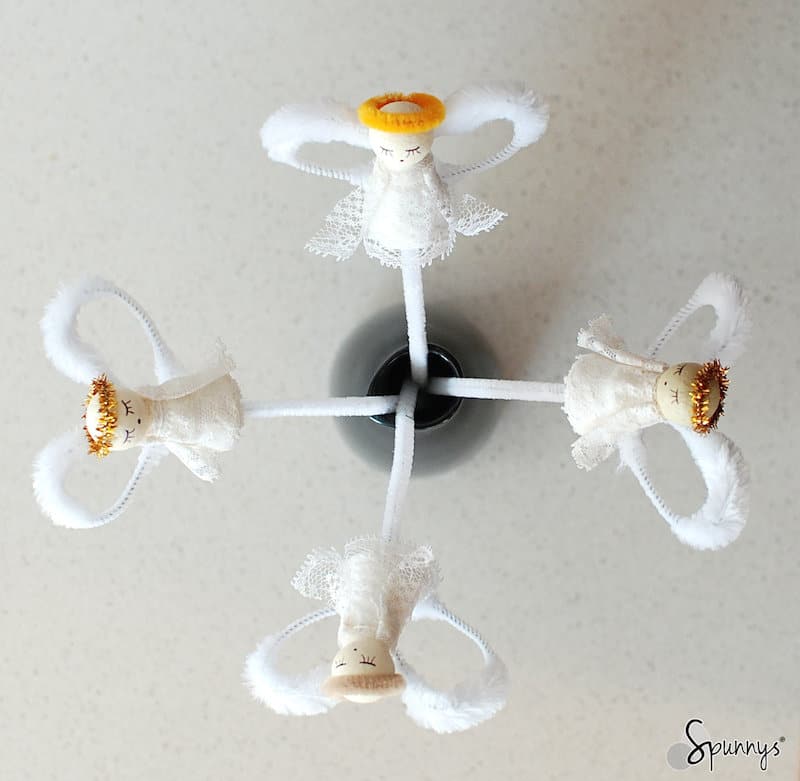
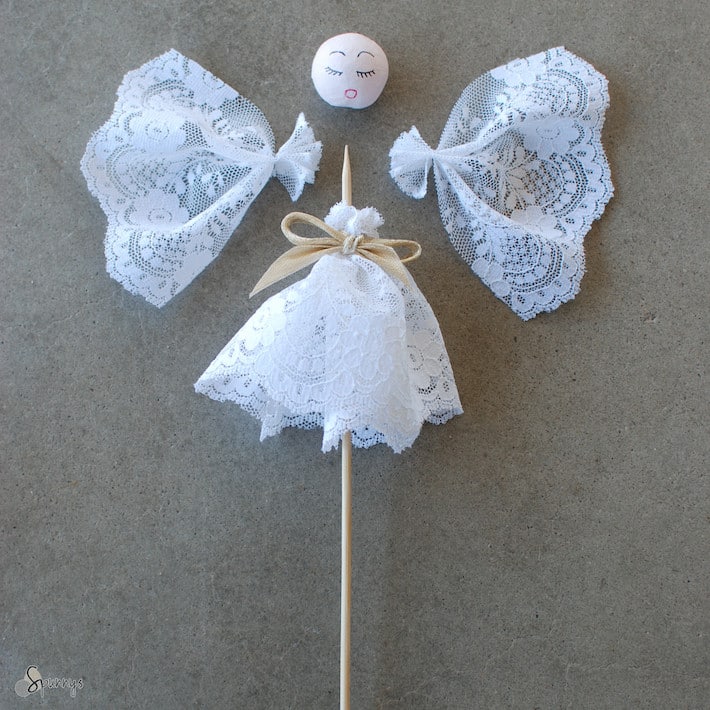
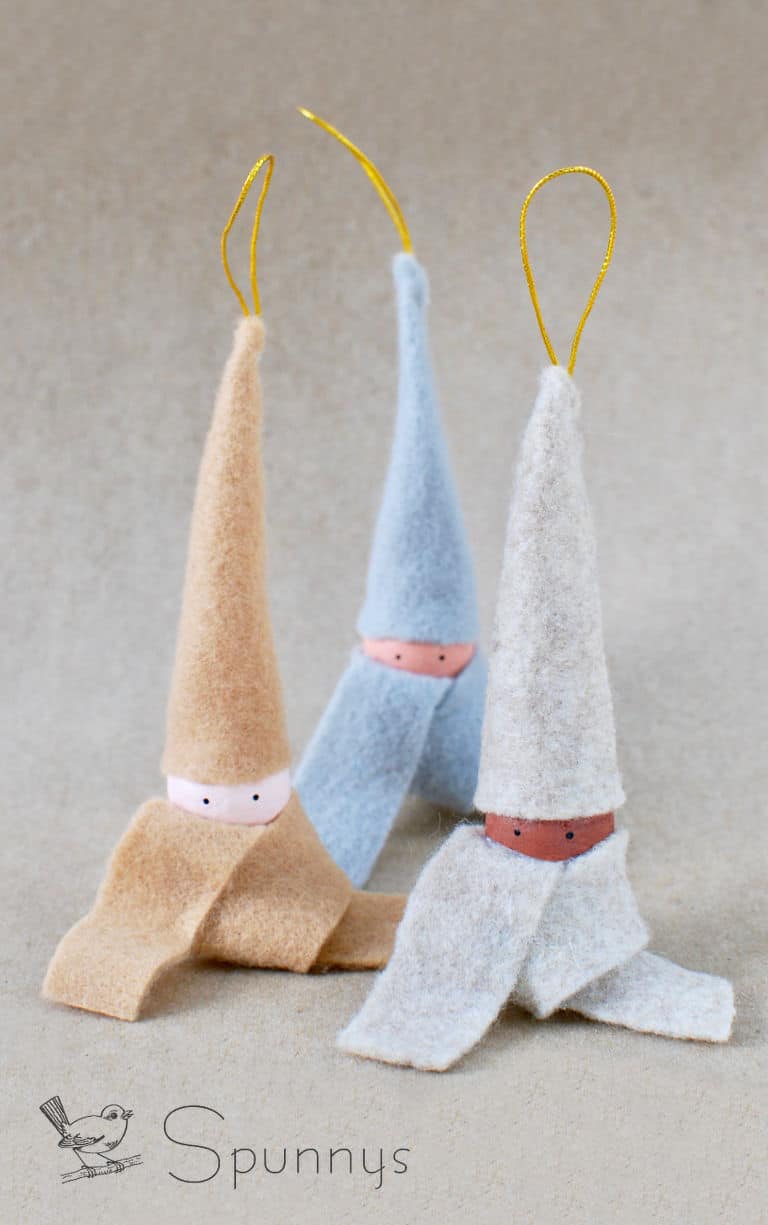
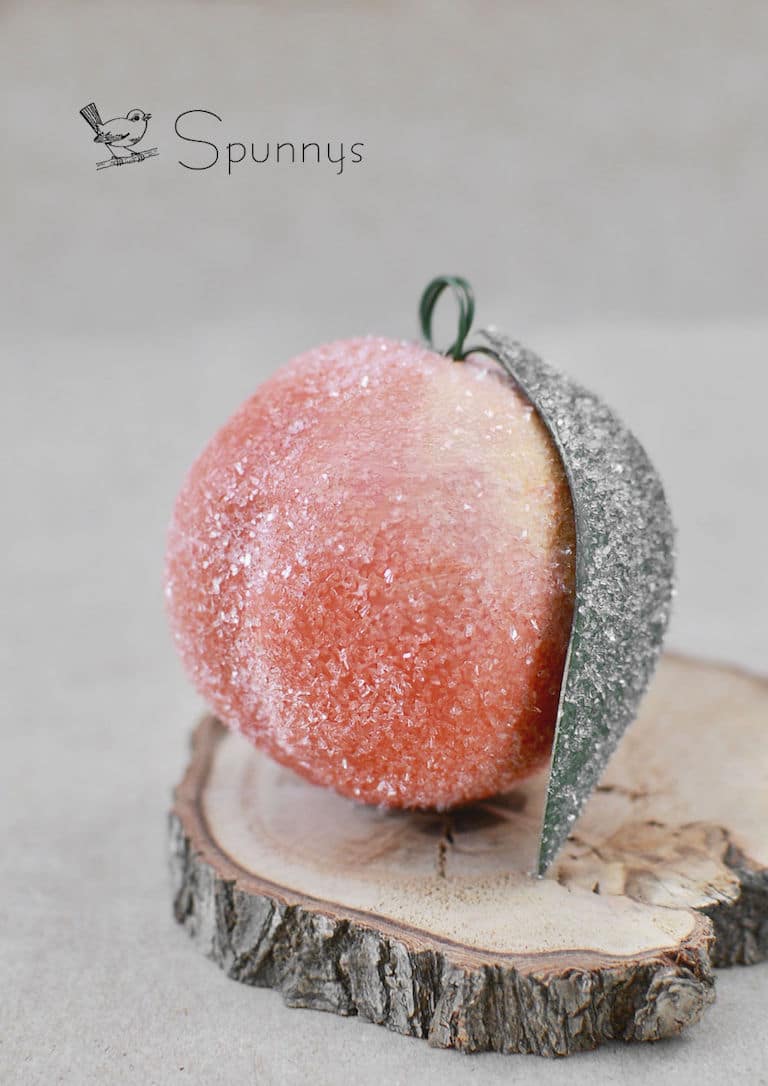
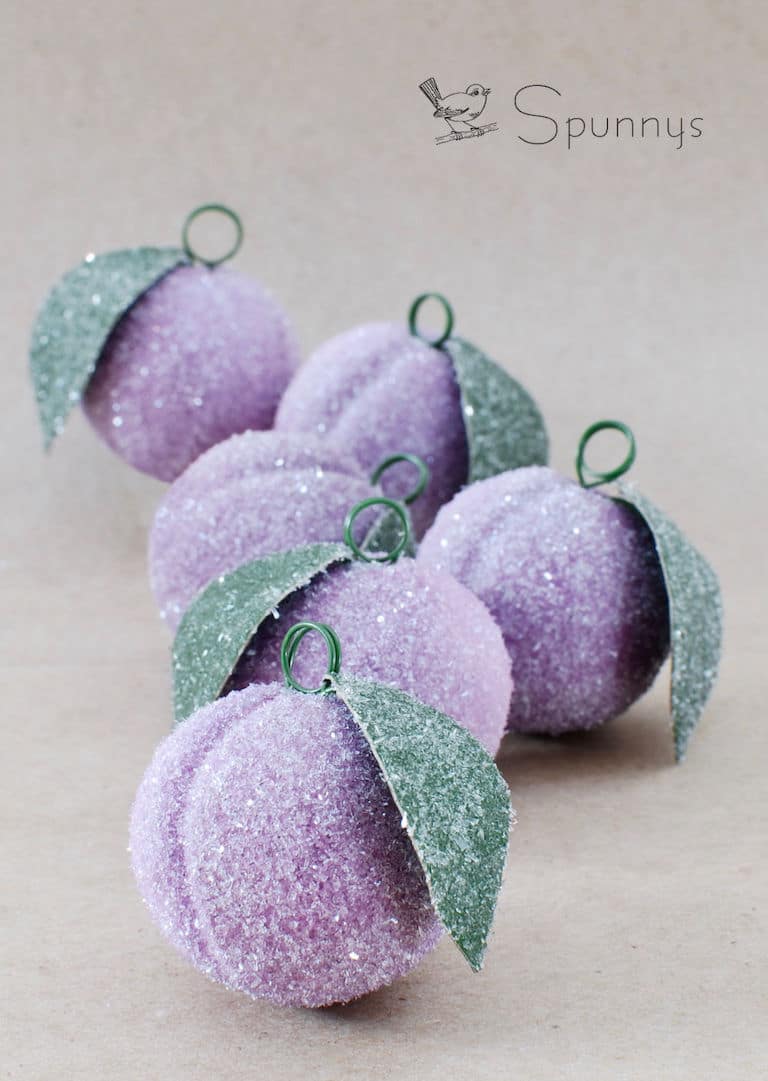
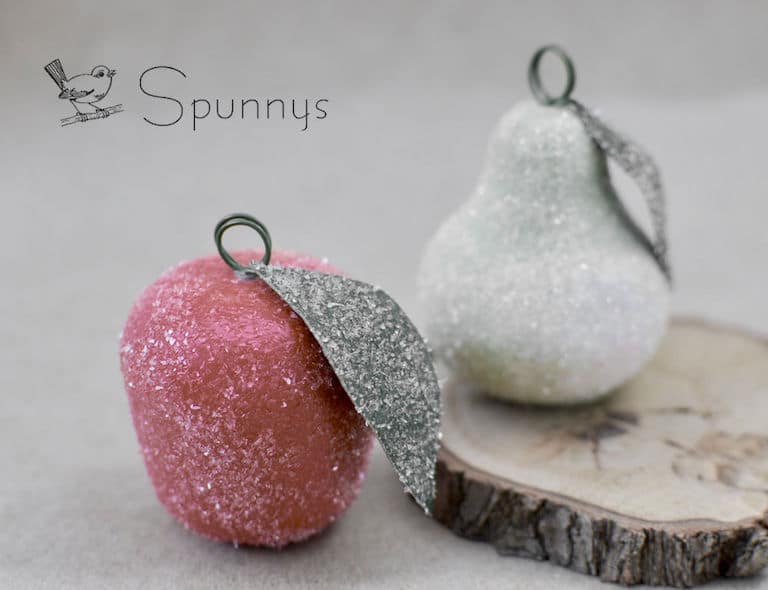
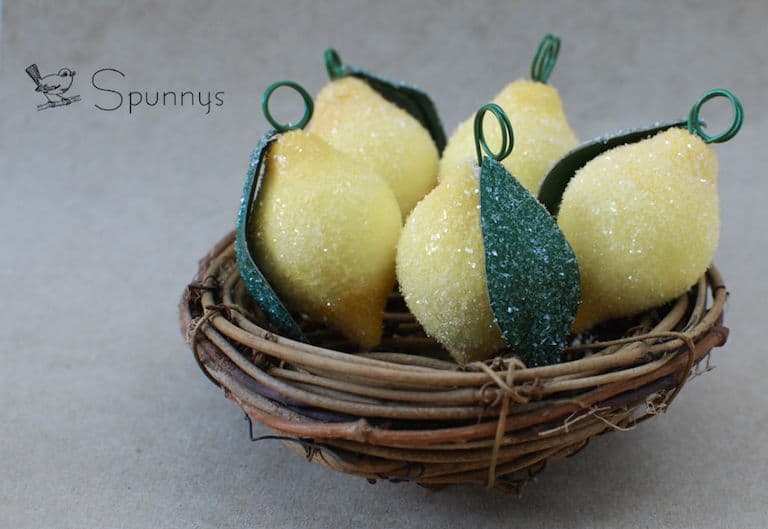
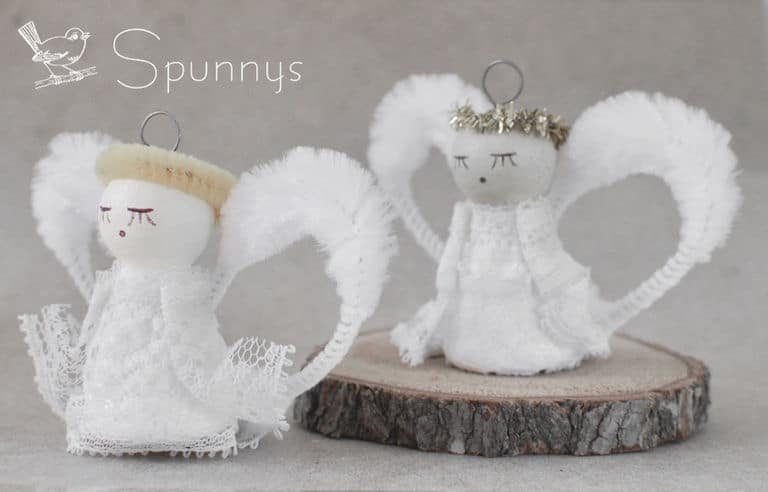
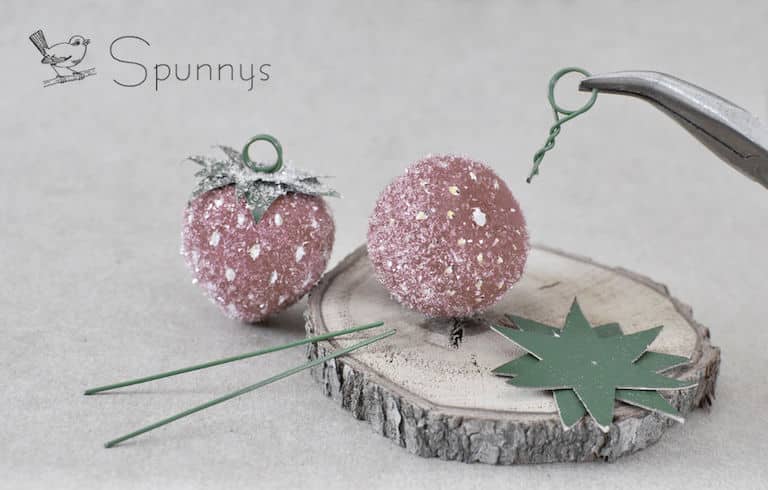
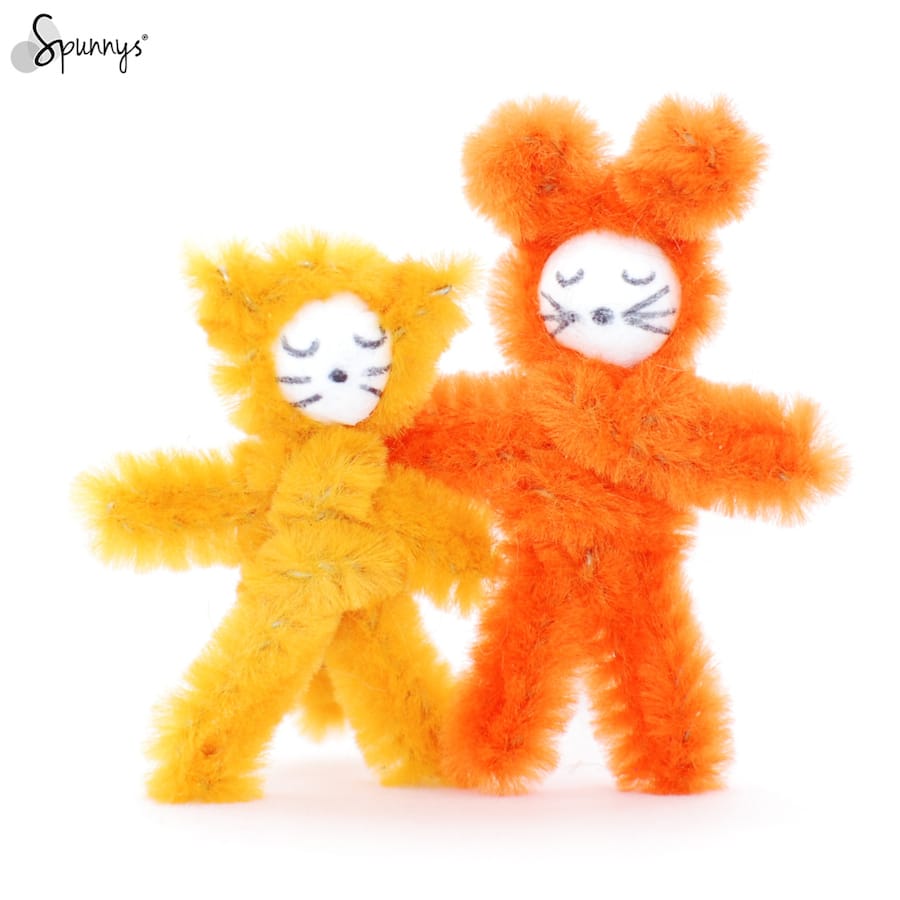
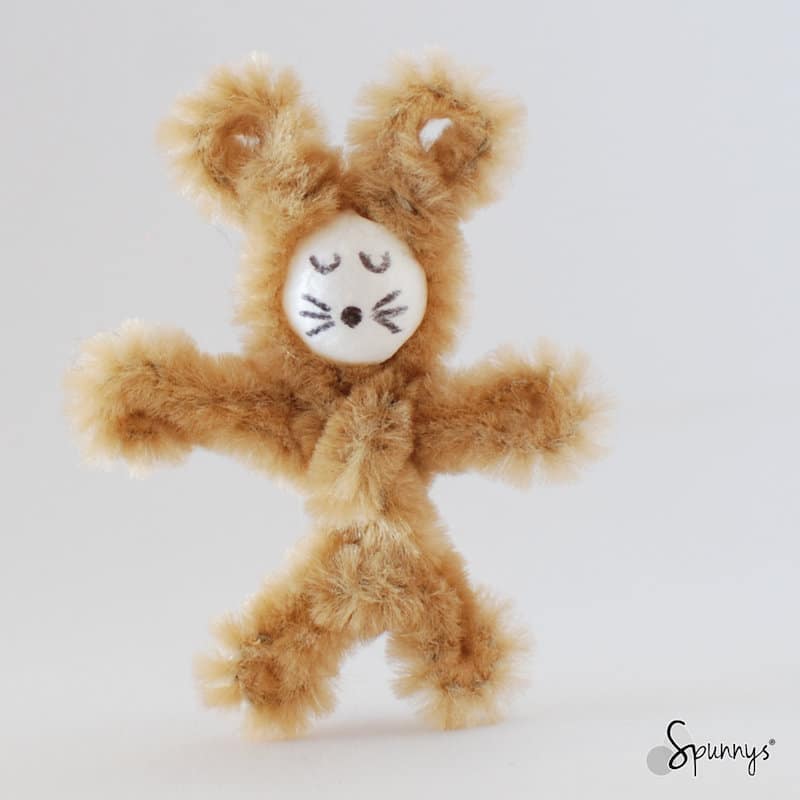
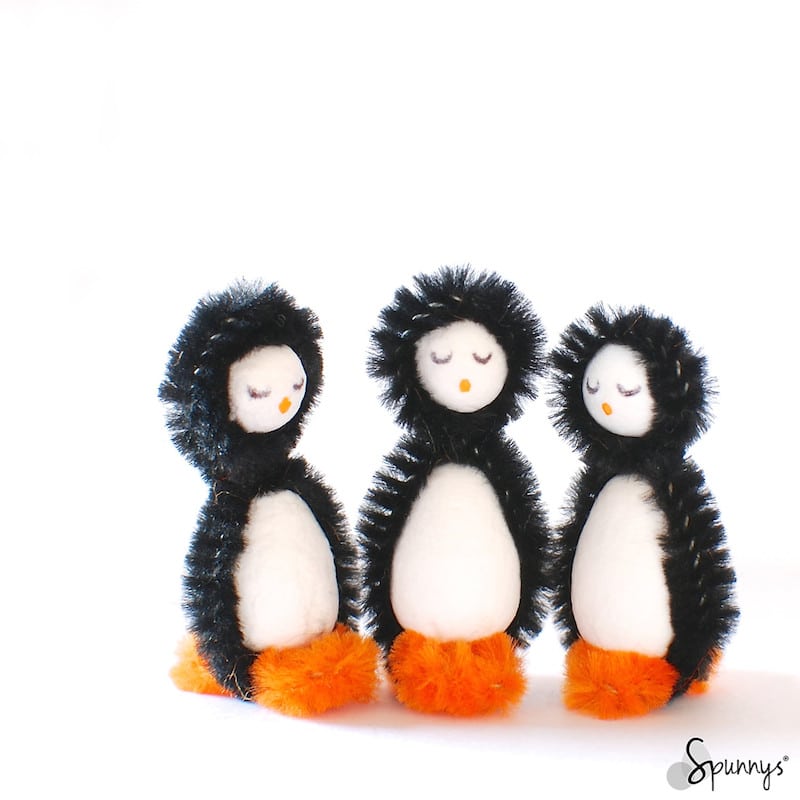
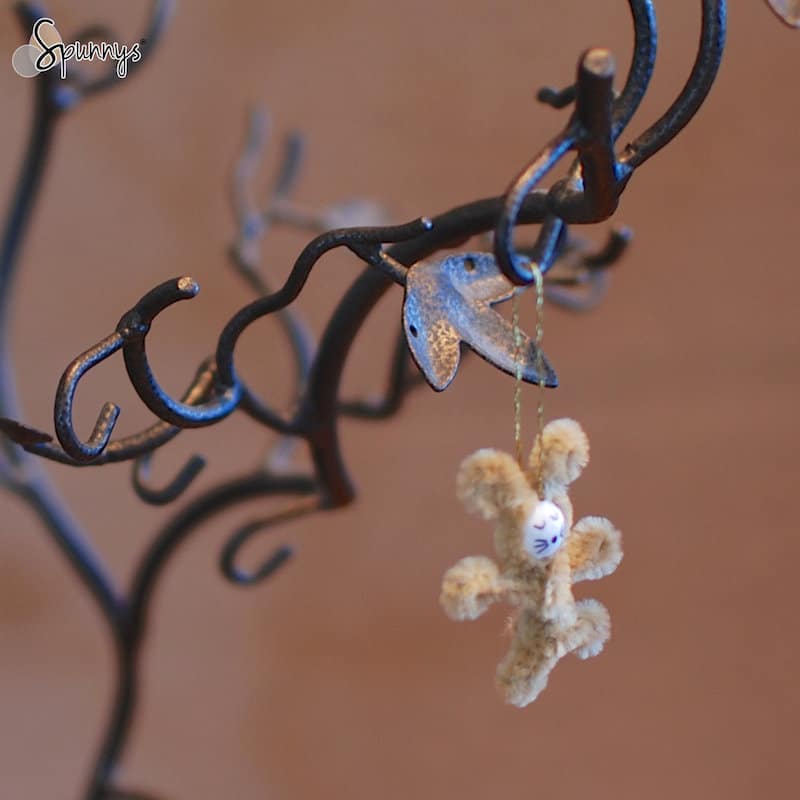
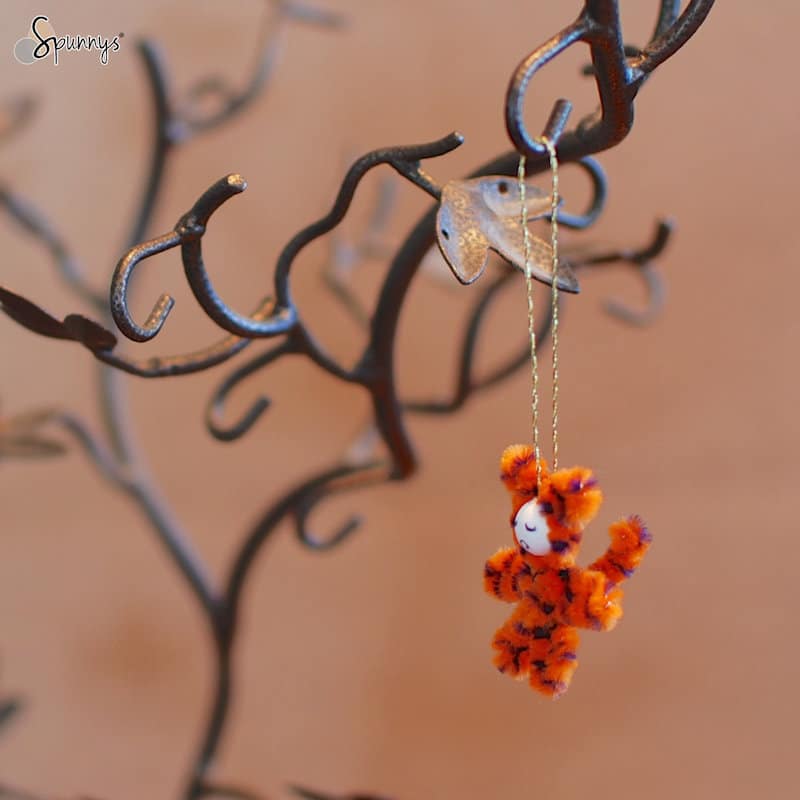
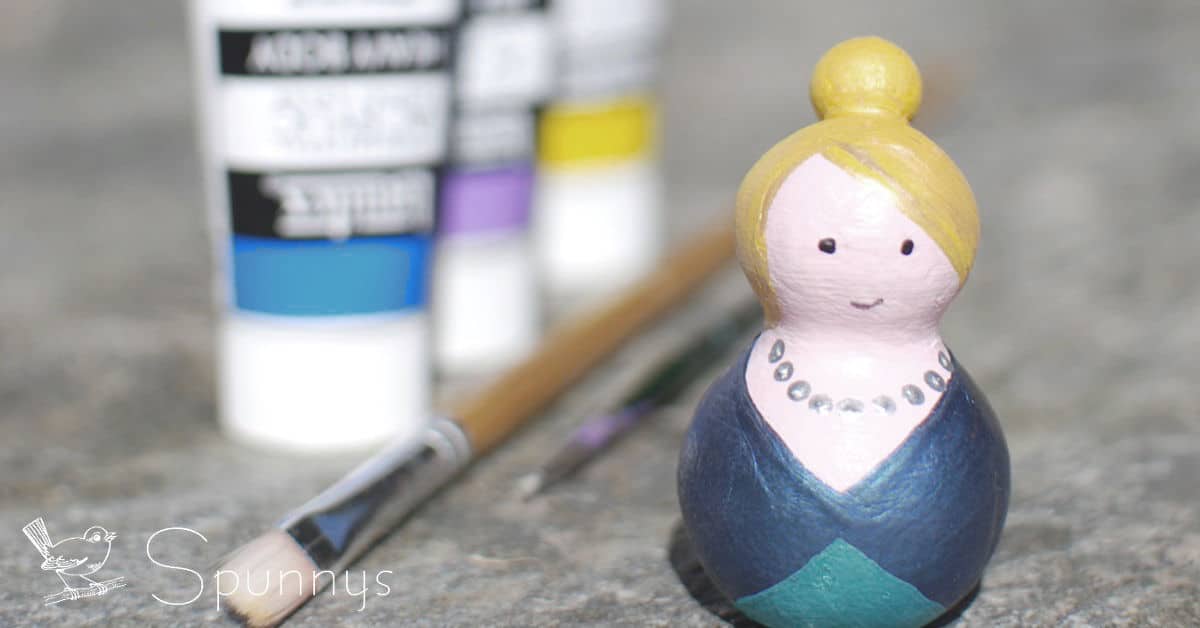
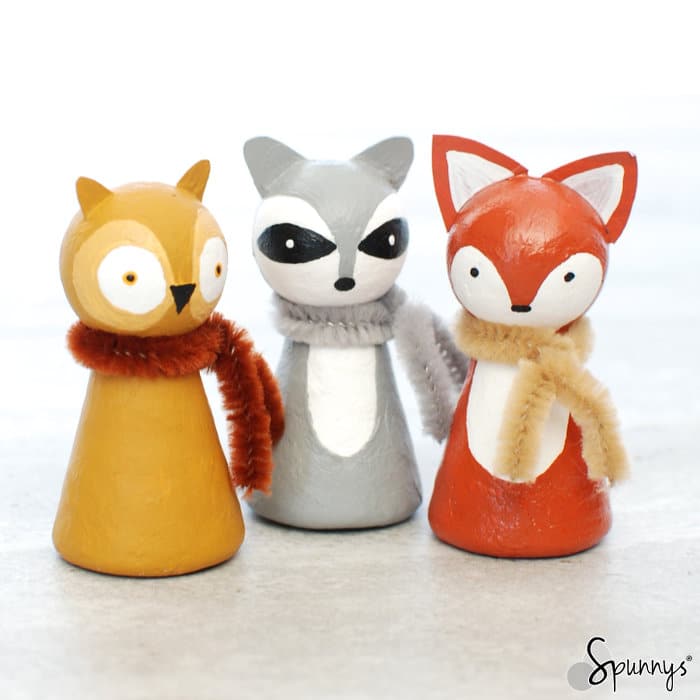
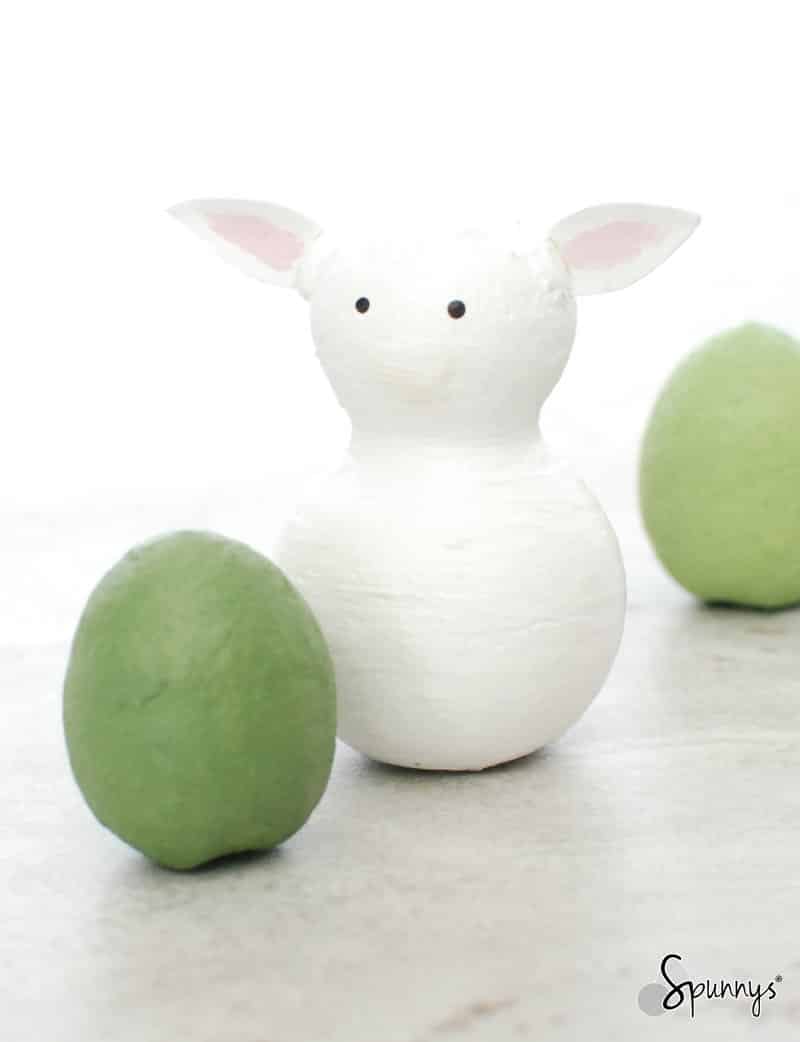
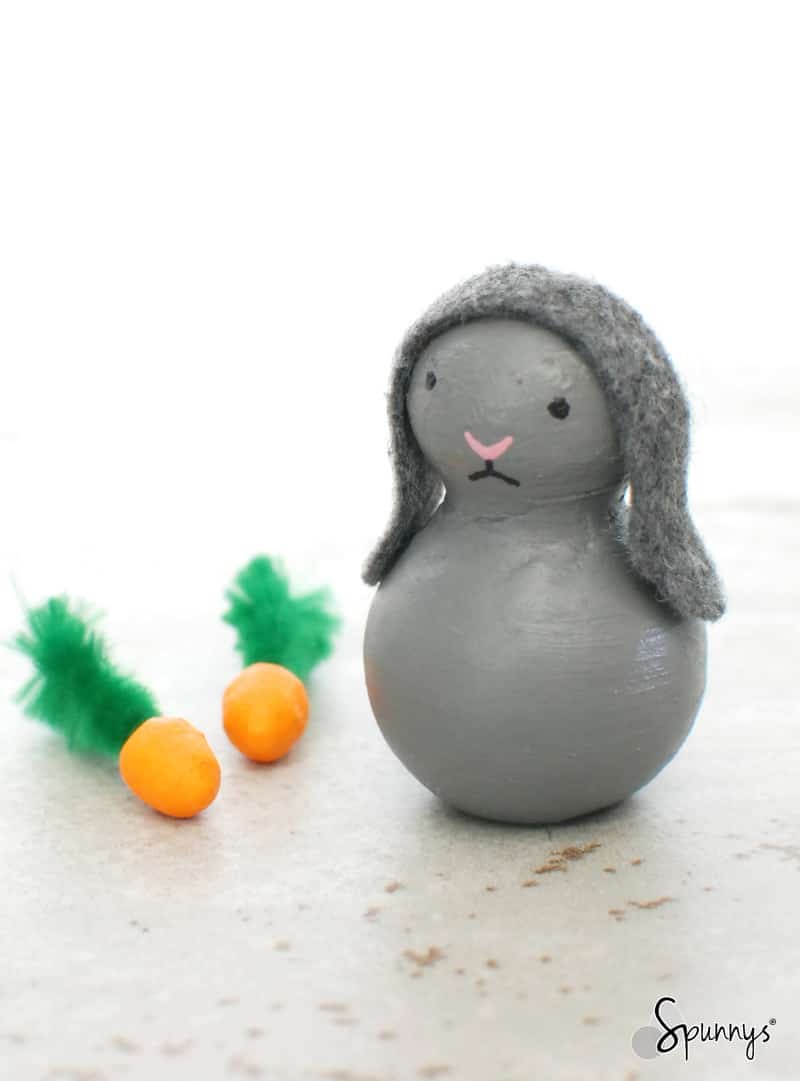
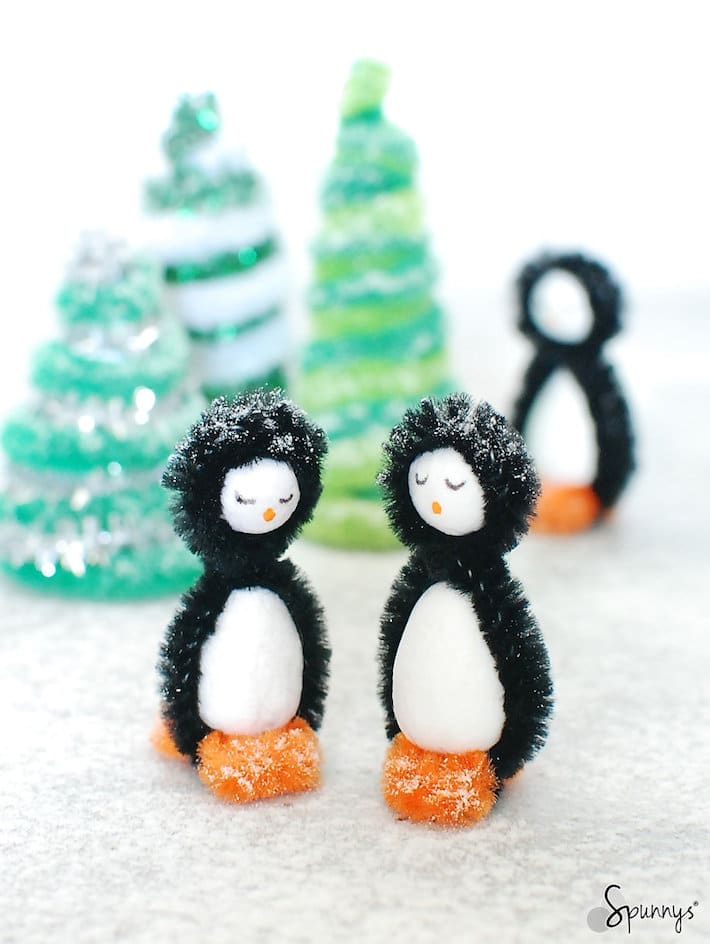
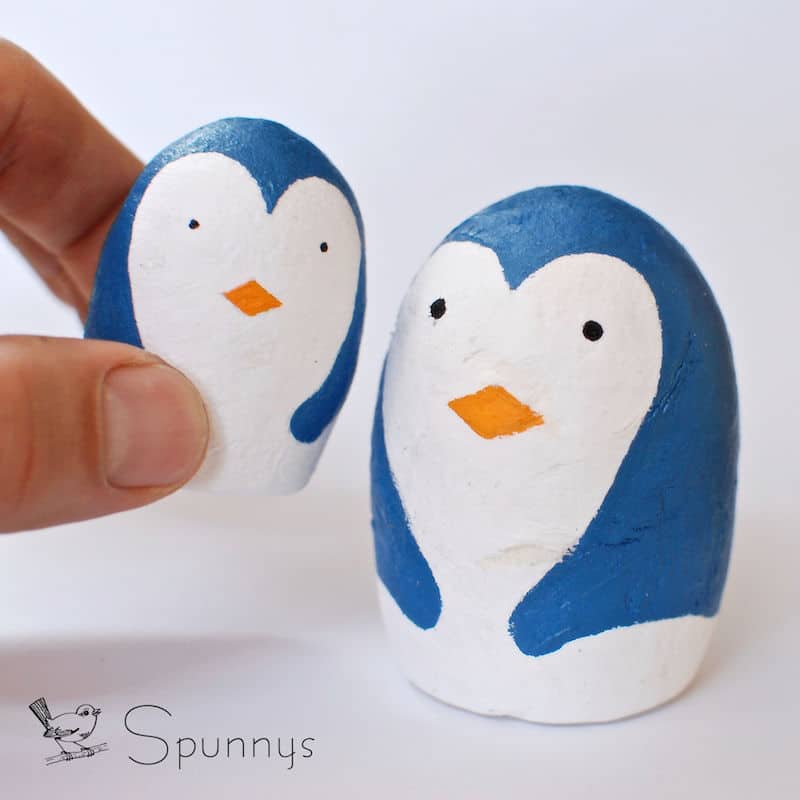
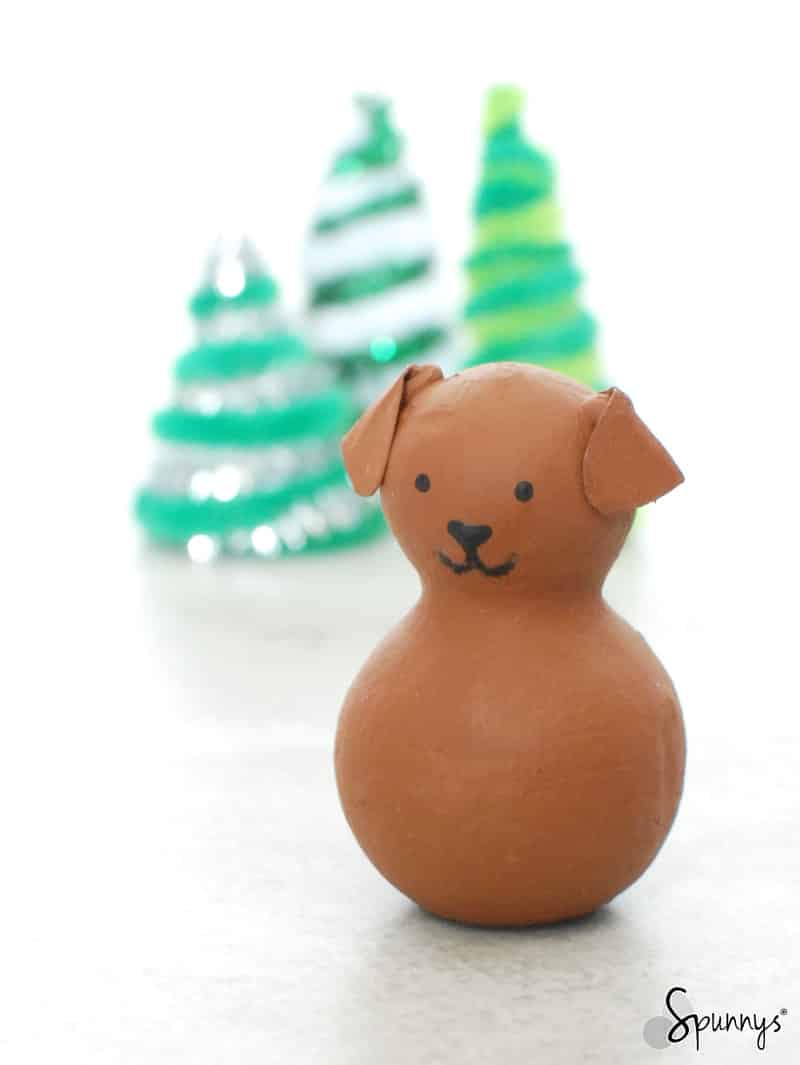
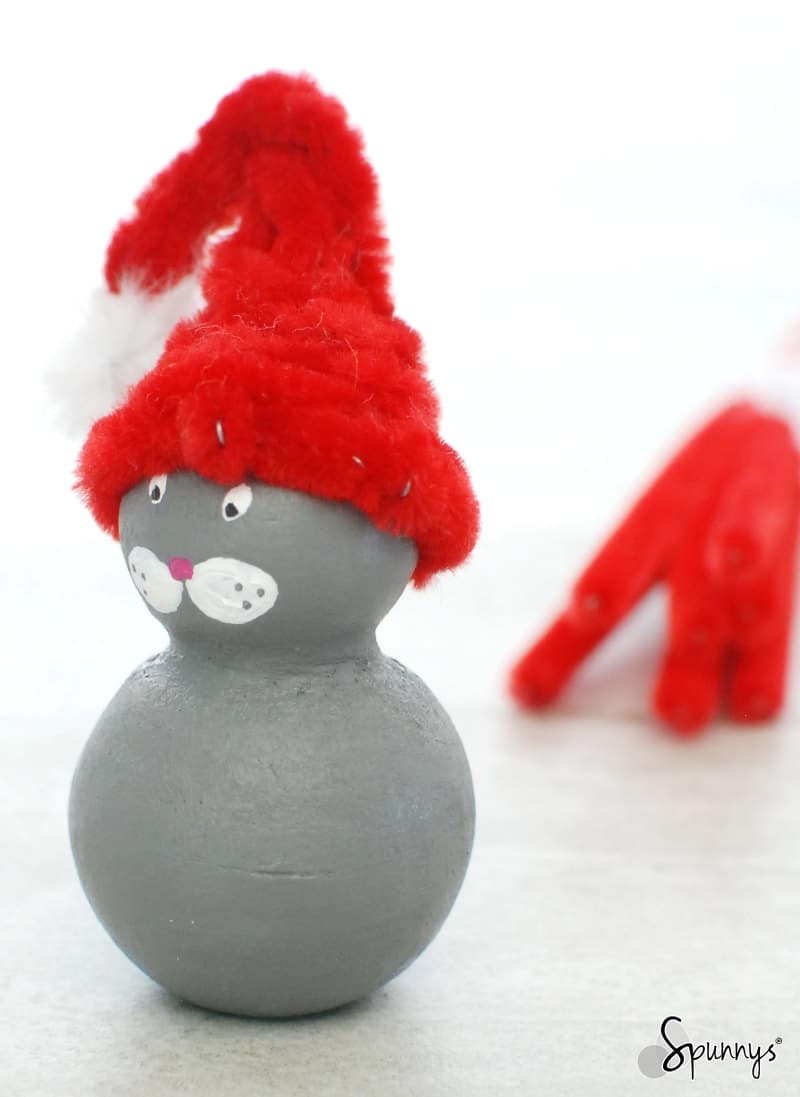
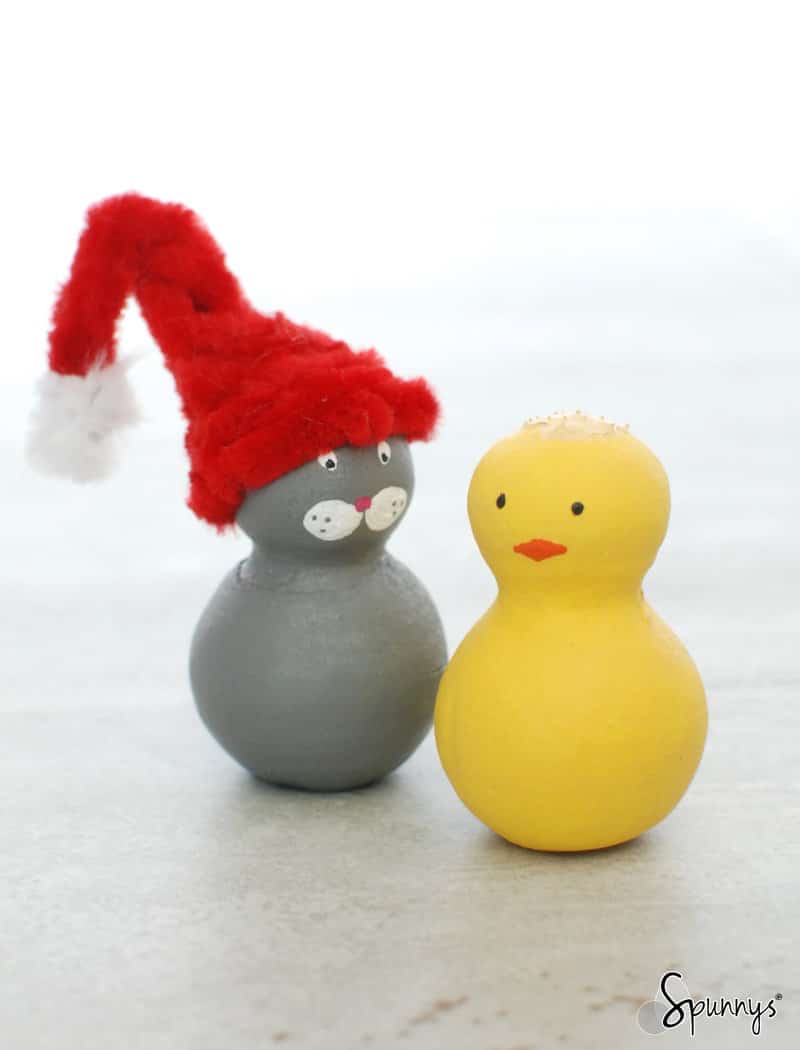
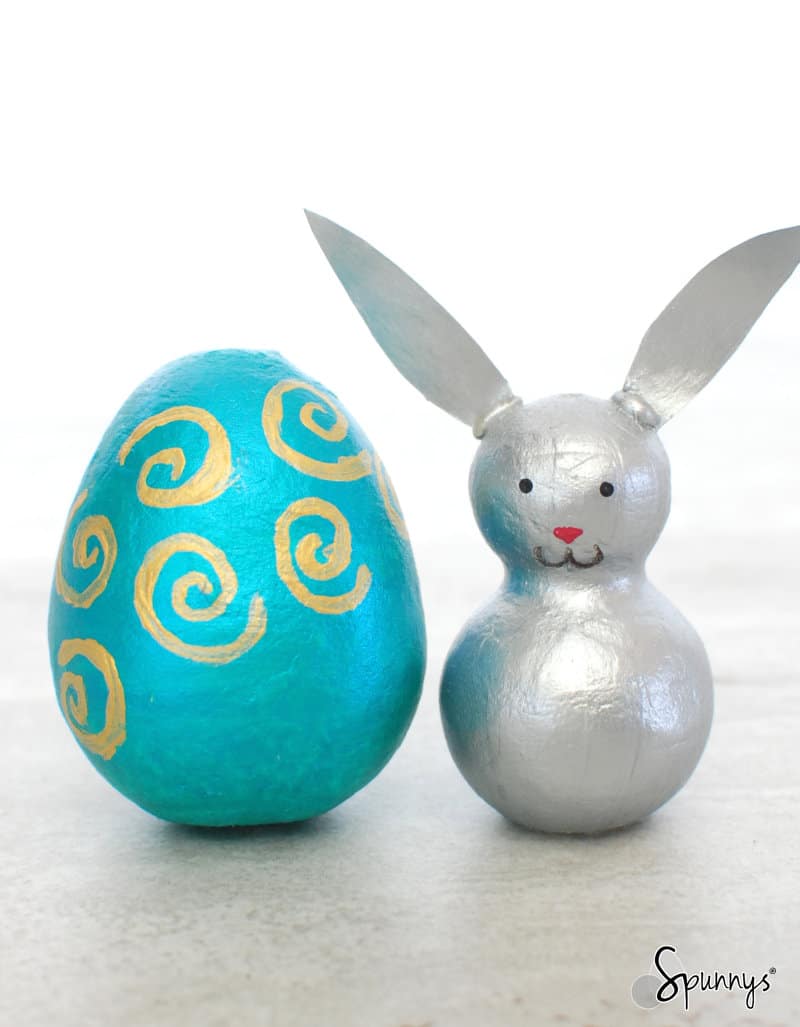
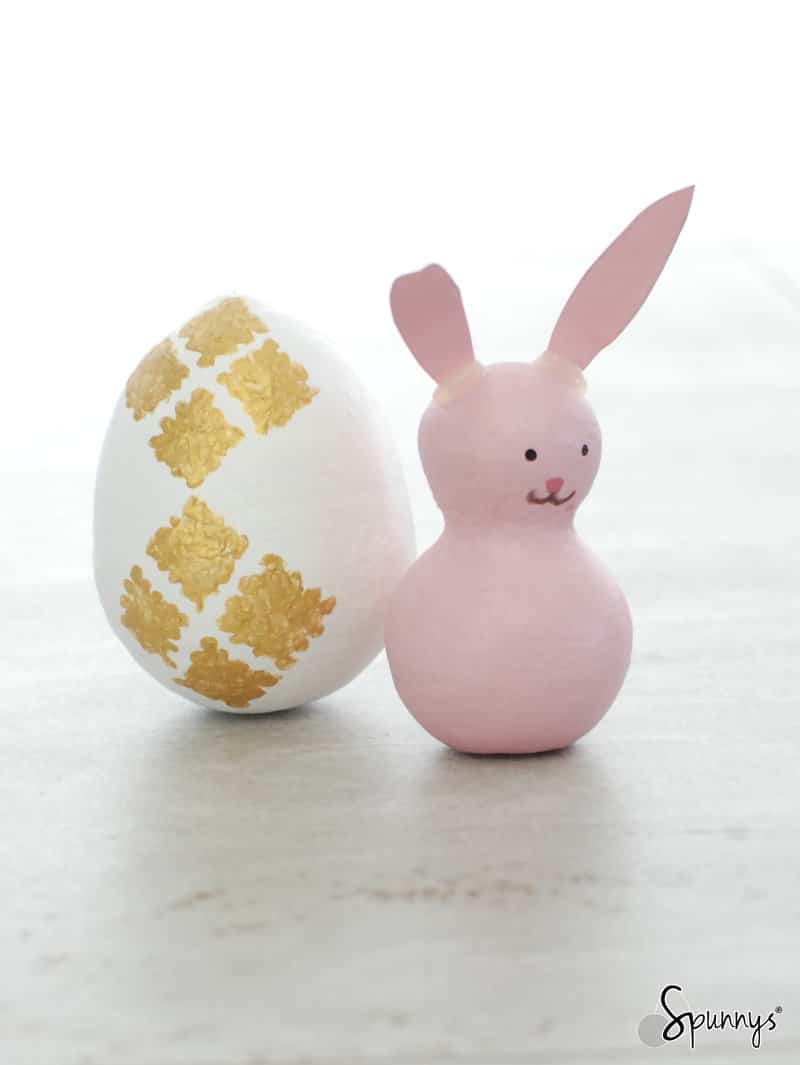
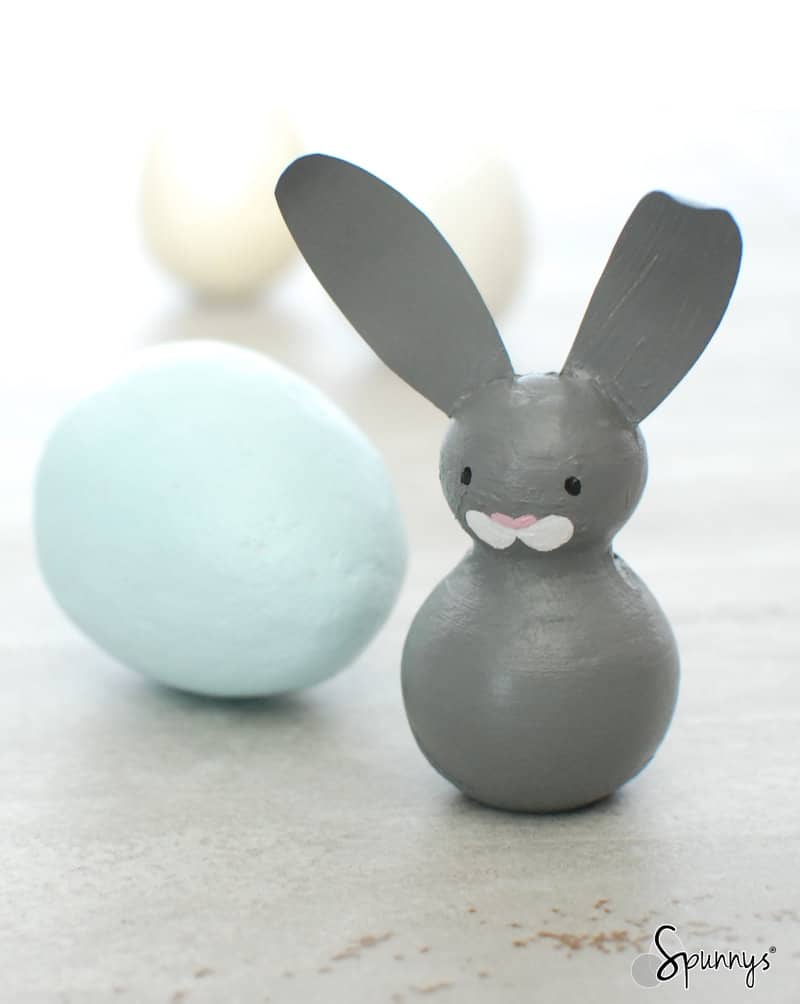
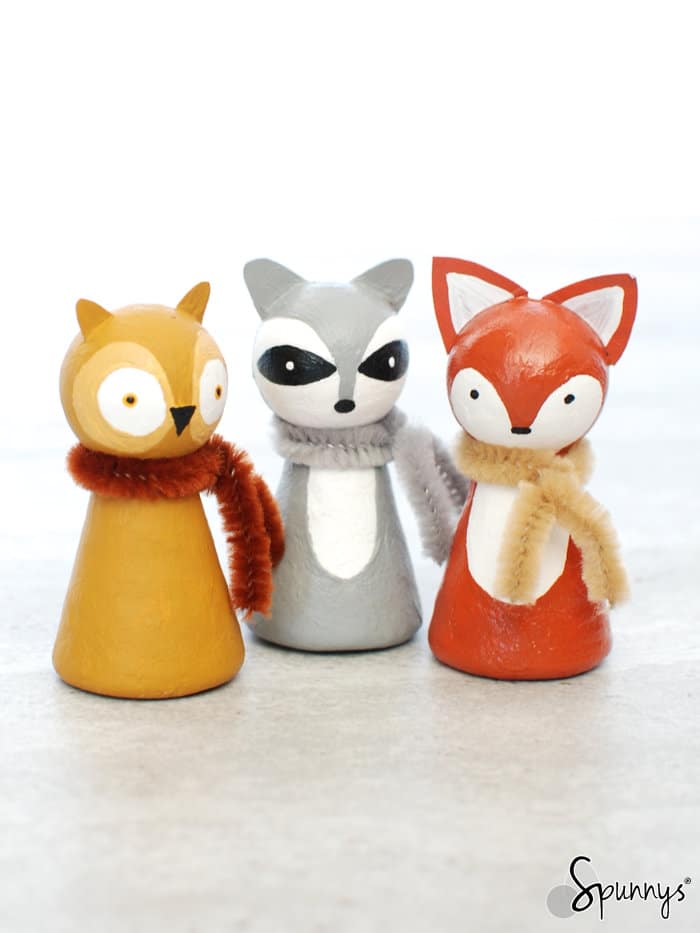
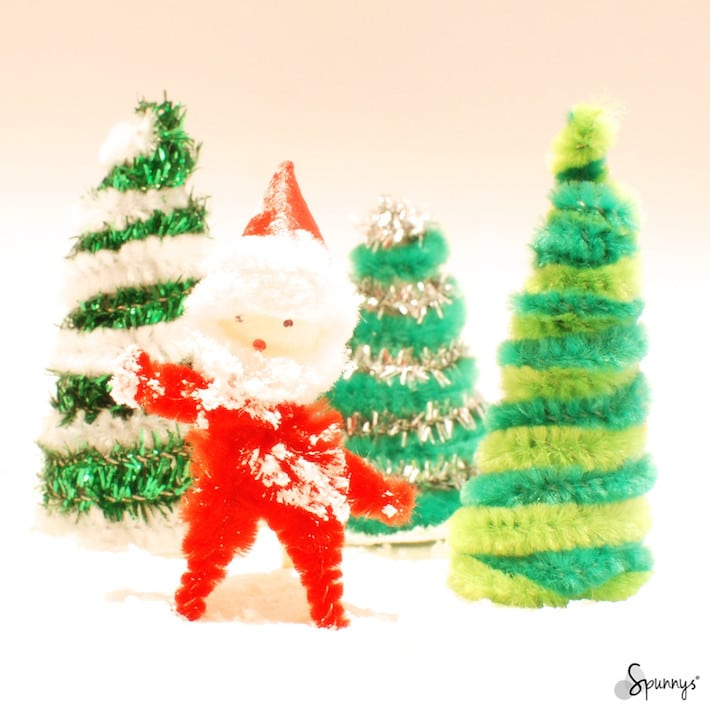
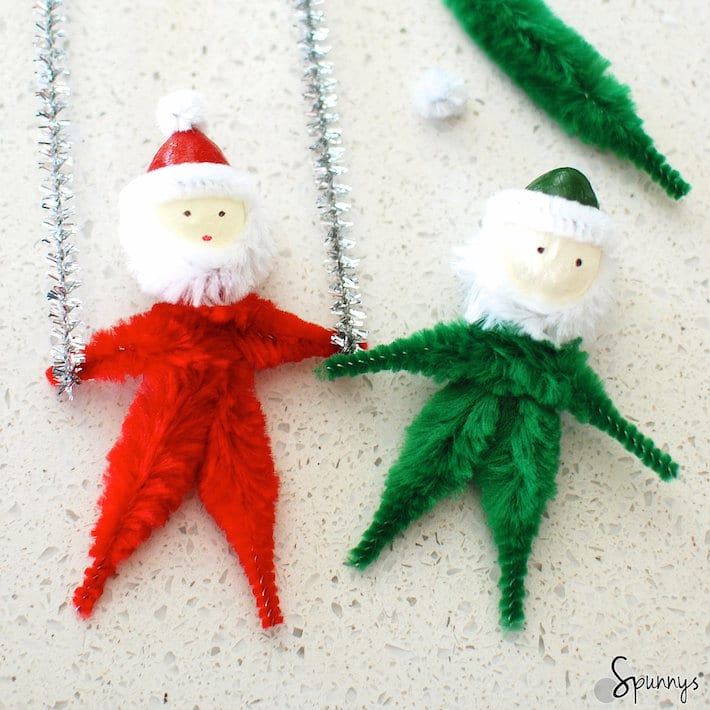
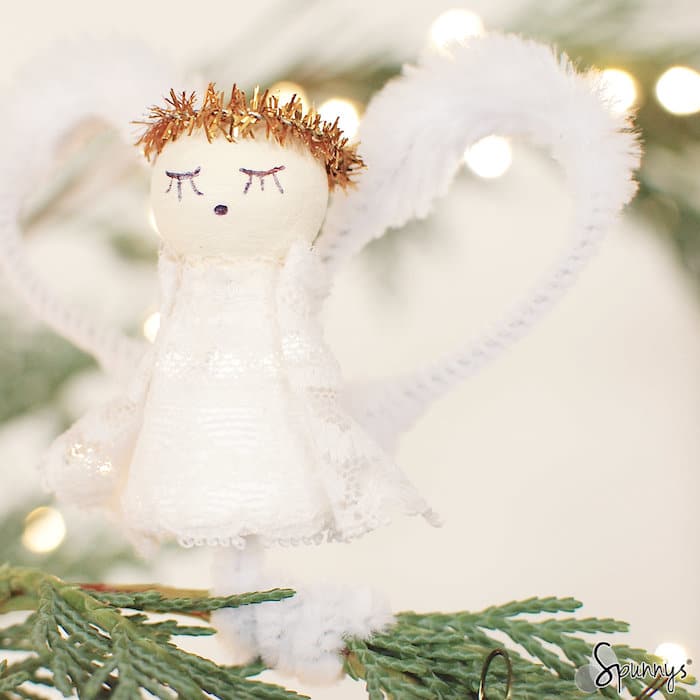
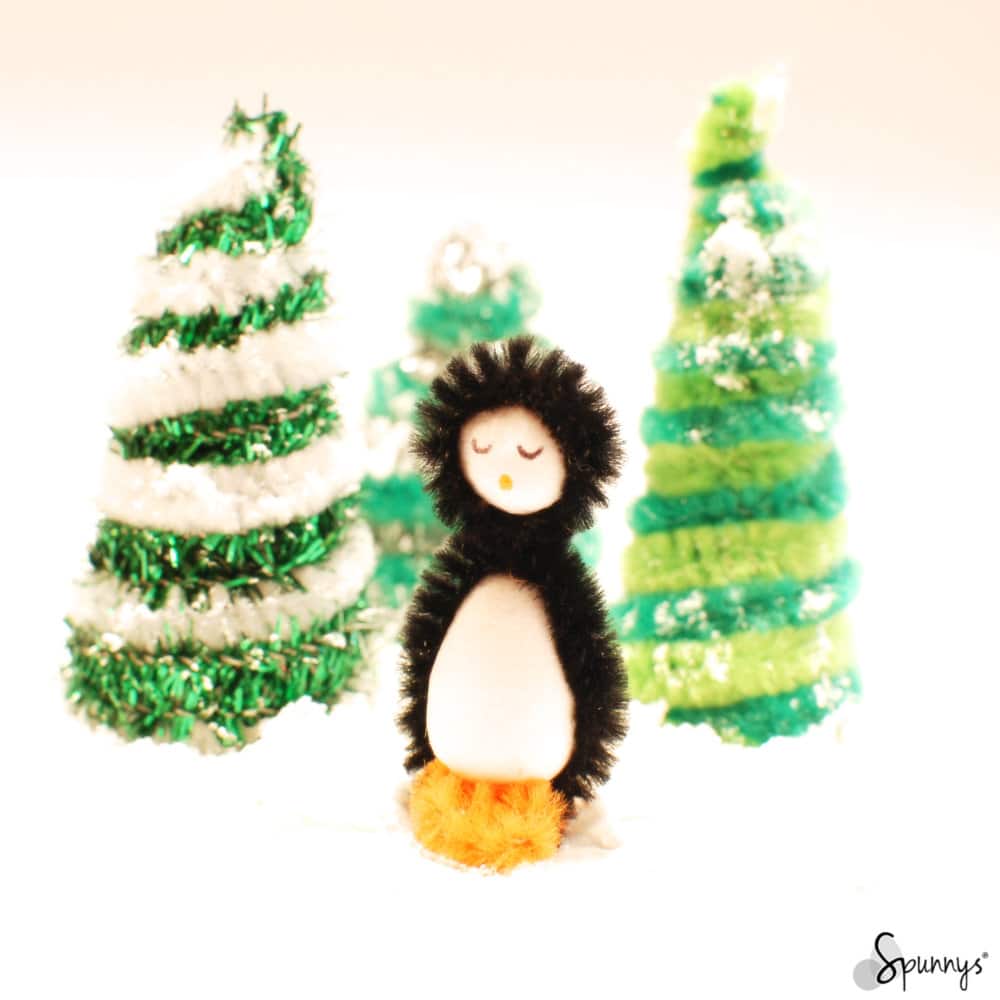
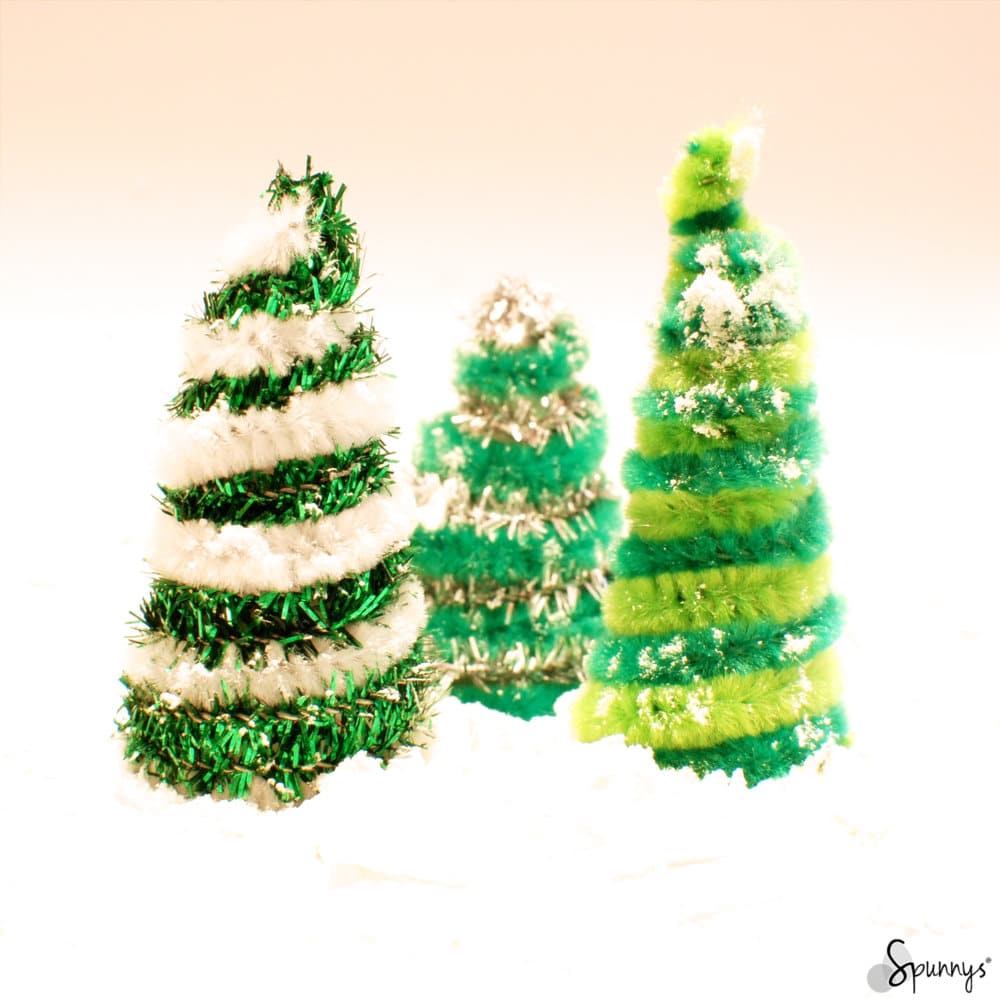
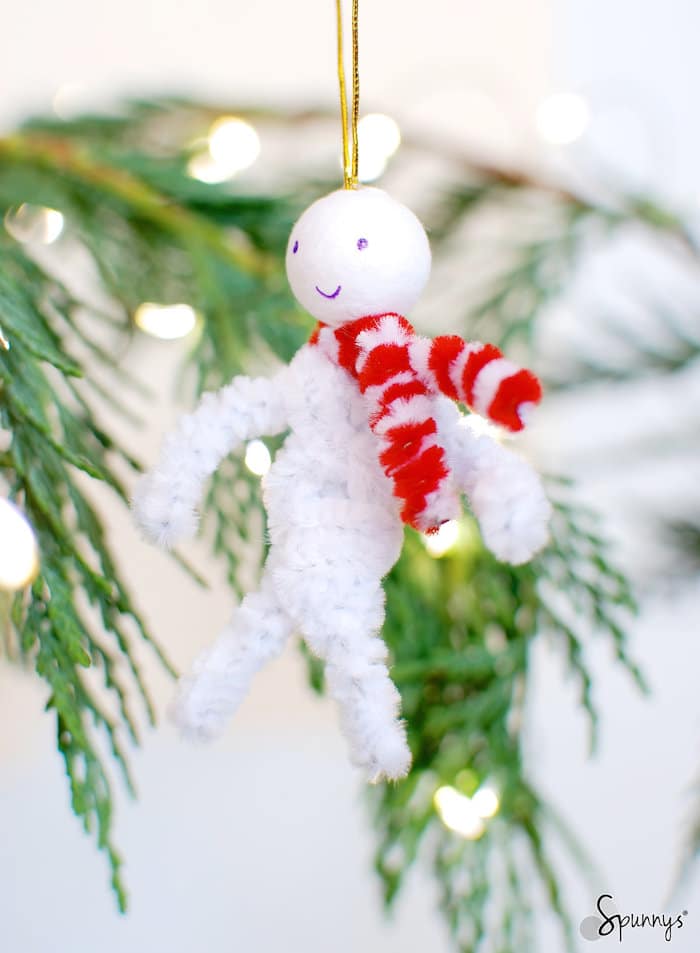
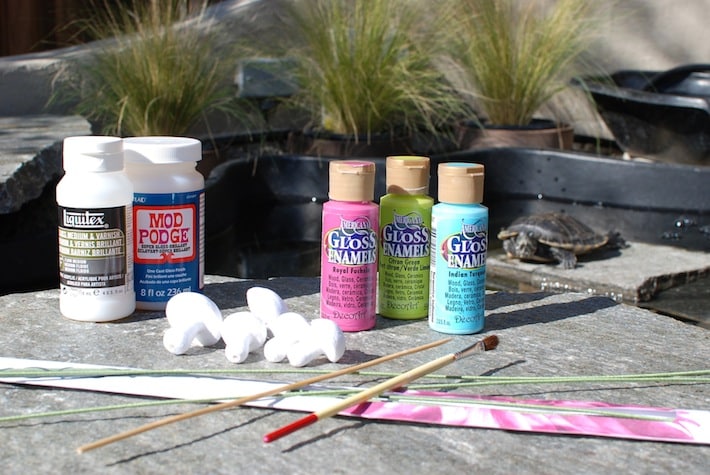
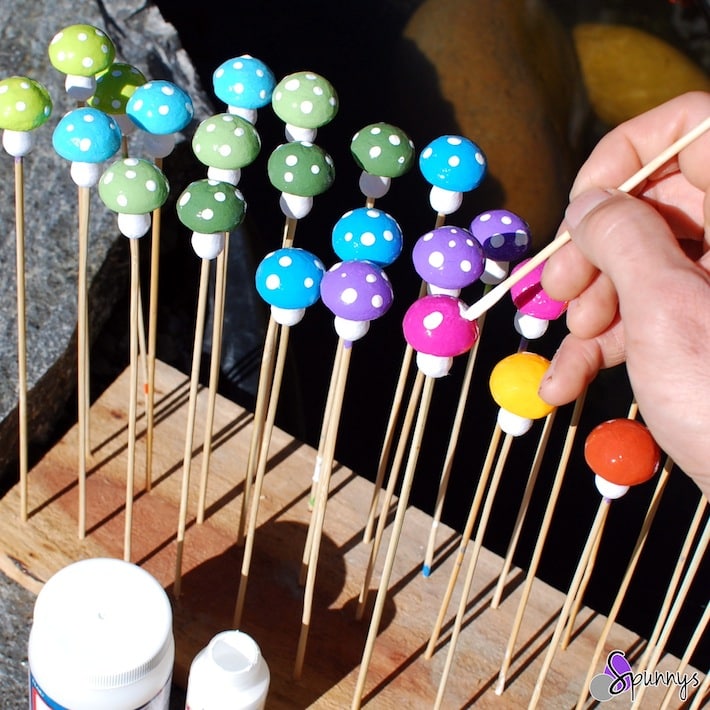
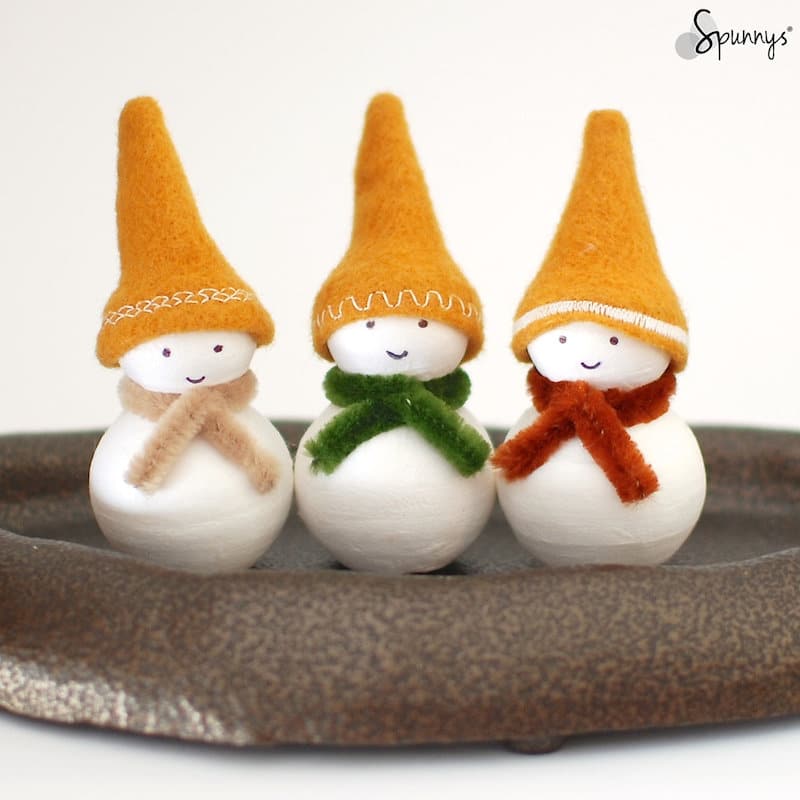
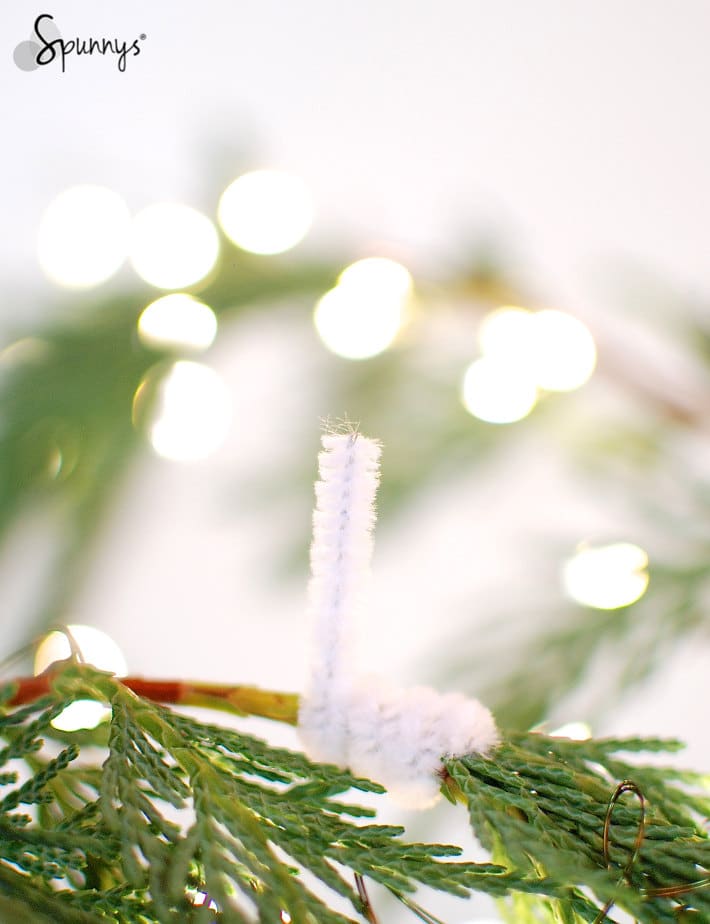
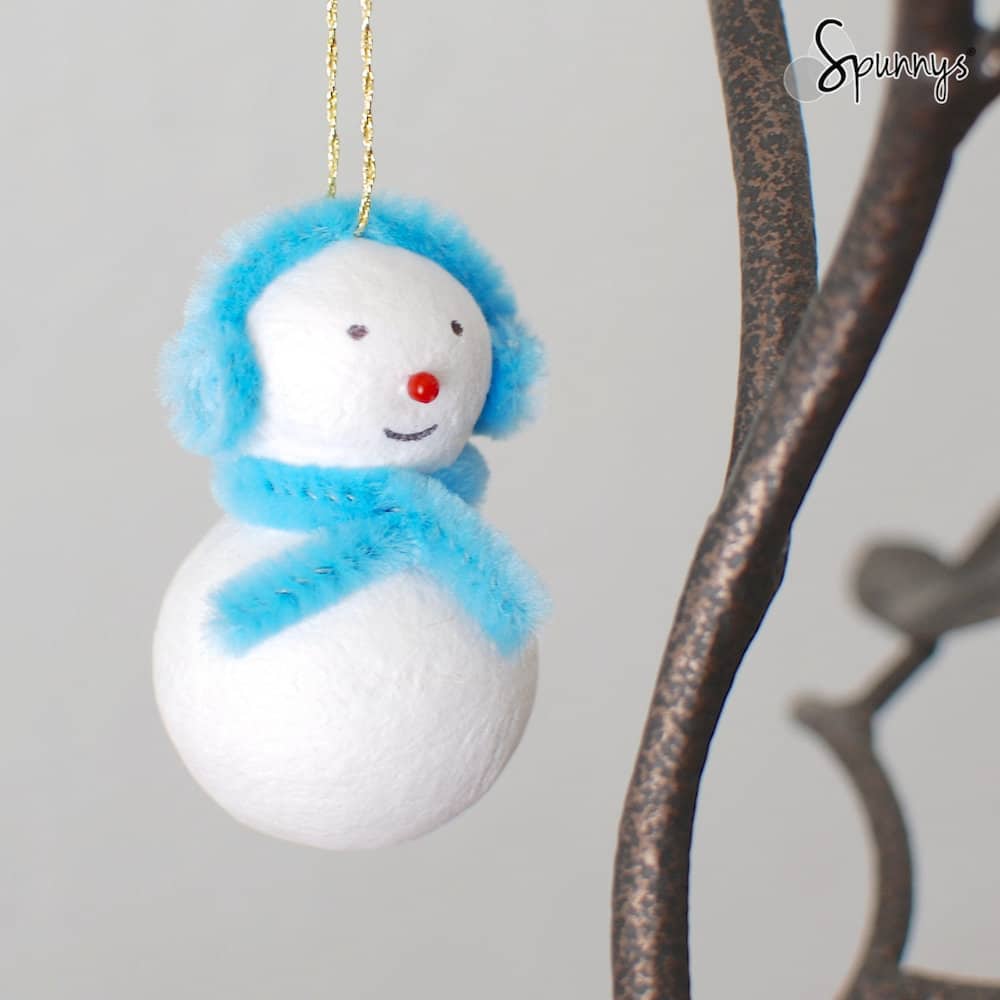
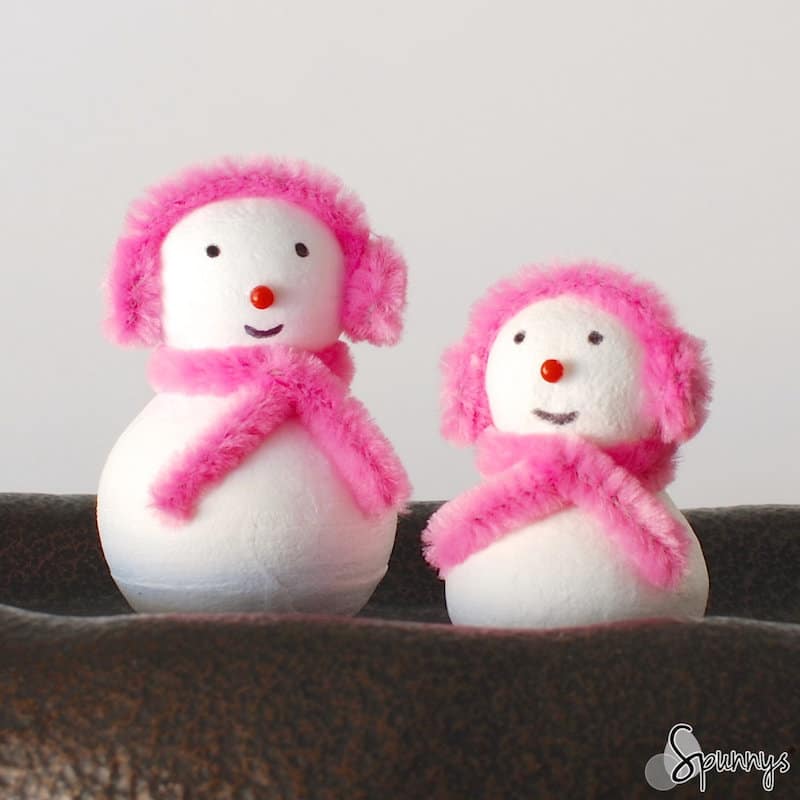
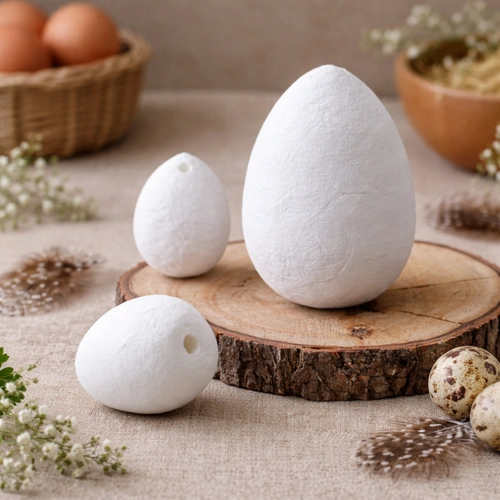
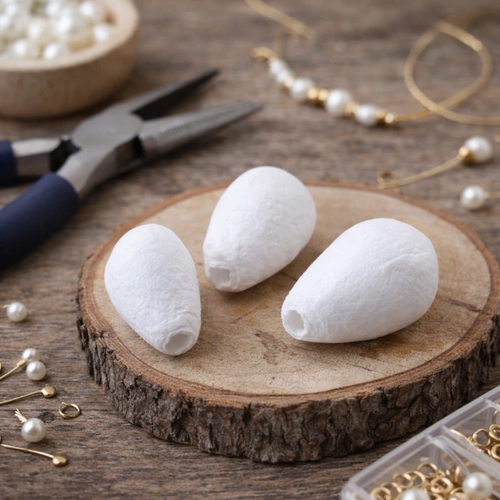
Spun paper shapes are remarkably versatile. Beyond classic paint-and-decorate projects, they are perfect for:

• DIY seasonal projects
• Home décor accents
• Educational tools
• Creative installations

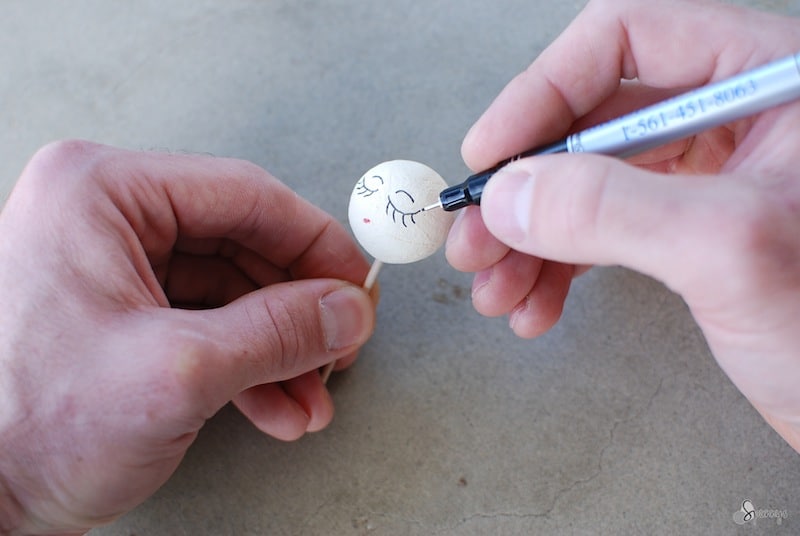
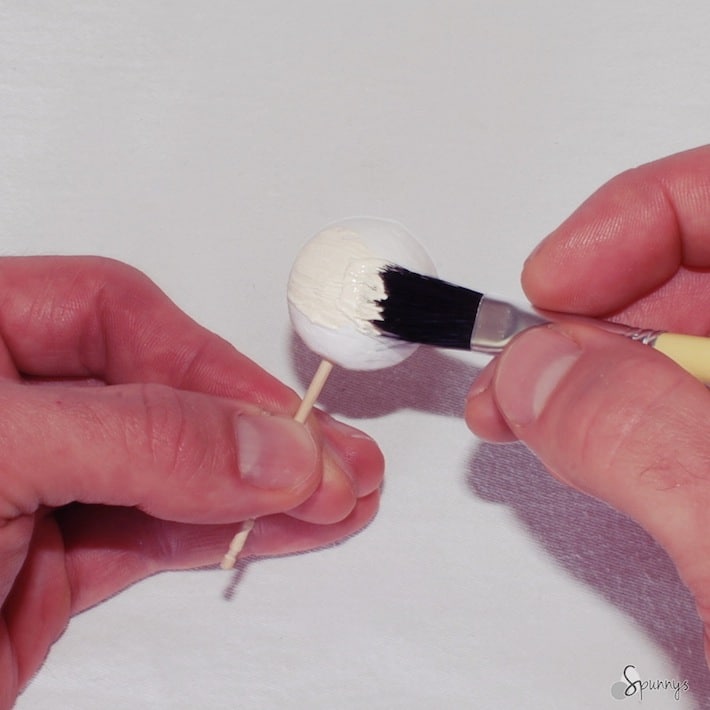
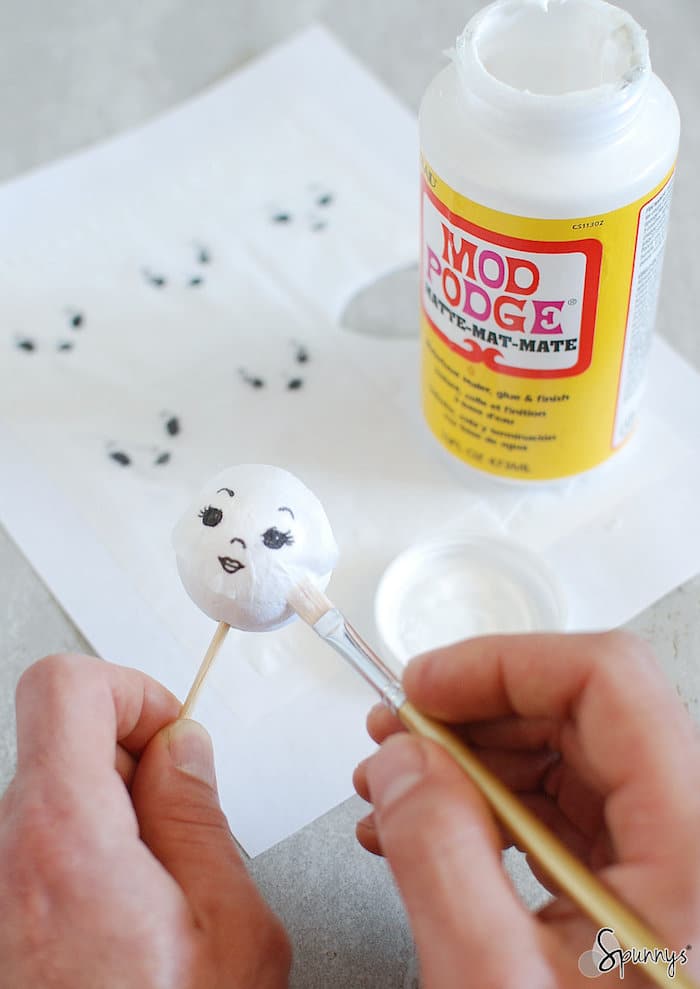
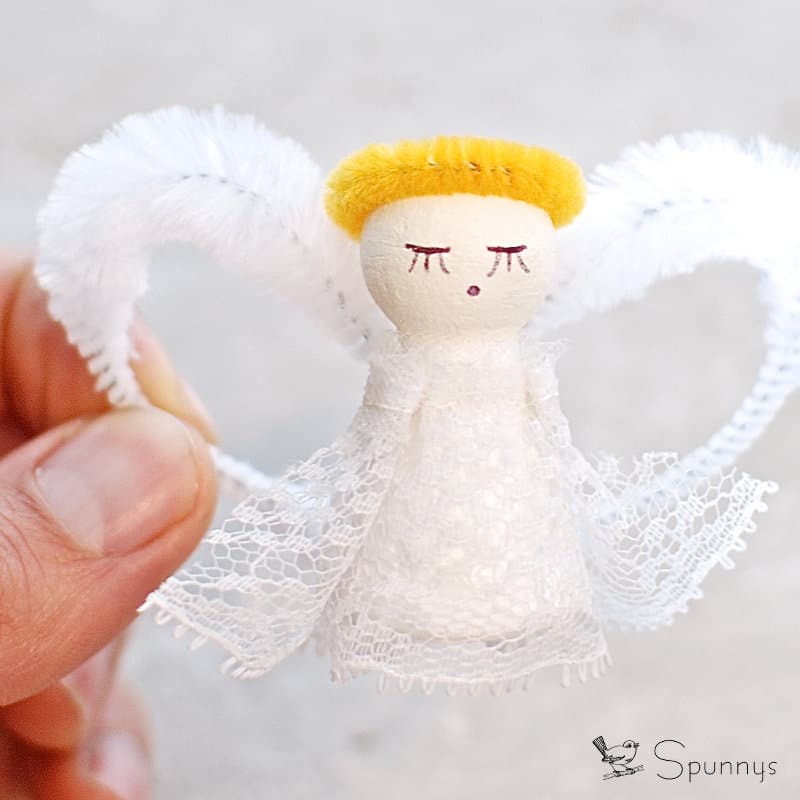
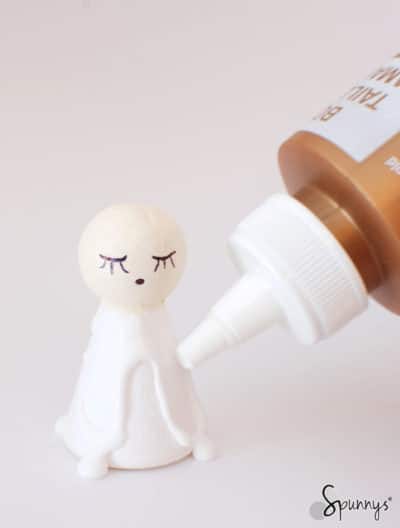
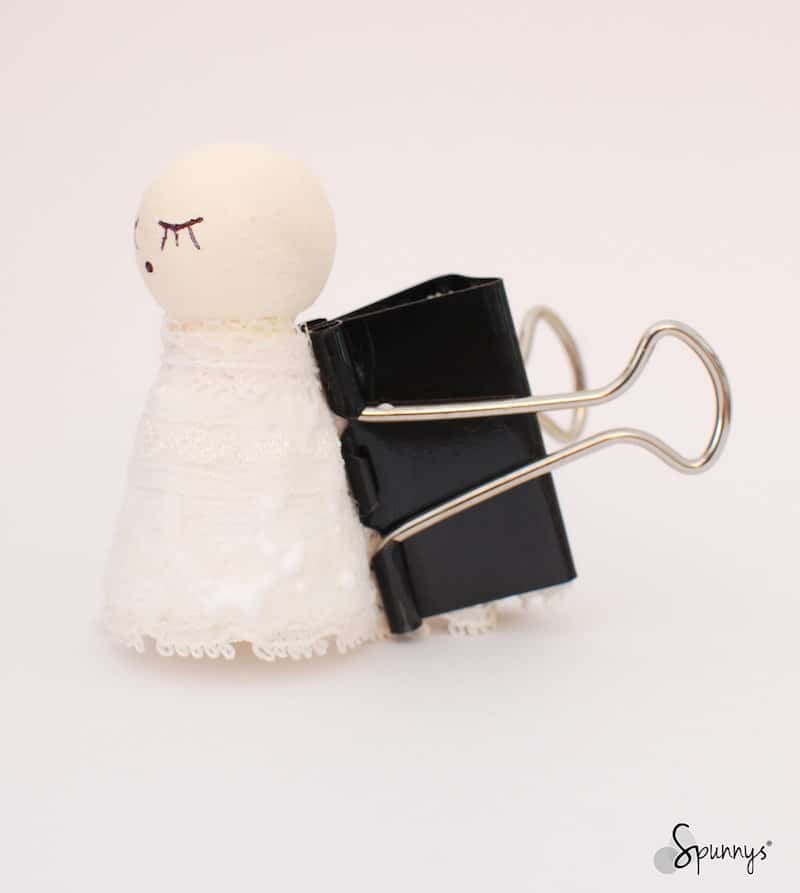
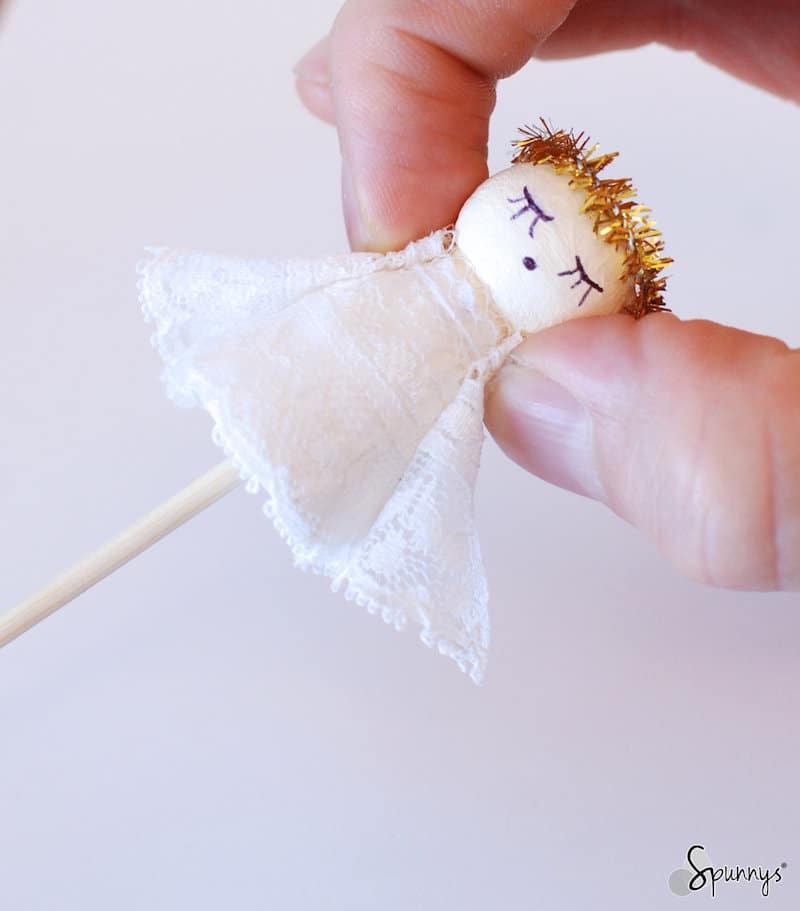
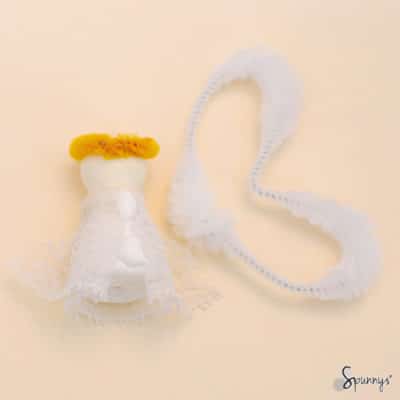
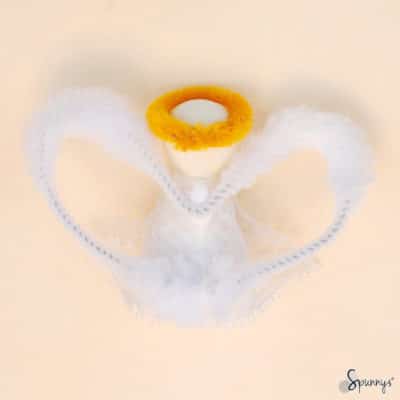
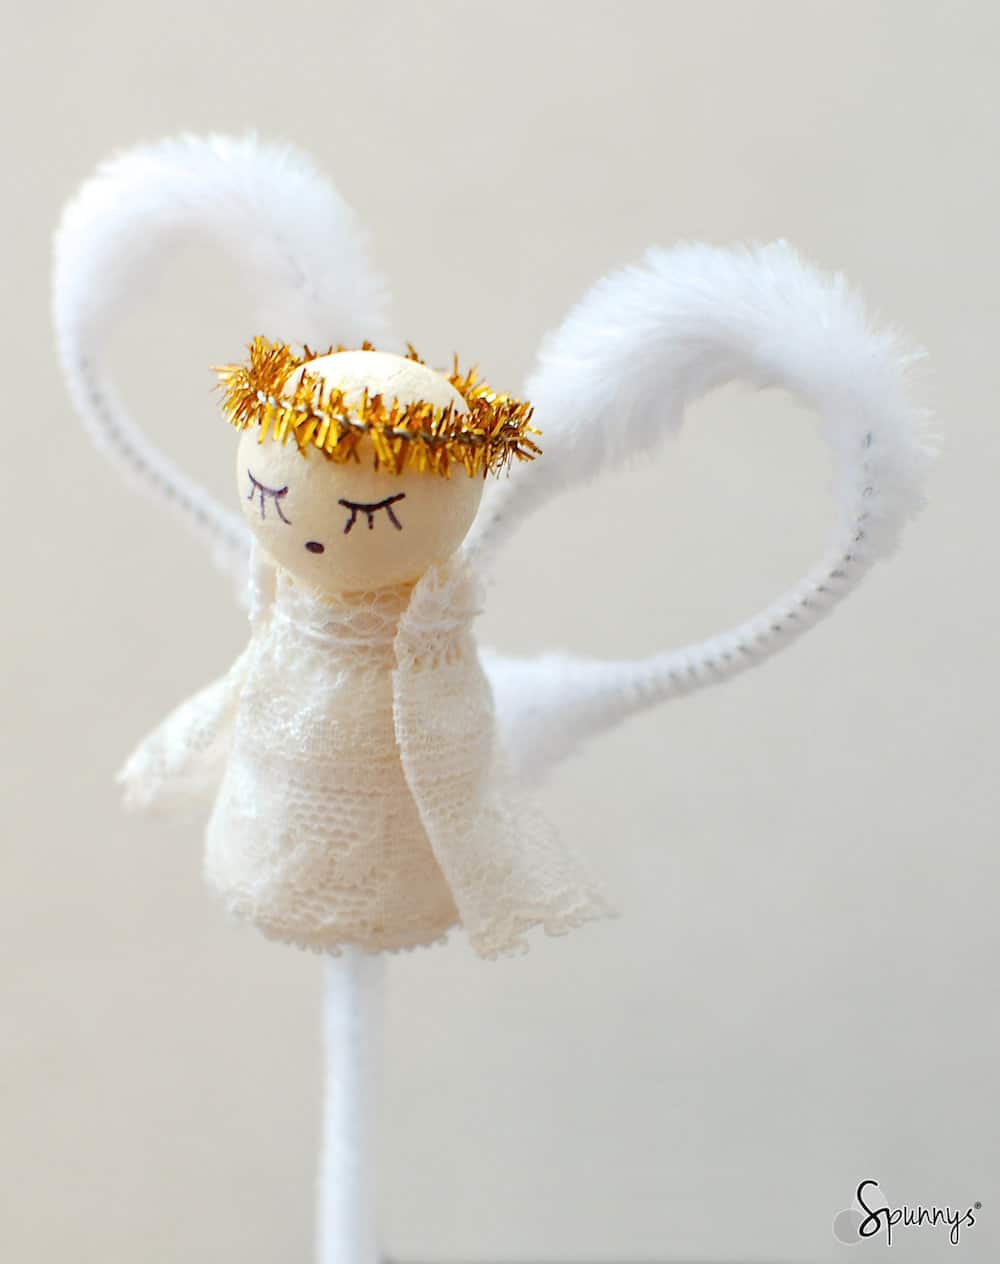
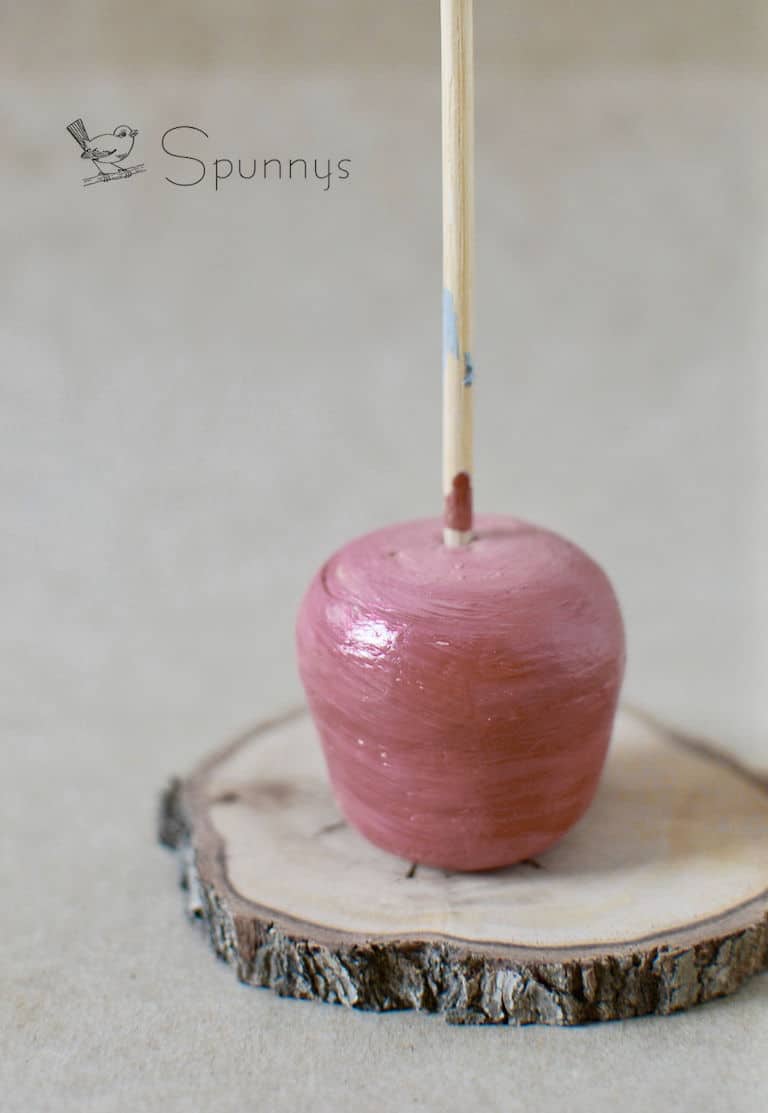
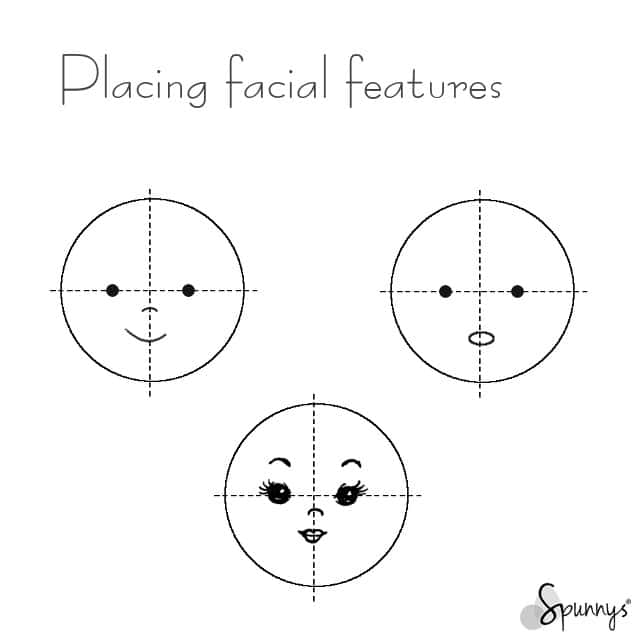
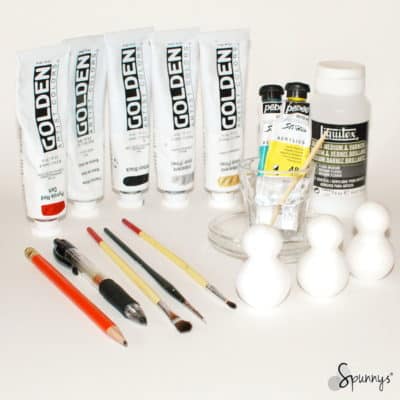
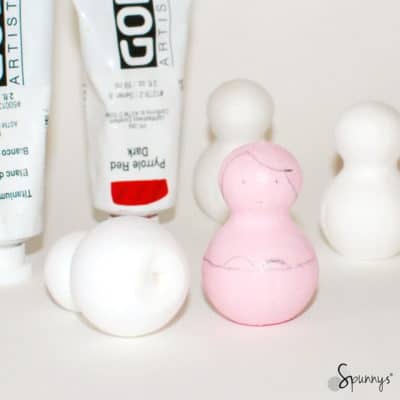
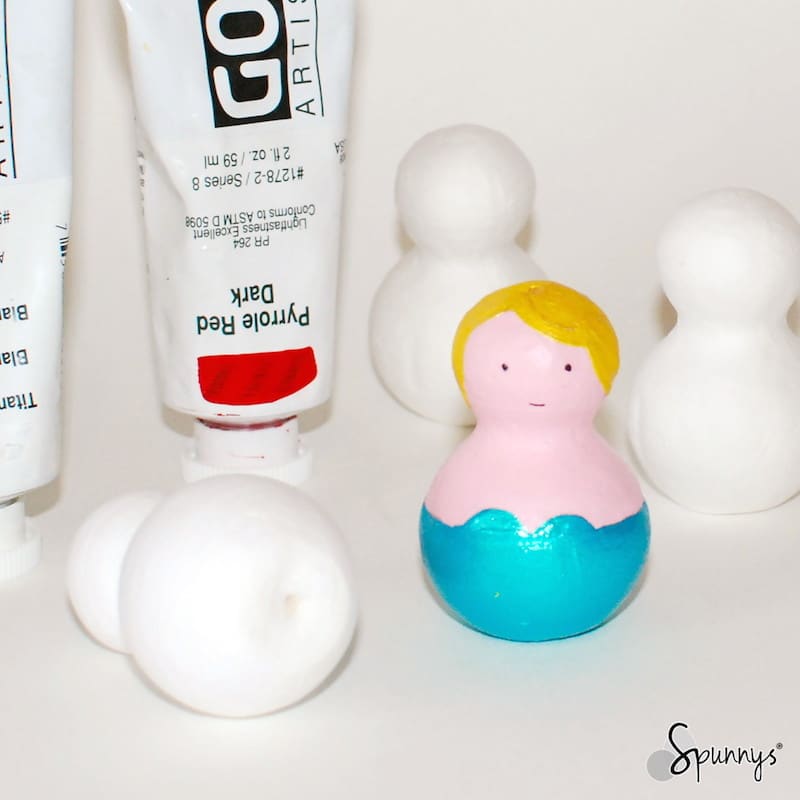
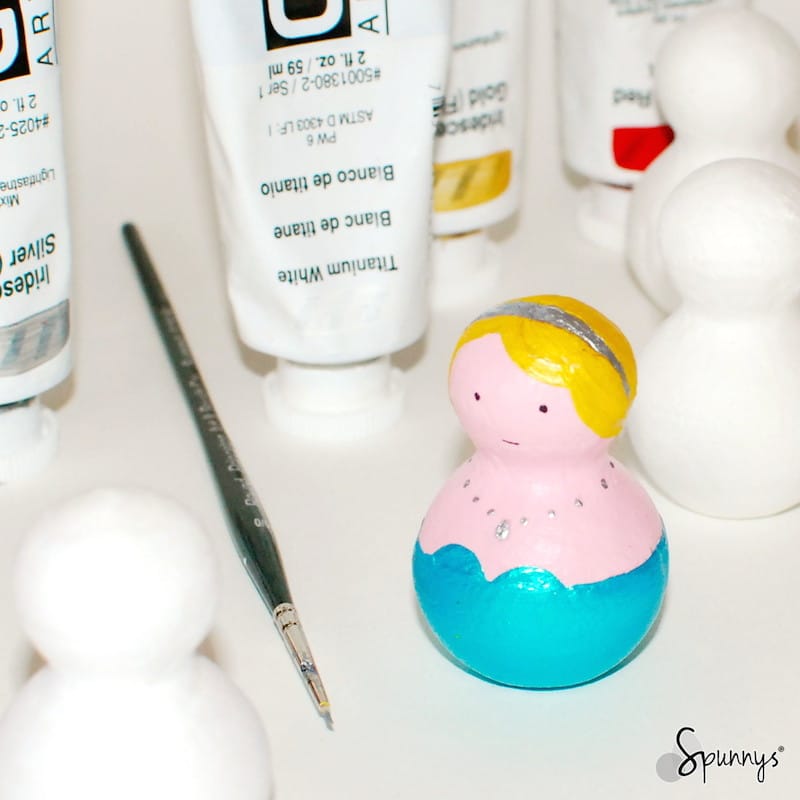
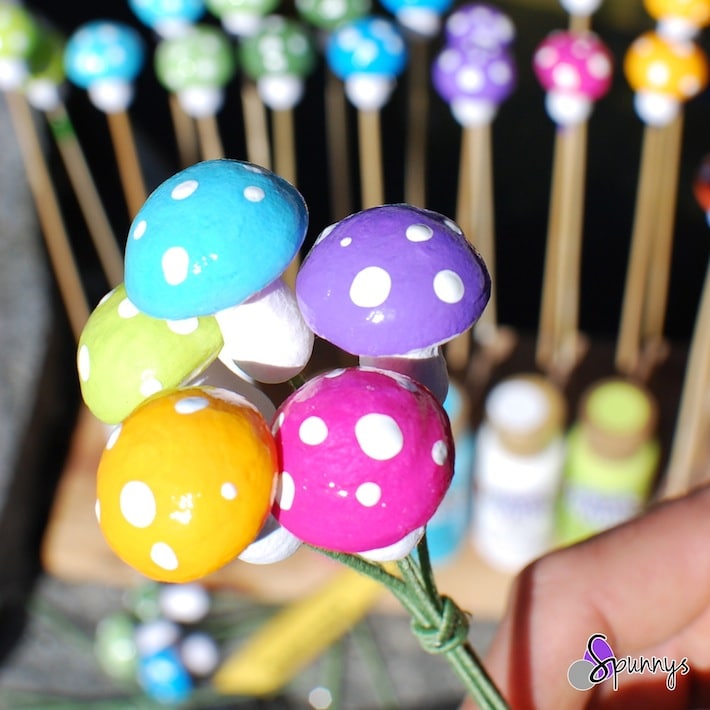
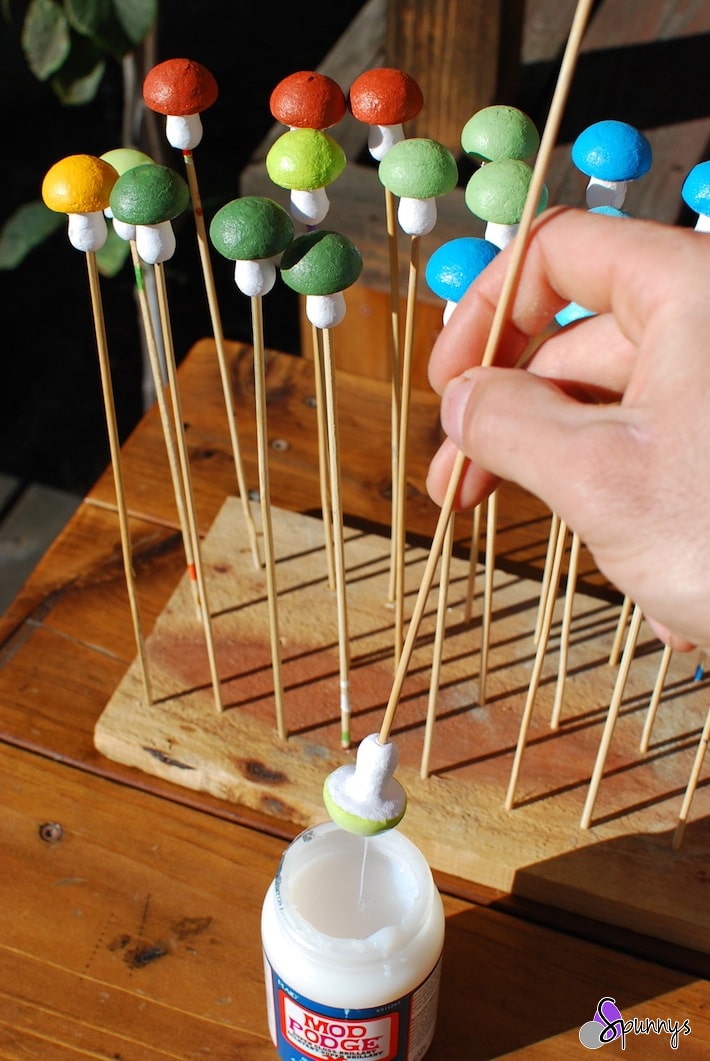
Their lightweight nature and smooth surface make them easy to work with — whether you’re painting, gluing, covering with fabric, or adding glitter.

spunnys paper shapes hero

Respecting Tradition While Moving Forward

We deeply respect the history of true spun cotton crafts and the artisans who continue that tradition. That’s precisely why it’s important to clearly distinguish:

Handmade cotton-based spun figures
Machine-made paper-based spun shapes

By using the term spun paper shapes, we hope to avoid confusion, be transparent with our customers, and accurately represent the material.

During this transition, you may still see references to “spun cotton shapes” on our site to help people using the traditional name find us. Over time, however, our focus will continue to shift toward the more accurate and sustainable term: spun paper shapes.


Final Thoughts

Changing a long-used term isn’t something we take lightly. But accuracy, honesty, sustainability, and passion for our products matter deeply to us.

By choosing spun paper shapes, we’re embracing clarity and celebrating a craft material that feels both innovative and full of possibilities.

We’re excited for what’s ahead — and we can’t wait to see how you use spun paper shapes in your projects!


Veröffentlicht am Schreibe einen Kommentar

How to make glittered lemon ornaments • DIY video tutorial

How to make glittered lemon ornaments DIY

Watch our video tutorial and learn how you can make beautiful glittered lemon ornaments from SPUNNYS blank spun cotton lemon shapes. Your ornaments will have the look and feel of those prized vintage spun cotton ornaments handcrafted back in the late Victorian era.

You can use the lemon ornaments to decorate the Christmas tree but you can also hang them around the house any time of the year and add a touch of retro chic to your home.

Note that you can also purchase the finished glittered lemon ornaments from our online store if you are short on time or if you would like to make a gift to somebody. We ship all over the world and can make the glittered ornaments to order if our stock is low. Simply contact us at nicolas@spunnys.com.

List of materials

  • Spun cotton lemon blanks
  • Glass glitter *
  • Wooden picks (bamboo skewers work great)
  • Acrylic paint (yellow, and orange) and paintbrushes
  • Green card stock for the leaves (you can also paint white card stock green)
  • Small bowl and spoon
  • Scissors and wire cutters
  • Liquid white craft glue

(*) If you prefer not to use glass glitter, you can use alternatives such as glitter made with resin (PET).

Glittered lemon ornaments: step by step instructions

In addition to the video, we thought it would be useful to also provide you with written instructions, this way you can print out the tutorial and have a paper version.

Step 1 : paint the lemons

Hold the lemon blanks with a stick and paint them a solid yellow. Before the yellow paint dries, add a touch of orange at the tips. The transition from the yellow to the orange should be as smooth as possible.

Step 2: Make and paint the leaves

From the green card stock, cut out a marquise shaped leaf approximately 6 cm at the longest x 2.1 cm at the widest. Instead of using green card stock, you can also use white card stock and paint it green. This way you can create the perfect citrus leaf shade of green. Do not forget to paint both sides of the card stock green.

Use the wire cutters to snip 6cm pieces of green metal floral wire.

Glue the pieces of floral wire to the back of the leaves, make sure to let the metal overhang by 1.5 cm.

TIP: Use your paintbrush to apply the glue to the floral wire pieces. Rinse your paintbrush immediately after.

Step 3: Prepare your hanging loops

Use the wire cutters again and snip 8cm pieces of the floral wire.

Firmly wrap the pieces of wire twice around the handle of your paintbrush to create the loops. Then cross and twist both ends together about 3 to 4 times. The twisted part should be about 1.5-2cm long, cut the excess if necessary.

TIP: You can vary the diameters of your hanging loops by twisting the floral wire around the wide part or the narrow part of your paintbrush handle.

Step 4: finish your leaves

When the glue on the leaves is dry, bend the overhanging pieces of wire almost 180 degrees so you can insert them into the holes of the lemons later.

TIP: bend the wire pieces around your paintbrush for a perfect bend.

Step 5: glitter time!

Start with the leaves. With the paintbrush, generously coat the top sides of the leaves. Then, over the bowl of glitter, scoop glass glitter over the freshly glued sides of the leaves until completely coated. Finally, shake or tap off any excess glass glitter. Let dry.

Proceed exactly the same way with the lemon bodies. Remember to use a generous amount of glue.

Step 6 (final) : Attach the leaves and hanging loops to the lemon bodies

Start with the leaves. With the paintbrush, apply a generous amount of glue to the exposed portion of the floral wire. Then, directly insert into the hole.

When you are done, apply a generous amount of glue to the the twisted stem of the hanging loop. Then again, directly insert into the hole

TIP: use a twisting motion to insert the hanging loop.

Let dry and you are done!

how to make glittered lemon ornaments from spun cotton

Veröffentlicht am Ein Kommentar

How to make your own Vintage Spun Cotton Doll Heads – DIY tutorial

vintage doll head DIY tutorial

Check out our tutorial and learn how you can make your own vintage-style spun cotton doll heads from ø 30 mm spun cotton balls.

Vintage spun cotton doll heads are rare works of art and prized items among collectors. Their making is a tradition that started in Germany back in the late 19th century.

You can use the finished doll heads to fashion beautiful vintage angel figurines, elves and fairies ornaments, Christmas doll ornaments, pine cone fairies, tatted angels, and more.

Vintage Spun Cotton Doll Heads – Materials:

  • ø 30 mm SPUNNYS spun cotton balls (about 1-3/16 inches).
  • Paint for the desired skin tone (acrylic paint works particularly well).
  • A few color pen (ballpoint or ultra fine markers) – black, red, and blue.
  • Toothpicks or bamboo skewers to rest the balls while the paint dries.
  • A pencil and an eraser to outline facial features before drawing permanently.
Doll head picks vintage spun cotton

A simple ballpoint pen works fine to draw on spun cotton .

Step by Step Directions:

1: Make your „vintage color“ paint mix. Vintage spun cotton doll heads are often a pale brown, yellow or pink. You can easily obtain these colors by mixing a little white in your paints.

2: Paint the balls with the desired skin tone color. It helps to hold the balls on a toothpicks or bamboo skewers while painting them. Paint should only take about 10 min to dry.

3: When dry, draw a face with a ball pen or ultra-fine marker. Use different colors.

You are done :)

Things you can do with your vintage doll heads:

You can use your beautiful vintage inspired doll heads many different ways:

Vintage spun cotton Christmas angel ornaments. The body can be made with lace, pipe cleaners, felt, tulle netting, crepe paper, fabric, crochet, knitting, tatting…

– Traditional spun cotton Christmas elves, santas, or snowmen ornaments.

– Retro style Chenille dolls (pipe cleaner dolls).

– Toothpick spun cotton heads or vintage party toppers.

– Japan-style vintage spun cotton ornaments…

The doll face „decal“ technique

Your can make beautiful vintage spun cotton doll heads without having to draw faces by hand. To do so, you’ll just need a printer and a tissue.

vintage doll heads picks spun cotton DIY

The technique is simple. Tape a tissue onto a piece of printing paper. You may have to trim the tissue a little bit so that it fits within the sheet of paper. Make sure all the edges of the tissue are taped over (this is important). Search the internet for nice doll face images and print them on the sheet you just prepared as if it was a regular sheet of printing paper.

Cut around your doll face prints. Only keep the upper most ply (the one that is printed on). Discard the other ones.

DIY spun cotton doll face tissue transfer 4

Brush some mod podge over a spun cotton ball and delicately position the face over the mod podge. Try to make as little wrinkles as possible (gently tap with your fingers).

Brush a second layer of mod podge over the edges of the tissue to remove all the last wrinkles. However, be careful not to brush directly over the ink because it may smear the ink.

How to make vintage spun cotton doll heads

Wait until the mod podge dries to a clear finish. You are done :)

I hope you enjoyed these tutorials. As always, if you have any questions, do not hesitate to leave a comment. Happy crafting!

Veröffentlicht am 4 Kommentare

How to make Vintage Angel Ornaments – two simple DIY tutorials

Vintage angel ornaments DIY tutorials

Check out our two tutorials and learn how you can make your own Vintage Style Angel Ornaments.

The two tutorials are quite different. The angel ornaments from the first tutorial have fluffy heart shaped wings, and beautiful lace gowns whereas the angel ornaments from the second tutorial have a gorgeous traditional look in which lace is the star of the show.

Tutorial 1: Heart-shaped wings Vintage Angel Ornaments

vintage angel ornaments pipe cleaners christmas

Project materials list

  • Blank Spun Cotton Figurines (cone fellow – small).
  • Bump white pipe cleaners (one strand per angel).
  • Gold, or yellow, or beige pipe cleaners for the angel halos.
  • White craft tacky glue.
  • 1 1/2 “ wide Ruffled lace, about 4 1/2 inches per angel.
  • A pair of wire cutters.
  • Acrylic paint for the angel faces. Your choice of color.
  • A black ball pen to draw the eyes and the mouths.
bump chenille
White bump pipe cleaner (chenille)

Step by step directions

1: Gather your materials.

2: Paint the heads of the angel ornaments in one solid color.

home decor angel ornament DIY

3: With the black ball pen, draw the mouths and the eyes.

4:. Pour glue on your figurine bodies.

Christmas crafts angel ornament

5: Dress each figurine with a 4.5″ long piece of lace. Make sure the ends of the lace meet in the back (you can use a paper clip to keep them together).

6: When the glue is dry, remove the paper clips and pour a small bead of glue on each side of the figurines.

7: Fold the lace over the two beads of glue.  The lace endings are now pointing forward.  Keep the lace in this configuration until the glue is dry. You can use a small paper clip.

Learn to make angel ornaments

8: While the glue dries, you can work on the halos. Just create a loop with a piece of pipe cleaner, twist the ends together a few times, and cut off the excess.

9: Glue the halos to the angel heads. Try to use as little glue as possible so as not to leave any glue marks.

10: Let your ornaments rest a little until the glue under the halos and the glue under the lace pieces is dry.

11: Remove the paper clips and pour two more beads of glue on the sides of your dolls.

12: Fold the lace ends back and keep them in this position with a rubber band. Let dry.

13: Almost done. Bend the white bumpy pipe cleaners into heart shapes. Twist the ends together.

14: Cut off the excess pipe cleaner with a wire cutter.

15: Final gluing. Pour two good size beads of glue on the back of your ornaments.

16: Gently add the wings to your angels. Make sure they are centered

17: Rest your ornaments in a safe and quiet place until the glue is dry :)

YOU ARE DONE :)

Tutorial 2: Traditional Vintage Angel Ornament

Vintage inspired angel ornaments DIY

Project Materials:

– A 30mm spun cotton ball for the head. They are lightweight and easy to draw on.
– A piece of lace about 2 feet long and 3 1/2″ wide.
– A crylic paint for the head (I used a pale yellow color).
– A black ball pen (for the eyes) and a red ball pen (for the mouth).
– A piece of ribbon (about 10″ long)
– A bamboo skewer (a toothpick would work too).
– A pair of scissors and a stapler.

vintage angel ornaments lace
The lace I used

Step by step directions:

  1. Paint the ball in one solid color and let it dry. To give the skin color a vintage look, use a pale washed off color such as pale brown, yellow or pink.
  2. Cut your lace into three pieces:  one long 12″ long piece (the body) and two short 5″ long pieces (the wings).
  3. Prepare the wings. Fold a short piece of lace into an accordion fold and staple one end. Repeat with the other wing.
  4. Prepare the body: Wrap the long piece of lace around the bamboo skewer making sure to create pleats as you go. Tie a piece of ribbon around the lace to secure it into place.
  5. By now the head should be dry. With the two pens, draw the eyes and mouths.
  6. Slide the wings down on the pointy end of the bamboo skewer. Roll the bamboo skewer through your fingers to help.
  7. Add the angel’s head

You are done :)

I hope you enjoyed these angel tutorials and are ready to embark on your own vintage angel ornament projects. As usual, do not hesitate to ask questions, we are always happy to help. Happy crafting!

Veröffentlicht am 4 Kommentare

How to Make Spun Cotton Ornaments from Blank Spun Paper Shapes

Spun cotton ornaments - how to make

Create beautiful vintage-style spun cotton ornaments using blank spun paper shapes — a simple, fun craft perfect for Christmas, home décor, and handmade gifts.

Whether you’re new to crafting or a seasoned maker, this step-by-step guide will help you transform blank spun paper shapes into stunning ornaments. You’ll learn essential tools, easy techniques, creative decoration ideas, and styling tips to make your handmade ornaments truly unforgettable.

Popular Ornament Styles You Can Create

  • Vintage
  • Elves with felt scarves
  • Glittered peaches
  • Sugared plums
  • Glittered apples and pears
  • Glittered lemons

What Are Spun Paper Shapes?

Spun paper shapes are pre-formed paper ornament blanks made by rolling soft paper into classic shapes like balls, teardrops, eggs, and fruits. Unlike traditional cotton batting methods, these shapes are ready-to-decorate, durable, lightweight, and shatter-proof — perfect for DIY ornament making and vintage-inspired projects.

A Brief History of Spun Cotton Ornaments

Spun cotton ornaments originated in the Saxony region of Germany during the second half of the 19th century, in the late Victorian era. These charming, old-fashioned decorations were traditionally made using cotton batting (and sometimes wool batting), a fluffy, raw-looking material created from non-woven fibers.

Artisans would wrap and shape the batting around molds to form fruits, figures, and holiday decorations. Once dried and painted, the ornaments became lightweight, delicate treasures that were especially popular for Christmas trees and festive displays.

Today, blank spun paper shapes recreate the look and feel of these historic ornaments — while making the crafting process easier, cleaner, and more durable for modern DIY projects.

Why You’ll Love This DIY

  • Fast and beginner-friendly: No need to sculpt the base — start decorating right away.
  • Endless design possibilities: Paint, glitter, collage, and more.
  • Great for all skill levels: Kids and adults can join in.
  • Perfect for holidays & gifts: Create ornaments with personal meaning.

Tools & Materials You’ll Need

Here’s a list of simple craft supplies to get you started:

  • Blank spun paper shapes (balls, eggs, fruit shapes, peg dolls)
  • Acrylic craft paints
  • Paint brushes
  • Glue (PVA or craft glue)
  • German glass glitter or regular glitter
  • Water spray bottle
  • Wire or ornament hooks for hanging
  • Cardstock or paper for leaves, wings, hats, and accessories

Step-by-Step: Making Your Spun Paper Ornaments

1. Prep Your Shapes

Lay your blank spun paper shapes on a clean workspace. They already have small holes on one end — perfect for adding hanging loops or wire.

2. Add a Base Color

Paint your shapes with acrylic craft paint. For a vintage look, blend soft hues and add a little grey near the edges to soften bright tones. This makes colors appear more antique and nuanced.

💡 Tip: Use a light water mist before painting — it helps the paint spread evenly and prevents quick absorbing.

3. Create Shape Details

You can alter basic shapes by compressing them while slightly damp. For example, turn a round ball into a peach or a plum by gently pressing a ridge with a tool or spoon handle.

4. Embellish with Glitter

Once the paint dries, brush a thin layer of glue and sprinkle glitter for a magical vintage sparkle. Let dry completely before handling.

5. Add Hanging Loops

Insert wire or ornament hooks into the built-in holes, secure with a bit of glue, and bend into loops for hanging.

Creative Ornament Ideas

Here are some of our favorite spun paper ornament projects:

1. Vintage Peach Ornament

Use a round shape, create gentle ridges for a realistic fruit form, then paint soft yellows and oranges with subtle shading. Finish with glitter for shimmer.

Peach spun cotton ornament DIY
Spun Cotton Ornament glittered peach Victorian Christmas

2. Glittered Plum Ornaments

Compress a spun paper ball lightly, paint purple, then add green paper leaves with a wire stem. Glitter makes these extra festive

Spun Cotton Sugar Plum Vintage Glittered Ornaments

3. Angel Decorations

Take a peg doll shape, paint the body and face, add lace for clothing, and use fluffy white chenille for wings. A simple wire loop hanger completes the angelic look.

Strawberry spun cotton ornaments DIY

4. Classic Fruit & Holiday Ornaments

Apples, pears, lemons, and berries — all are possible with minor shaping and paint combinations.

Spun cotton blank unpainted shapes
spun cotton apple ornament vintage
Spun Cotton Ornament glittered peach Victorian Christmas
vintage lemon ornaments christmas DIY
Strawberry spun cotton ornaments DIY
elf felt hanging ornaments spun cotton DIY

You can find a wide variety of fruit-shaped spun paper blanks in our shop.

Still have questions about spun cotton-style ornaments or spun paper shapes? Here are some helpful answers:

Frequently Asked Questions About Spun Cotton Ornaments & Spun Paper Shapes

What are spun paper shapes made from?

Spun paper shapes are made from soft rolled paper formed into lightweight, durable ornament blanks. They are designed to mimic the look of traditional spun cotton ornaments while being easier to decorate and more resistant to damage.


Are spun paper shapes the same as spun cotton ornaments?

Traditional spun cotton ornaments were made using cotton batting wrapped around molds. Modern spun paper shapes recreate the same vintage style and appearance but are made from paper, making them cleaner, sturdier, and ready to decorate right out of the package.


What kind of paint works best on spun paper shapes?

Acrylic craft paint works best because it provides good coverage, dries quickly, and adheres well to the paper surface. Thin layers give the smoothest vintage-style finish.


Are spun paper ornaments durable?

Yes. Spun paper ornaments are lightweight yet sturdy and far less fragile than glass ornaments, making them great for long-term use and storage.


Can I use spun paper shapes for more than Christmas ornaments?

Absolutely! While they’re popular for holiday decorations, spun paper shapes are also great for party décor, seasonal crafts, gift toppers, and vintage-inspired displays year-round.

Looking for blank spun paper shapes to start your project? Explore our full collection here.

Conclusion

Spun paper shapes are a versatile foundation for beautiful handmade ornaments. Easy to personalize, fun to make, and ideal for holidays or everyday décor, these projects are sure to inspire creativity.

Happy crafting with Spunnys!
Let us know what you create in the comments or tag your photos when you share them!

Veröffentlicht am Schreibe einen Kommentar

How to make Pipe Cleaner Animals – Step by Step Tutorial

pipe cleaner animals instructions

Check out our tutorial and learn how you can make beautiful Pipe Cleaner Animals by combining pipe cleaners and spun cotton balls.

Pipe Cleaner Animals – project materials:

– A few pipe cleaners (chenille). Pipe cleaners come in many different styles: solid color pipe cleaners, glitter pipe cleaners, zebra marking pipe cleaners, „plush“ pipe cleaners….You can experiment with different colors and different styles.

– A pair of round nose pliers (useful to make perfectly round animal ears)

– Some thread to make the hanging loops.

– A pair of scissors.

– A ball pen, to draw the faces.

– A few ø 12mm small spun cotton balls to make the heads.

Step by Step instructions:

Start by gathering your materials. Bend the full length pipe cleaner in half.

pipe cleaner animals tiger instructions step 1

Make a loop with the piece of thread. Tie a knot.

step 2

Cut off the excess thread to get a clean knot.

step 3

Insert the knot in the hole. Push the knot down into the hole with the round pair of pliers. It is not necessary to use any glue. The pipe cleaner will cover the hole.

step 4

Use the round pliers to make a loop in the middle of the pipe cleaner strand. Twist the loop a few times so it doesn’t get untied. This is the first ear.

step 5

Notice how the ear is in the center of the piece of pipe cleaner. This is important for later.

step 6

Following the same technique, create a second loop. Notice how the two strands have different lengths.

step 7

Position the ball between the two ears. The hole faces up.

step 8

With the pliers, twist the pipe cleaner under the ball. Make it tight.

step 9

Shape the arms. Have them go out horizontally and then down in an X pattern.

step 10

Start shaping the torso. Grab one of the two strands of pipe cleaner and fold it up and across.

step 11
step 12

Then fold the pipe cleaner strand down and across again, but behind the animal’s back this time. 

Repeat with the other strand. Except this time, go behind the back first and come back in front. When you are done with the torso, the two legs should have different lengths.

step 13

Shape the first leg by folding back the shortest strand.

step 14

Shape the second leg by folding back the other strand of pipe cleaner.

step 15

Notice how you have enough pipe cleaner left to make the tail. To make the tail, just bend the end of the pipe cleaner onto itself so the tail ends in a gentle loop. Draw a face.

step 16
step 17

You are done :)

pipe cleaner animals DIY Crafts

More pipe cleaner animal DIY craft projects to get you inspired

A few final thoughts

I hope you enjoyed this page and found some inspiration for your next DIY craft projects.

Pipe cleaner animals are great everyday projects because they are fun to make, they look cute, and they require only inexpensive materials.

Moreover, making pipe cleaner animals is a great way to work on our creative skills. You don’t have to twist and bend your pipe cleaners exactly the same way I did. You can create your own style of pipe cleaner animals.

As alway, do not hesitate to send us your questions, it’s always a pleasure to hear from you. Until then, happy crafting!

Veröffentlicht am 34 Kommentare

How to paint peg dolls (wooden or paper): tips and tricks

How to paint peg dolls DIY tutorial

Painting peg dolls is fun and addictive. Check out our list of tips, tricks and advice and learn how you can paint beautiful peg doll people. All of our tips apply to both wooden peg dolls and spun cotton.

Peg dolls can be painted after family members, pets, super heroes, school teachers….The sky is the limit. Peg dolls can also be accessorized with materials such as felt, pipe cleaners, fabric…

How to paint peg dolls – our best tips, tricks and advice

1: Have faith in yourself, it’s much easier than you think

There is no need for fancy paint, fancy brushes, and there is certainly no need to be an artist. Actually I know several people who are famous for their work with peg dolls and who were not artists in the first place. The learning curve is fast. And there is no shortage of ideas out there  to get inspired. So trust in yourself, you will do awesome!

2: Know what doll shapes are out there.

There are many different shapes and sizes out there so make sure to use the ones that fit your project the best. You will find female shapes, man shapes, shapes with a large head, shapes with a small head, shapes with rounded bodies, shapes with slender bodies….If for example you are painting peg dolls after your family, make sure to use different size peg dolls to differentiate between adults and children.

How to paint peg dolls tips

3: Prep your doll shapes.

If you are painting a wooden doll, make sure it is smooth. You may have to sand it a little bit. Always sand in the direction of the wood grain.

4: It’s much easier to outline first.

I have painted hundreds of dolls but I still use a pencil to outline things like the eyes, the mouth, the clothes, the details..You can use a pencil eraser directly onto a wooden peg doll or a paper peg doll. If you don’t outline and make a mistake while painting, it will take a long time to correct this mistake.

How to outline peg dolls

5: How to make peg doll hair buns

You have several options. I recommend spun cotton balls (ø8, 10 or 12 mm). Use tacky glue to fix the balls to your dolls (wooden or spun cotton), it works very well. You can also gently squeeze the balls to flatten them a little and make the bun more of an oval.

The other way to make hair buns is to use wooden balls. However it’s not as easy because you will have to drill a hole in the wooden ball, a hole in the doll head, and join them together with a toothpick and wood glue.

Peg doll hair buns DIY tutorial
ø 10 mm ball (left) and ø 8 mm balls (right)
Peg doll on left is 2″1/4 tall, Peg doll on right is 2″ tall.

SHOP AT SPUNNYS

6: Learn to position your facial features.

peg doll facial features placement

Too often the eyes are positioned too high on a peg doll face. To help you position all the facial features where they belong, there is a simple trick. Just imagine (or draw with a pencil) two intersecting lines dividing the peg doll’s head in 4 equal parts.  Position the eyes on the horizontal line. Then, use the vertical line to position the nose and the mouth.  That’s it. The eyes may seem too low this way but they aren’t. After you draw the hair or add a hat to your doll, your peg doll will look perfectly normal and well proportioned.

7: Small details are better achieved with a small brush.

This sounds obvious but it is so true. You got to have the right tools. I made a $5 investment 2 years ago in a tiny size #10/0 round brush and today I cannot imagine myself without it. I use it for almost all my peg doll projects. You can also make a small brush by cutting the bristles of a small round brush.

8: Save money. You don’t have to buy too many paint tubes.

If you are on a budget, it’s much better to buy only a few tubes of high quality paint than to buy many tubes of low quality paint. High quality paint is easier to work with (creamier), makes for a more even coverage, and will look much better once the paint is dry. I like to use acrylic paint. I was once told that the following eight colors are enough for most purposes: yellow ochre, gamboge, light red, crimson lake (carmine), Van Dyke brown, ultramarine blue, Hooker’s green, and Payne’s gray. I would definitely add white to this list.

9: Watch your paint consistency. 

Paints that are too thick in consistency may be very difficult to work with, especially when painting details, or when painting a clean border between 2 colors. Acrylic paint for example can get thicker with age. I notice this with some of my old tubes. You can use a little water on your brush to thin it and make it more workable.

10: To paint small dots, you can use a tooth pick.

Dip the tip of a toothpick in a small amount of paint and gently dab a dot onto your doll. Bamboo skewers and pencils also work great. Pencils are actually my favorite tools to make eyes. To make eyes, I use the lead tip of a pencil that has a slightly worn out tip. If the pencil was freshly sharpened, it wouldn’t work as well, the dots would be too small.

11: Paint clothes in a logical order.

It’s easier to paint clothes that are closest to the body first (shirt before jacket). And if you paint your shirt before your jacket, your final project will also look better this way. It’s also easier to paint light colors before dark colors.

12: Keep it simple.

Often, simple just looks better. Add too many details or try to be too realistic and you may lose this little something special that make painted peg dolls look so adorable. For example, consider Waldorf inspired peg dolls. Their appearance is intentionally simple. It makes for a cute look and fosters creativity.

13: Keep your brushes clean.

Don’t let the paint dry up on your brushes or they will be harder to clean later. Keep a paper towel and a cup of water handy.

14: Protect your finished dolls.

Finish your project with a clear coat varnish. This will protect it from finger prints and prevent the paint from chipping. You can choose to use a glossy or matte varnish.

How to paint peg dolls – from theory to practice

Follow our step by step tutorial and learn how you can easily paint your own peg doll. We’ll use a princess as an example. You can use wooden peg dolls or spun cotton peg dolls.

Step 1 – Gather your materials. Acrylic paint works great for both wooden peg dolls and spun cotton peg dolls. I also always have a pencil handy. It’s useful to outline but also to dab little dots of paint (to paint the eyes for examples).

Step 2 – Paint the skin color first. When dry, outline the dress, the face (the eyes and mouth), and the hair with a pencil

Step 3 – Paint the hair (you can hold your peg doll by its body while you paint the hair). When you are done, paint the eyes and draw the mouth. To paint the eyes, you can dip the tip of a pencil into black paint and gently dabbed little dots onto the doll. To draw the mouth, I simply used a black ball pen. Let dry. When the hair and the face are dry, paint the dress. To paint the dress, you can hold the doll by its head.

Step 4 – Outline and paint the accessories: hair band and necklace. To paint the necklace dots, I used the same technique as the one I used for the eyes (the pencil technique).

You are done :)

Don’t worry if your first painted peg dolls don’t look all perfect, the learning curve is quick and your next dolls will look fantastic. Thank you for reading and I hope you enjoyed this page. As always, if you have any questions, do not hesitate to get in touch.

SaveSave

SaveSave

Veröffentlicht am Ein Kommentar

Animal peg dolls – painting ideas to inspire you

Animal peg dolls

Animal peg dolls are a lot of fun to make!

Here are a few project ideas that you can use for inspiration.  The pictures are divided into several categories: farm animals, household pets, Easter bunnies, woodland animals…

For all the projects below, I used blank spun cotton peg dolls. They offer a paper-like surface which makes them very easy to paint and quick to dry out. Spun cotton peg dolls are also really easy to combine with other materials such as paper, cardboard, felt, pipe cleaners…

Woodland animal peg dolls

Farm animal peg dolls

Penguins and bird peg dolls

Household pet peg dolls

Easter bunny peg dolls

I hope you enjoyed this page and found some inspiration for your own animal peg doll projects. Painting peg dolls can quickly become addictive!

For tips and tricks on how to paint peg dolls, you can visit our tutorial: how to paint peg dolls.

As usual, feel free to use the comment section below if you have any questions or suggestions. Happy peg doll painting!

blank peg dolls to buy

Spun cotton peg dolls come in several sizes and shapes.

woodland animal creatures peg dolls
Veröffentlicht am 2 Kommentare

Christmas pipe cleaner Santa figurines – project ideas and tips

Christmas pipe cleaner ornaments

You can make beautiful and Adorable Christmas Santa figurines by combining pipe cleaner and spun cotton shapes. Below you can checkout a few a of our cutest projects and read about a few tips that we thought were relevant.

Project Pictures:

pipe cleaner santas vintage bump chenille DIY

Vintage Santas – Christmas pipe cleaner ornaments
25mm spun cotton eggs, bump chenille, regular chenille

Pipe cleaner santa claus ornaments easy christmas DIY

The vintage santa ornaments in three different colors
The heads were made with spun cotton eggs (25mm tall)

pipe cleaner santa claus craft project ideas

The head of the miniature Santa is made with a spun cotton cone (15mm) glued on top of a spun cotton ball (15mm)

vintage inspired santa ornament pipe cleaner folk art

Vintage inspired Santa

Santa Claus Christmas pipe cleaner ornament

Santa Claus with a pipe cleaner hat. 47 mm tall spun cotton peg doll. 

More Project Pictures – Christmas angels, elves, and snowmen

Vintage style pipe cleaner angel ornament Christmas

 Angel – Christmas pipe cleaner ornament
Spun cotton peg doll, lace, bump chenille, gold pipe cleaner

Christmas gnome pipe cleaner ornament

Forest gnome – 47 mm spun cotton peg doll

Vintage inspired bump chenille pipe clenaer Christmas ornaments

Vintage inspired Eskimo spun cotton ornaments

Christmas crafts pipe cleaner ornaments

Snowman Christmas pipe cleaner ornament and candy cane scarf

arctic crafts pipe cleaner figure

 Christmas pipe cleaner Eskimo ornament

Tips and tricks to make your own pipe cleaner Christmas ornaments:

pipe cleaner man candy cane scarf christmas ornament DIY

Tip #1: It’s ok if you don’t twist and bend your pipe cleaners in the exact same fashion as I did. Your christmas ornaments will look great no matter what.

Tip #2: To make your Christmas pipe cleaner ornaments even softer, you could use „plush“ pipe cleaners. It will make the ornaments soft and fluffy.

Tip #3: To make your ornaments look cute, one trick is to use small size spun cotton shapes. For the eskimos for example, I used 12mm spun cotton balls. I feel like miniature anything is almost always cute.

Tip #3: To make the candy cane and the scarf, all you have to do is twist two pipe cleaners into one.

Tip #4: To twist pipe cleaners together, use a pair of pliers. It’s easier on the fingers. I like the round nose pliers because they are also useful to bend pipe cleaners into perfect loops.

Tip #5: To draw the face of your Christmas pipe cleaner ornaments, a regular ball pen works great. There is no need for any special tool.

This is it. I hope you enjoy this page and that it motivated you to try making your own Christmas pipe cleaner figurines. As always, if you have any questions, do not hesitate to comment. Happy Crafting!

Veröffentlicht am Schreibe einen Kommentar

How to make your own spun cotton mushroom ornaments

German spun cotton mushrooms DIY vintage craft

Spun cotton mushrooms (sometime referred as German spun cotton mushrooms) are colorful and cute little things. In this tutorial, you can learn how to make your own from blank spun cotton mushroom shapes.

Blank spun cotton mushrooms

Blank spun cotton mushrooms

how to make German spun cotton mushrooms

Project materials

  • Blank (unpainted) spun cotton mushrooms. They come in many sizes. For this tutorial, I used the 25mm mushrooms. But smaller mushrooms would work too.
  • Paint: pick any color you like plus some white paint for the dots. I used enamel craft paint to give them a nice vintage shine.
  • A gloss finish to replicate the ‚lacquered look“ of spun cotton mushrooms. I experimented with several products and found that both Liquitex gloss medium & varnish and Mod Podge super gloss worked well. TIP: Make sure the mouth of the gloss finish bottle is wide enough to dip the mushrooms in it. If not, you may have to pour some of the finish into a cup.
  • Green stem wire (aka flower wire) and a pair of pliers. I used an 18 gauge wire.
  • Bamboo skewers (to hold the mushrooms while you work on them, all mushrooms have a hole at the bottom).
materials

Directions

  • STEP #1: Paint the mushroom caps with nice and flashy colors. Use a paintbrush, or even easier: dip in paint.
    TIP 1: Use a bamboo stick to hold your mushrooms while you paint them.
    TIP 2: Make sure you can rest your bamboo sticks straight up when you are done painting. You can stick them in the ground or improvise some kind of device (a wooden board with a few holes in it for example). 
  • STEP #2: Apply the „lacquered“ finish. When the caps are dry, dip the mushrooms into your gloss finish and  let the excess drip back into the jar.
    TIP 1: Only the caps needs to be lacquered.
    TIP 2: If you get any air bubbles mixed with the glossy finish on your mushroom caps, you can  make them disappear by gently poking them with the pointy end of a bamboo skewer.
German spun cotton mushrooms DIY

VERY IMPORTANT:

While the gloss finish hardens, make sure that the mushrooms sit as upright as possible. I used a piece of wood in which I drilled a bunch of small holes. You can also use a piece of polystyrene, a piece of foam, a piece of moss, or just stick the skewers in the ground.

  • STEP #3: When the gloss finish is hard, paint white dots on the mushroom caps
    TIP 1: to make nice round dots, you can use the non pointy end of a bamboo skewer, dip it in white paint, and gently dab the paint onto the mushroom caps. If you use a brush, it will be a little harder to make round dots (but not at all impossible though).
    TIP 2: I find that in the end, the mushrooms look better if I vary the size of the dots and don’t paint too many dots. Sometime simple is better.
German spun cotton mushrooms tutorial
  • STEP #4: Use your pliers and cut your green stem wire into 6″ pieces. The stem wire I bought comes in 18″ long sections. So I made 3 stems with each section.
    TIP: If you want to glue the stem wires to the mushrooms, use a  glue gun. Hot glue adheres very well to spun cotton and it only takes a few seconds.

This is it. I hope you enjoyed this craft idea.  (German) spun cotton mushrooms can be used in flower arrangements, as cake toppers, or to decorate the house. They also look great as ornaments on a Christmas tree.

If you have any questions, do not hesitate to get in touch of feel free to leave a comment. It’s always great to hear from you.

Veröffentlicht am Schreibe einen Kommentar

Homemade Snowman Figurines – DIY Christmas decorations:

homemade snowman ornaments DIY christmas decorations

Follow our tutorial and learn how you can make these adorable miniature snowman figurines, all geared up with cute little felt hats and pipe cleaner scarfs. You can also turn the figurines into Christmas Ornaments by adding little hanging loops on top of the hats (more on this below).

DIY christmas decoration ideas snowman ornament

Project materials

To make one snowman figurine, you will need:

  • A small piece of felt
  • A pipe cleaner (aka chenille)
  • Needle and white thread (or a sewing machine if you have one)
  • A spun cotton peg doll (I used the 51mm tall one because it is shaped like a snowman already).
  • A small piece of golden thread to make the hanging loop
  • A black ball pen
  • A piece of cardboard or strong paper (to make the hat template).
  • OPTIONAL: white craft glue.

Snowman Figurines – Step by Step Directions

1:  Make your hat template:

On a piece of cardboard, draw a 5″ diameter circle and divide in 4 equal quarters. If you are going to sew your hat by hand: cut out one exact quarter. However, if you are going to use a sewing machine, your pie slice should be a little larger than 90º (see picture above).

2: Hem the bottom of your pie wedge from end to end.

3: Step 3 (for sewing machine users only).

Cut off your hemmed pie wedge to an exact 90º quarter pie slice.

4: Finish sewing your hat

Now is the time to add a hanging loop to your snowman figurine if you later wish to hang it. Fashion the hanging loop by cutting a small piece of string and tie the two ends together. Before sewing the two edges of the hat together, place the loop inside the fold, and make sure the knotted end of the string is the end that sticks out (see step 4 picture).

Fold the piece of felt in half (bad side out) and sew the two edges together.

5: Turn the hat inside out.

You can use a pen or a stick to help.

6: Dress your figurine for winter

Put the hat on your figurine’s head. Normally it should fit without glue but you can add a little bit of tacky glue if necessary. When you are done, tie a small piece of pipe cleaner around the neck of your snowman and give it a couple twists.

7: Draw the face.

With the ball pen, draw the eyes and the mouth.

How to display your snowman figurines – A few ideas

Use a string hanging loop

This is the method hat was described in the tutorial above.

Use a piece of pipe cleaner

Each doll blank has a little hole underneath it. To display your figurines on the Christmas tree, you can wrap a piece of pipe cleaner around a branch and mount your figurine onto the other end of the pipe cleaner (see picture below).

A few more snowman figurine decoration ideas

Here are a few ideas that you can use for inspiration:

I hope you enjoyed this tutorial and that you got a few ideas for your own Christmas decoration projects. Happy Holidays and as always, feel free to leave a comment below or share your ideas with us.

Veröffentlicht am Schreibe einen Kommentar

How to make beautiful bird ornaments with feathers

bird ornament DIY simple

Follow our tutorial and learn how you can make beautiful bird ornaments simply by using a few feathers and a couple of spun cotton shapes. When creating this tutorial, we tried to come up with something easy, stylish, natural looking and that only requires a few materials. We hope you enjoy it.

Our bird ornament is mounted on a piece of floral stem so it looks like it’s floating. You can bend the floral stem different ways (see examples below) whether you prefer to display your bird in a floral arrangement or as a hanging ornament.

Feathered Bird Ornaments – Project materials:

spun cotton eggs blank small sizes

Spun cotton eggs : 12, 18, 20, 25, 30, and 40mm long

craft project balls

Spun cotton balls : 8, 10, 12, 15, 18, 20,25, and 30mm.

Spun cotton shapes are made of paper and can easily be glued to each other.  Notice how they all have a small hole on one side.

  • One strand of 18 gauge paper wrapped floral stem wire.
Use stem wire and spun cotton shapes together
  • A few feathers. We used three for this project. We wanted a bird project that makes conservative use of feathers but still looks great.
feather for feathered bird ornaments
  • A little bit of glue. We used regular white tacky glue. It works very well. It dries fairly fast and creates a strong bond.
  • A tiny fragment of a wood twig for the beak.
  • A black marker to draw the eyes.

Step by step tutorial:

1: The body

Glue together the spun cotton egg and the spun cotton ball

Spun cotton egg and ball
Step 1

2: Add the feathers

Glue the three feathers onto the spun cotton egg. One feather goes on each side and one feather goes on the bottom.  Just a little bit of glue is enough to make the feathers stick.

Notice the feathers are naturally curvy. Make sure the 3 feathers all point inward, not outward.

3: Draw the eyes

We recommend that you mark the position of the eyes with a pencil first. Make sure the pencil marks are at the same level on each side before going over them with a permanent marker.

bird ornament tutorial
Step 3

4: The beak

Cut the beak in a little piece of wood, such as a small twig. You can then use a pair of tweezers to glue it on. Note that there is no rule dictating how long the beak should be.

When done, finish by inserting a floral stem in the hole located in the front of the bird. You can bend the stem one of 2 ways: downward (so you can plant the stem into a vase) or upward (so you can hang the bird as an ornament). If you bend the stem upward, you can add a little 10mm spun cotton ball at the other end of the stem for style.

This is it! 

We hope you enjoyed this tutorial and found some inspiration and some motivation to get started with your own DIY bird ornaments. And as always, if you have any questions or if we can help you with anything, do not hesitate to leave a comment.

NOTE: A big thank you to our talented milliner friend Shelley at Chapeaux by Shelley who sent us the feathers.