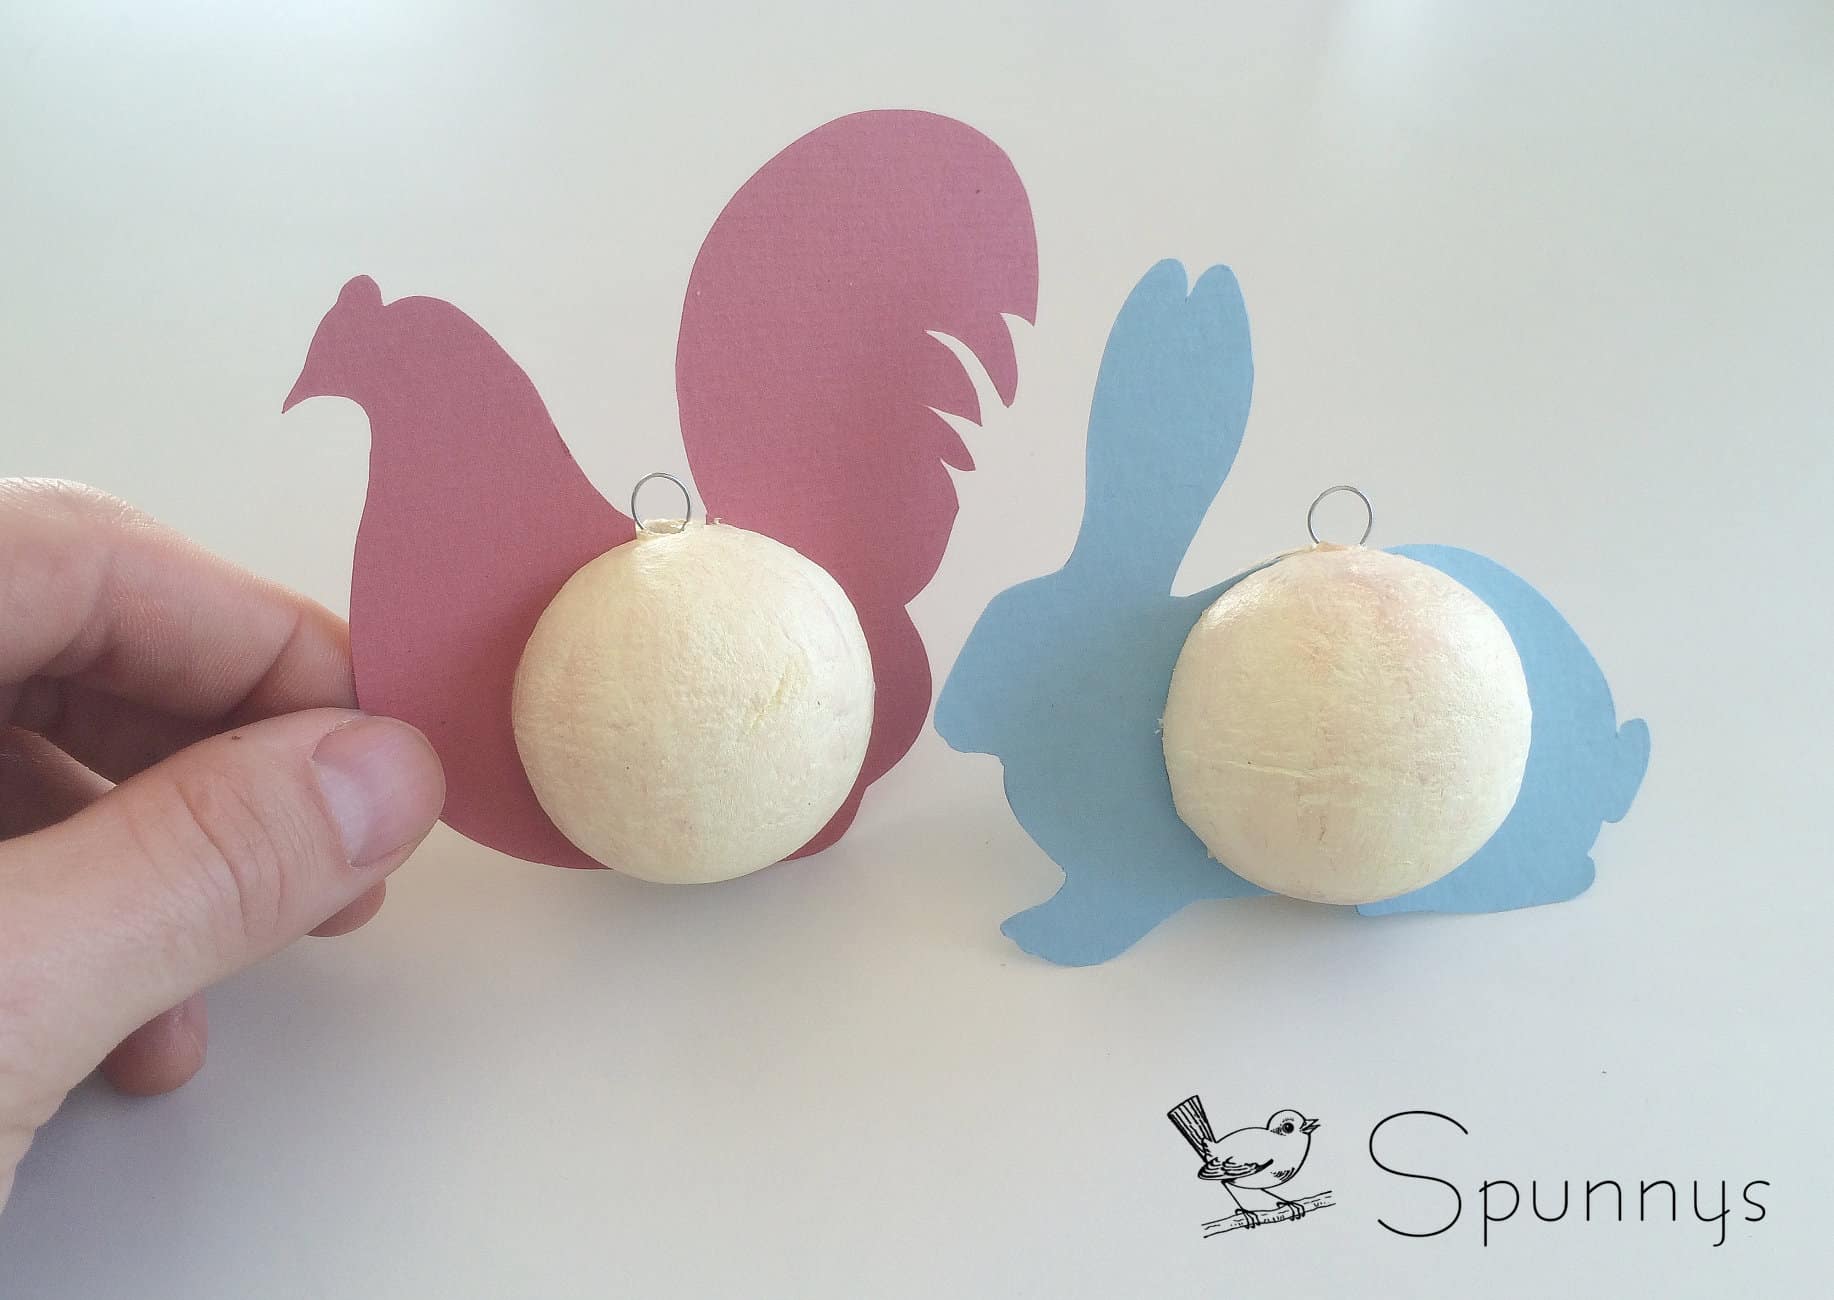
Follow our tutorial and learn how you can make Vintage Style Easter Ornaments from spun cotton balls and colored card stock.
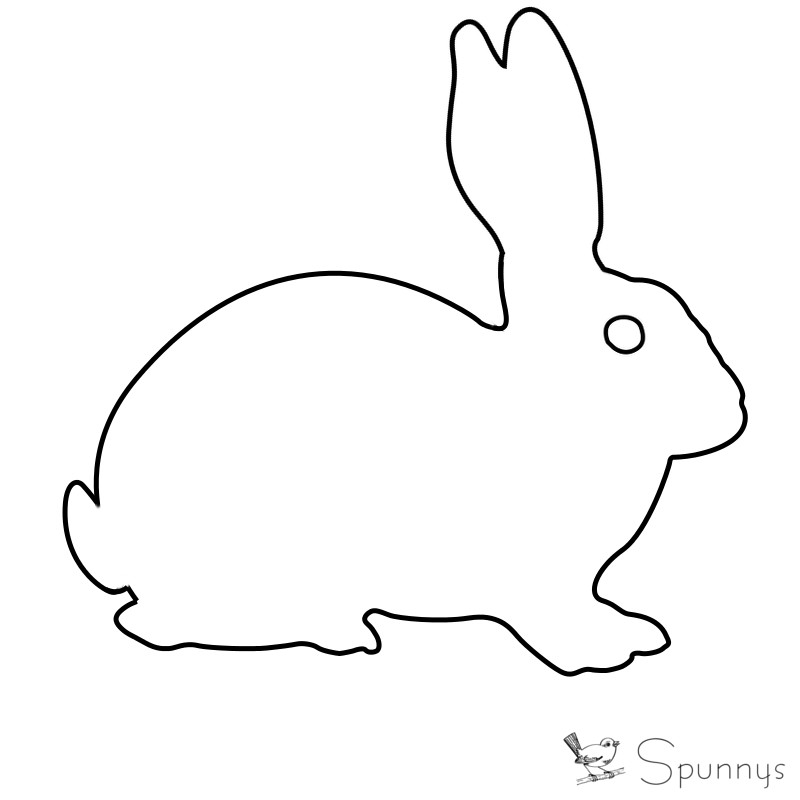
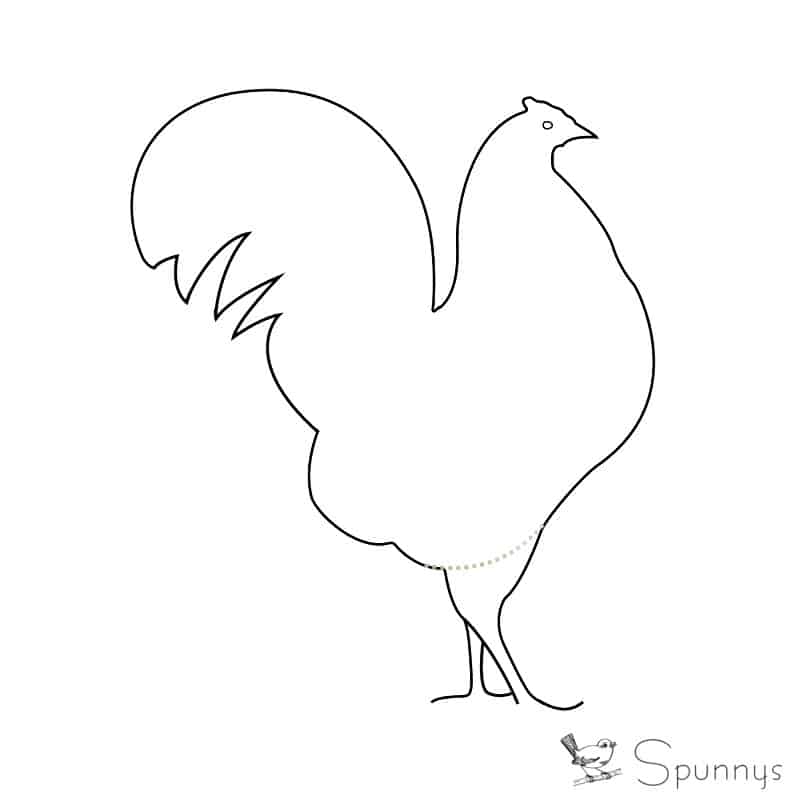
The templates for the bunny and chicken silhouettes can be downloaded below.
PROJECT MATERIALS
- Colored stock paper or cardboard (make sure the two sides are colored).
- 40mm spun cotton balls. The downloadable silhouette templates below are just the right size to work with 40mm balls.
- A good pair of sharp scissors
- A pack of Christmas ornament hooks (see picture below). You could also make your own with small gauge metal wire.
- A few pieces of colored ribbon
- Paint and paintbrush.
- A glue gun or tacky glue.
- A rubber band.
- A bread knife.
STEP BY STEP TUTORIAL
Step 1: Gather all your materials
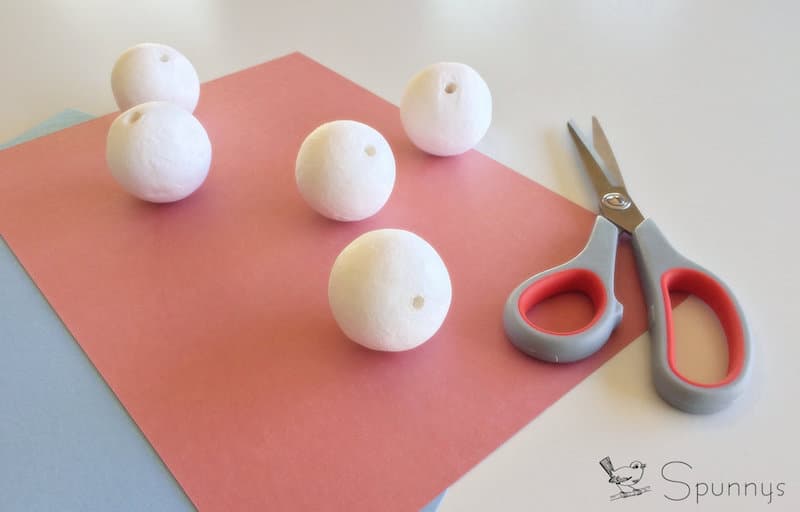
40mm diameter spun cotton balls
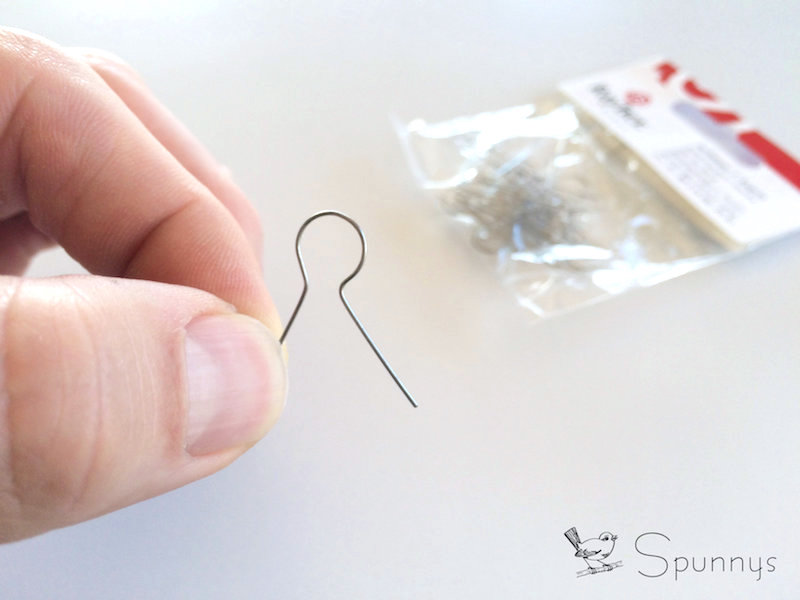
A pack of hooks
Step 2: Paint the spun cotton balls. We created our own off-white color by mixing a little bit of yellow paint into white paint.
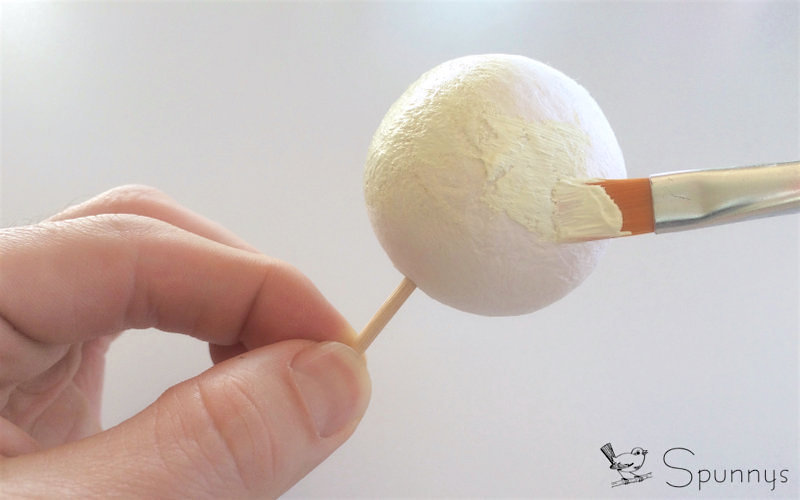
A toothpick comes in handy to hold the balls.
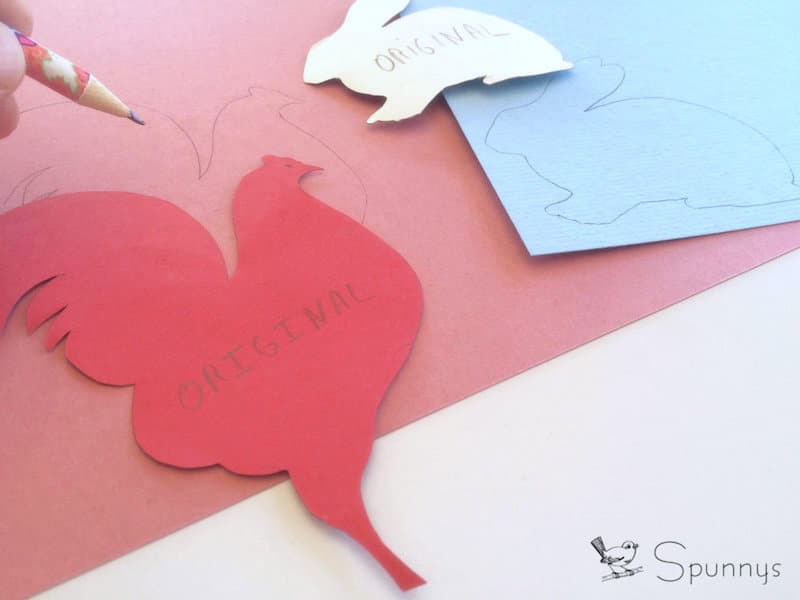
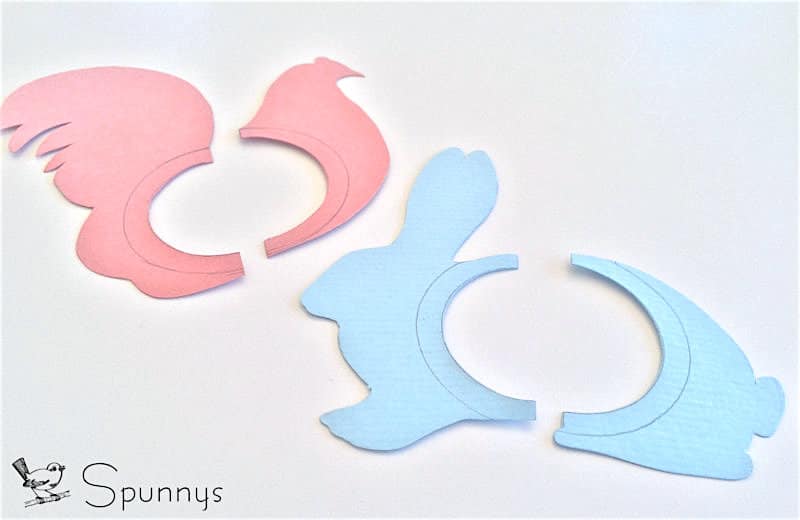
Step 3: Outline the chicken and rabbit silhouettes onto the colored stock paper (you can download our silhouettes or create your own). Once the silhouettes are outlined, carefully cut them out with the pair of scissors.
Step 4: Draw ø 40 mm circles on the silhouettes to mark where the balls will ultimately be positioned. Then draw a second smaller circle within the larger circles. Finally draw a vertical line in the middle of your circles.
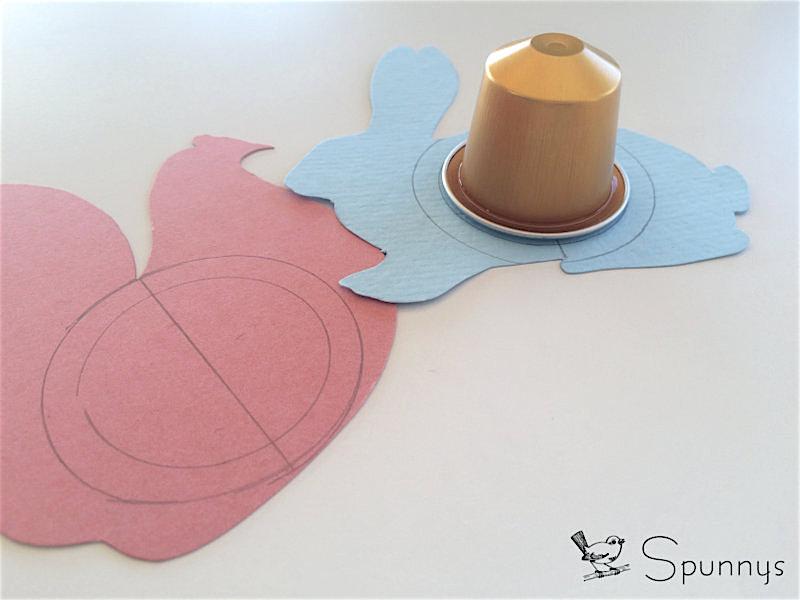
You can use a coffee pod to draw the inner circles.
Step 5: Cut each silhouette in half. Then cut out the inside part of the inner circles.
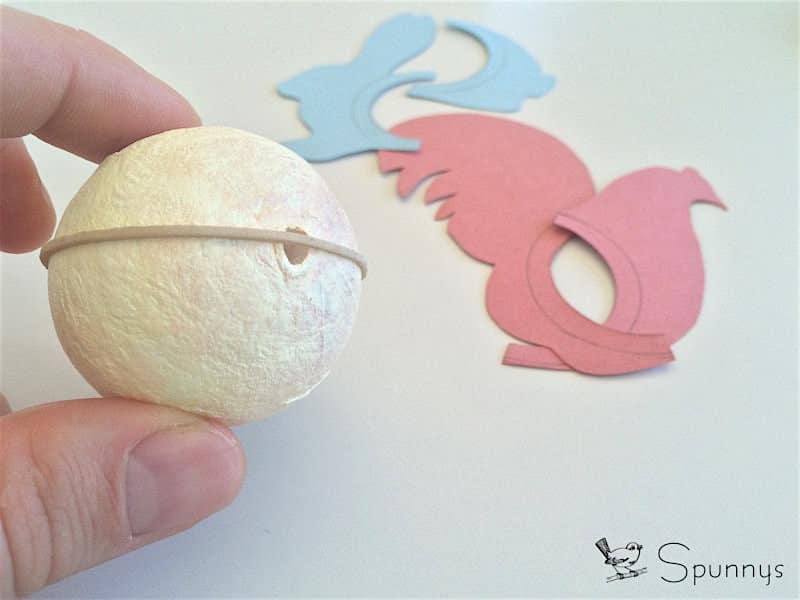
Step 6: Tie a rubber band around a ball so as to create two identical halves. Draw a pencil line along the rubber band, remove the rubber band, and with the bread knife, make a quarter inch incision along the line.
Repeat with the other ball.
Step 7: Pour a little glue in the holes and insert the metal loops. Hold the loops in position for about 15-30 seconds until the glue is dry. If you are using tacky glue, you will have to wait a couple hours for the glue to dry.
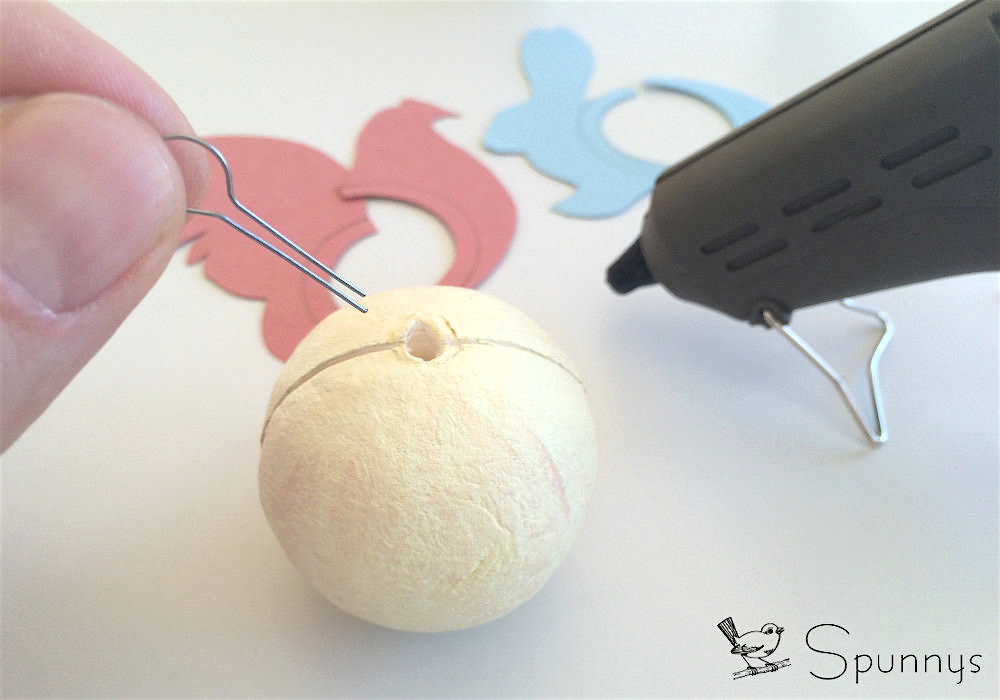
You can re-shape the metal loops a little bit so that they are easier to insert in the holes.
Step 8: Simply slide the cardboard silhouettes into the incisions.
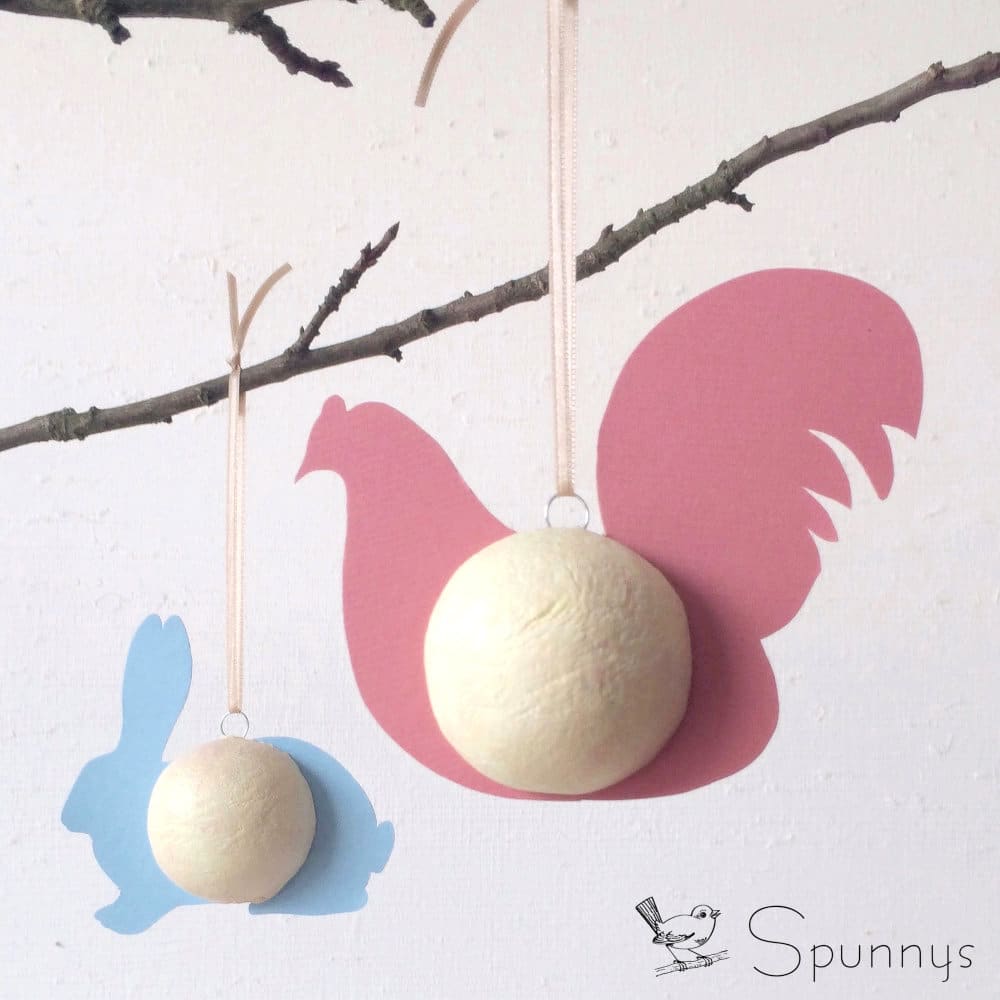
Step 9: Use little pieces of ribbon to hang your finished ornaments.
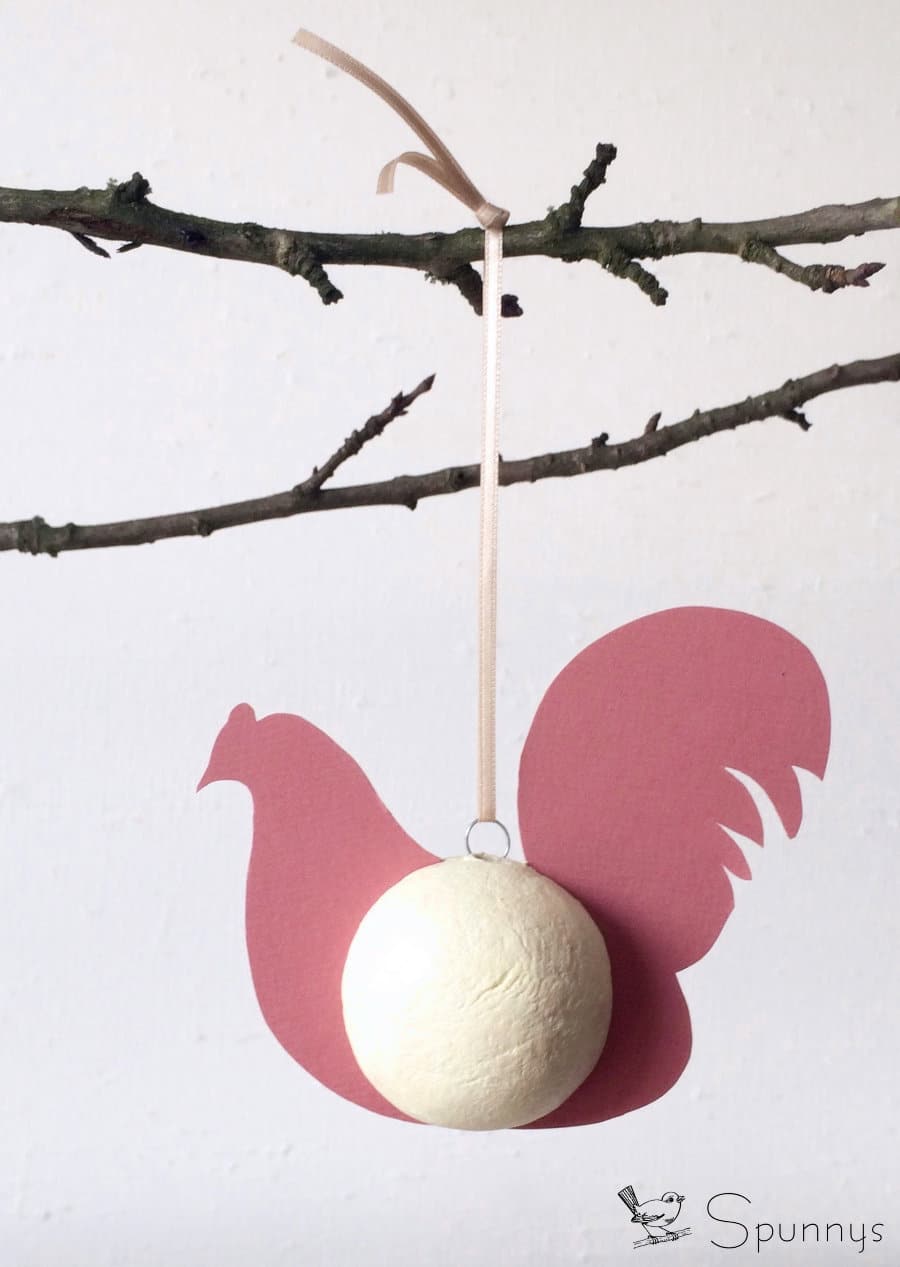
You are done :)
I hope you enjoyed this tutorial and and as usual, do not hesitate to send us your questions or use the comment fields below.