Posted on 1 Comment

How to make your own Vintage Spun Cotton Doll Heads – DIY tutorial

Check out our tutorial and learn how you can make your own vintage-style spun cotton doll heads from ø 30 mm spun cotton balls.

Vintage spun cotton doll heads are rare works of art and prized items among collectors. Their making is a tradition that started in Germany back in the late 19th century.

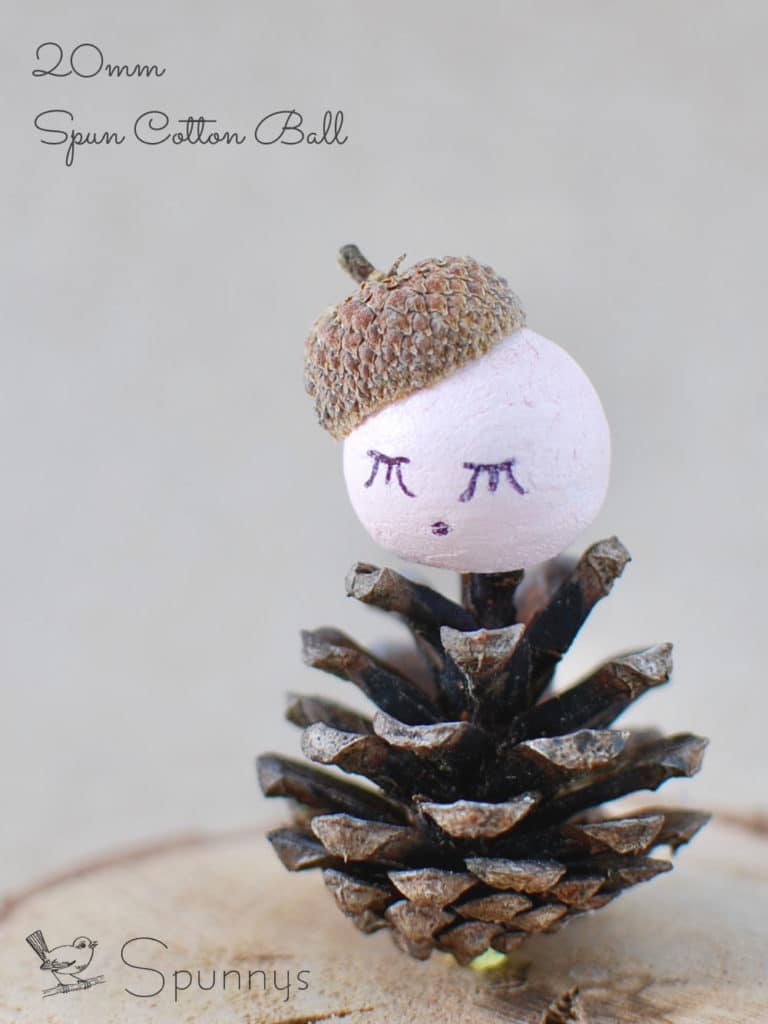
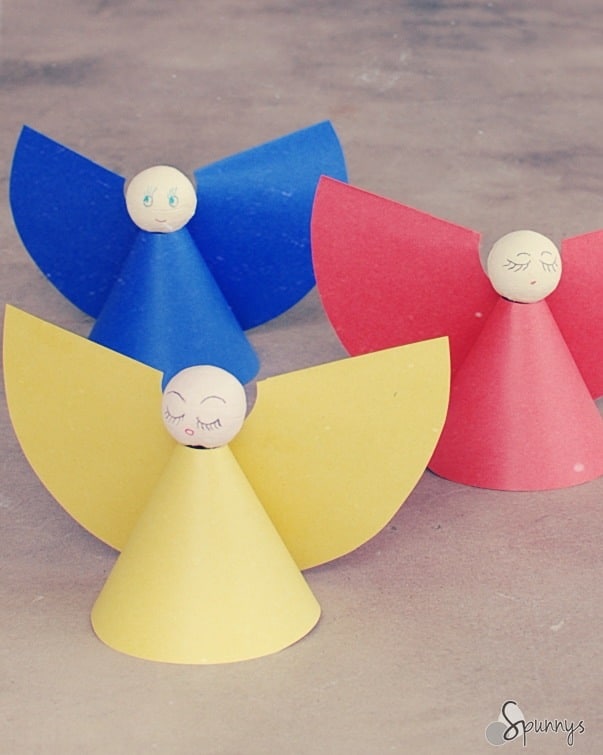
You can use the finished doll heads to fashion beautiful vintage angel figurines, elves and fairies ornaments, Christmas doll ornaments, pine cone fairies, tatted angels, and more.

Vintage Spun Cotton Doll Heads – Materials:

  • ø 30 mm SPUNNYS spun cotton balls (about 1-3/16 inches).
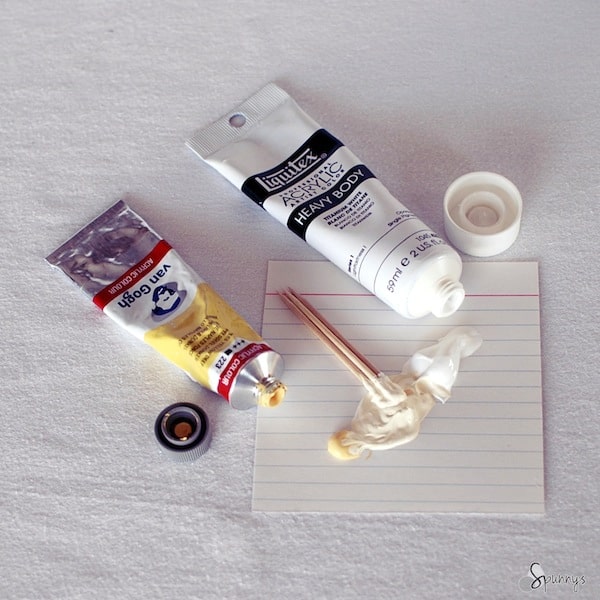
  • Paint for the desired skin tone (acrylic paint works particularly well).
  • A few color pen (ballpoint or ultra fine markers) – black, red, and blue.
  • Toothpicks or bamboo skewers to rest the balls while the paint dries.
  • A pencil and an eraser to outline facial features before drawing permanently.
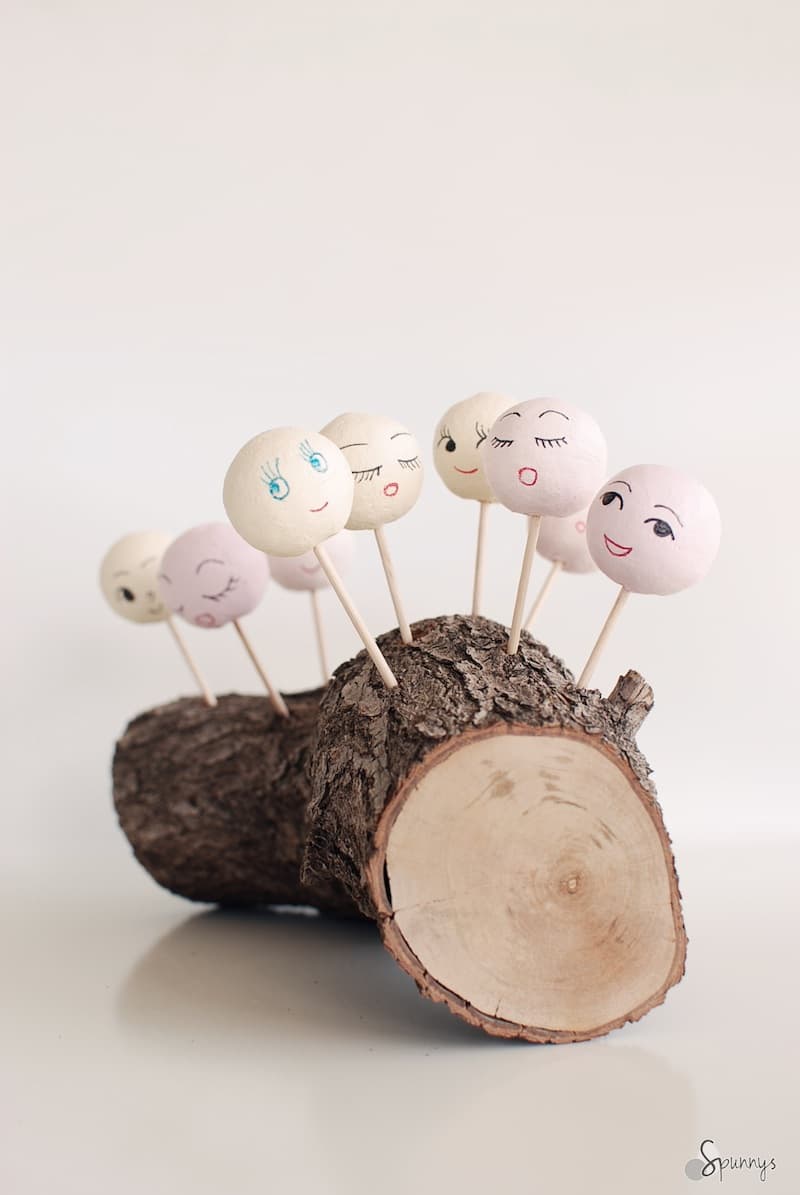
Doll head picks vintage spun cotton

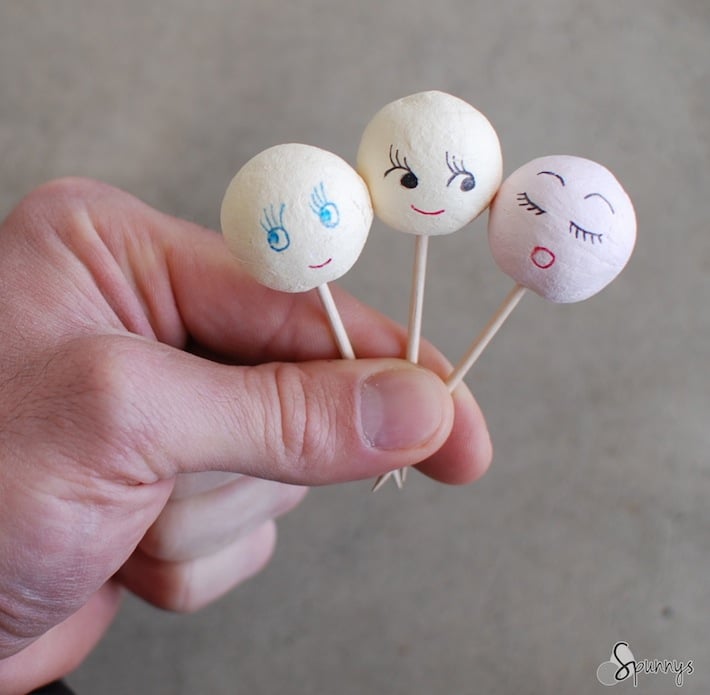
A simple ballpoint pen works fine to draw on spun cotton .

Step by Step Directions:

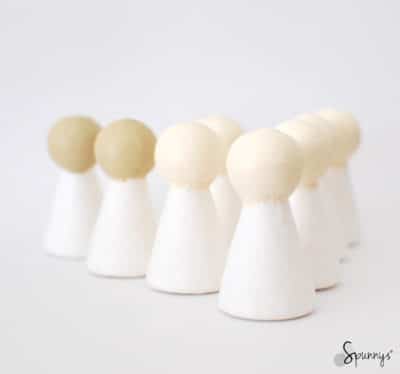
1: Make your “vintage color” paint mix. Vintage spun cotton doll heads are often a pale brown, yellow or pink. You can easily obtain these colors by mixing a little white in your paints.

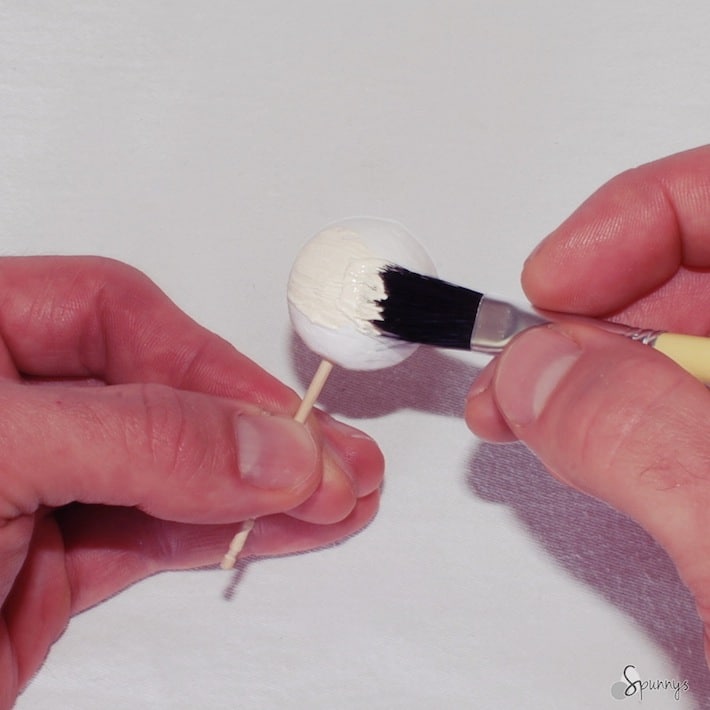
2: Paint the balls with the desired skin tone color. It helps to hold the balls on a toothpicks or bamboo skewers while painting them. Paint should only take about 10 min to dry.

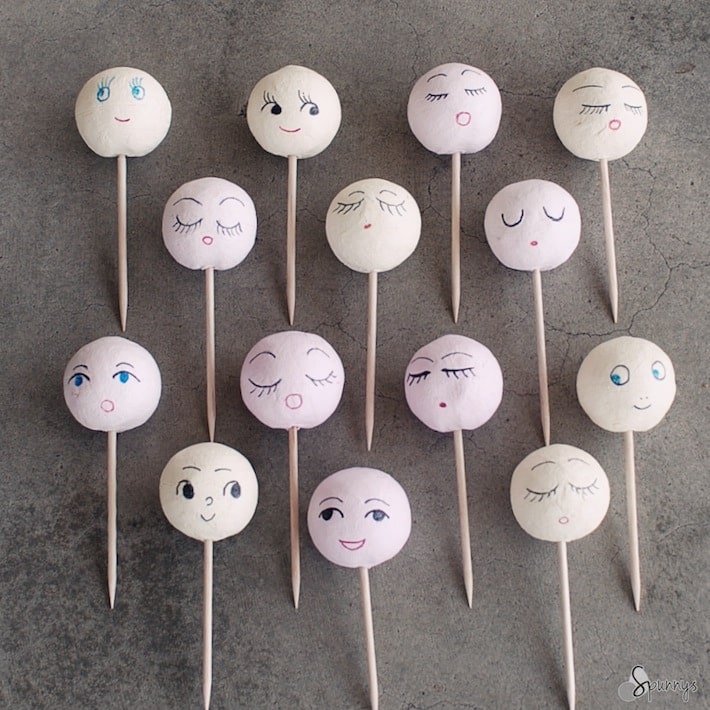
3: When dry, draw a face with a ball pen or ultra-fine marker. Use different colors.

You are done :)

Things you can do with your vintage doll heads:

You can use your beautiful vintage inspired doll heads many different ways:

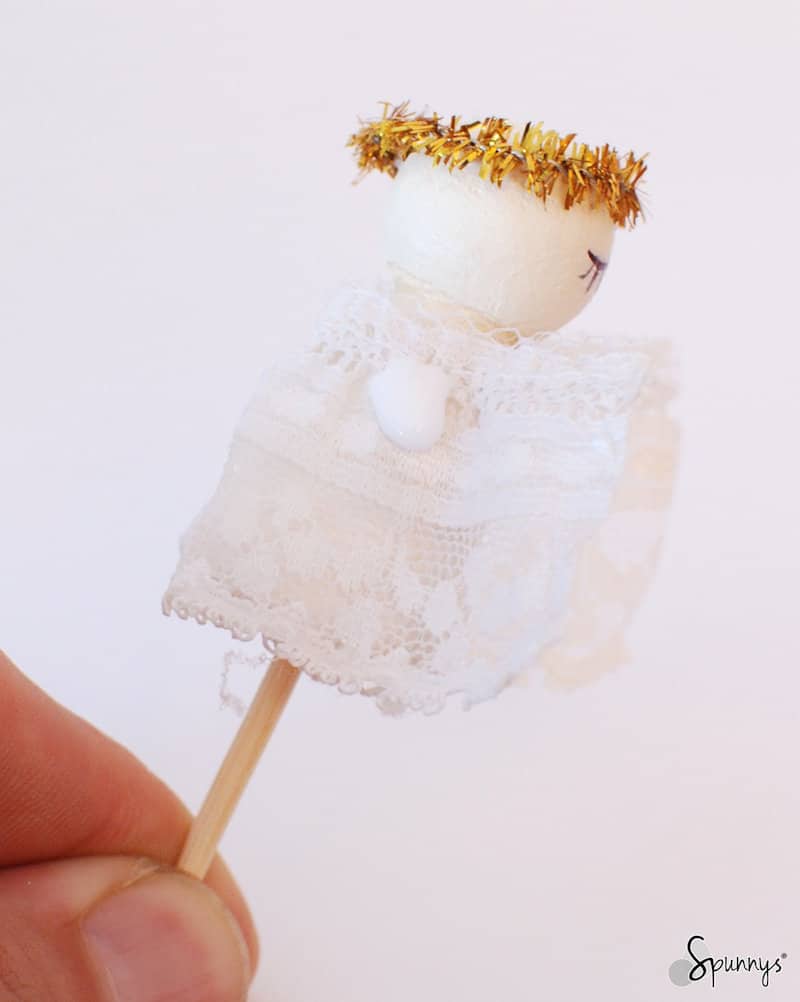
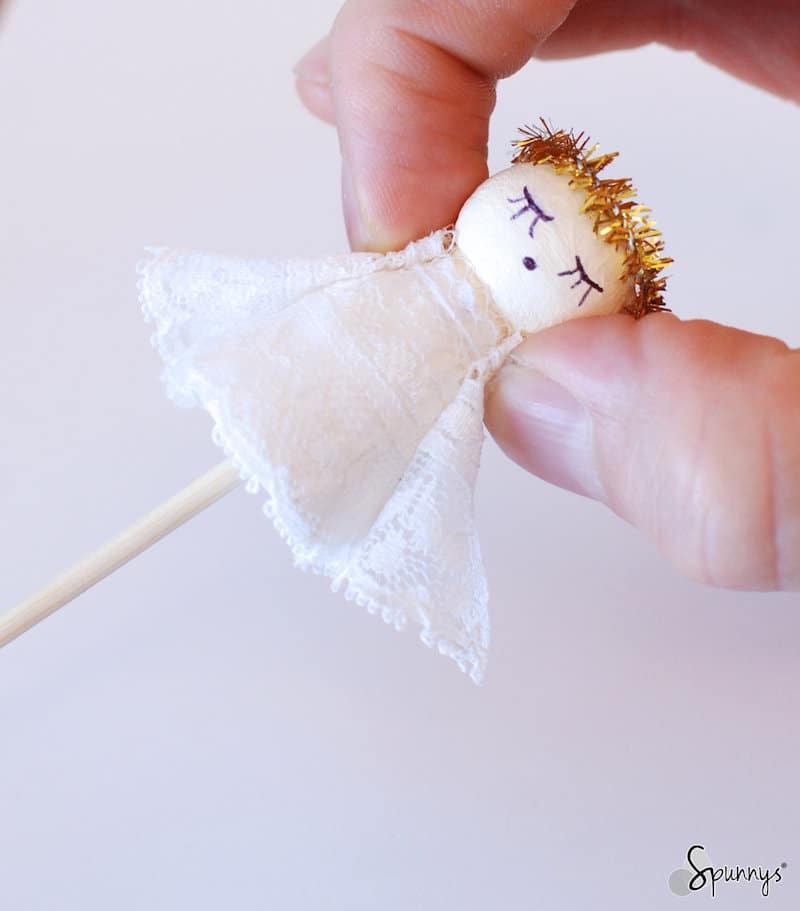
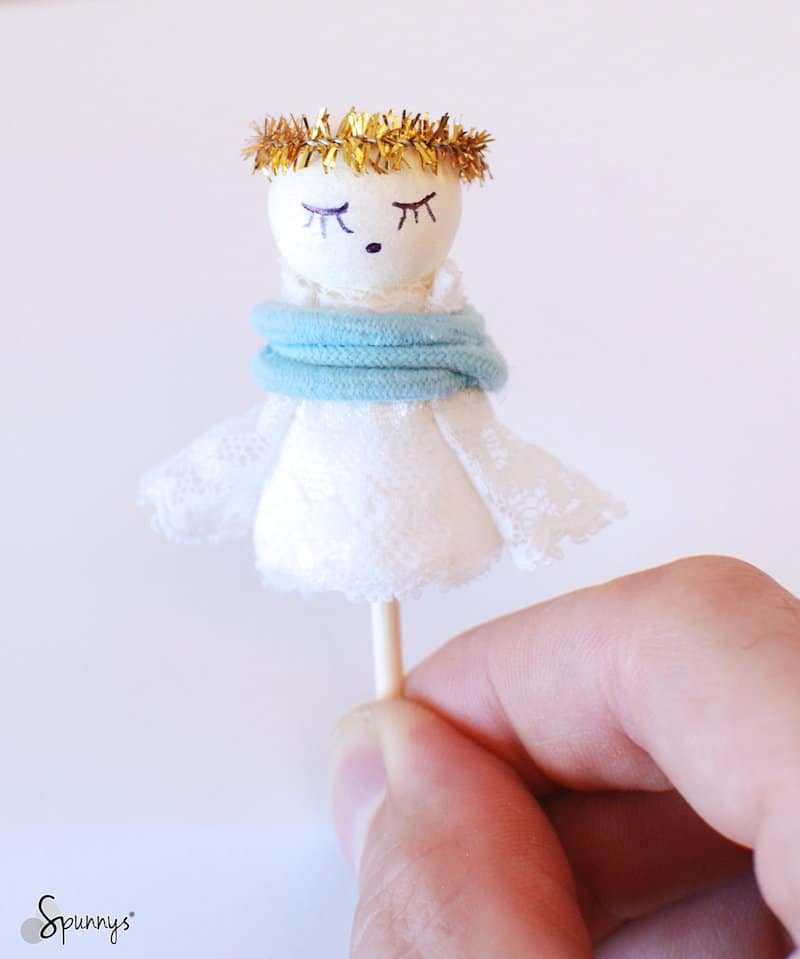
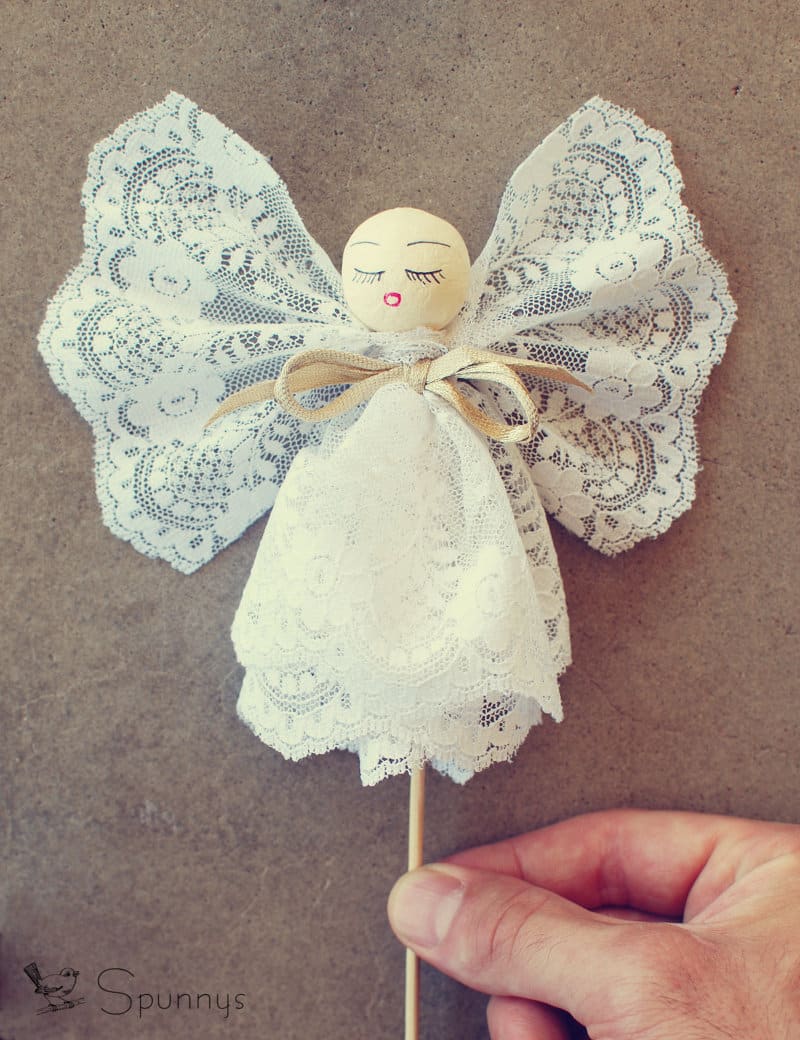
Vintage spun cotton Christmas angel ornaments. The body can be made with lace, pipe cleaners, felt, tulle netting, crepe paper, fabric, crochet, knitting, tatting…

– Traditional spun cotton Christmas elves, santas, or snowmen ornaments.

– Retro style Chenille dolls (pipe cleaner dolls).

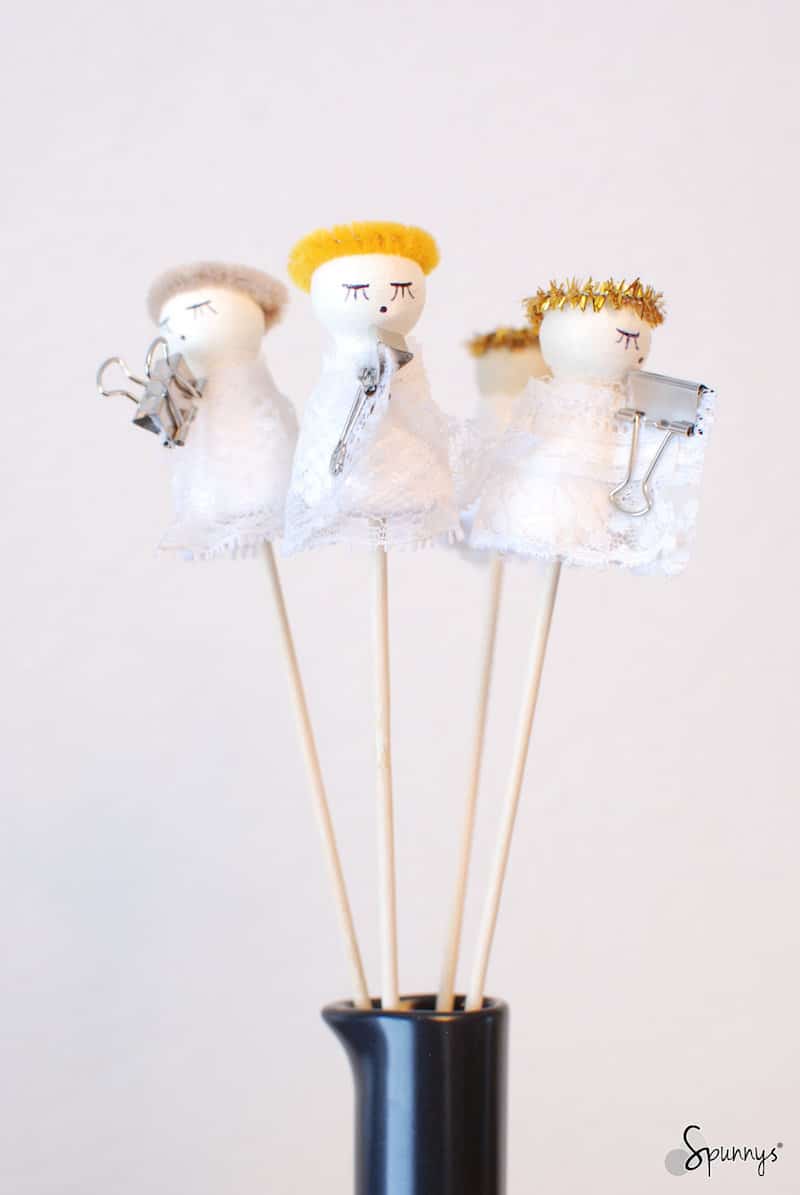
– Toothpick spun cotton heads or vintage party toppers.

– Japan-style vintage spun cotton ornaments…
The doll face “decal” technique

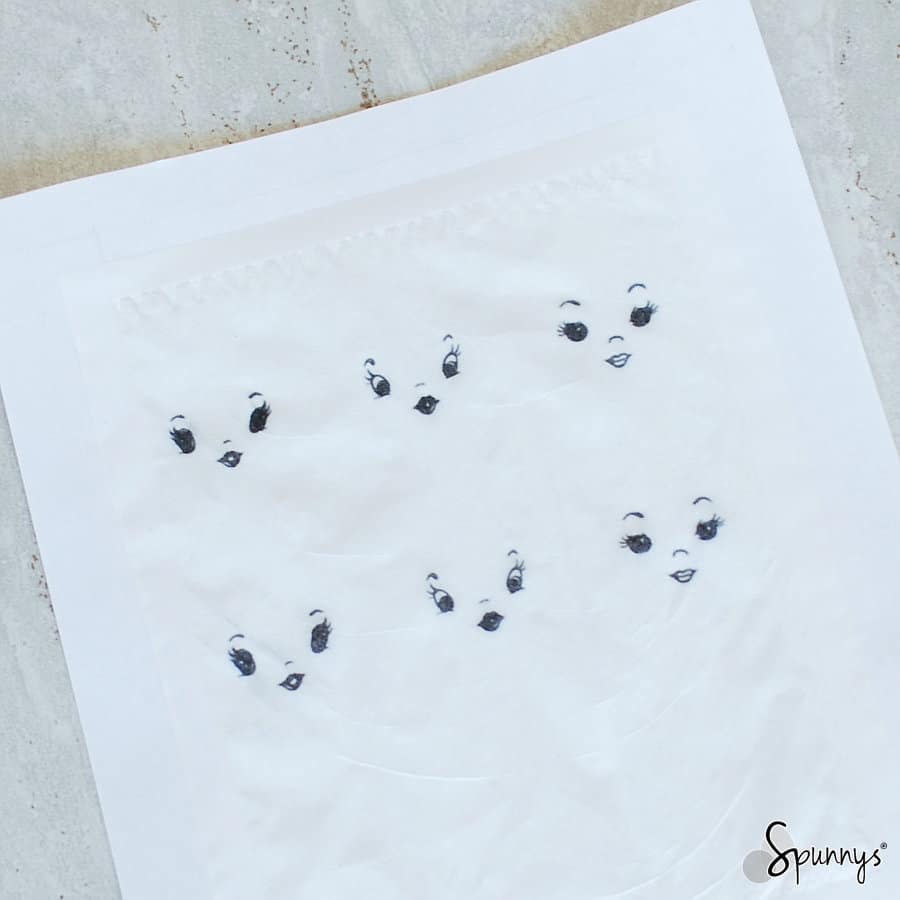
Your can make beautiful vintage spun cotton doll heads without having to draw faces by hand. To do so, you’ll just need a printer and a tissue.
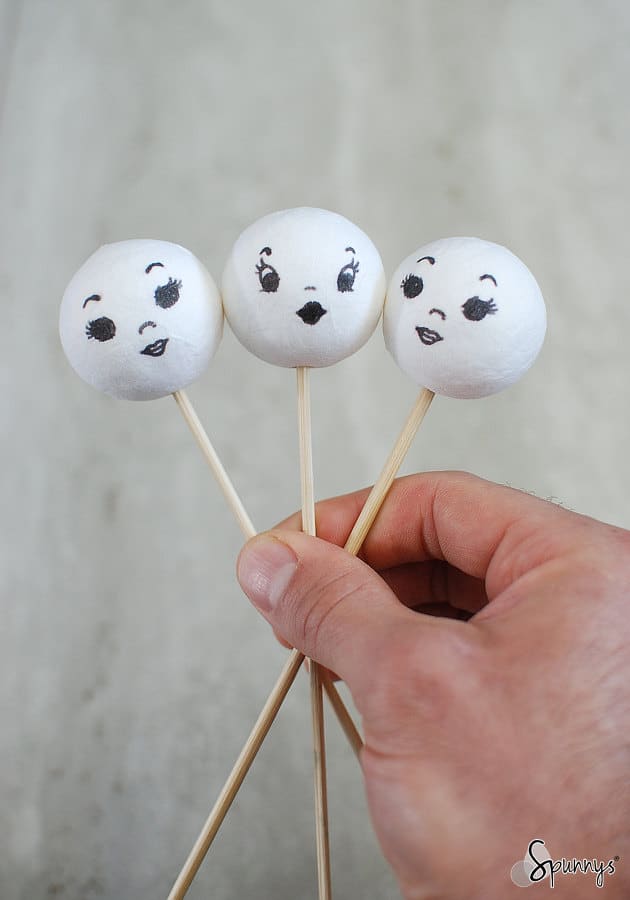
vintage doll heads picks spun cotton DIY

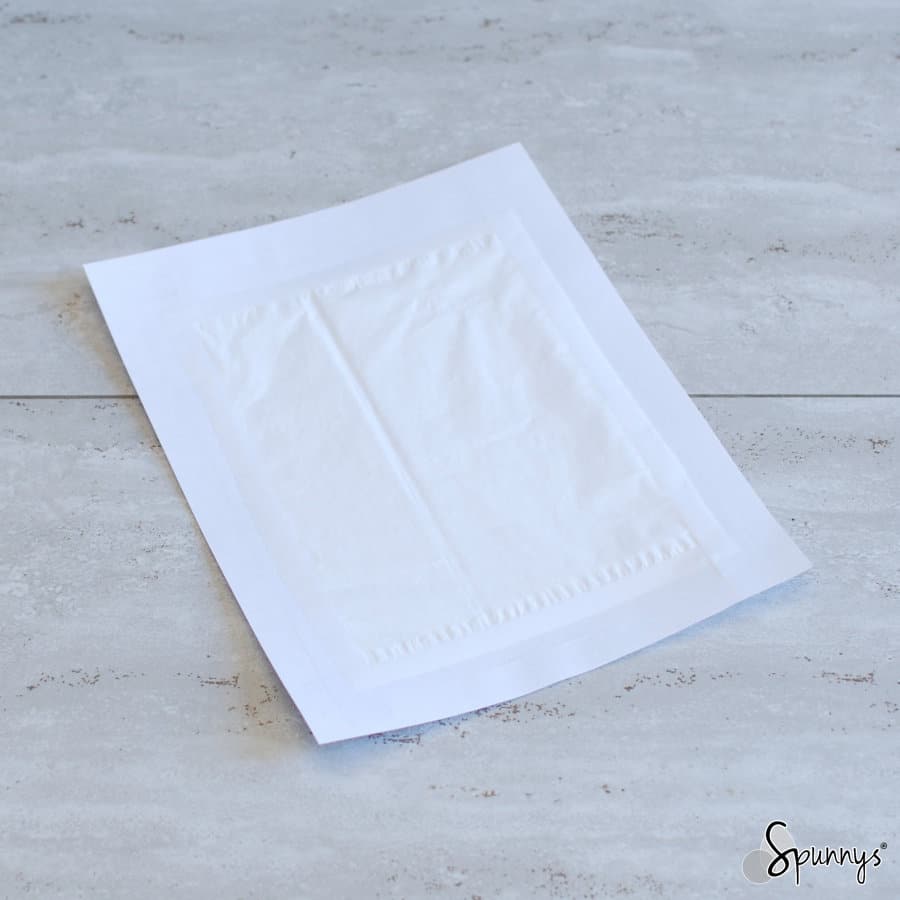
The technique is simple. Tape a tissue onto a piece of printing paper. You may have to trim the tissue a little bit so that it fits within the sheet of paper. Make sure all the edges of the tissue are taped over (this is important). Search the internet for nice doll face images and print them on the sheet you just prepared as if it was a regular sheet of printing paper.

Cut around your doll face prints. Only keep the upper most ply (the one that is printed on). Discard the other ones.
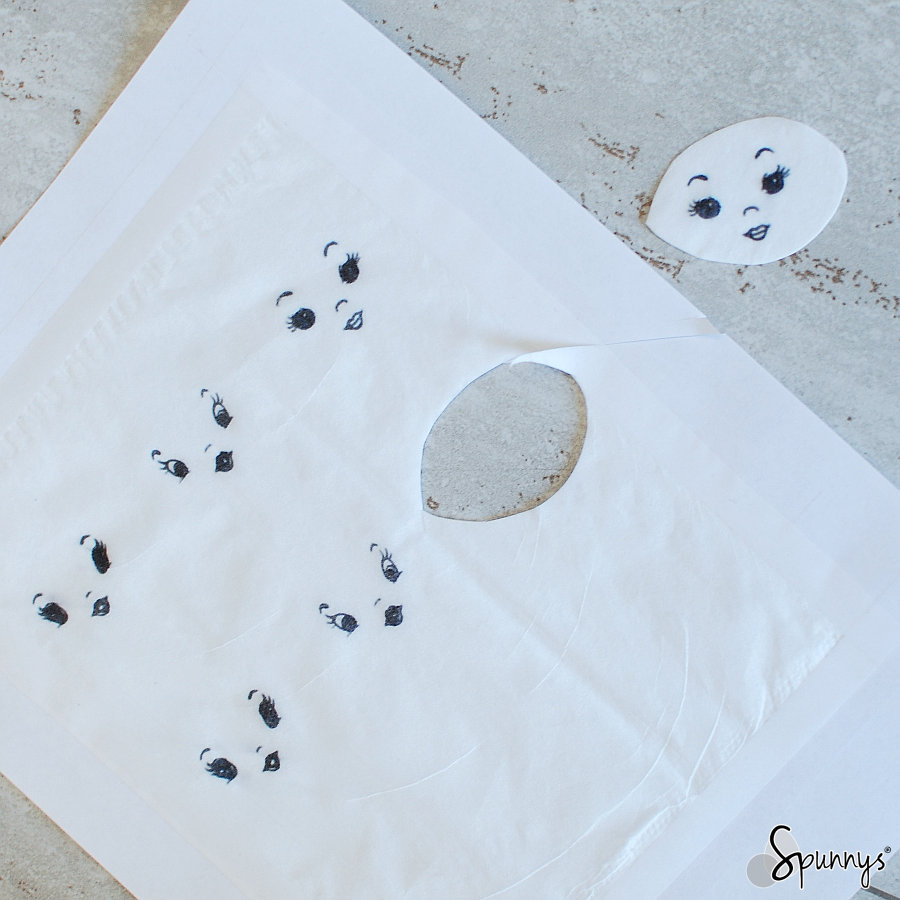
DIY spun cotton doll face tissue transfer 4

Brush some mod podge over a spun cotton ball and delicately position the face over the mod podge. Try to make as little wrinkles as possible (gently tap with your fingers).

Brush a second layer of mod podge over the edges of the tissue to remove all the last wrinkles. However, be careful not to brush directly over the ink because it may smear the ink.
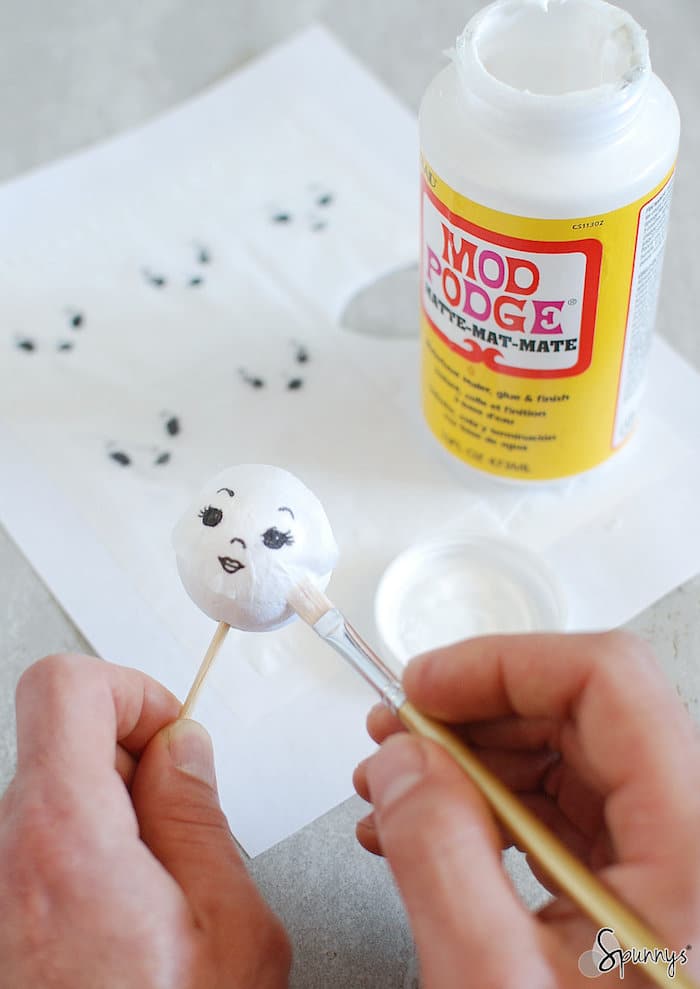
How to make vintage spun cotton doll heads

Wait until the mod podge dries to a clear finish. You are done :)

I hope you enjoyed these tutorials. As always, if you have any questions, do not hesitate to leave a comment. Happy crafting!
Posted on 4 Comments

How to make Vintage Angel Ornaments – two simple DIY tutorials

Check out our two tutorials and learn how you can make your own Vintage Style Angel Ornaments.

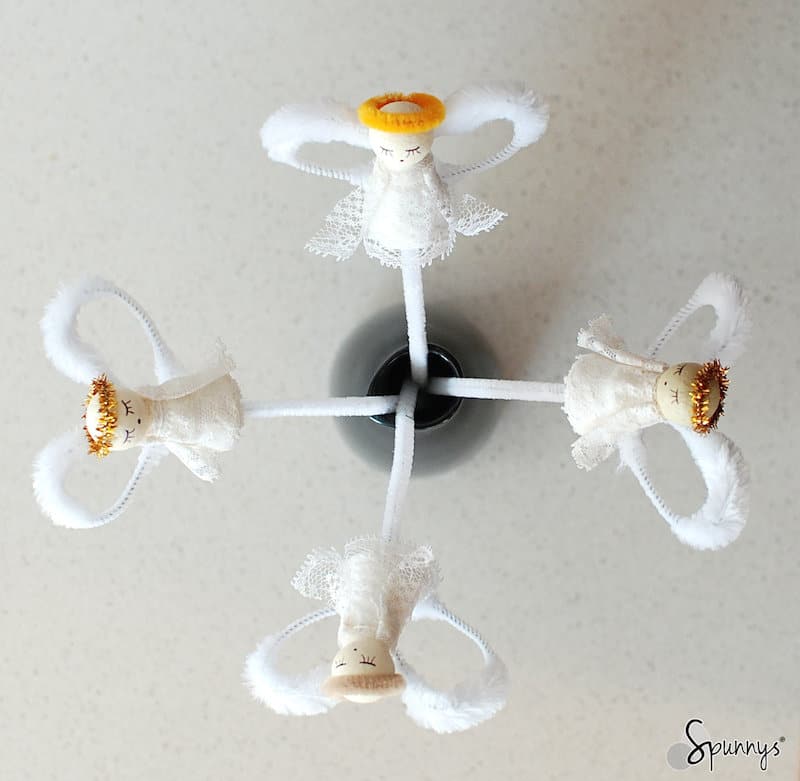
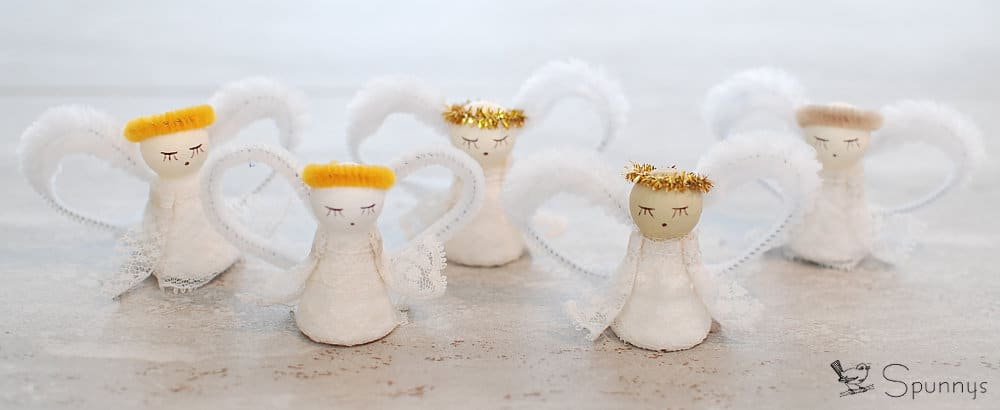
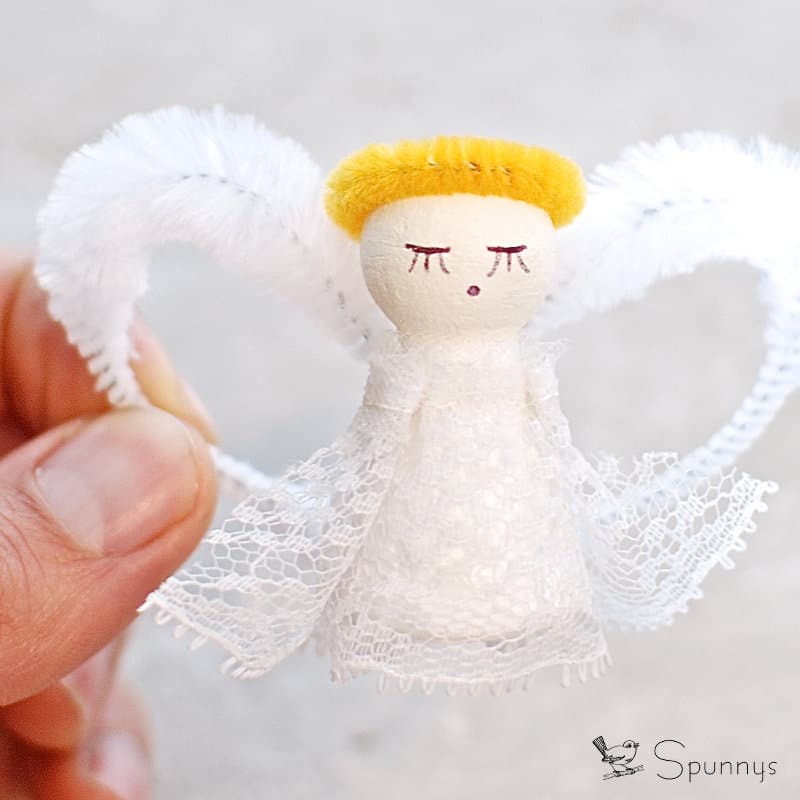
The two tutorials are quite different. The angel ornaments from the first tutorial have fluffy heart shaped wings, and beautiful lace gowns whereas the angel ornaments from the second tutorial have a gorgeous traditional look in which lace is the star of the show.

Tutorial 1: Heart-shaped wings Vintage Angel Ornaments

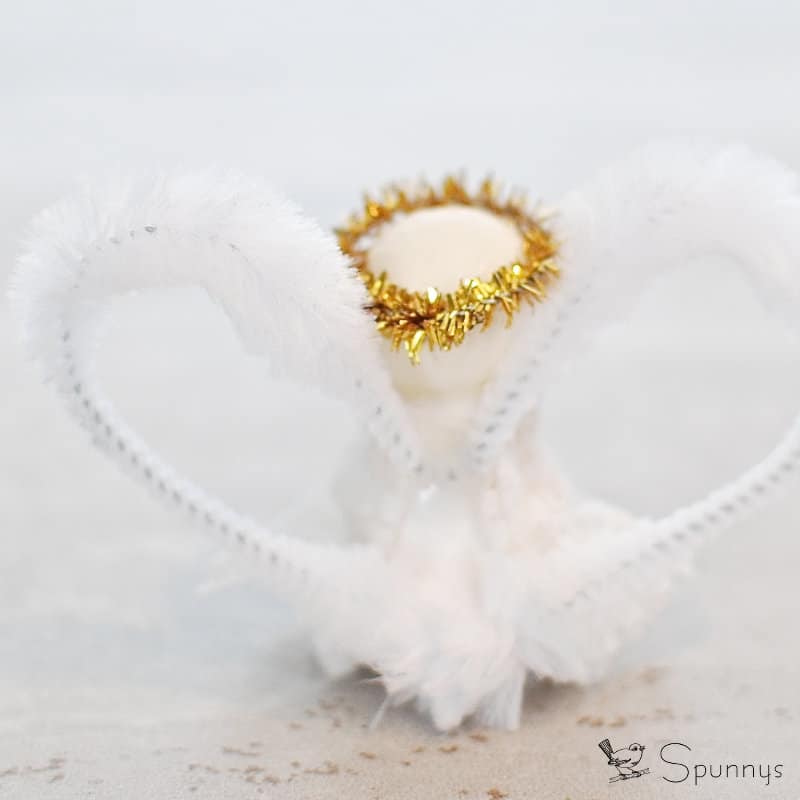
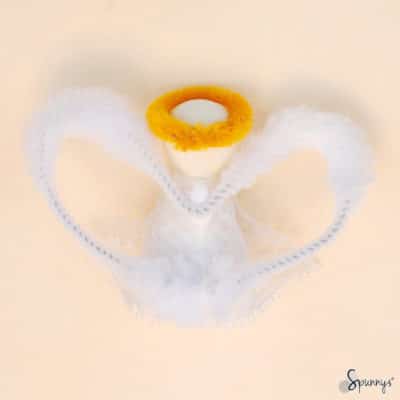
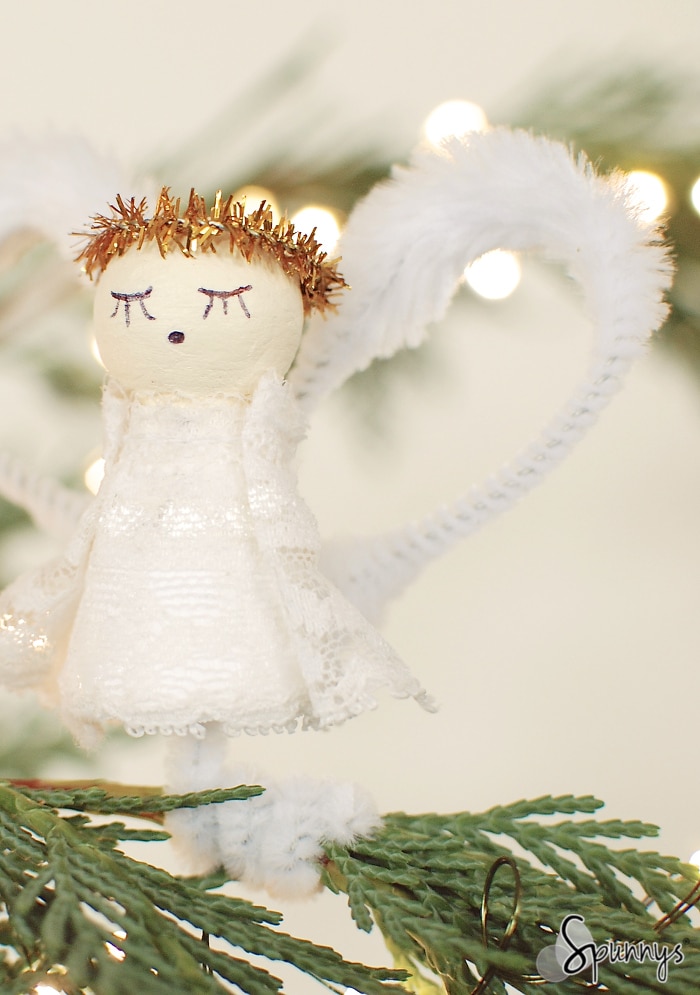
vintage angel ornaments pipe cleaners christmas

Project materials list

  • Blank Spun Cotton Figurines (cone fellow – small).
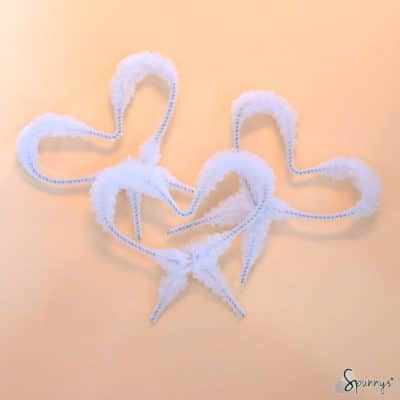
  • Bump white pipe cleaners (one strand per angel).
  • Gold, or yellow, or beige pipe cleaners for the angel halos.
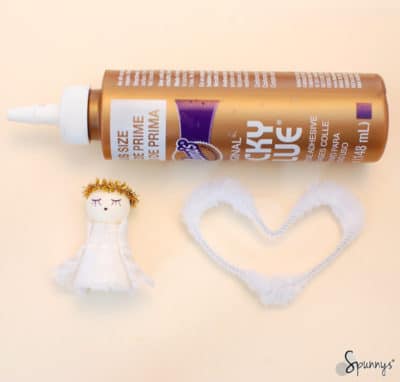
  • White craft tacky glue.
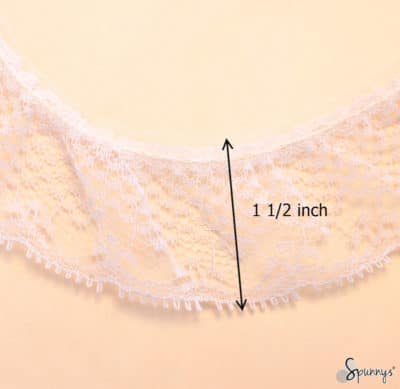
  • 1 1/2 ” wide Ruffled lace, about 4 1/2 inches per angel.
  • A pair of wire cutters.
  • Acrylic paint for the angel faces. Your choice of color.
  • A black ball pen to draw the eyes and the mouths.
bump chenille
White bump pipe cleaner (chenille)

Step by step directions

1: Gather your materials.

2: Paint the heads of the angel ornaments in one solid color.

home decor angel ornament DIY

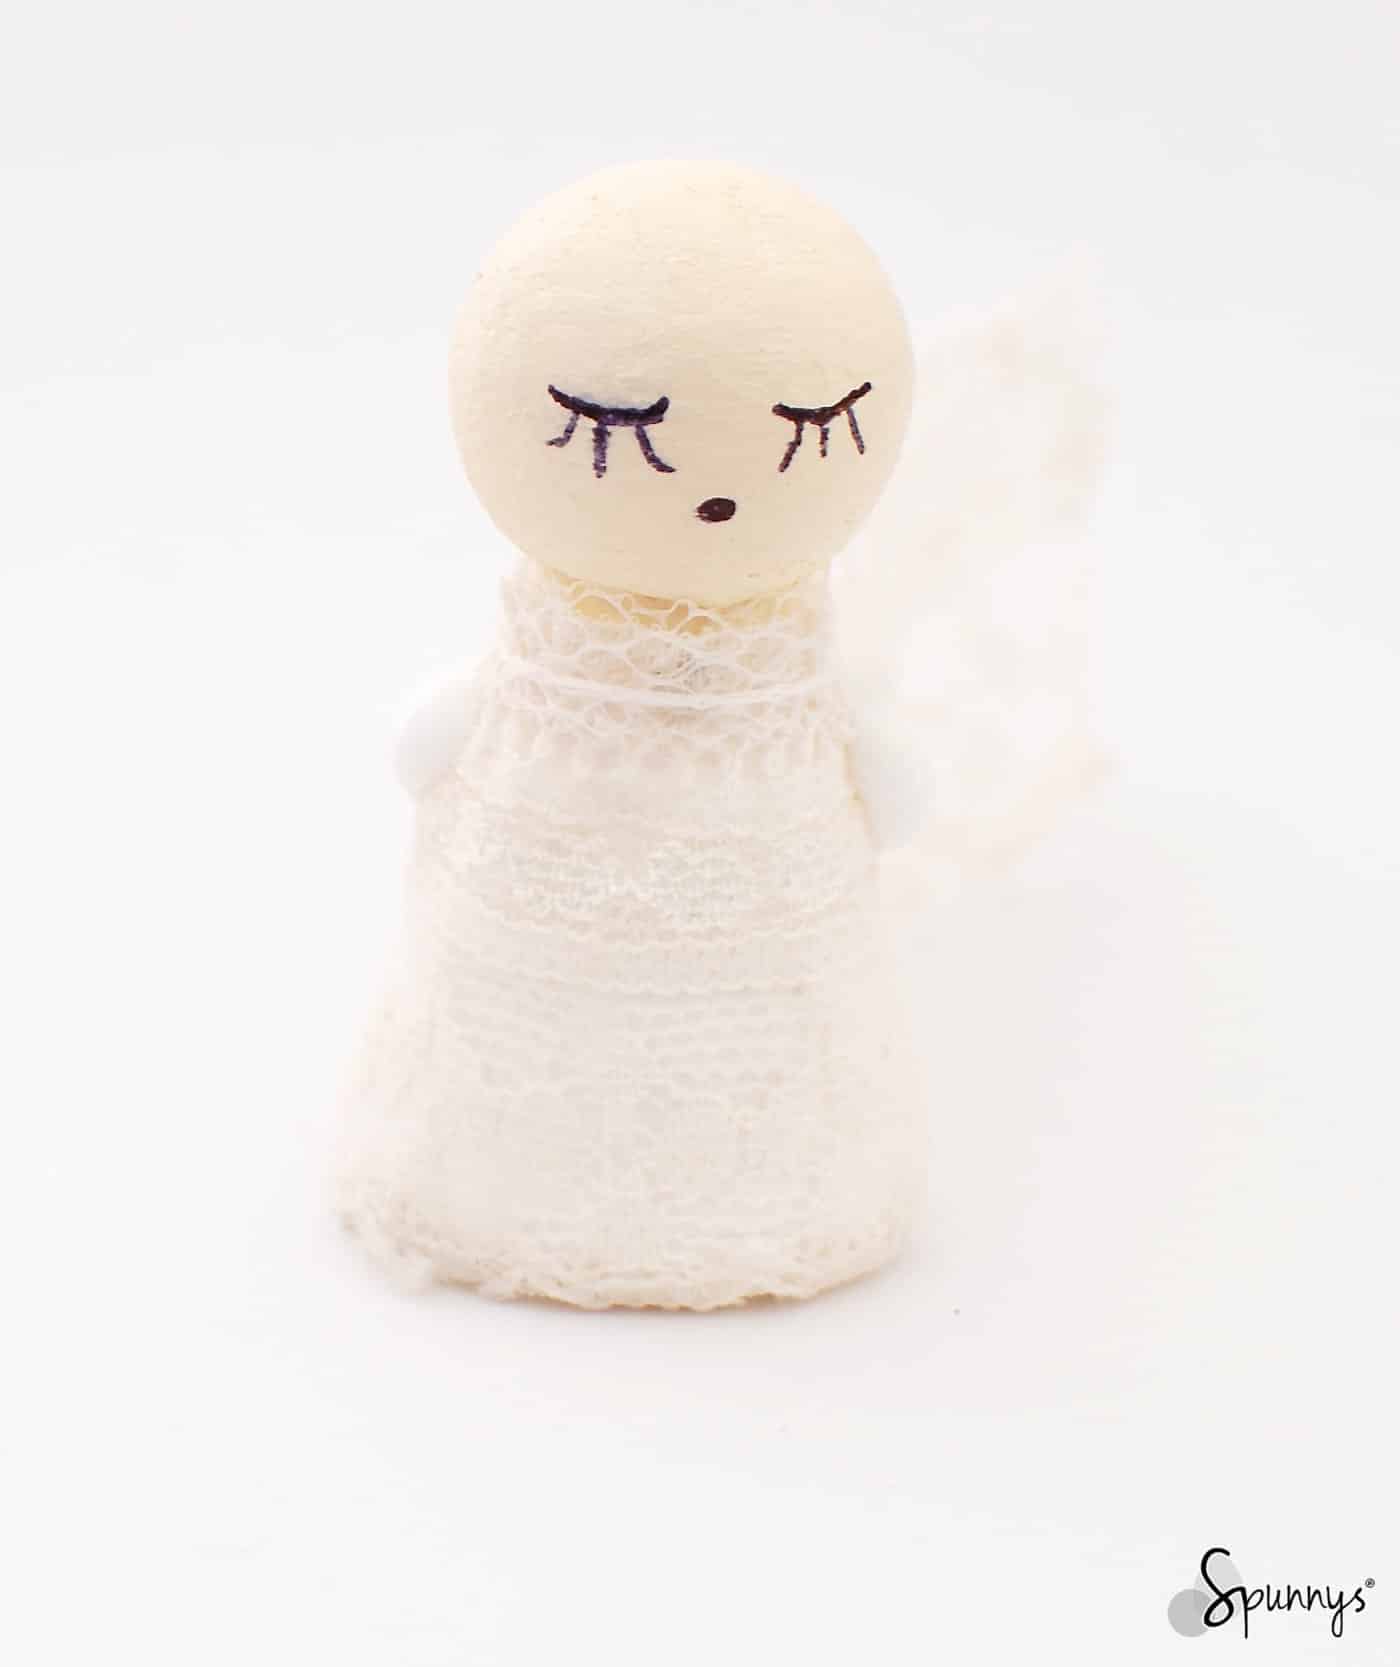
3: With the black ball pen, draw the mouths and the eyes.

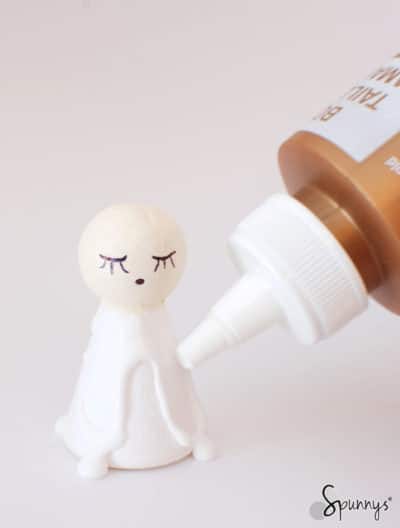
4:. Pour glue on your figurine bodies.

Christmas crafts angel ornament

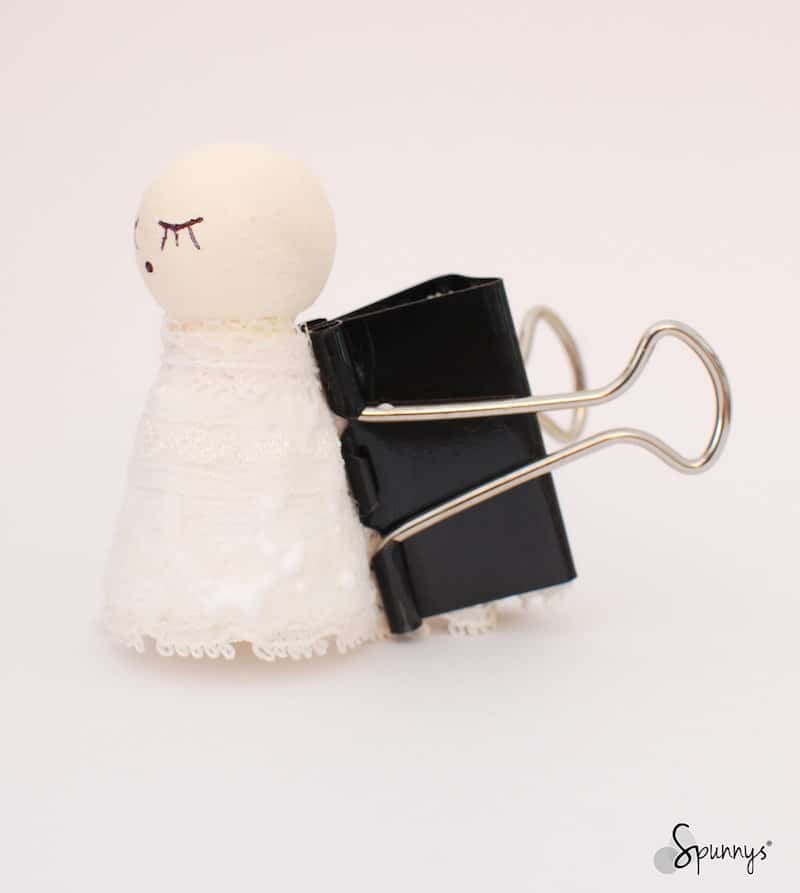
5: Dress each figurine with a 4.5″ long piece of lace. Make sure the ends of the lace meet in the back (you can use a paper clip to keep them together).

6: When the glue is dry, remove the paper clips and pour a small bead of glue on each side of the figurines.

7: Fold the lace over the two beads of glue.  The lace endings are now pointing forward.  Keep the lace in this configuration until the glue is dry. You can use a small paper clip.

Learn to make angel ornaments

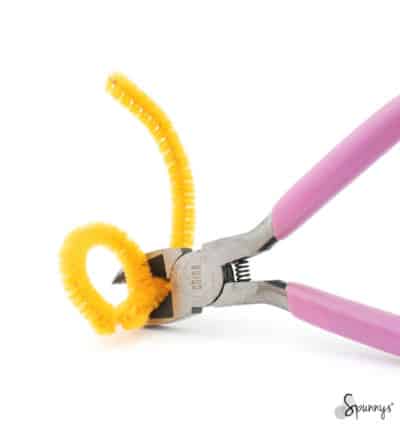
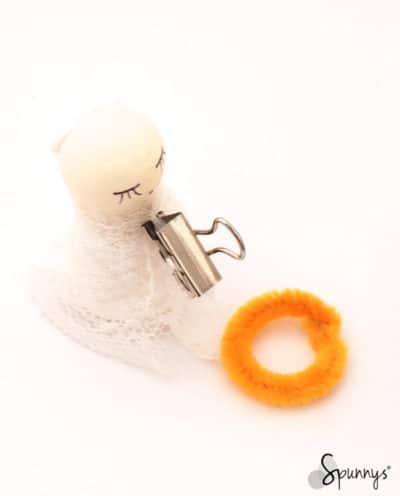
8: While the glue dries, you can work on the halos. Just create a loop with a piece of pipe cleaner, twist the ends together a few times, and cut off the excess.

9: Glue the halos to the angel heads. Try to use as little glue as possible so as not to leave any glue marks.

10: Let your ornaments rest a little until the glue under the halos and the glue under the lace pieces is dry.

11: Remove the paper clips and pour two more beads of glue on the sides of your dolls.

12: Fold the lace ends back and keep them in this position with a rubber band. Let dry.

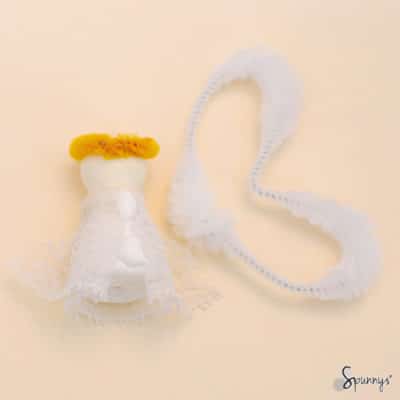
13: Almost done. Bend the white bumpy pipe cleaners into heart shapes. Twist the ends together.

14: Cut off the excess pipe cleaner with a wire cutter.

15: Final gluing. Pour two good size beads of glue on the back of your ornaments.

16: Gently add the wings to your angels. Make sure they are centered

17: Rest your ornaments in a safe and quiet place until the glue is dry :)

YOU ARE DONE :)

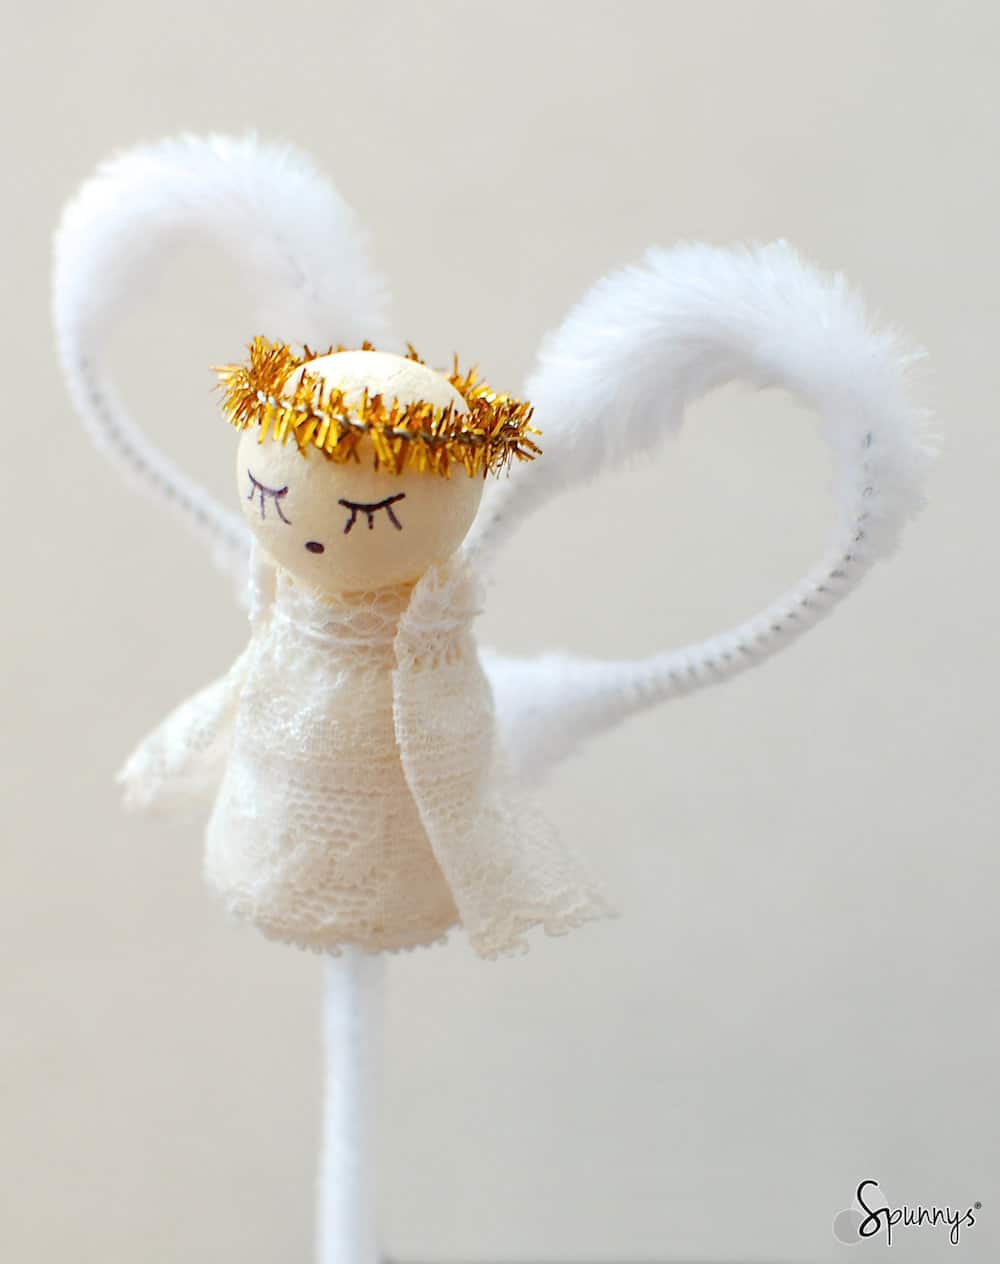
Tutorial 2: Traditional Vintage Angel Ornament

Vintage inspired angel ornaments DIY

Project Materials:

– A 30mm spun cotton ball for the head. They are lightweight and easy to draw on.
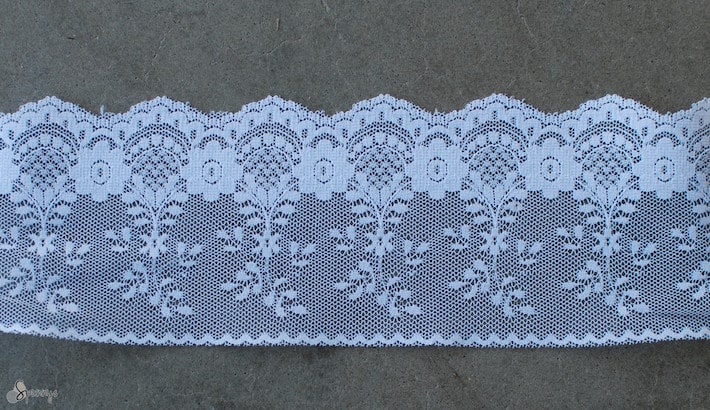
– A piece of lace about 2 feet long and 3 1/2″ wide.
– A crylic paint for the head (I used a pale yellow color).
– A black ball pen (for the eyes) and a red ball pen (for the mouth).
– A piece of ribbon (about 10″ long)
– A bamboo skewer (a toothpick would work too).
– A pair of scissors and a stapler.

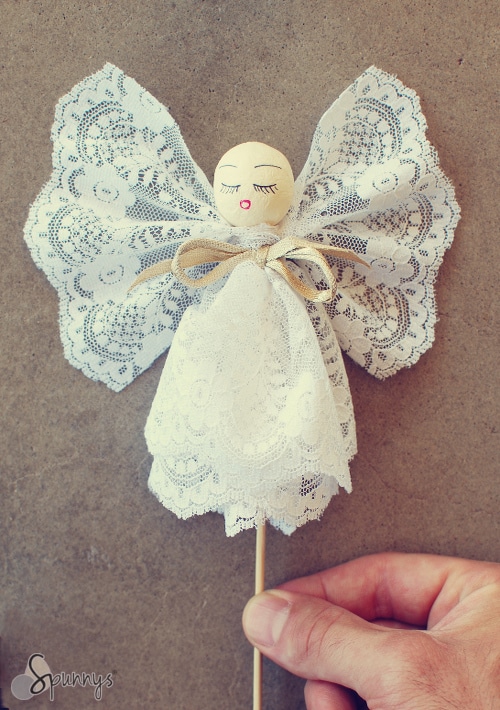
vintage angel ornaments lace
The lace I used

Step by step directions:

  1. Paint the ball in one solid color and let it dry. To give the skin color a vintage look, use a pale washed off color such as pale brown, yellow or pink.
  2. Cut your lace into three pieces:  one long 12″ long piece (the body) and two short 5″ long pieces (the wings).
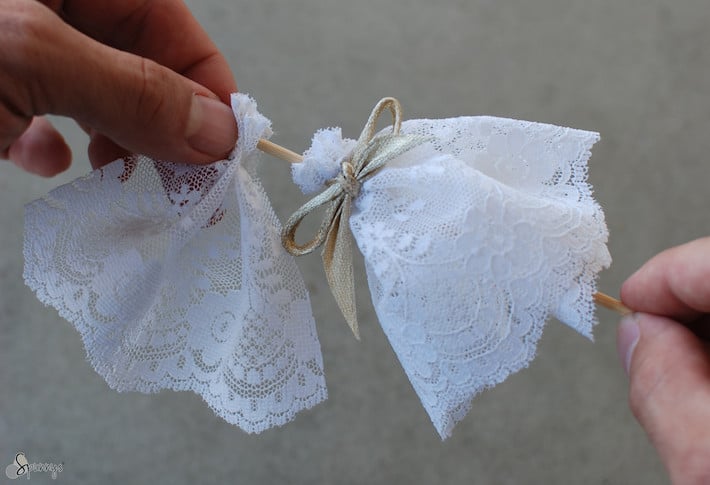
  3. Prepare the wings. Fold a short piece of lace into an accordion fold and staple one end. Repeat with the other wing.
  4. Prepare the body: Wrap the long piece of lace around the bamboo skewer making sure to create pleats as you go. Tie a piece of ribbon around the lace to secure it into place.
  5. By now the head should be dry. With the two pens, draw the eyes and mouths.
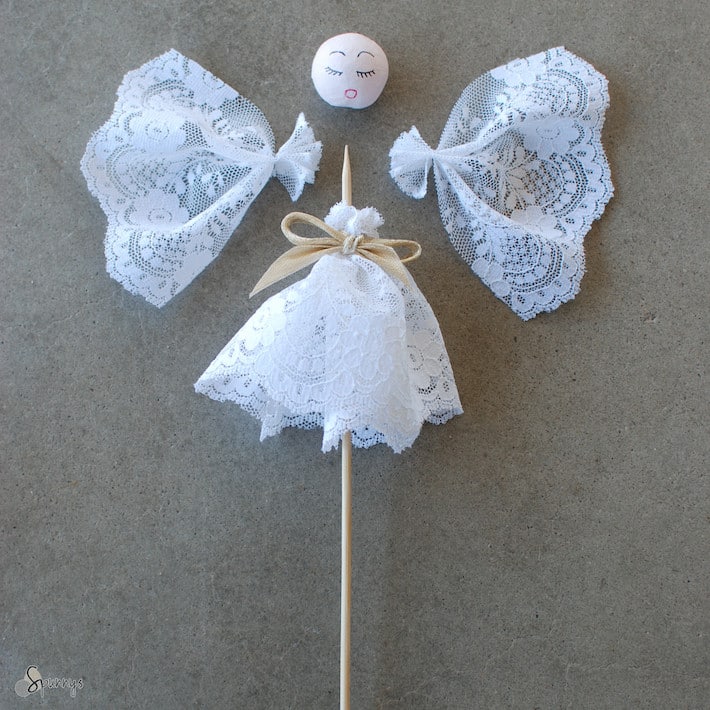
  6. Slide the wings down on the pointy end of the bamboo skewer. Roll the bamboo skewer through your fingers to help.
  7. Add the angel’s head

You are done :)

I hope you enjoyed these angel tutorials and are ready to embark on your own vintage angel ornament projects. As usual, do not hesitate to ask questions, we are always happy to help. Happy crafting!
Posted on Leave a comment

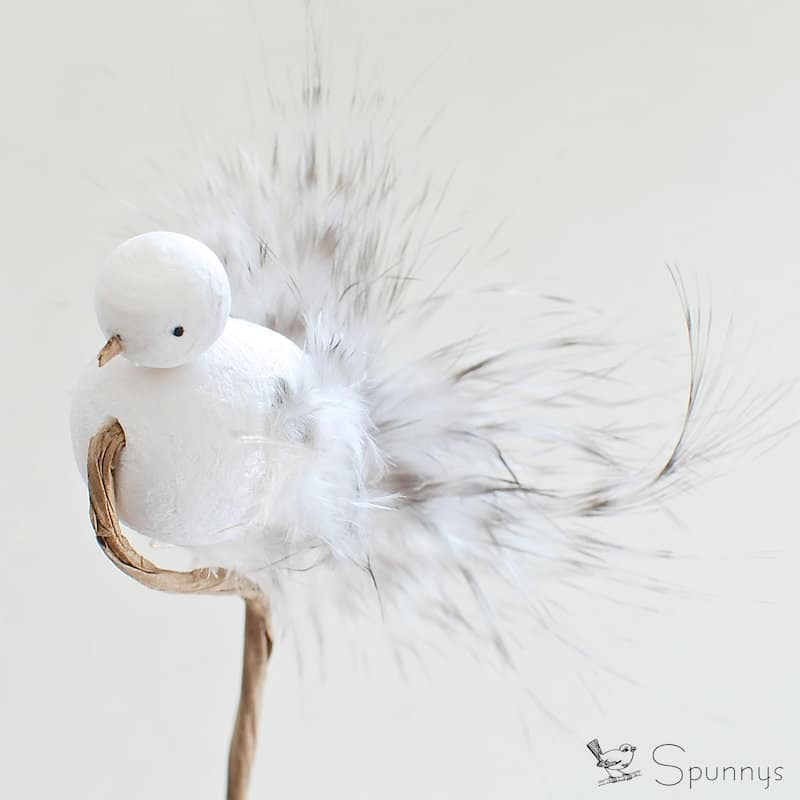
How to make beautiful bird ornaments with feathers

bird ornament DIY simple

Follow our tutorial and learn how you can make beautiful bird ornaments simply by using a few feathers and a couple of spun cotton shapes. When creating this tutorial, we tried to come up with something easy, stylish, natural looking and that only requires a few materials. We hope you enjoy it.

Our bird ornament is mounted on a piece of floral stem so it looks like it’s floating. You can bend the floral stem different ways (see examples below) whether you prefer to display your bird in a floral arrangement or as a hanging ornament.

Feathered Bird Ornaments – Project materials:

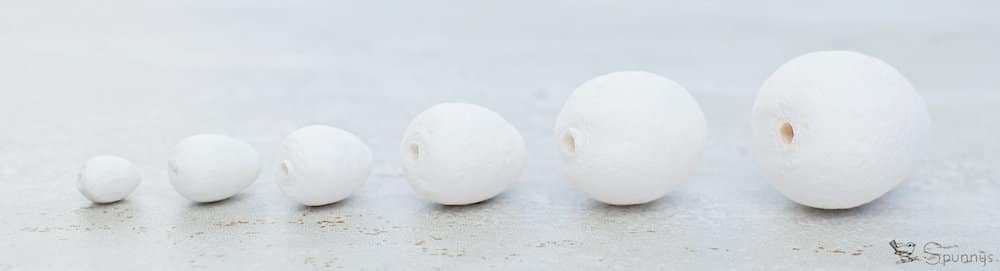
spun cotton eggs blank small sizes

Spun cotton eggs : 12, 18, 20, 25, 30, and 40mm long

  • One spun cotton ball for the head. We used a 15mm ball.
craft project balls

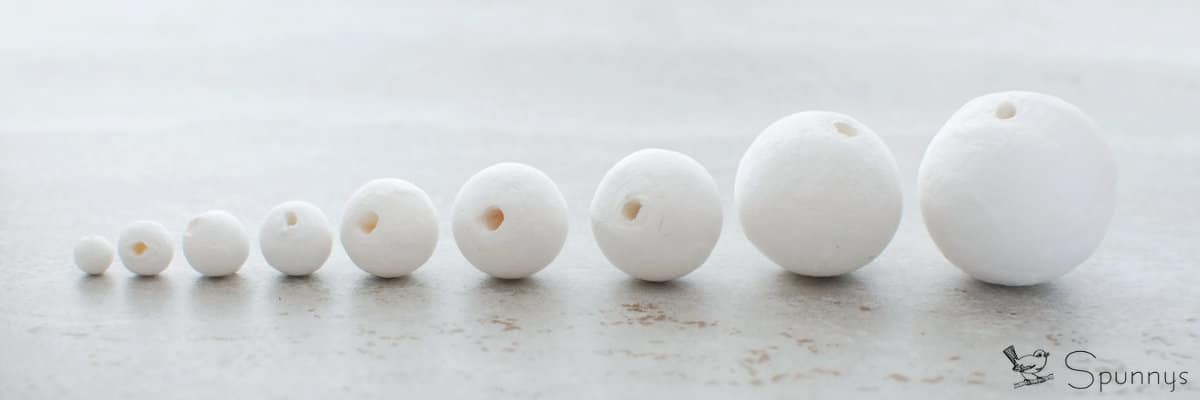
Spun cotton balls : 8, 10, 12, 15, 18, 20,25, and 30mm.

Spun cotton shapes are made of paper and can easily be glued to each other.  Notice how they all have a small hole on one side.

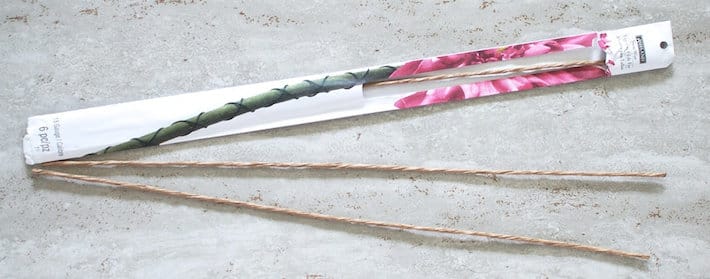
  • One strand of 18 gauge paper wrapped floral stem wire.
Use stem wire and spun cotton shapes together
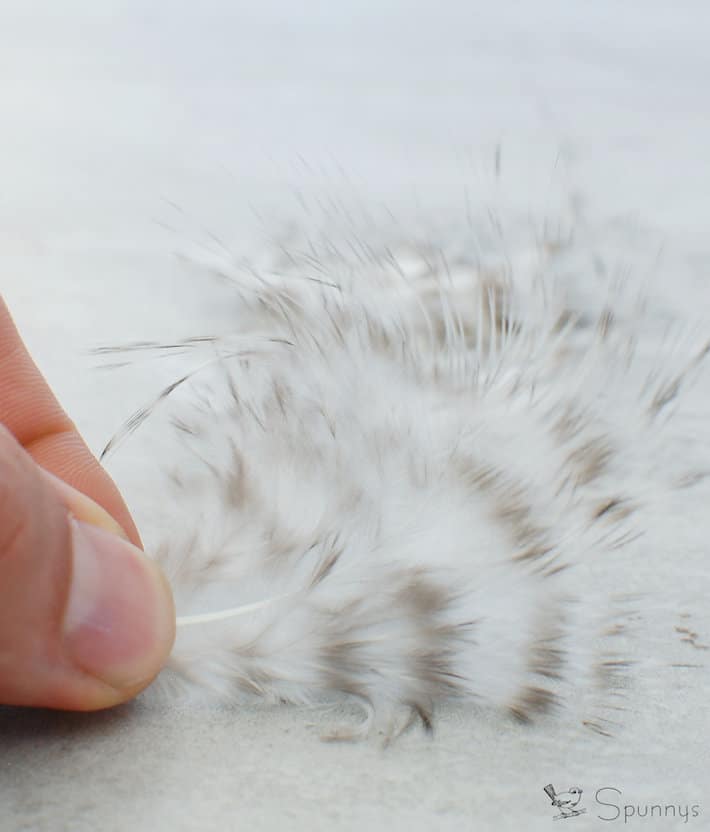
  • A few feathers. We used three for this project. We wanted a bird project that makes conservative use of feathers but still looks great.
feather for feathered bird ornaments
  • A little bit of glue. We used regular white tacky glue. It works very well. It dries fairly fast and creates a strong bond.
  • A tiny fragment of a wood twig for the beak.
  • A black marker to draw the eyes.

Step by step tutorial:

1: The body

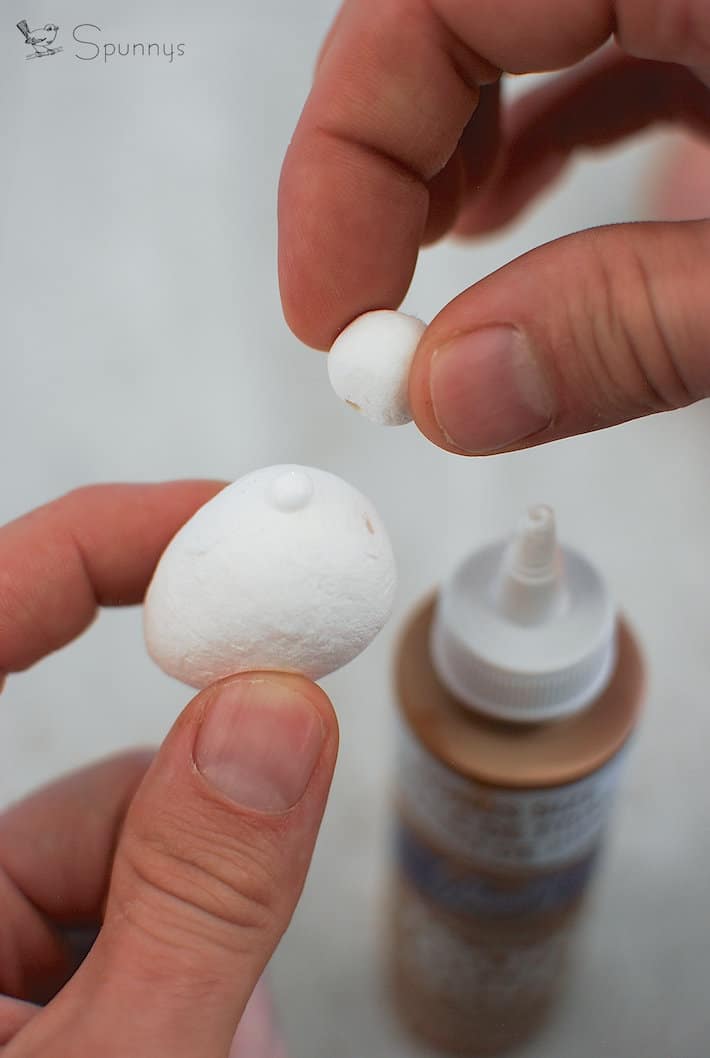
Glue together the spun cotton egg and the spun cotton ball

Spun cotton egg and ball
Step 1

2: Add the feathers

Glue the three feathers onto the spun cotton egg. One feather goes on each side and one feather goes on the bottom.  Just a little bit of glue is enough to make the feathers stick.

Notice the feathers are naturally curvy. Make sure the 3 feathers all point inward, not outward.

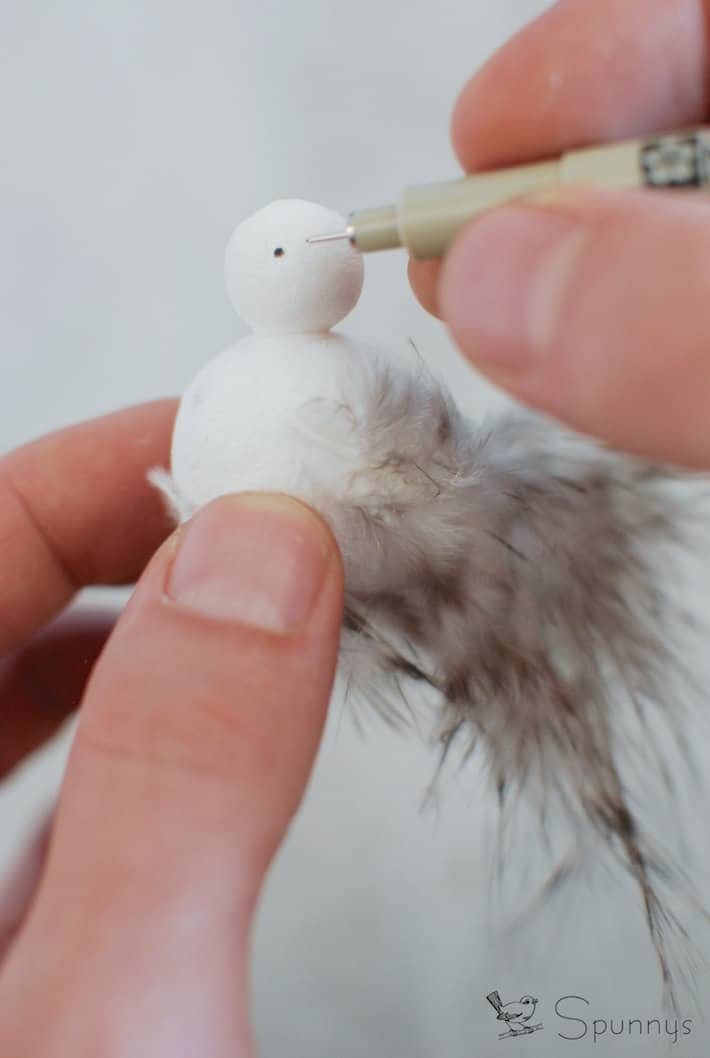
3: Draw the eyes

We recommend that you mark the position of the eyes with a pencil first. Make sure the pencil marks are at the same level on each side before going over them with a permanent marker.

bird ornament tutorial
Step 3

4: The beak

Cut the beak in a little piece of wood, such as a small twig. You can then use a pair of tweezers to glue it on. Note that there is no rule dictating how long the beak should be.

When done, finish by inserting a floral stem in the hole located in the front of the bird. You can bend the stem one of 2 ways: downward (so you can plant the stem into a vase) or upward (so you can hang the bird as an ornament). If you bend the stem upward, you can add a little 10mm spun cotton ball at the other end of the stem for style.

This is it! 

We hope you enjoyed this tutorial and found some inspiration and some motivation to get started with your own DIY bird ornaments. And as always, if you have any questions or if we can help you with anything, do not hesitate to leave a comment.

NOTE: A big thank you to our talented milliner friend Shelley at Chapeaux by Shelley who sent us the feathers.

Posted on Leave a comment

How to make polymer clay beads and ornaments

Follow our tutorial and learn how you can make beautiful polymer clay beads using spun cotton shapes as lightweight fillers. This creative tutorial is courtesy of Greek clay artist Klio Tsaliki (https://www.etsy.com/people/1000and1).

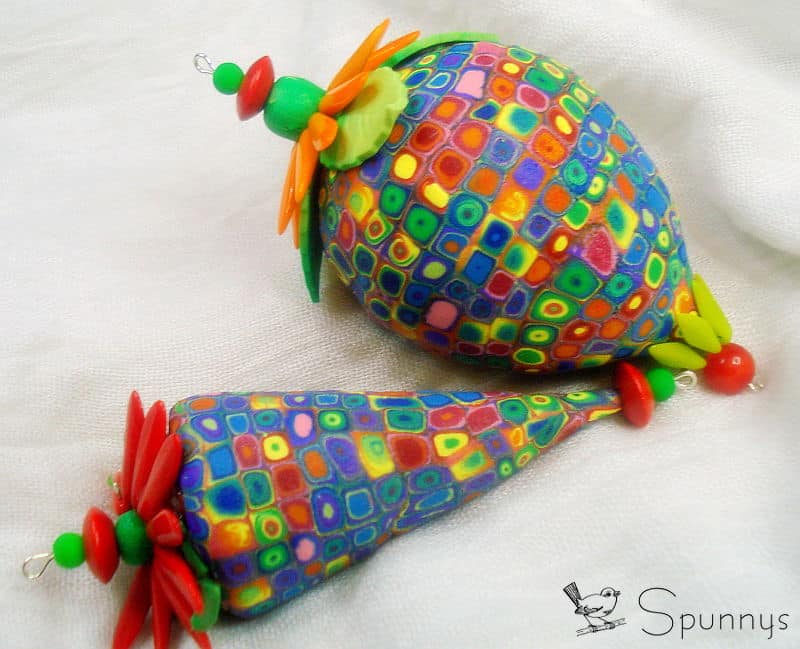
Any spun cotton shapes (egg, roll, cone, teardrop…) can be covered with polymer clay to create unique jewelry pieces or decorative items. The final pieces can reflect the original nature of the shapes, or transform them in creative ways.

Polymer Clay Beads tutorial Step 1: drilling through the ball

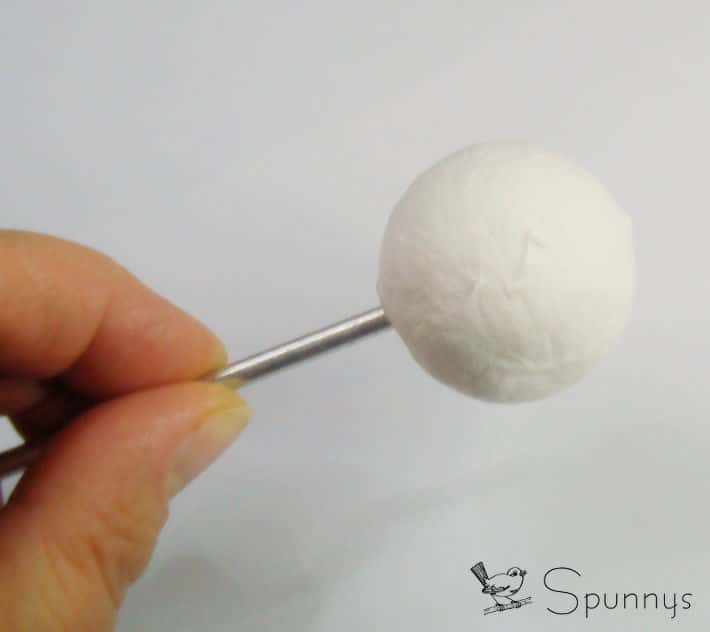
As you can see, all spun cotton balls carry a hole at the bottom. However, this hole doesn’t go through the ball. For this purpose you need to “continue” the drilling to the other end, to create the tunnel which is necessary to pass the headpins or other stringing materials.

Spun cotton ball

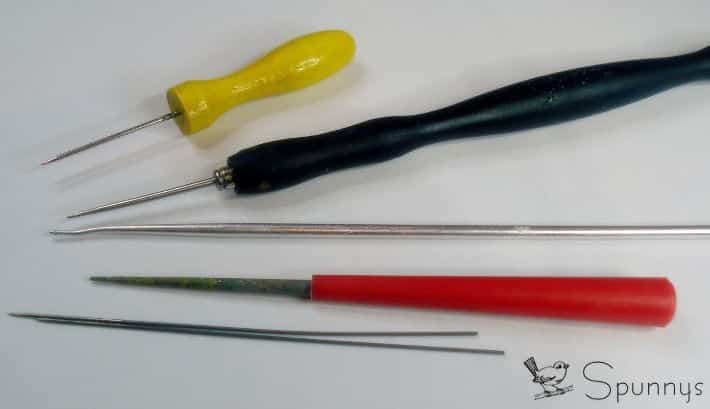
To do this you can use either the needle you use to drill your unbaked beads, or any drilling tool sharp enough to pass through the spun cotton layers. Insert the drilling tool through while rotating it, moving your tool towards the opposite side, to make the hole. Don’t use drilling tools like Dremel for example, you may destroy the shape.

drilling tools

Klio’s drilling tools

Always work slowly and patiently, not only for your own safety but also to protect your shape which is made out of paper and it will deform if you press or treat it hardly.

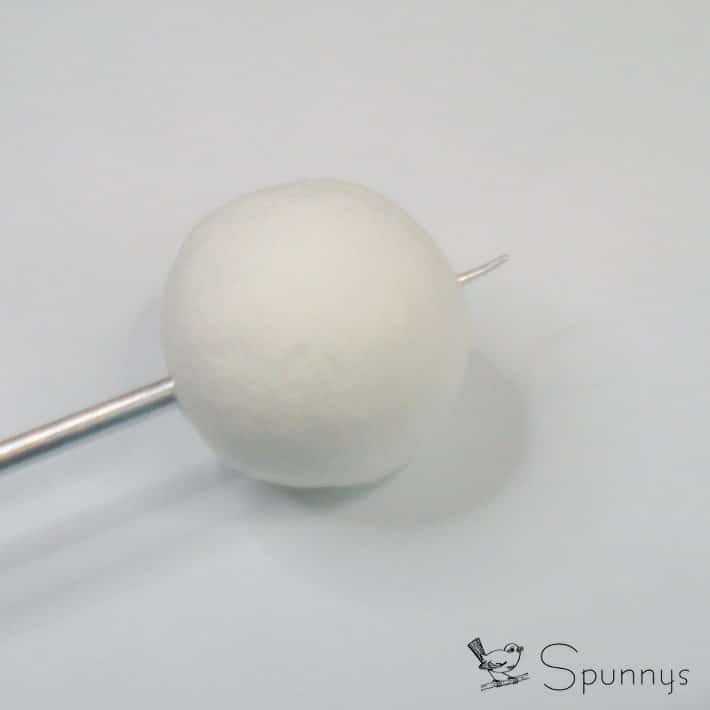
how to pierce a spun cotton ball

Having completed the drilling process, rotate the tool a couple of times, to make the hole perfect and similar to the original one, at the opposite side. Now you have a nicely drilled through shape and you are ready for the next step.

Step 2: Cover the ball with a first layer of clay.

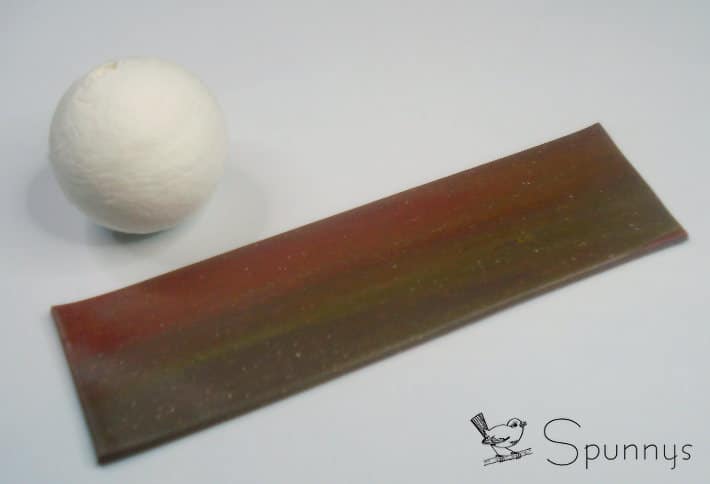
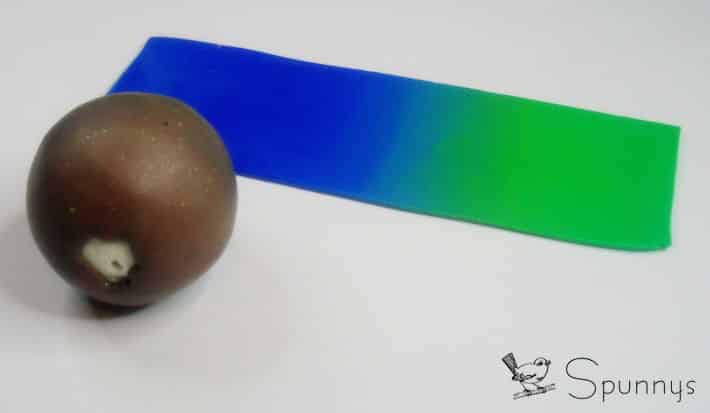
To cover the shape, prepare a rather thick sheet of scrap polymer clay and run it through the pasta machine to make it smooth. Cut a strip long enough to wrap the shape.

Spun cotton ball and clay sheet

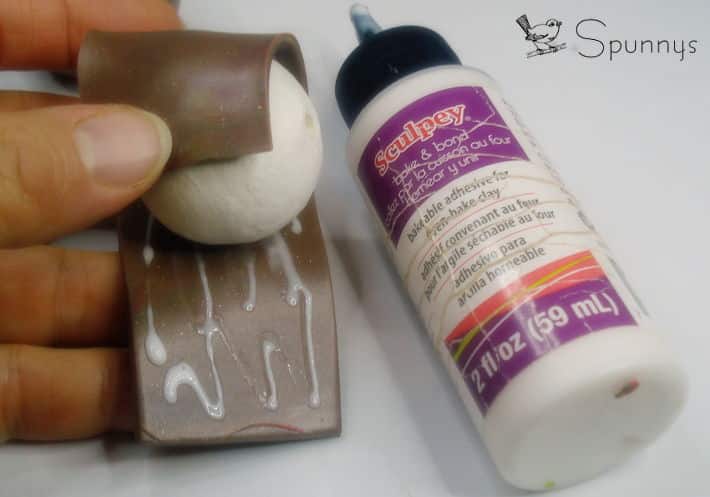
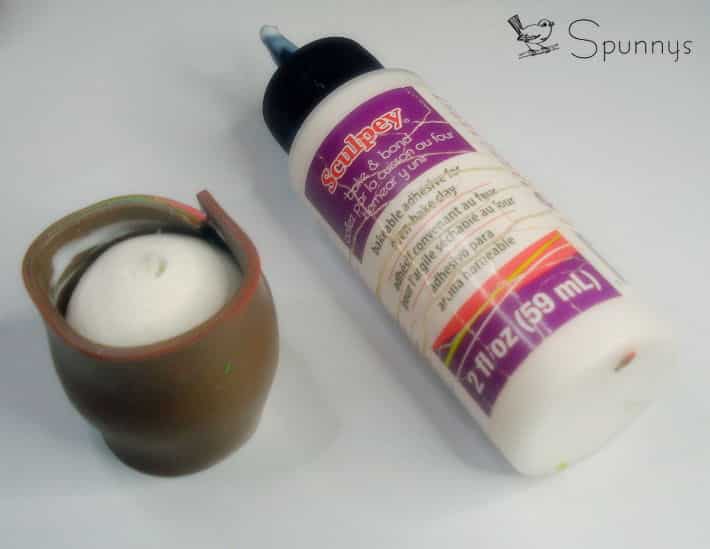
Using Sculpey “Bake and Bond” (or any other brand you have in hand for the same use), apply some “glue” on the strip. This step is necessary, because the spun cotton shape is not smooth and so the clay will not stick on it. It is also possible to trap air between the spun cotton core and the clay which results in air bubbles after baking. Wrap the clay around the shape and then with your fingers press gently so that the clay sticks to the shape. Stretch the clay towards the top and bottom holes.

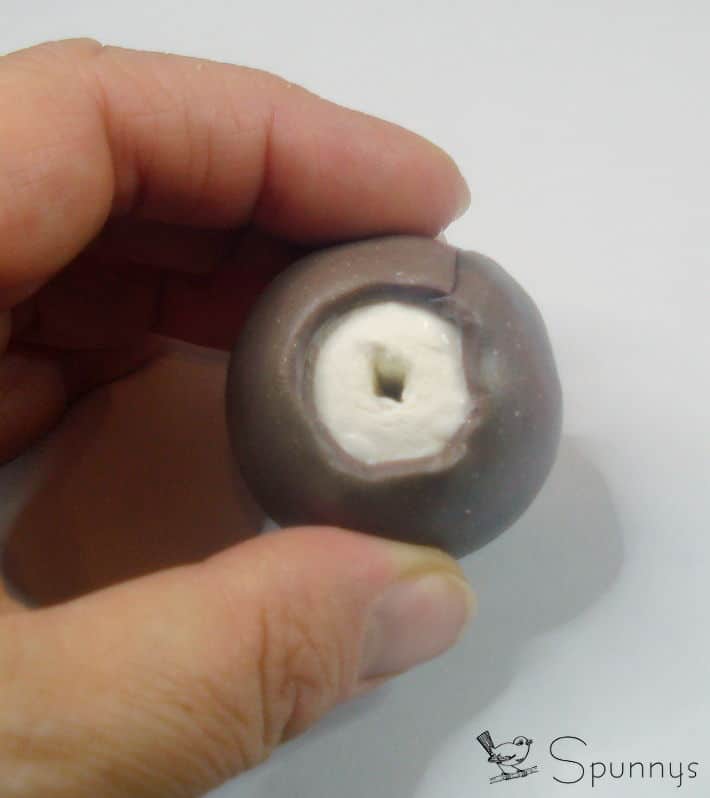
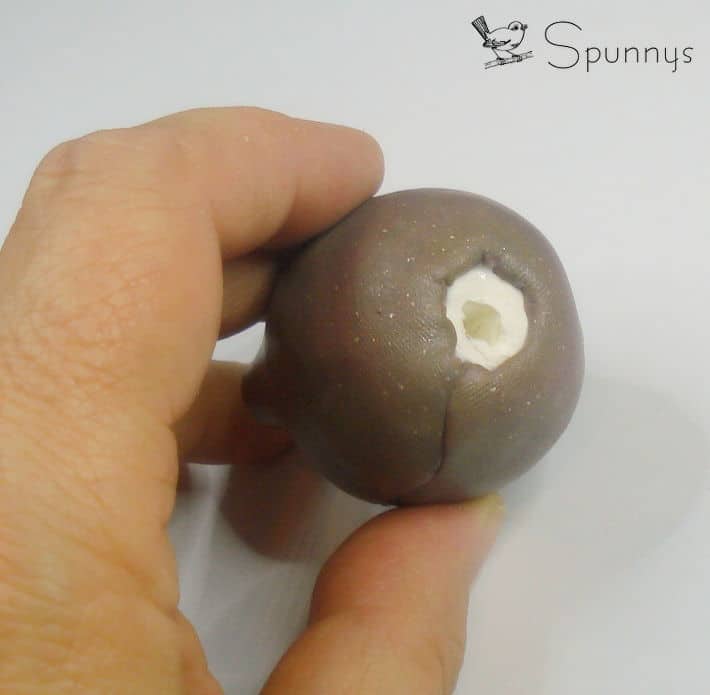
Smooth the surface of the clay with your fingers; if your item is round, roll it on your working surface with your finger to get the perfect round shape. Always remember to check that the two holes are not covered with polymer clay. If they are, use a tool to create the holes again.

spun cotton filler for polymer clay

Step 3: First bake.

Bake as any other polymer clay item, depending on the clay layer thickness, according to the instructions given by the manufacturer. Tent your tray with a piece of oven paper and stay close to the oven. Although it is safe to bake the spun cotton items, it is always better to be careful.

Let the beads cool down normally. When they are at normal temperature, you can cover them as usual.

Step 4: Add the second layer of clay

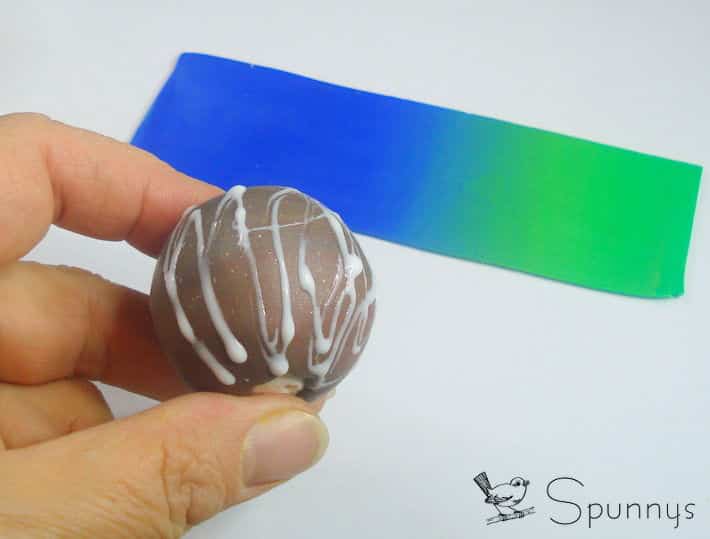
This first layer offers a stable and smooth surface.  You can then apply more layers, depending on the technique you want to use. I suggest to use again a bit of “bake and bond” between the first and second layers, the baked and the unbaked. This process will keep the two layers together during the baking time.

Cut a strip of a skinner blend or any other clay sheet you are planning to use.

polymer clay ornaments DIY

Apply some “bake and bond” on the baked bead and wrap the bead carefully.

bead clay glue

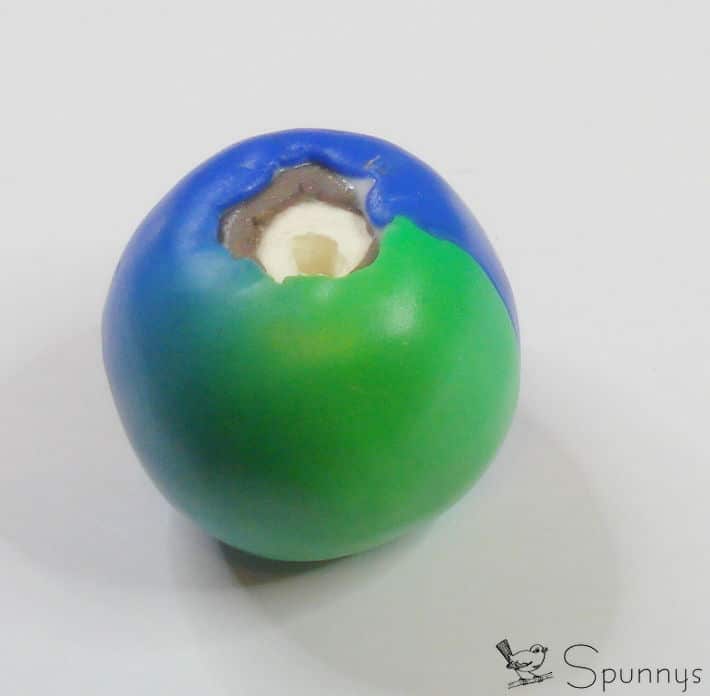
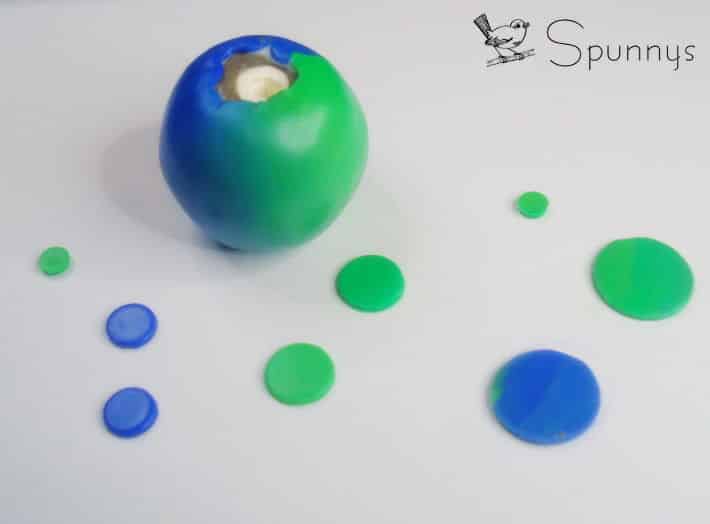
Wrap the already baked bead with the final clay sheet and work the top and bottom parts around the holes as discussed earlier. Make sure there is no clay over the holes. After baking it will be difficult to find them if it they are covered with clay.

polymer filler aluminum foil alternative

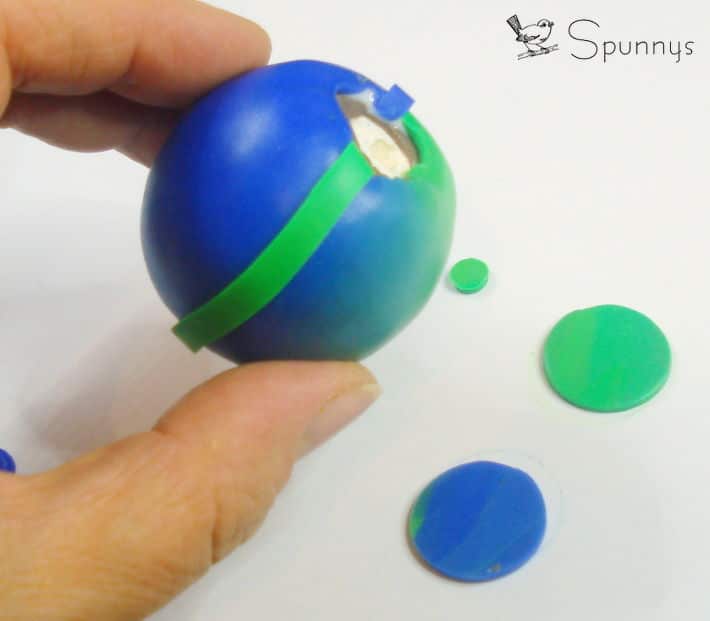
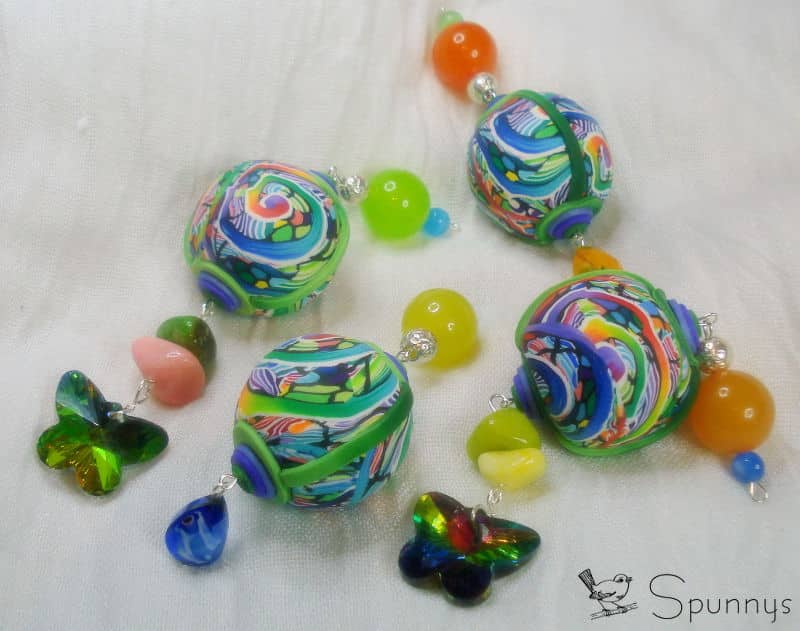
Cut two thin strips of clay and wrap around the bead. Make sure to cover the seam (where the green clay meets the blue clay on the picture). Your polymer clay bead is now really starting to take shape.

polymer clay sphere

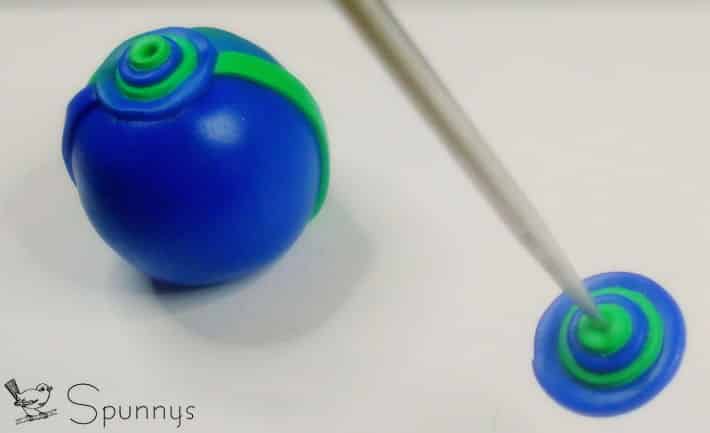
Using your mini cutters cut mini circles of different sizes in pairs, one for the top and one for the bottom of each beads, playing a bit with the different colors used in the basic clay sheet which covers the bead.

polymer clay bead how to

Stack them putting the biggest at the bottom and the smallest on top.  Drill them all at once with your drilling tool (needle etc). Place them over the predrilled holes of the bead and with your drilling tool make sure that all the holes are properly aligned so that the headpin will pass properly.

Polymer Clay beads DIY tutorial

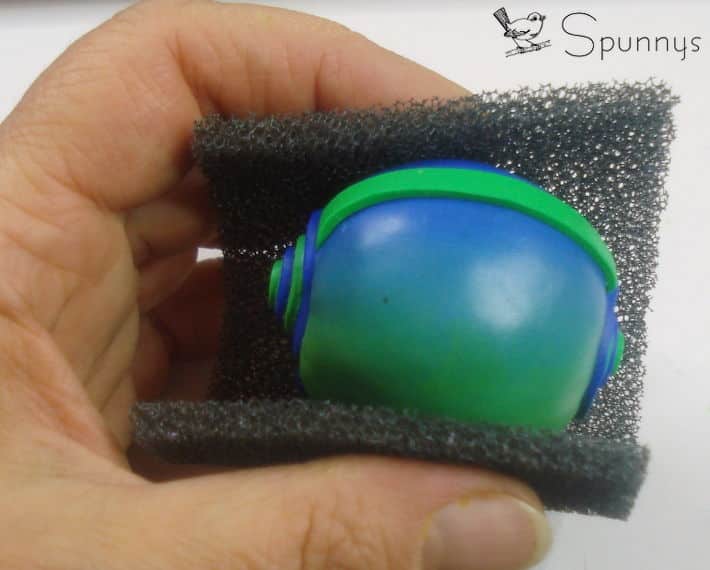
You can make your future polymer clay beads even more interesting by giving them a little texture. (This has an extra advantage: it removes the fingerprints). Press slightly and gently a piece of fabric i.e. a piece of an old jeans, a sponge, anything which is large enough to wrap your bead and give it a texture.

How to make polymer clay bead DIY

Step 5: second bake

Bake as usual, covering the beads or items you made with some oven paper. Always stay close to the oven during the baking process and keep an eye on your items.

Note: When possible, because the ball will be covered with two layers of clay, select a spun cotton ball a bit smaller than your target bead size.  Also remember that a thicker second layer is less likely to keep air bubbles between itself and the prebaked bead.

Let the beads cool down normally. When you try to pass the headpin through, always start with the original hole. As you twist your drilling tool in the hole, you create a tunnel which works much better when you follow the original direction.  Sometimes, if the item is big, you may need to try a few times until you find the opposite hole. It is normal, don’t push and be patient. Use a long needle to make sure your hole is still open and try again.

You can use the smaller sizes for jewelry use and the bigger ones for craft and decorative use. Make Christmas ornaments, mobiles, enjoy this new way of using your favorite polymer clay. As spun cotton shapes are very lightweight, you can create bigger items without the challenges of the extra weight. So many shapes, so many possibilities!!!

Posted on 2 Comments

Fabric covered bead necklace – DIY tutorial

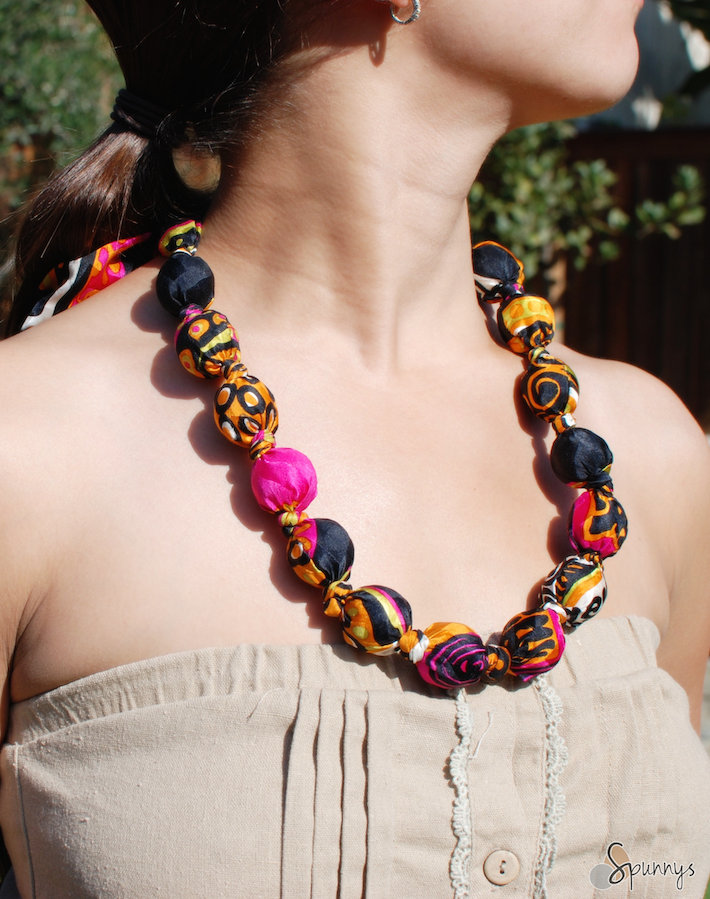
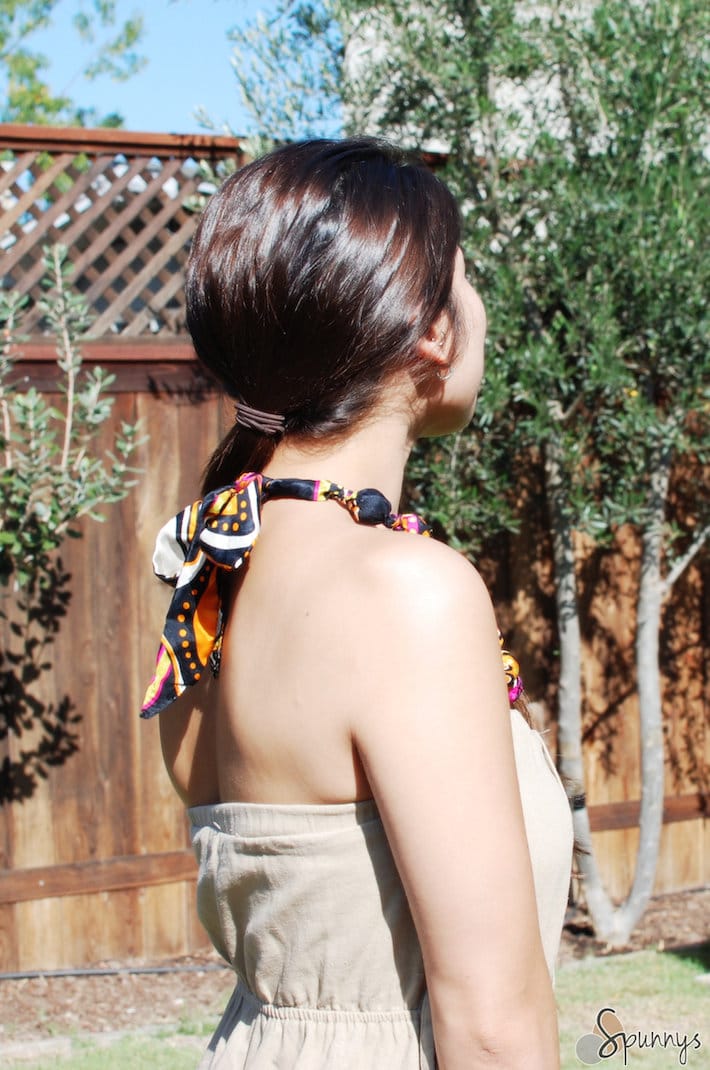
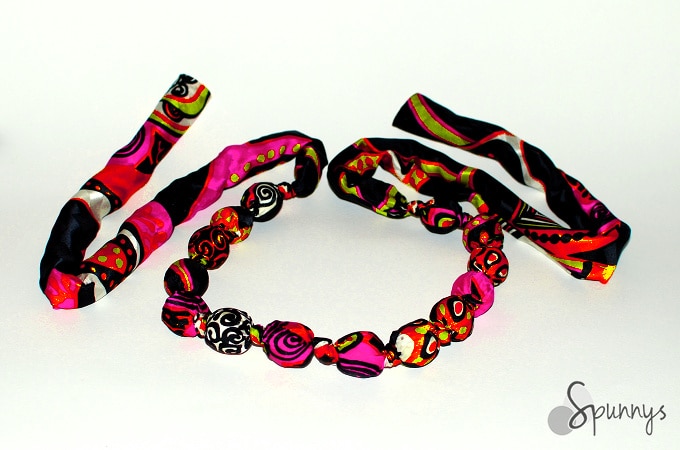
Follow our tutorial and learn how you can make a beautiful and comfortable Fabric Covered Bead Necklace using spun cotton balls are lightweight fillers.

fabric covered bead necklace how to tutorial
fabric bead necklace

Materials to make one fabric covered bead necklace

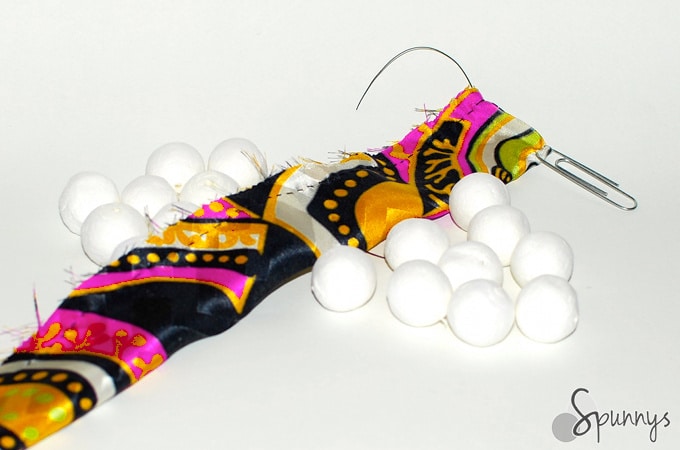
  • 14 spun cotton balls, 1.18″ diameter (30mm).
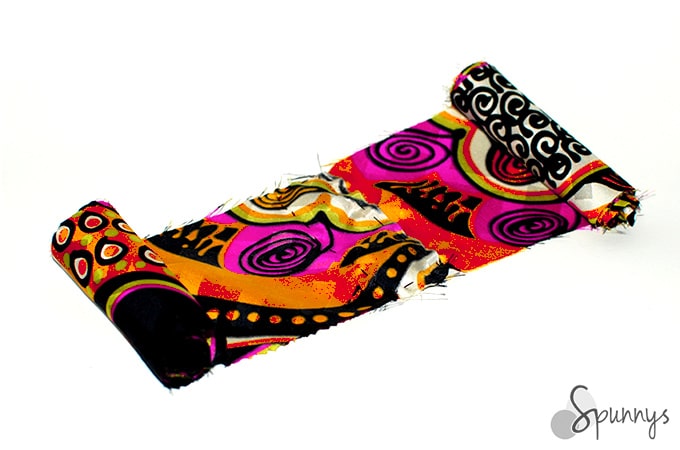
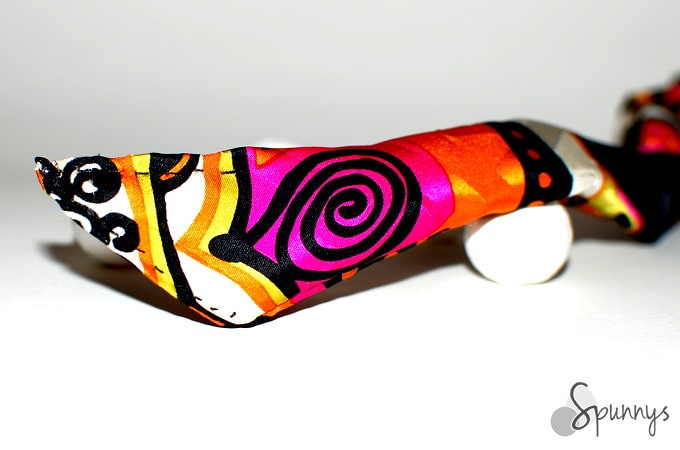
  • A long and narrow, 4.5″ x 90″ (7.5′) strip of silk fabric. You will have to stitch two 4.5″ x 45″ pieces together.
  • Needle and some extra strong thread (or better, a sewing machine if you have one).
  • A long ruler, pencil, scissors, or craft knife, paper clip.

Directions

Step 1: Cut a long and narrow strip of fabric (4.5 inches x  7.5 feet)

Fabric covered bead necklace tutorial step 1

At the fabric store, you probably will not find a piece of fabric that is 7.5 feet long. Fabric comes on bolts and bolts are typically 36″, 44″-45″, or 54″ wide. So you may have to sew two pieces of fabric together.

The fabric I bought came on a 45″ wide bolt. So I ended up having to sew two long and narrow strips of fabric together to achieve the required length.

To cut the fabric, I used a long ruler and a craft knife over a piece of plywood. I cut two strips, each measuring 4.5″x 45″. It’s ok to use a pair of scissors if you don’t want to mess with a sharp knife. The cut doesn’t have to be exactly straight.

Before sewing the 2 strips together, I overlapped them by about an inch. [divider_flat]

Step 2: Fold the strip of fabric into a tube shape

Fabric covered bead necklace tutorial step 2

Fold the long piece of fabric in half lengthwise and sew the long edges together. Try to sew small stitches for a more secure seam. This is easy to accomplish but time consuming without a sewing machine.

VERY IMPORTANT: For now, the “good” side of the fabric goes inside the tube. We will turn the tube inside out once the sewing is done.

Once done with sewing, turn the tube inside out with a loop turner or a paper clip.

The paper clip method:  Start by solidly anchoring the paper clip to one end of the tube (it’s ok to poke a hole in the fabric with the paper clip). Then, just slide the clip through the tube from one end to the other. The tube will turn inside out very easily. [divider_flat]

Step 3: Slide in the spun cotton balls and tie the knots

Fabric covered bead necklace tutorial step 3

Tie the first knot where you sewed the two strips of fabric together (to hide the stitches).

Slide a ball down one end of the tube until it reaches the middle of the necklace. Twist the fabric to push the ball as close to the middle as possible and tie a simple knot.

Slide a second ball down the other end of the tube, twist the fabric and tie a new knot.

Do the same with all the balls or until the desired necklace length has been reached.

Step 4: Adding finishing touches to your necklace

Fabric covered bead necklace tutorial step 4

For the endings to look nice, fold the fabric to create a 45 degree angle. Sew along the edges.

Iron your fabric covered bead necklace on low heat to remove all the wrinkles. You are done :)

I hope you enjoyed this tutorial. As always, if you have any questions, do not hesitate to get in touch. Happy crafting!
Posted on Leave a comment

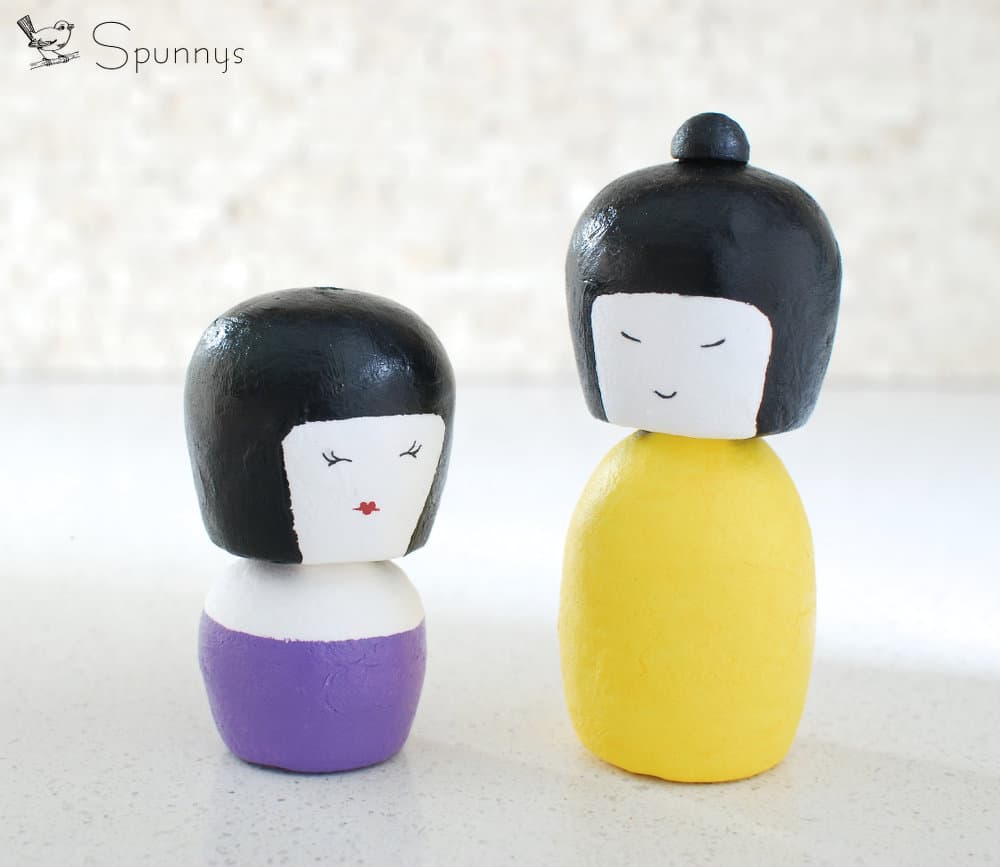
How to make your own BLANK KOKESHI DOLLS

Kokeshi doll blank bodies DIY tutorial

In this tutorial, learn how you can make your own blank kokeshi dolls from spun cotton shapes – a fun and creative DIY project for all ages.

Blank Kokeshi Dolls DIY – Project materials

  • Glue gun or tacky glue, both work well.
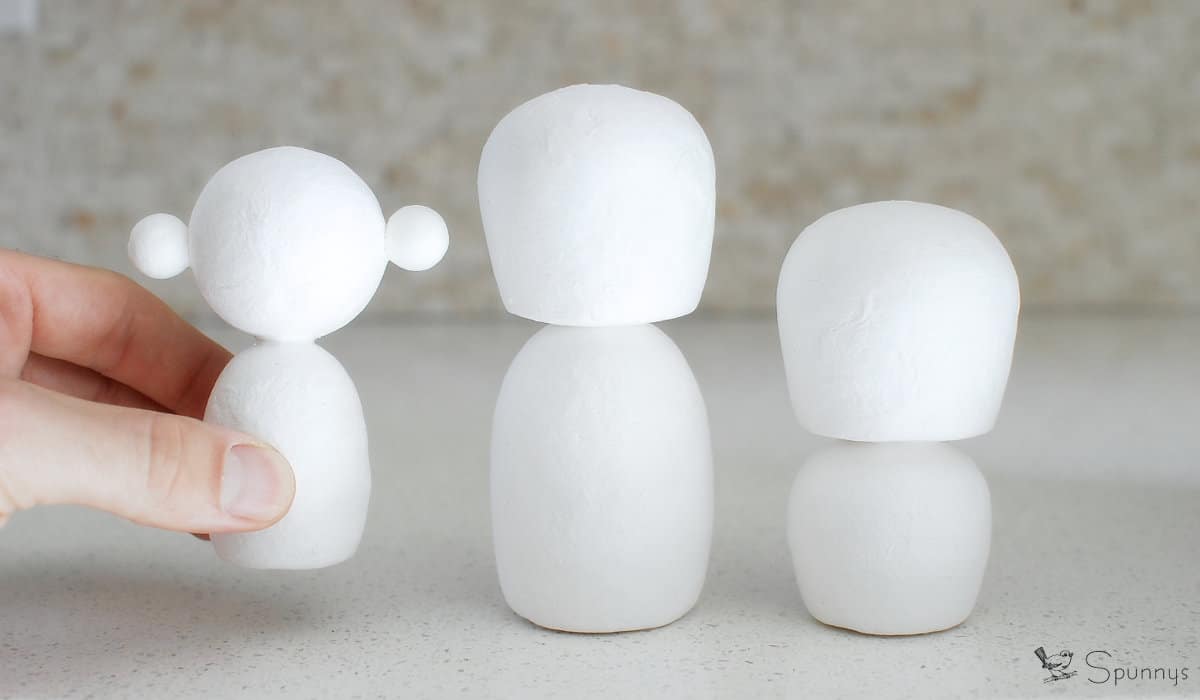
Blank Kokeshi Dolls

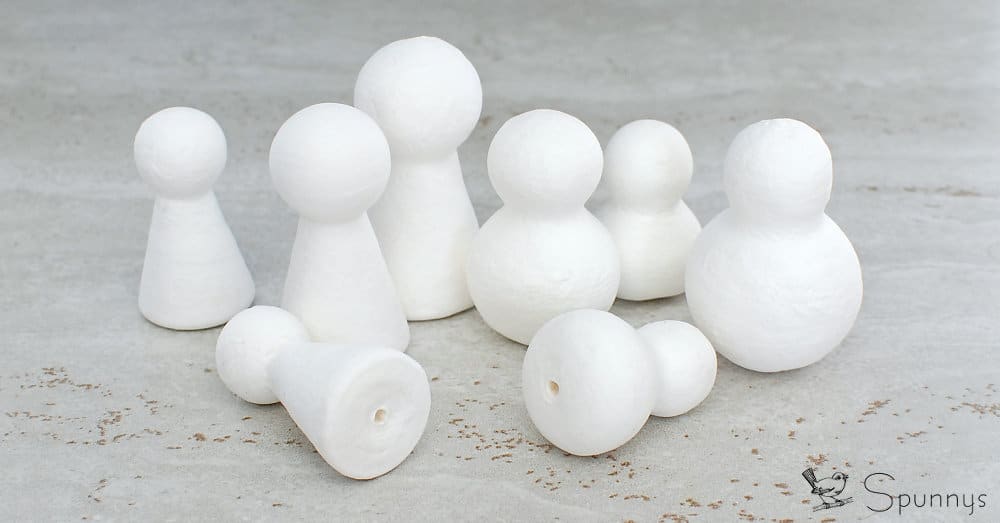
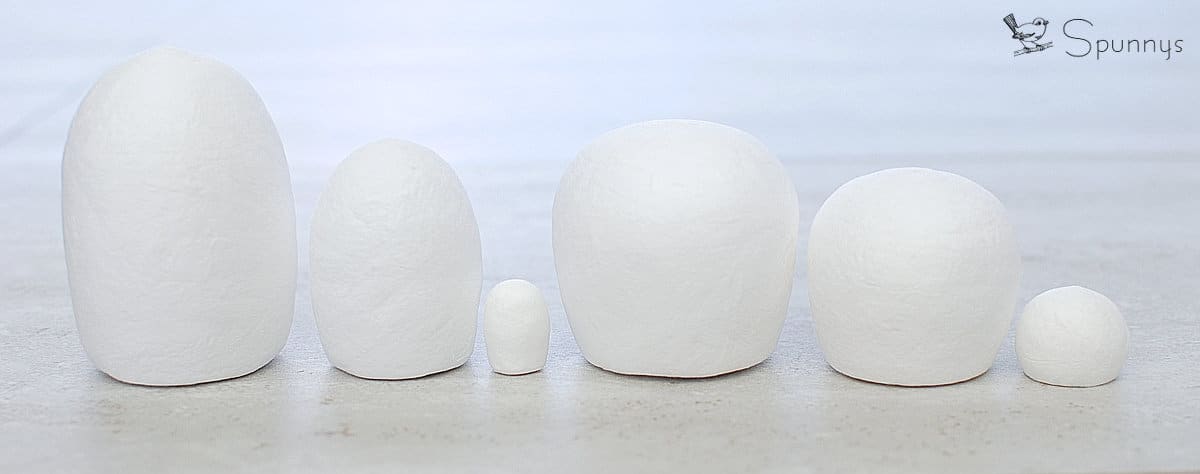
You can also create you own blank Kokeshi dolls by using different shape combinations. Below are a few shapes that you can use together. From left to right: Eggman Figurine Large, Eggman Figurine Small, Eggman Figurine miniature, Figurine Torso Large, Figurine Torso Small, ø 25mm Truncated Ball.

Kokeshi blank bodies spun cotton

Step by step directions

Kokeshi Dolls Blank Bodies DIY step by step
  1. Choose a combination of blank shapes that you like.
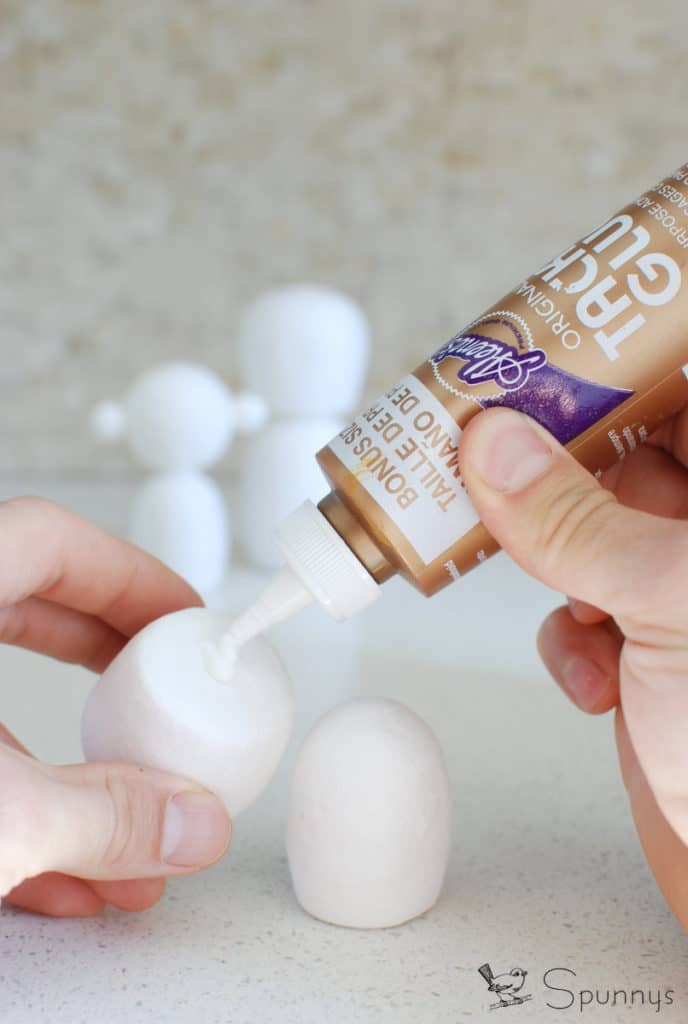
  2. Simply glue the shapes together. For a strong hold, make sure to pour glue in the little holes underneath the shapes.
  3. It is now time to get your paintbrushes and paint colors ready :)

Painting Suggestions.

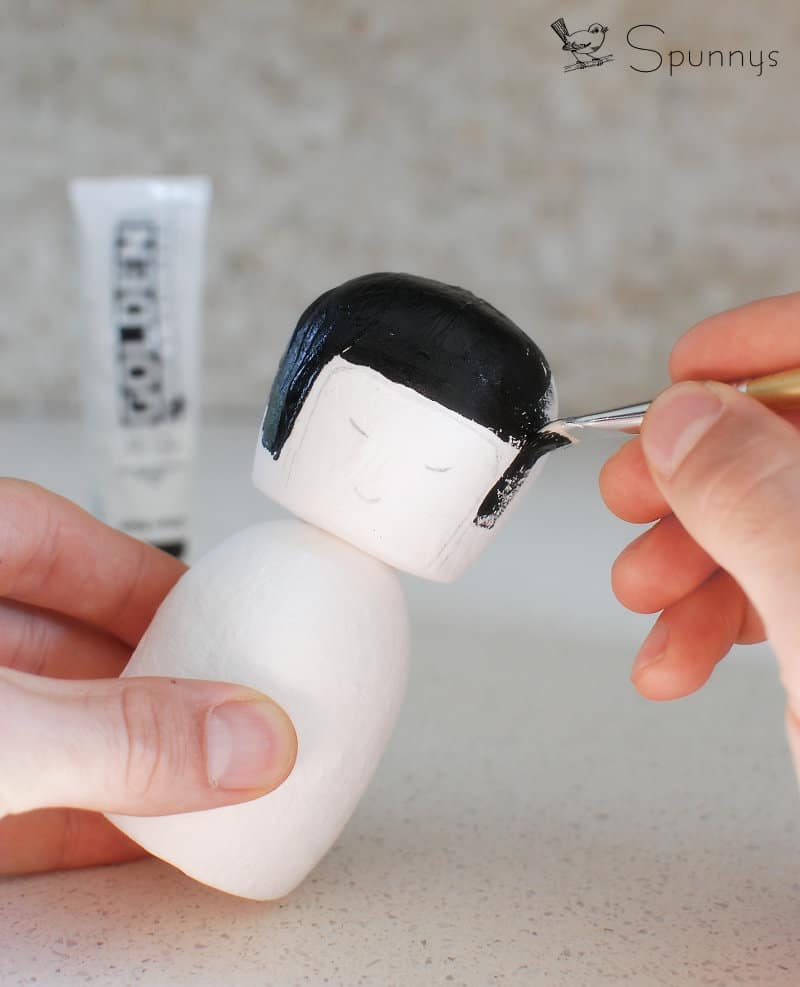
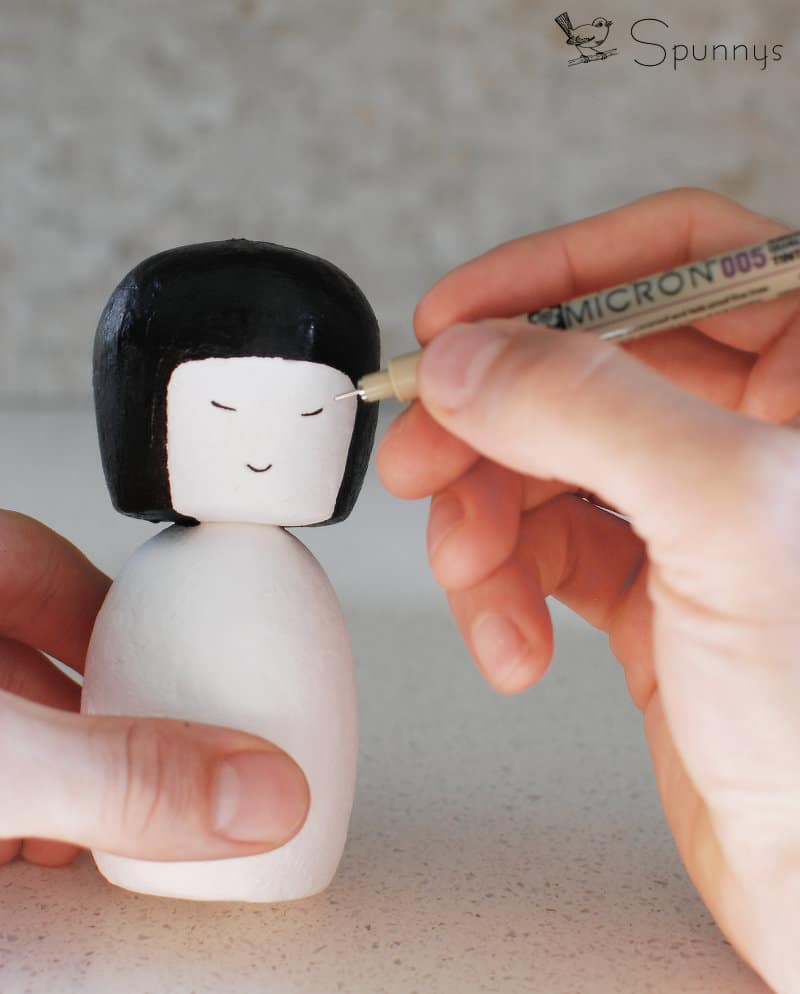
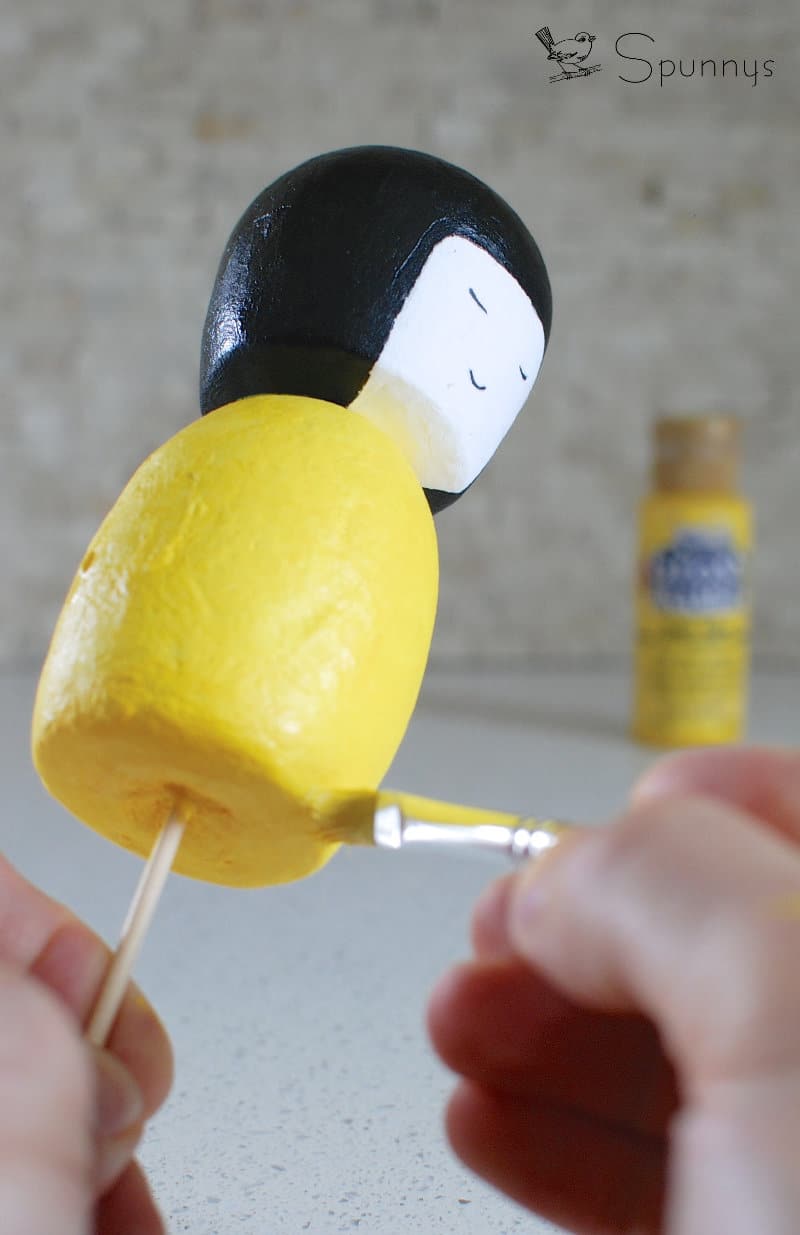
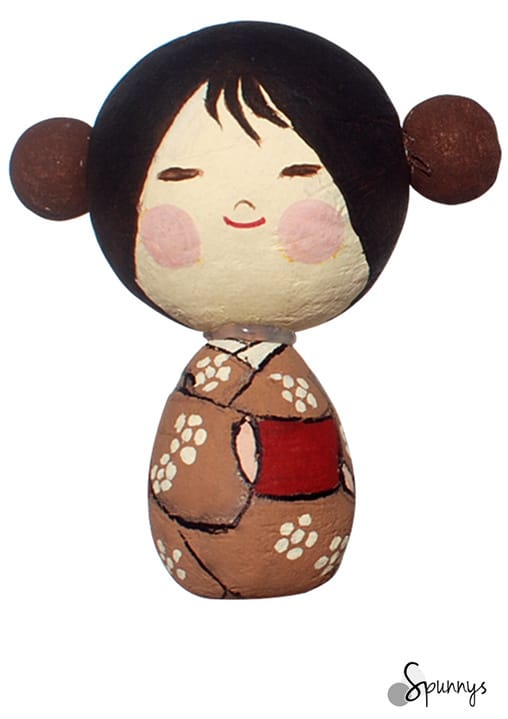
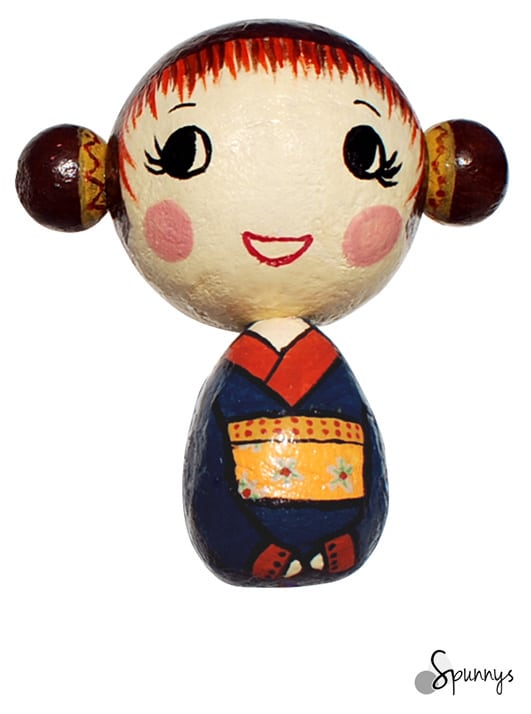
Now that you have created your Kokeshi doll bodies, it is time to grab your paintbrushes. Here are a few painting designs you can use for inspirations.

To paint the blank dolls, I like to use acrylic paint because it dries fast, and it’s easy to work with. However, any paint that works on paper will also work on spun cotton shapes. For your kokeshi dolls to look nice and shiny, you can finish them with a clear coat varnish. Mod podge for example works very well.

You can also check out our “how to paint peg dolls tutorial” for more general painting tips and advice (link).

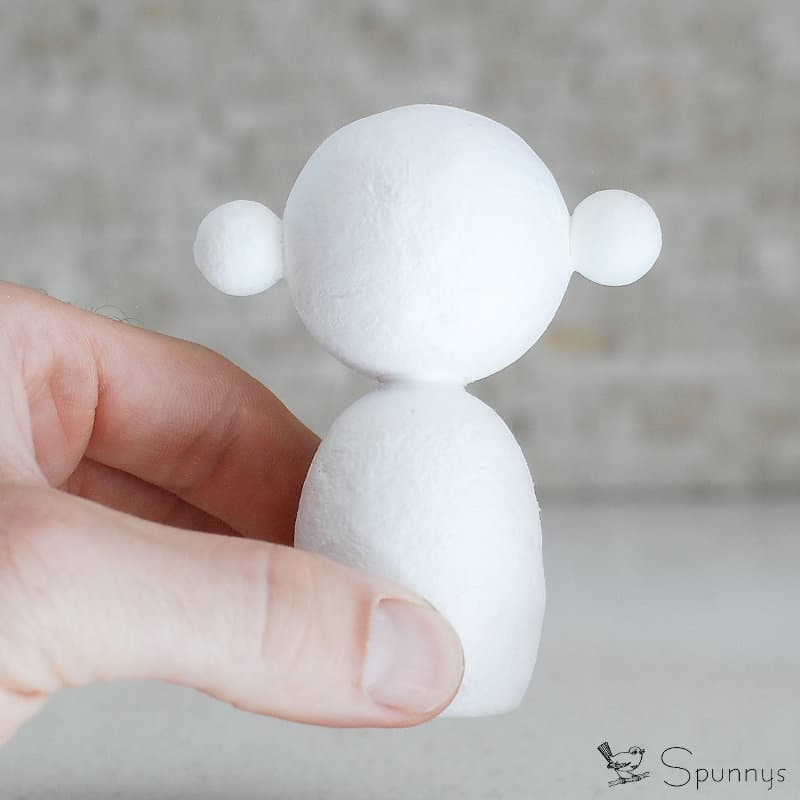
The last two Kokeshi painting suggestions are a little more elaborate. We used 40mm tall spun cotton eggs for the bodies, ø 45mm spun cotton balls for the heads, and ø 15mm spun cotton balls for the hair buns.

I hope you enjoyed this tutorial. As always, if you have any questions, feel free to comment, we are always here to help.

Happy crafting!
Posted on Leave a comment

How to make mini Christmas Ball Ornaments – Holiday DIY Crafts

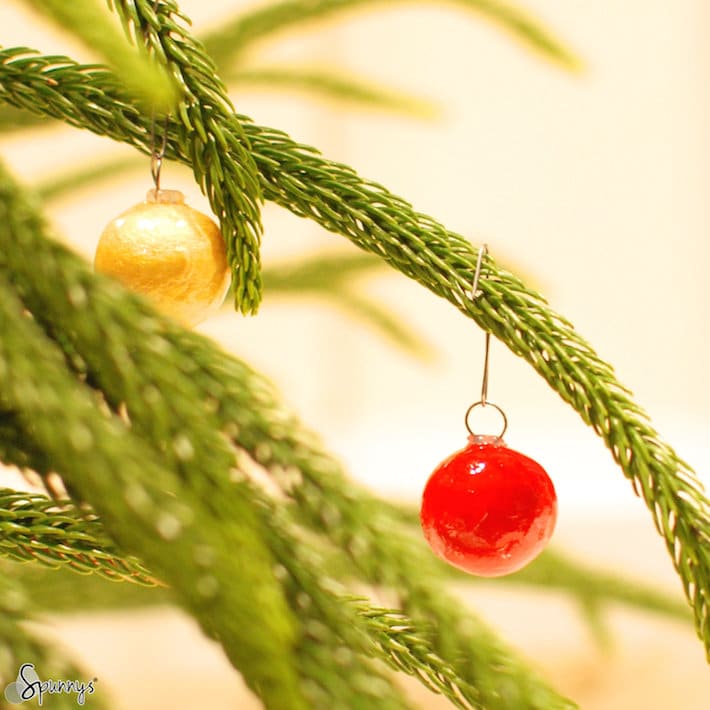
Check out our tutorial and learn how you can make your own mini Christmas Ball Ornaments using spun cotton balls as lightweight / shatterproof fillers. Miniature ornaments are perfect to decorate small size Christmas trees or to make your own wreaths.

Mini Christmas Ball Ornaments Tutorial – The short version

To make one mini ball ornament, follow these three easy steps:

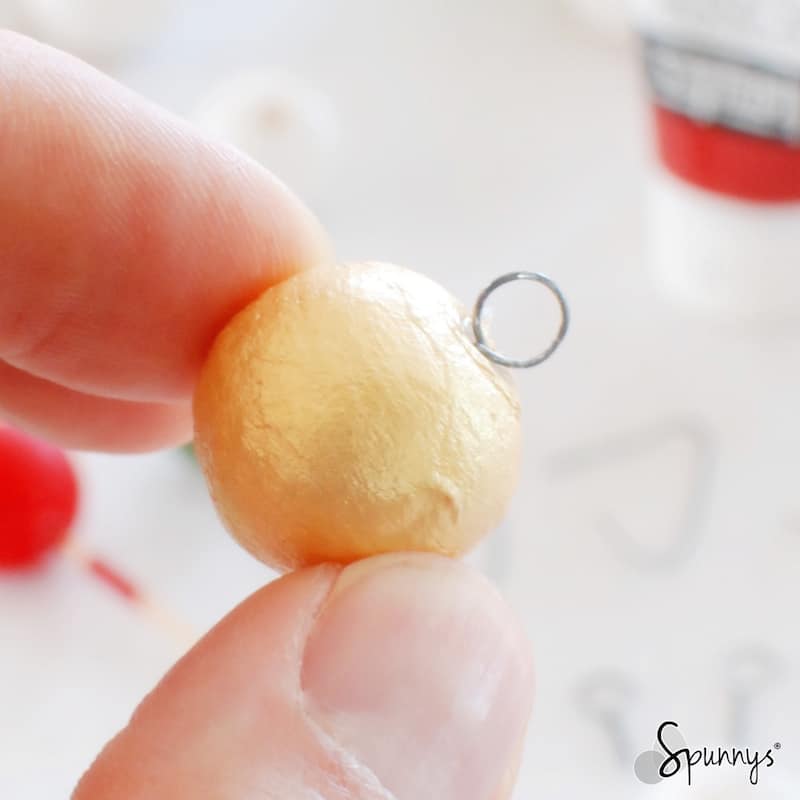
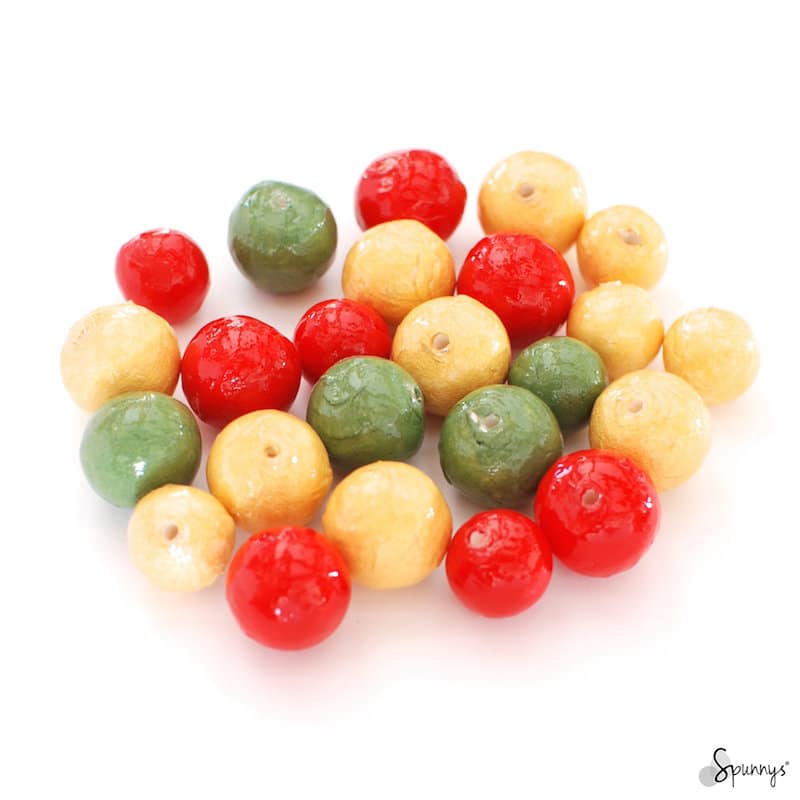
(1) Paint a spun cotton ball
(2) Pour glue in the hole
(3) Insert a metal loop.

Tutorial – The long version

Materials:

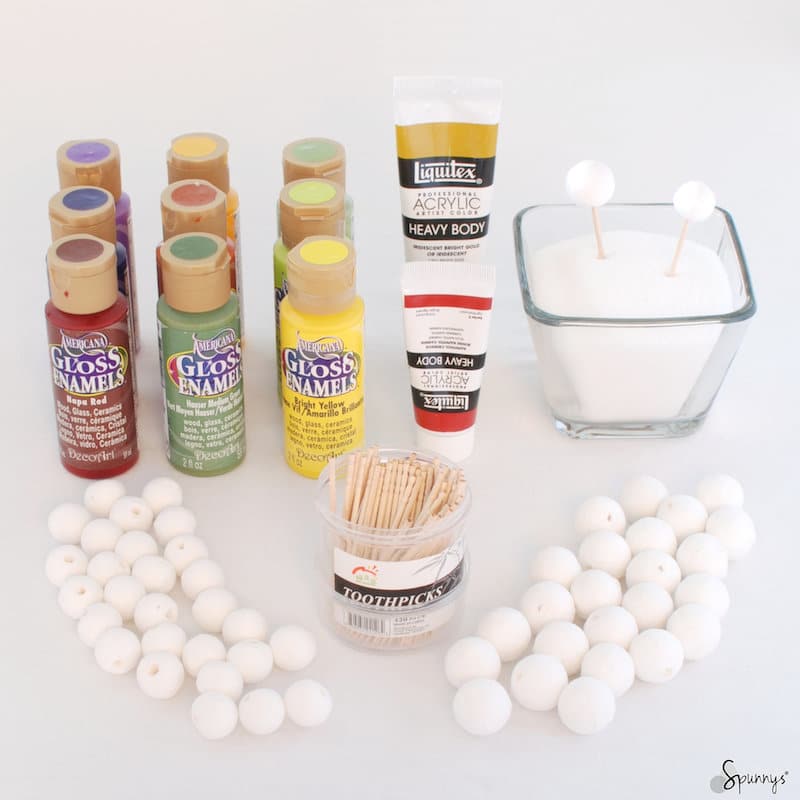
To make mini Christmas ball ornaments, you will need:

– Small gauge metal wire or a pack of ornament hooks.
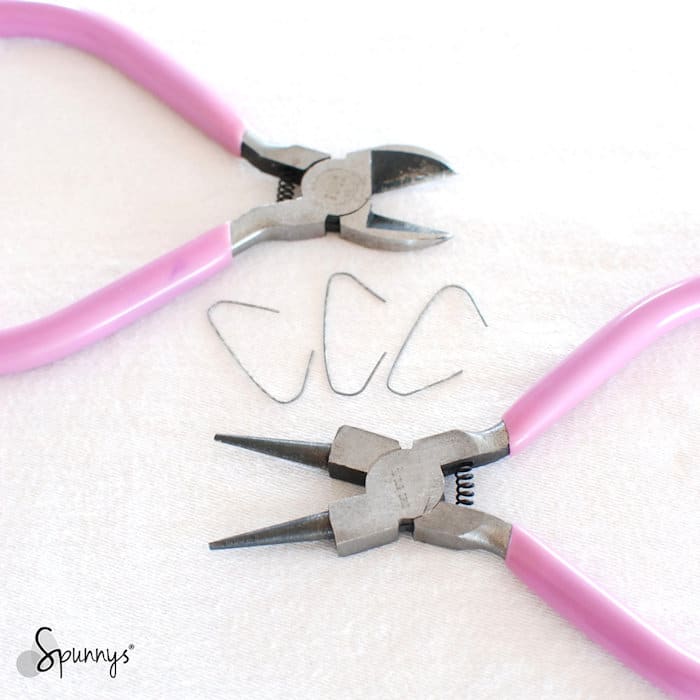
– A pair of wire cutters and a pair of round nose pliers.
– 18mm and 20mm Spun cotton balls.
– Paint and a paint brushes.
– Toothpicks.
– A glue gun or some regular white craft glue.
– A glossy finish such as glossy mod podge
– OPTIONAL : glitter

1. Paint the balls.

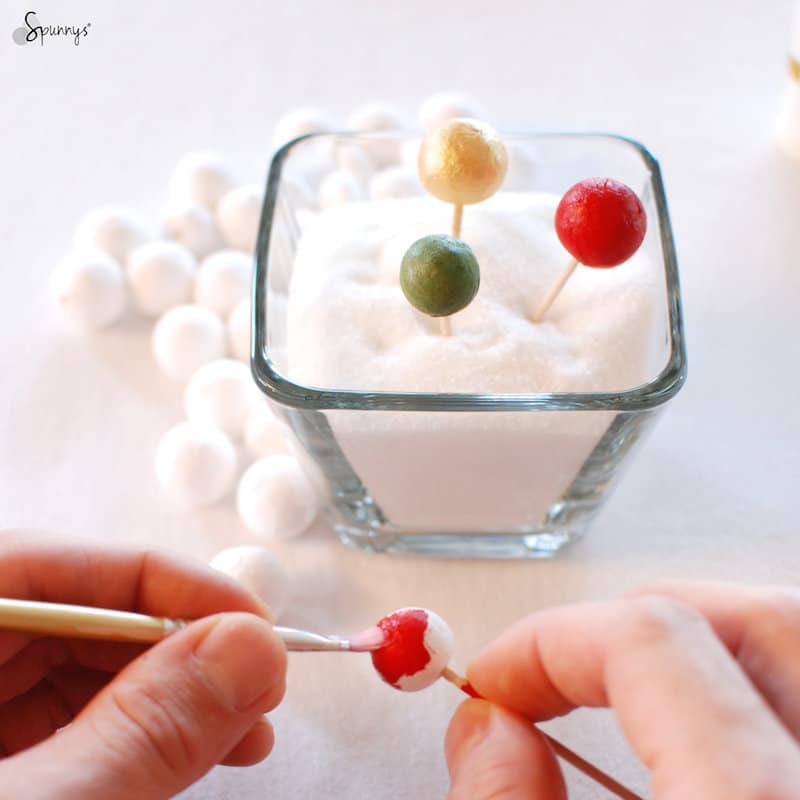
DIY miniature christmas ball ornaments drying

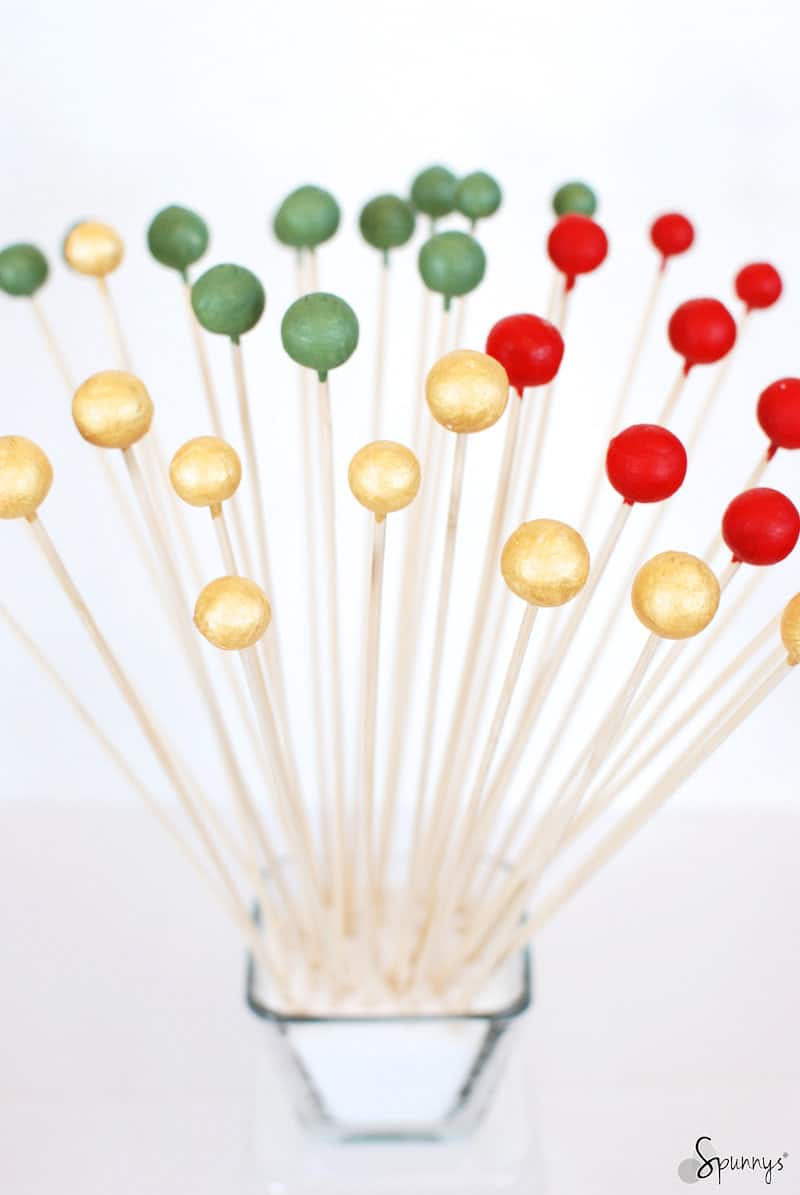
Balls drying up on bamboo sticks

Mount the spun cotton balls on wooden picks and paint them with solid colors. Spun cotton balls are made of paper and paint very easy.

2. Add a gloss finish

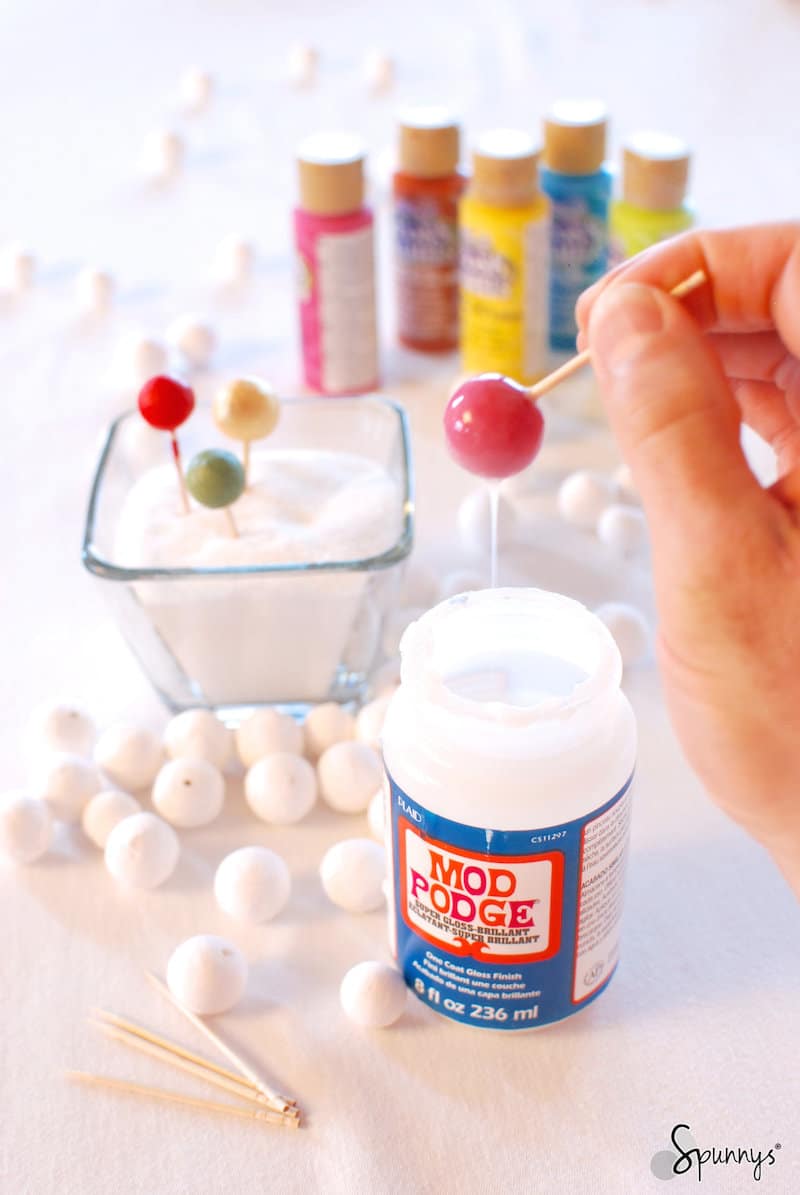
For a shiny look, dip your mini Christmas ball ornaments in glossy mod podge and wait until it hardens.

3. Prepare your hanging loops:

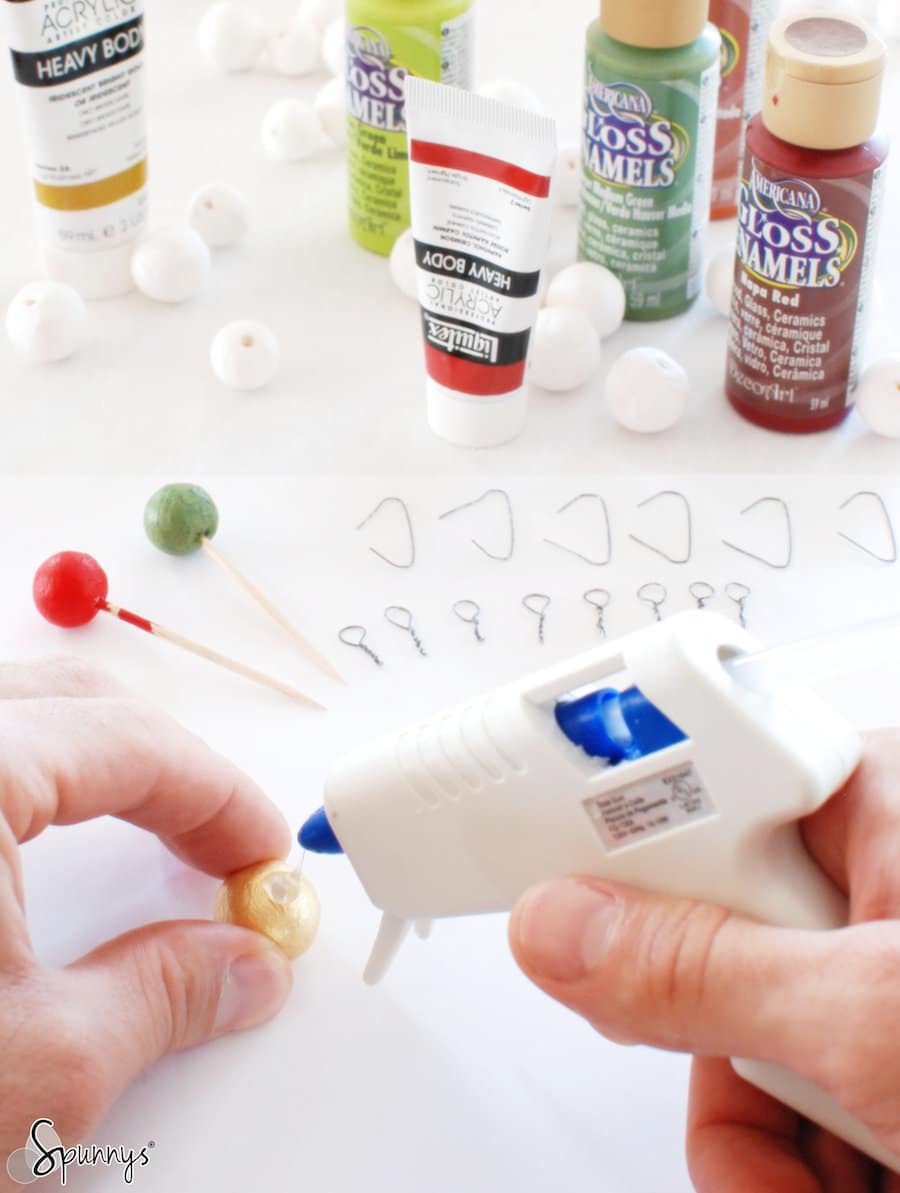
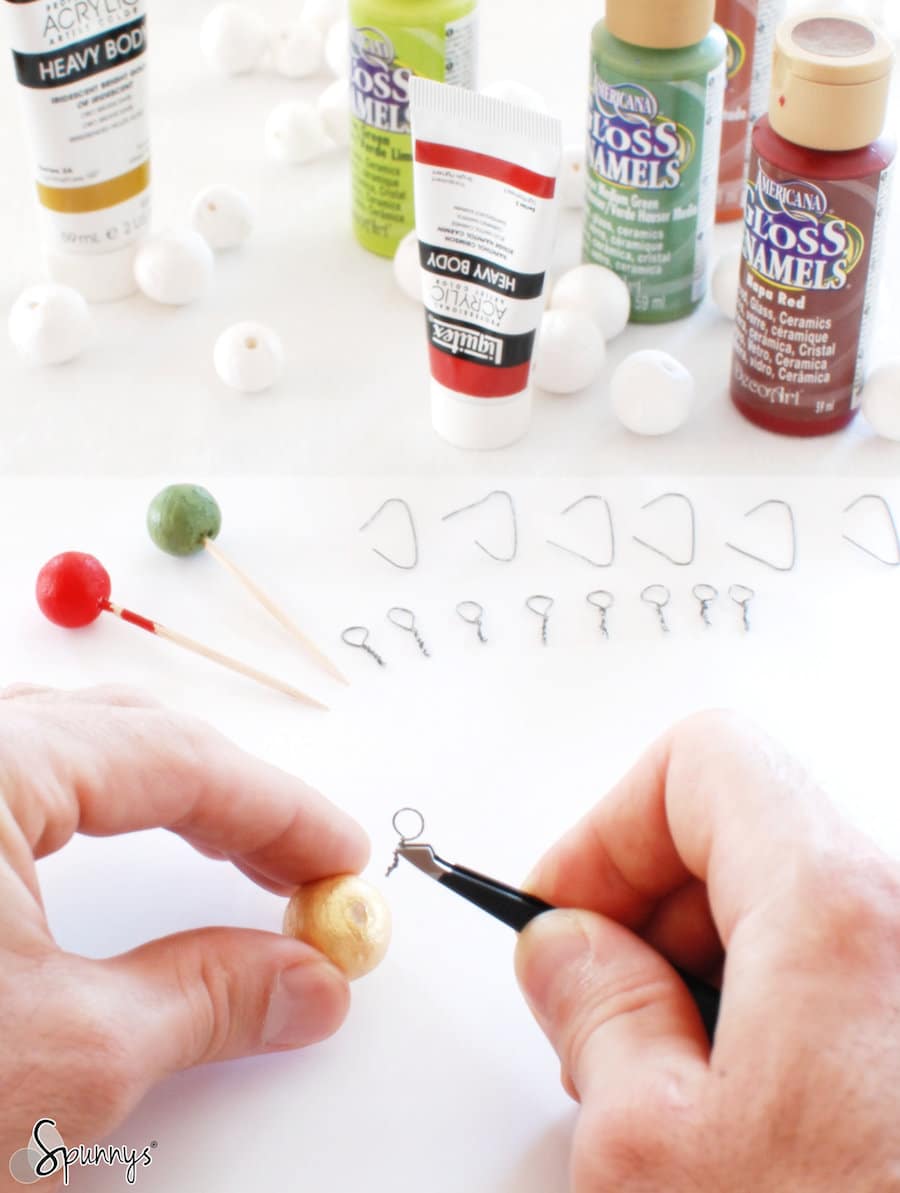
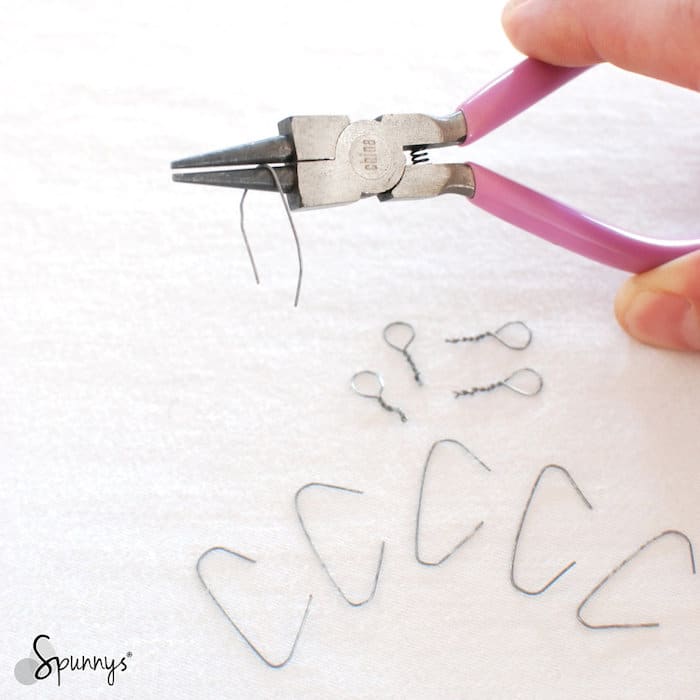
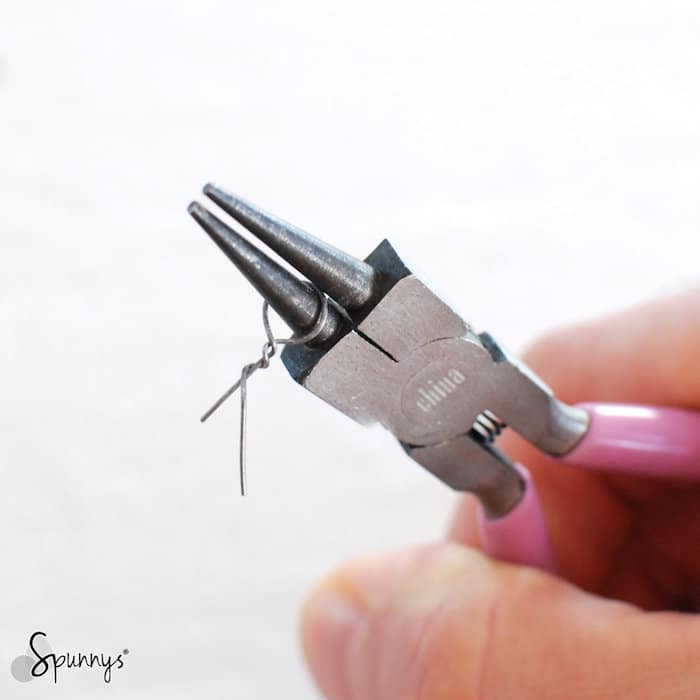
Loop short pieces of metal wire around your round nose pliers and twist the ends together. When done, cut off the excess wire with a wire cutter. If you do not have round nose pliers, you can loop wire around the handle of your painbrush to create the loop.

4. Glue the hanging loops to the balls.

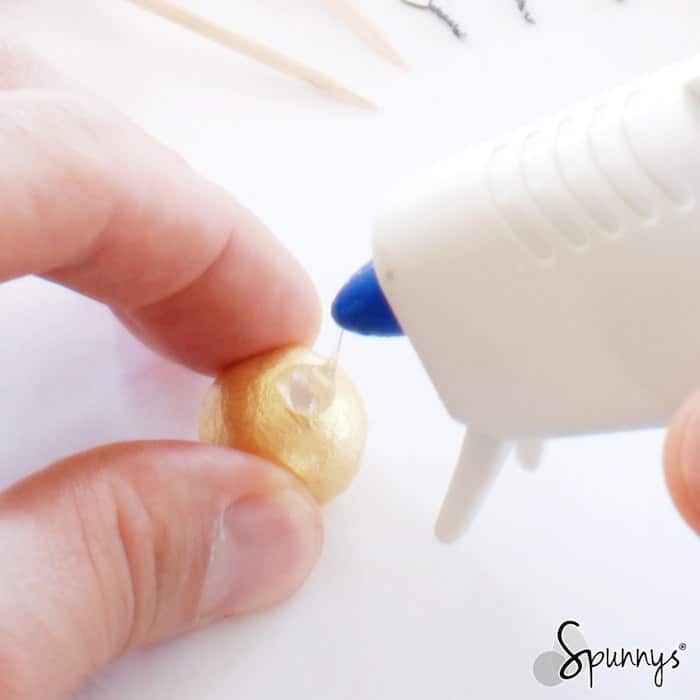
You can use a glue gun or regular white craft glue. Both have pros and cons. With a glue gun, you will work a lot faster, but with regular glue, you won’t leave glue marks on top of the balls.

Pouring hot glue

Pour a small amount of glue in the hole, and insert a metal loop right away. Note that all spun cotton balls have little holes.

You are done :)

I hope you enjoyed this tutorial. Note that spun cotton balls come in plenty of sizes and that you could use the same technique to make regular size Christmas ball ornaments as well.

Happy Holidays to all of you!
Posted on Leave a comment

How to make a lightweight paper bead necklace – Jewelry Craft DIY

paper bead necklace DIY

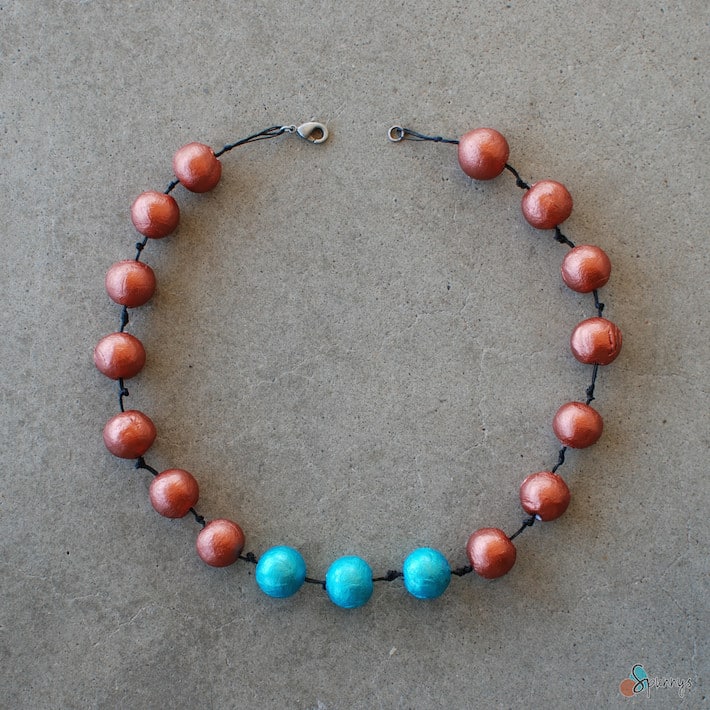
Check out our tutorial and learn how you can make a lightweight and comfortable paper bead necklace from ø 15 mm spun cotton balls.

Paper Bead Necklace – project materials

– ø 15 mm Spun cotton balls.

– Strong black thread and a needle.

– Acrylic Paint and a paint brush.

– Two pairs of pliers.

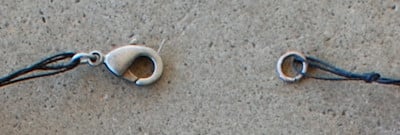
– A clasp mechanism such as the one pictured below:

clasp mechanism

Step by step tutorial

Step 1: Paint all the beads.

The beads are easier to paint if you mount them on sticks, toothpicks and bamboo skewers work great.

Step 2: Prepare your necklace line.

Make the line at least 6 inches longer than the desired length of your necklace because the knots will shorten the line and also because you need enough thread at the end to tie your last knot comfortably.

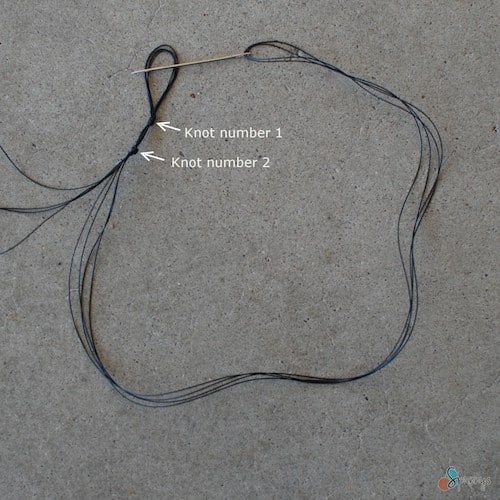
Double our quadruple your line to make it stronger.

Your line should look like the one in the picture below. Notice there are two knots on one side.

necklace craft tutorial

Cut off the excess thread.

Step 3: Thread the first bead.

Insert the needle into the pre-existing hole, and exit on the other side. Slide the ball until it covers knot #2 and tie a third knot just next to it.

Step 4: Thread the other beads.

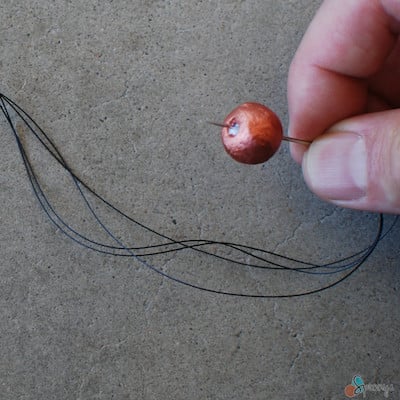
For tall the other beads, insert the needle from the opposite end and exit from the pre-existing hole (like in the picture below). After each bead, tie a new knot to secure them into place.

paper bead necklace DIY

Step 5: The last bead.

When you thread your last bead, you should be left with at least 3 to 4 ” of line. At this point, cut the end of the loop to free up your needle and create a new loop by tying a new knot just next to the last bead. Trim the excess thread.

Step 6: Attach the clasp.

With two pairs of pliers, one in each hand, open the clasp rings and attach them to the thread loops. Close up the clasp rings.

YOU ARE DONE :)

paper bead necklace designs

I hope you enjoyed this tutorial and as always, do not hesitate to comment below if you have any questions. For more DIY necklace projects, you can also check out our other tutorial : how to make a fabric covered bead necklace.

Posted on Leave a comment

How to make faux flower stamens from spun cotton balls

In this tutorial, learn how you can make flower stamens from small size spun cotton balls. You can use these faux stamens to make artificial flowers such as paper flowers or fabric flowers.

paper flower stamens – the basic technique

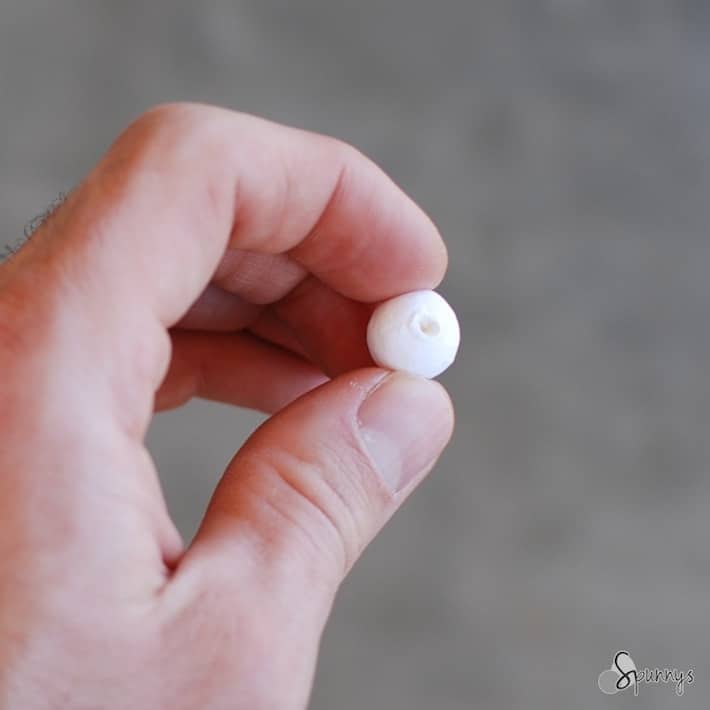
1. Grab a 15mm small spun cotton ball (you can also use smaller size balls).

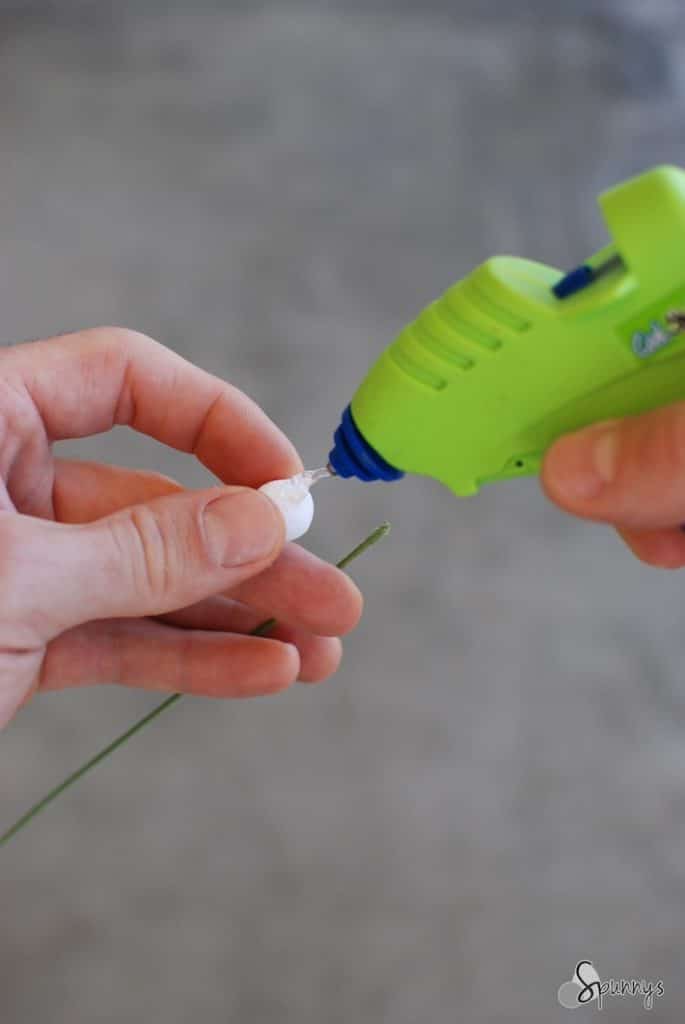
2. Pour a little glue into the hole.

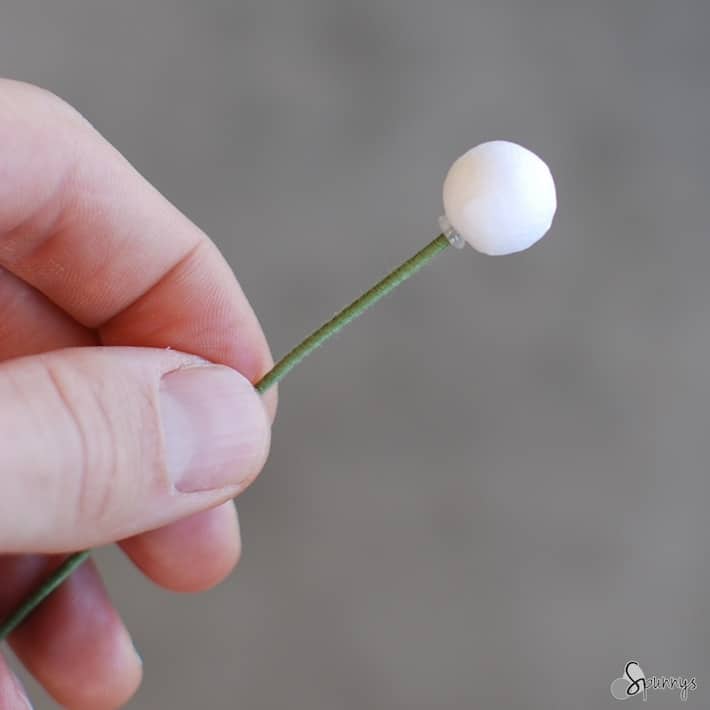
3. Insert a flower stem wire and wait a few seconds until the glue solidifies.

You are already done :)

Adding color or glitter

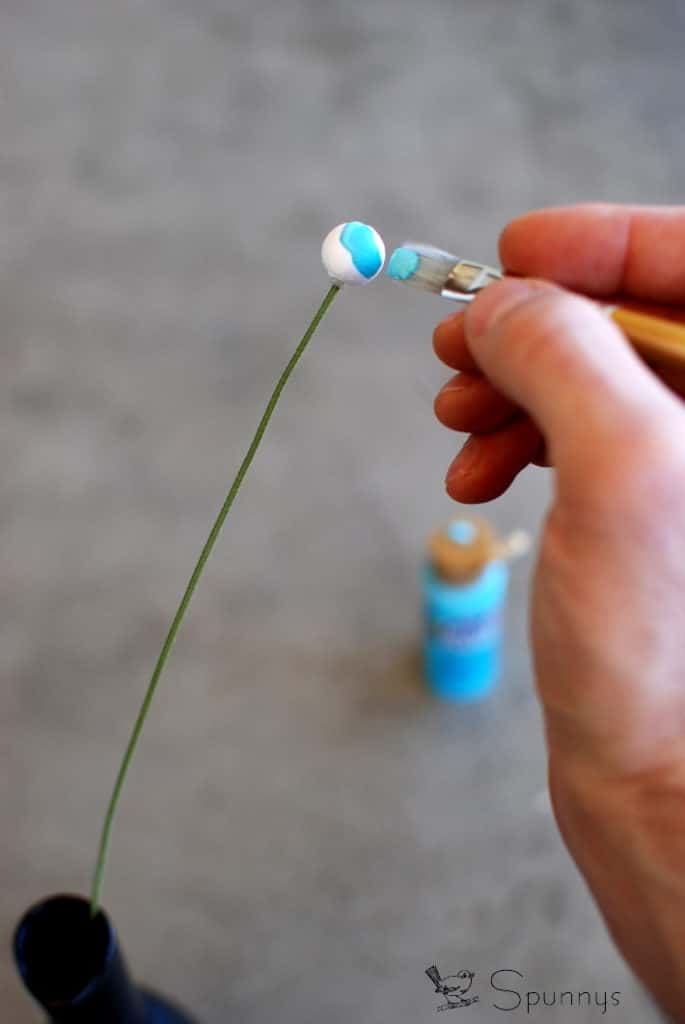
You can paint spun cotton balls with acrylic paint to make colored stamens.

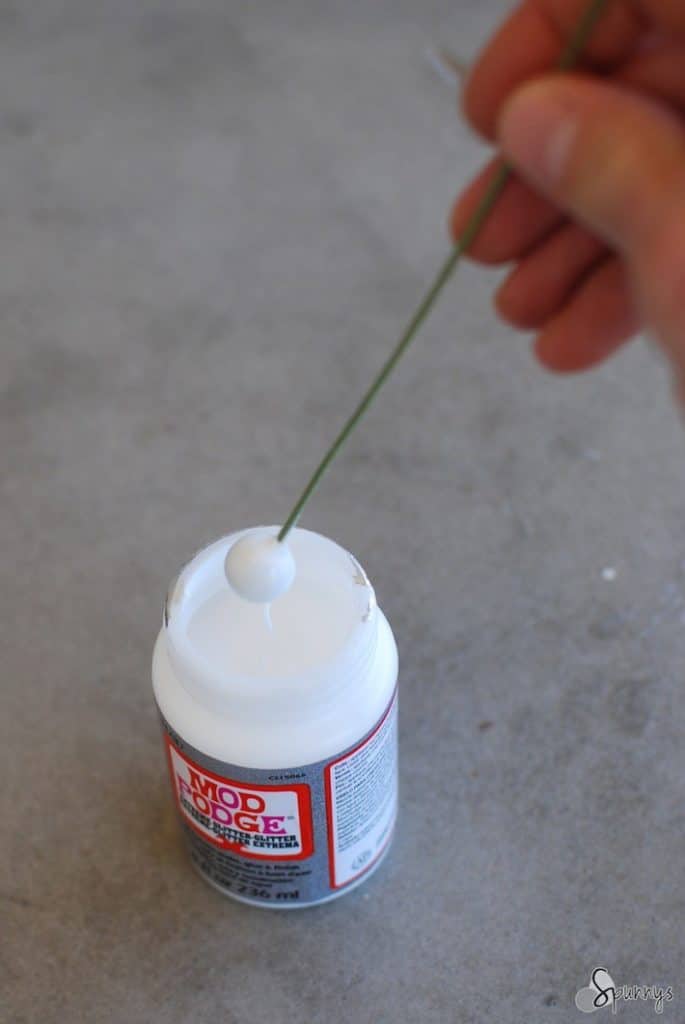
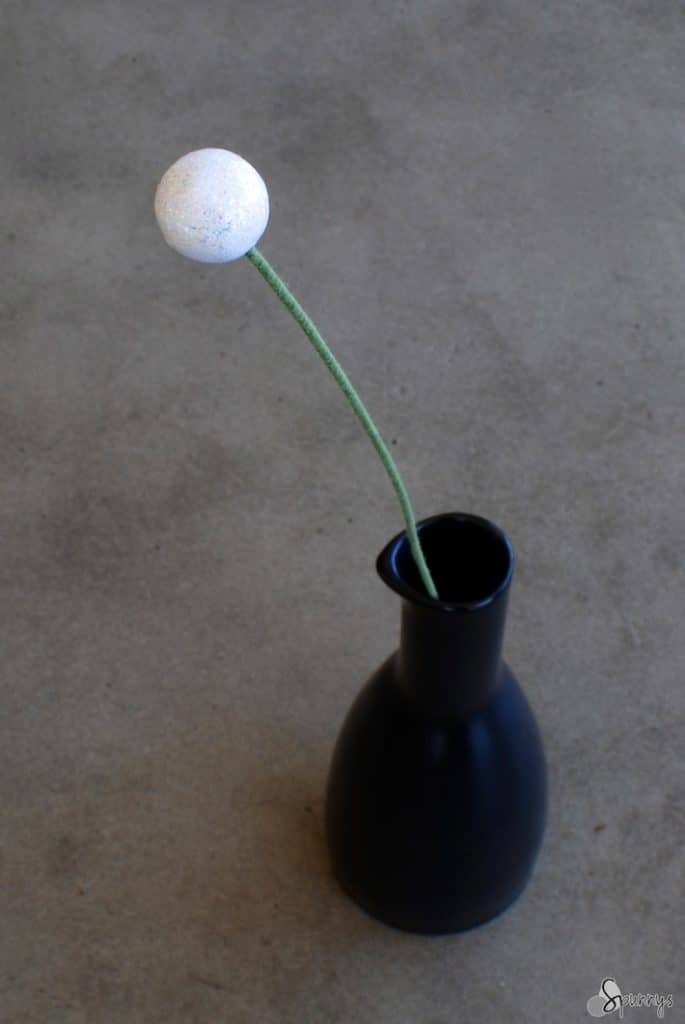
You can also add glitter to the stamens by dipping the balls directly into glittered mod podge. Another way of adding glitter would be to brush the balls with tacky glue and sprinkle glitter over the glue. The tacky glue will harden to a clear finish and let the glitter shine.

Tips and tricks

You can use a small spun cotton egg instead of a spun cotton ball for a pointier style stamen.

You do not necessarily need to paint or glitter the stamens. The artificial flower can still look beautiful with an unpainted stamen.

If you do no have any floral wire to make the stems you can use bamboo skewer sticks for a modern minimalist look.

how to make stamens paper flower 1

From paper stamens to faux flowers

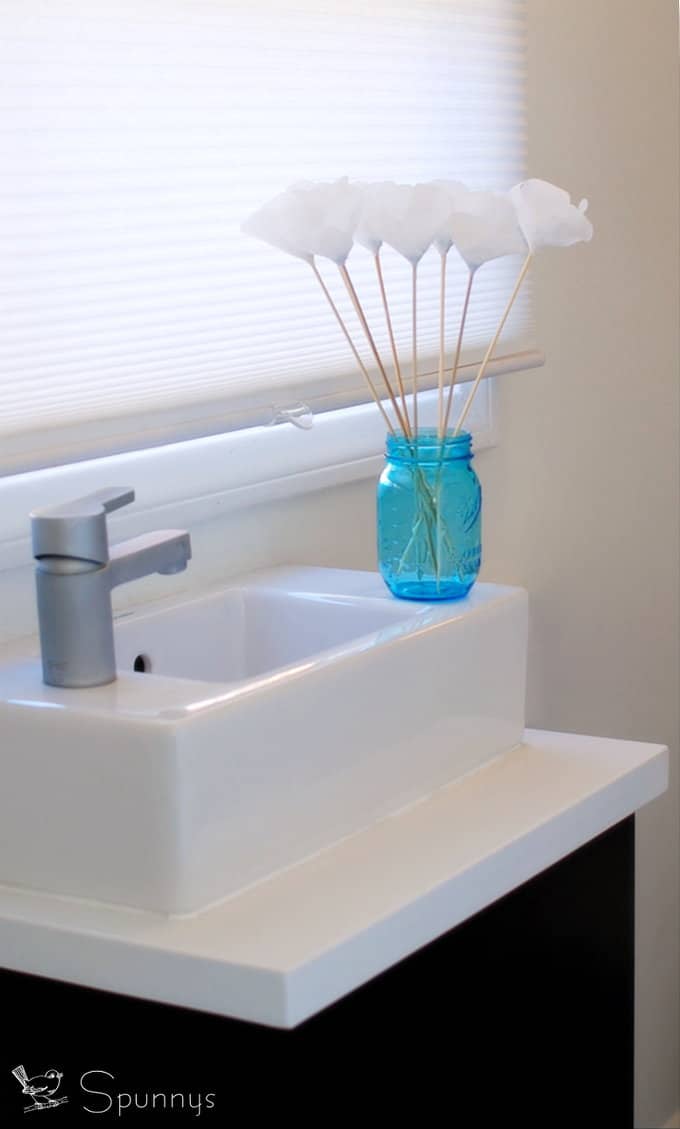
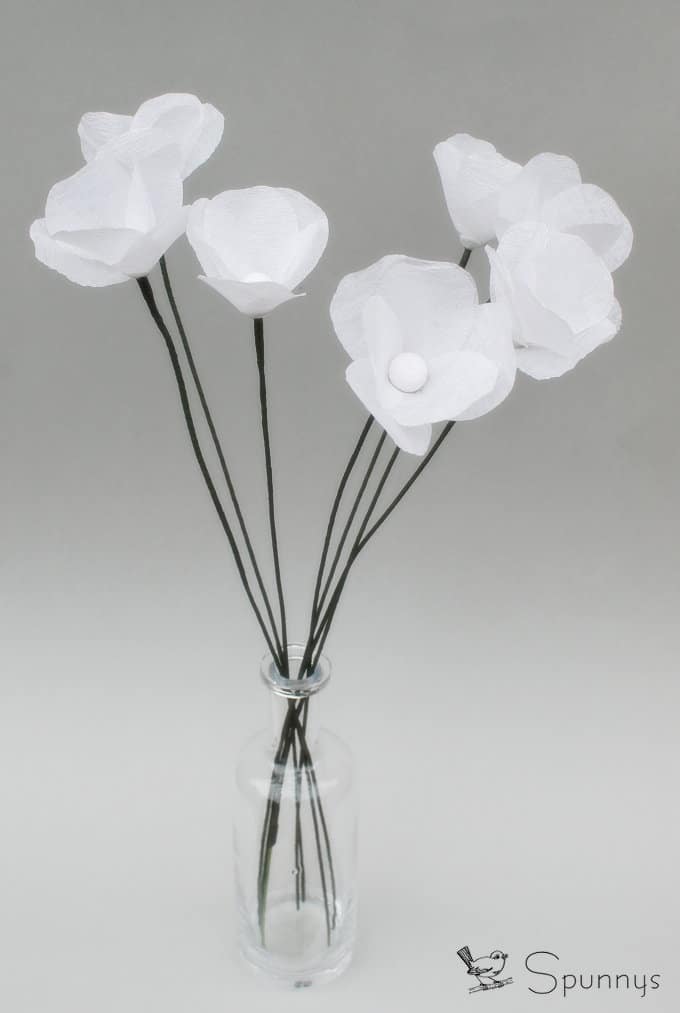
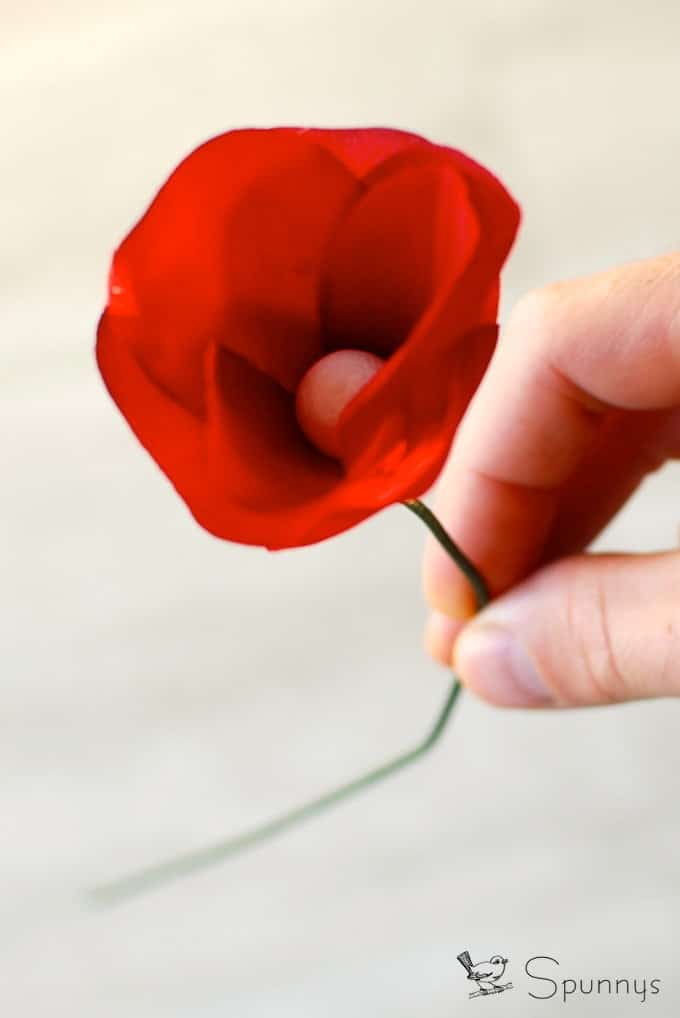
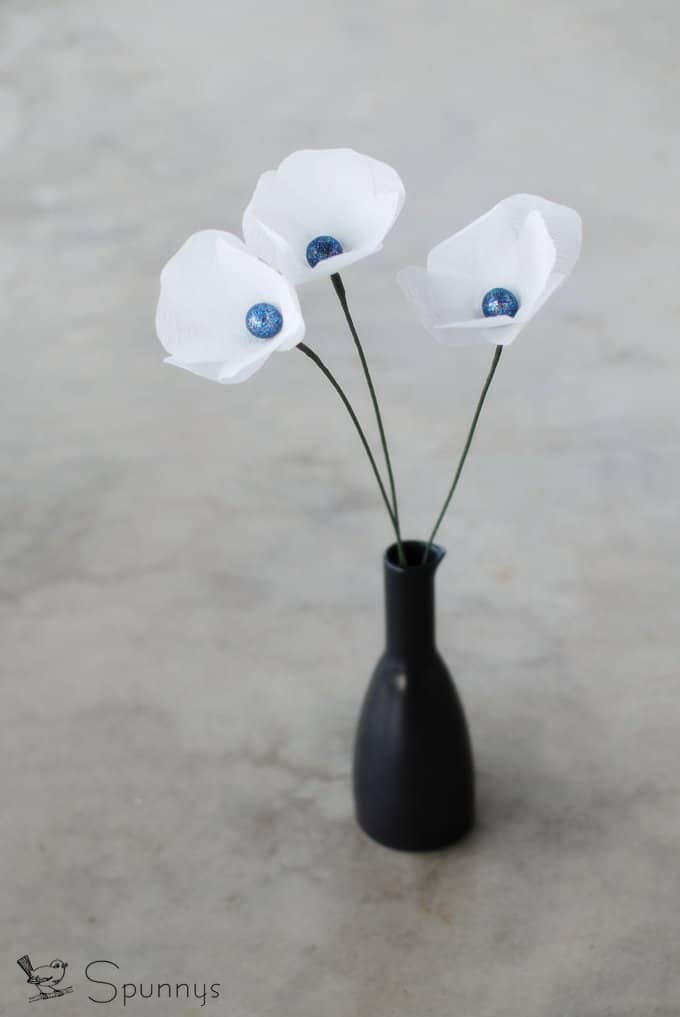
Here are a few faux flowers fashioned with spun cotton balls stamen.

If you would like to learn to make your own artificial flowers, you can check out our tutorial: how to make paper flowers.

I hope you enjoyed this tutorial. As always, if you have any questions, do not hesitate to get in touch via the comments section below. Happy crafting!