Posted on 4 Comments

How to make Vintage Angel Ornaments – two simple DIY tutorials

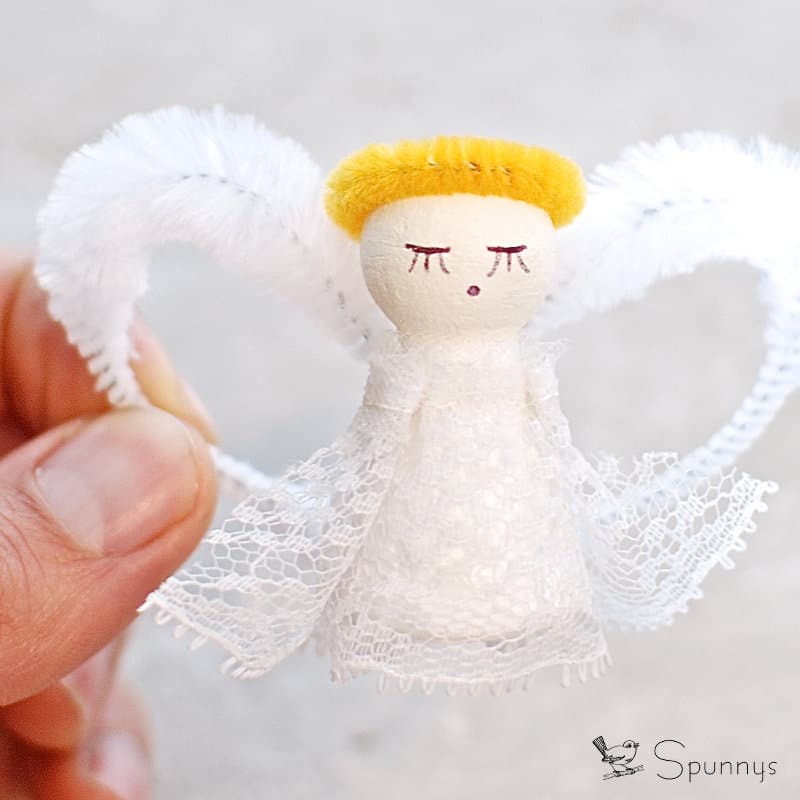
Check out our two tutorials and learn how you can make your own Vintage Style Angel Ornaments.

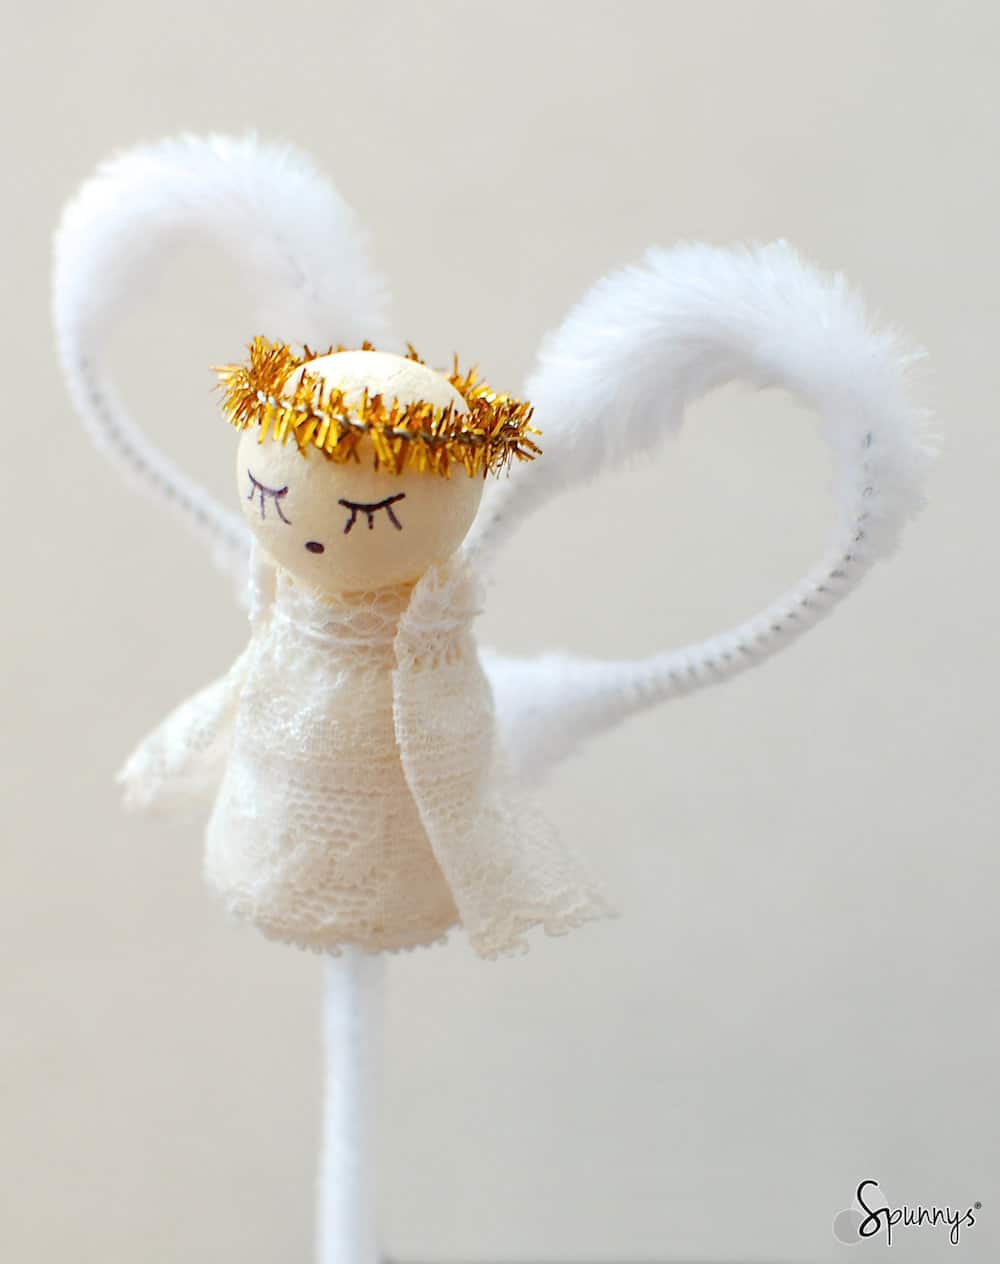
The two tutorials are quite different. The angel ornaments from the first tutorial have fluffy heart shaped wings, and beautiful lace gowns whereas the angel ornaments from the second tutorial have a gorgeous traditional look in which lace is the star of the show.

Tutorial 1: Heart-shaped wings Vintage Angel Ornaments
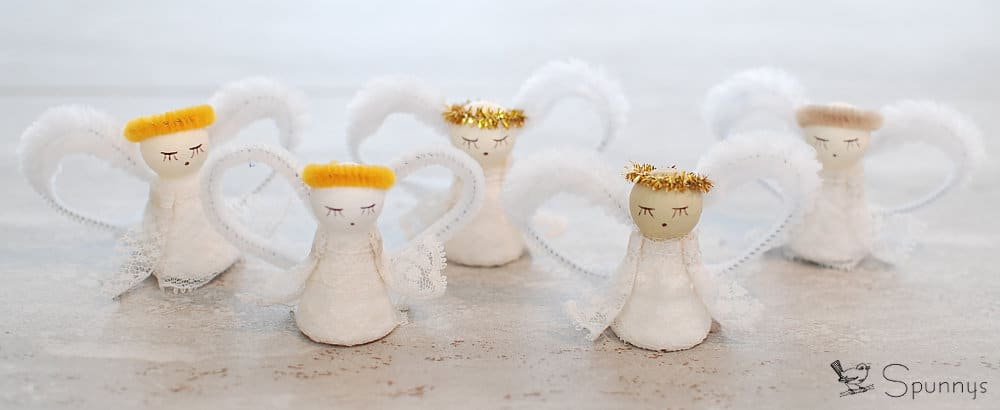
vintage angel ornaments pipe cleaners christmas

Project materials list

  • Blank Spun Cotton Figurines (cone fellow – small).
  • Bump white pipe cleaners (one strand per angel).
  • Gold, or yellow, or beige pipe cleaners for the angel halos.
  • White craft tacky glue.
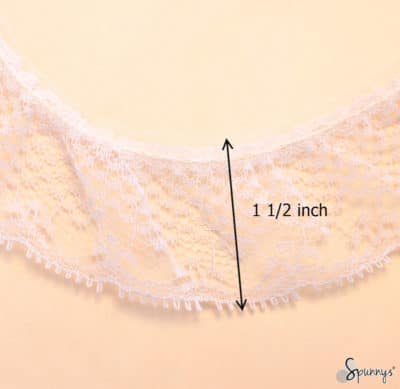
  • 1 1/2 ” wide Ruffled lace, about 4 1/2 inches per angel.
  • A pair of wire cutters.
  • Acrylic paint for the angel faces. Your choice of color.
  • A black ball pen to draw the eyes and the mouths.
bump chenille
White bump pipe cleaner (chenille)

Step by step directions

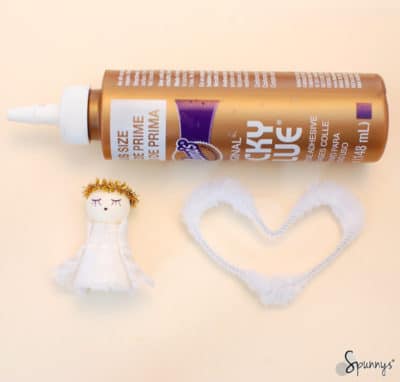
1: Gather your materials.

2: Paint the heads of the angel ornaments in one solid color.
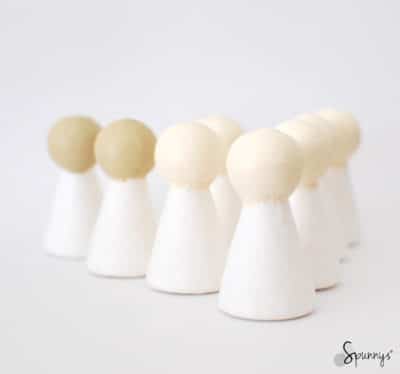
home decor angel ornament DIY

3: With the black ball pen, draw the mouths and the eyes.

4:. Pour glue on your figurine bodies.
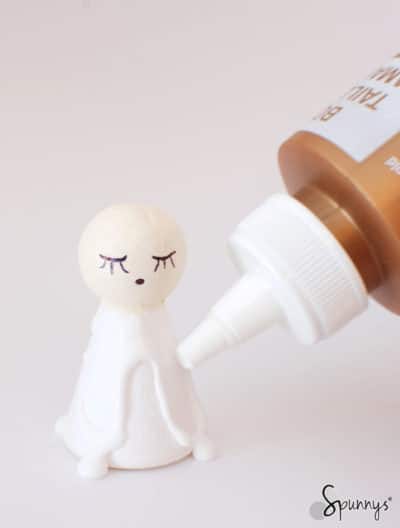
Christmas crafts angel ornament

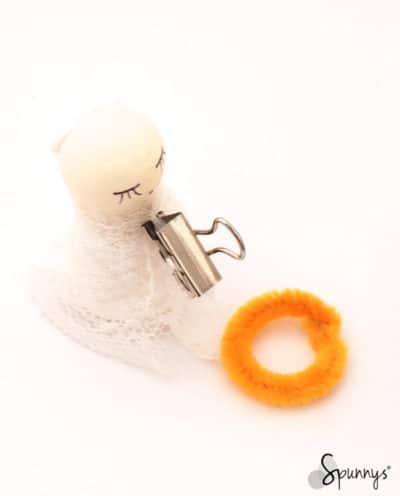
5: Dress each figurine with a 4.5″ long piece of lace. Make sure the ends of the lace meet in the back (you can use a paper clip to keep them together).

6: When the glue is dry, remove the paper clips and pour a small bead of glue on each side of the figurines.
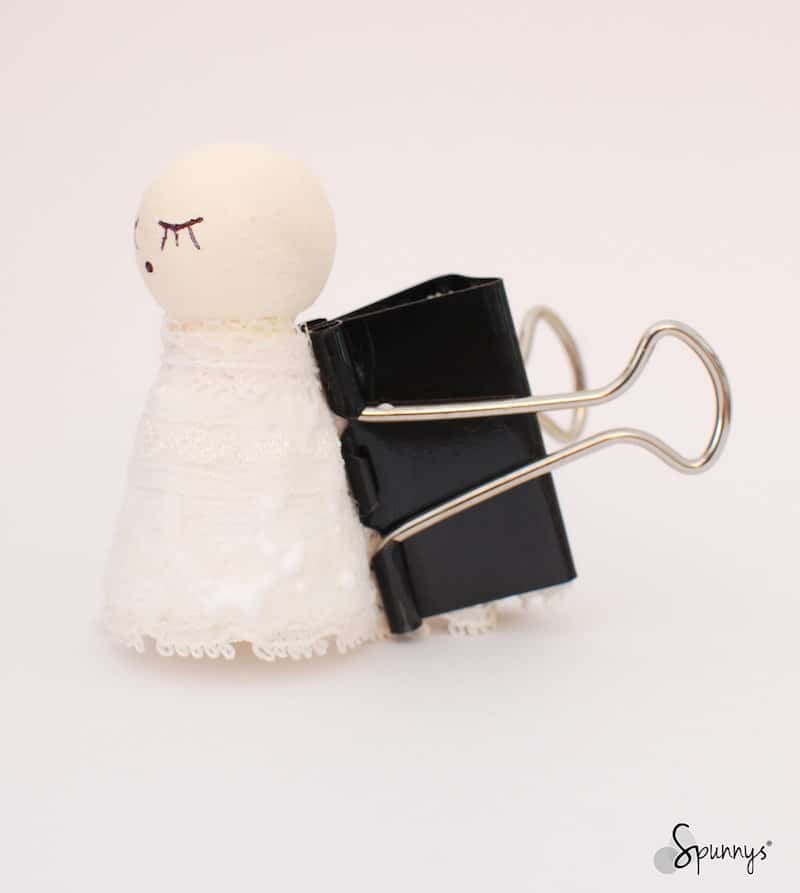
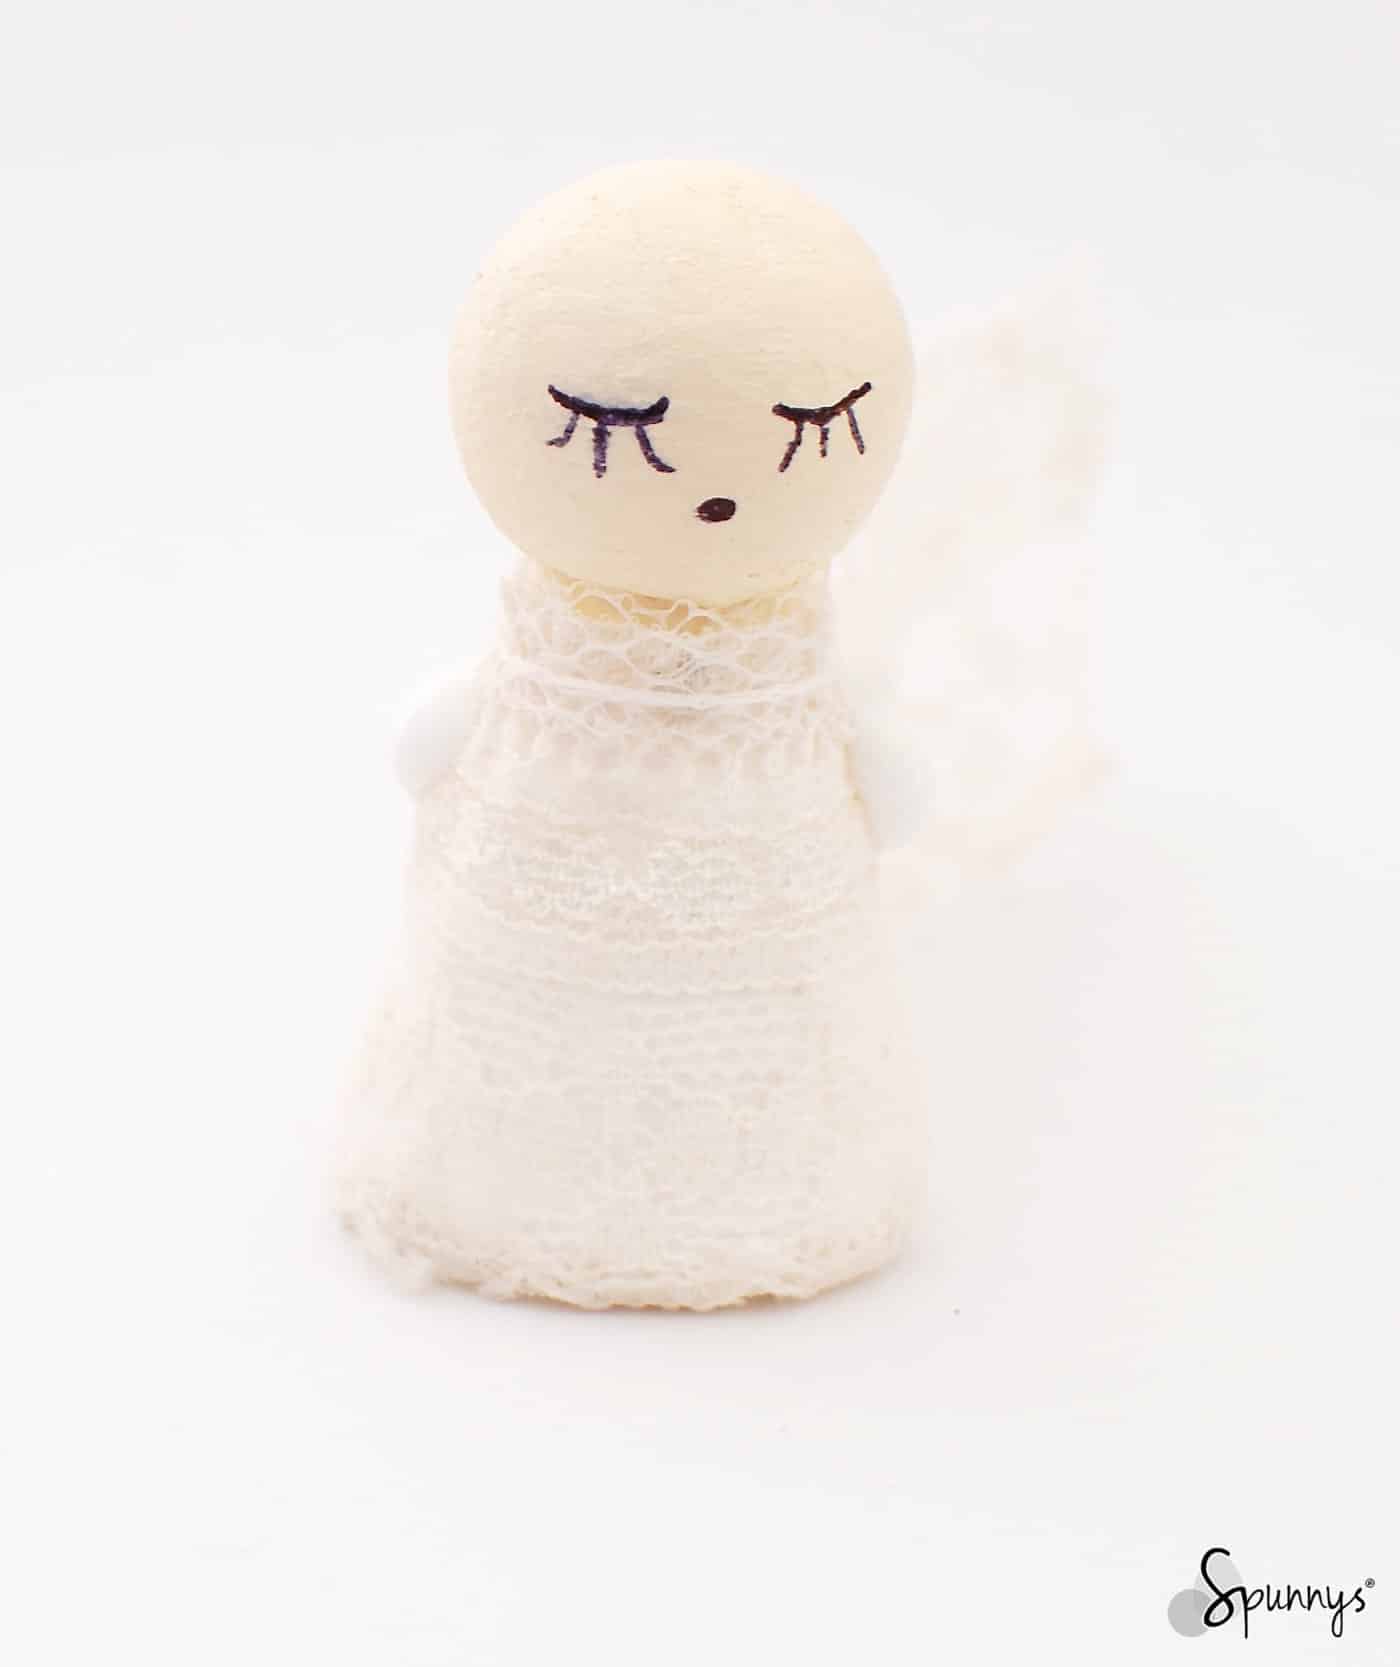
7: Fold the lace over the two beads of glue.  The lace endings are now pointing forward.  Keep the lace in this configuration until the glue is dry. You can use a small paper clip.
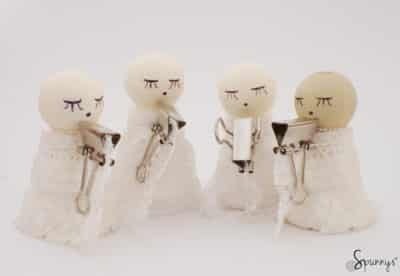
Learn to make angel ornaments

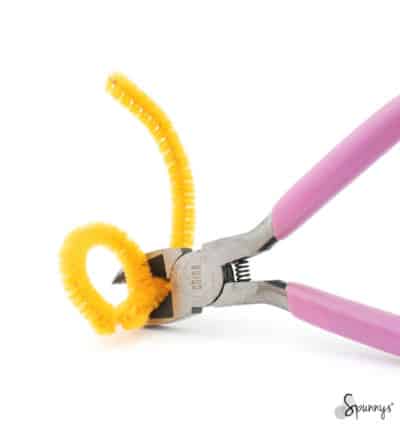
8: While the glue dries, you can work on the halos. Just create a loop with a piece of pipe cleaner, twist the ends together a few times, and cut off the excess.

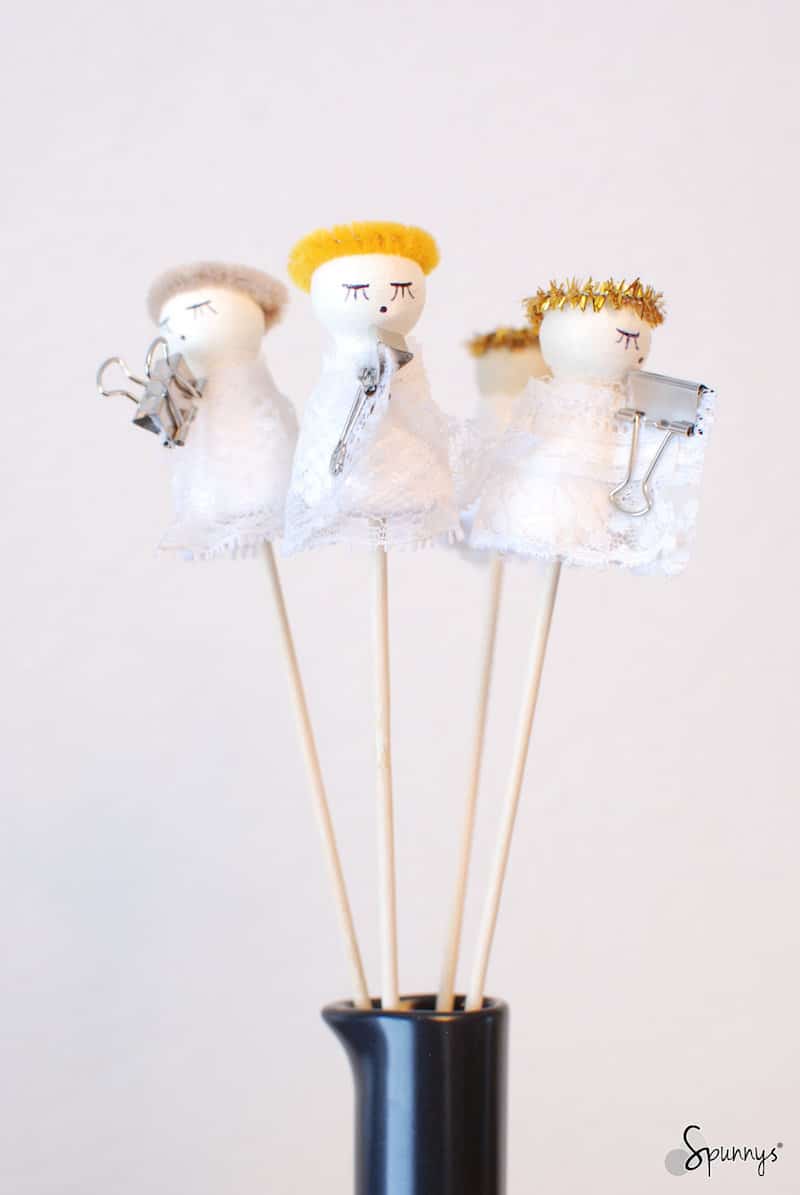
9: Glue the halos to the angel heads. Try to use as little glue as possible so as not to leave any glue marks.
10: Let your ornaments rest a little until the glue under the halos and the glue under the lace pieces is dry.

11: Remove the paper clips and pour two more beads of glue on the sides of your dolls.
12: Fold the lace ends back and keep them in this position with a rubber band. Let dry.
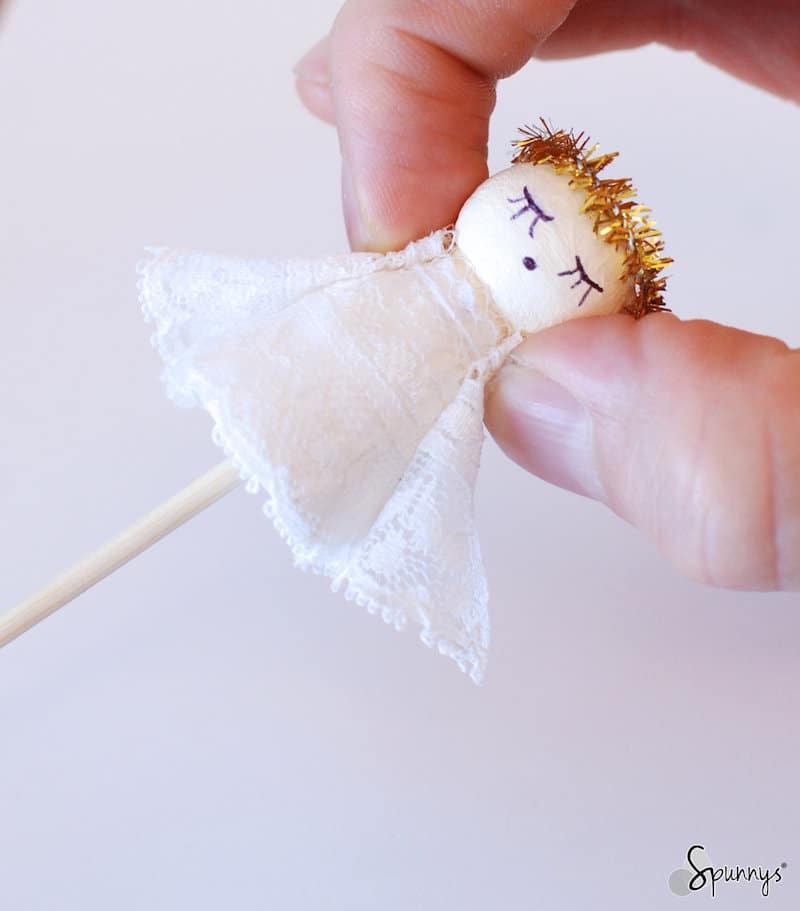
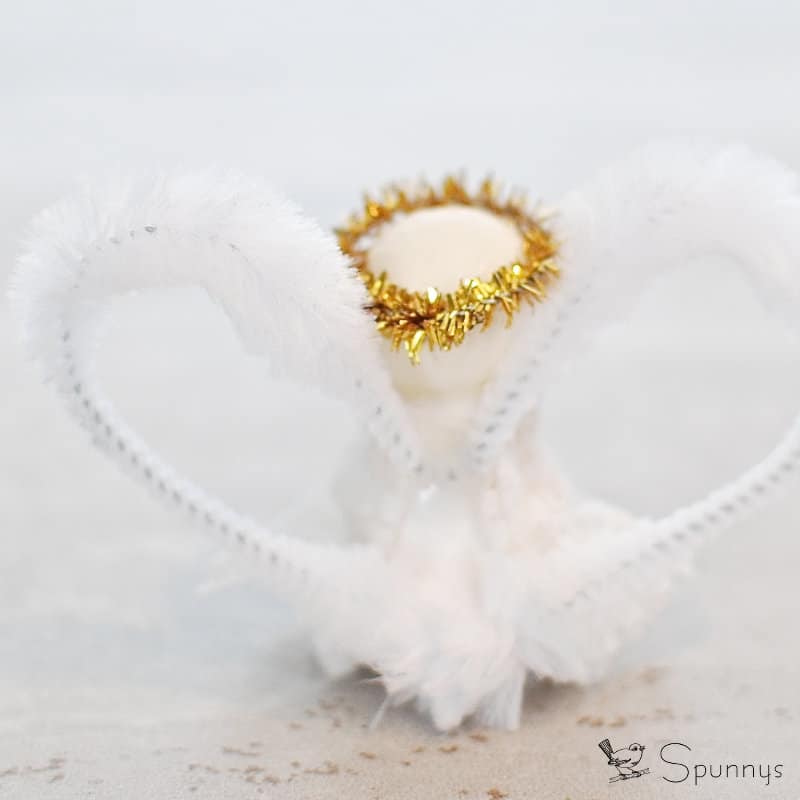
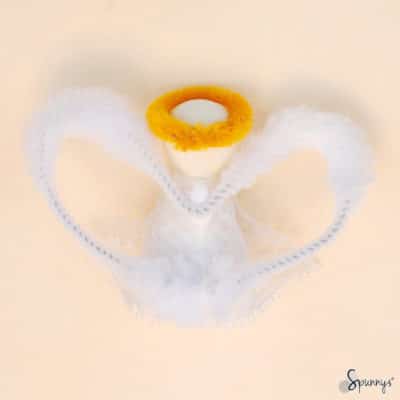
13: Almost done. Bend the white bumpy pipe cleaners into heart shapes. Twist the ends together.

14: Cut off the excess pipe cleaner with a wire cutter.
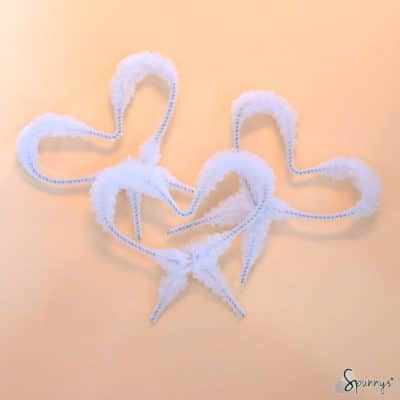
15: Final gluing. Pour two good size beads of glue on the back of your ornaments.

16: Gently add the wings to your angels. Make sure they are centered
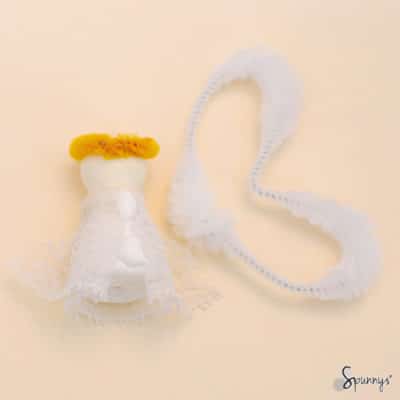
17: Rest your ornaments in a safe and quiet place until the glue is dry :)
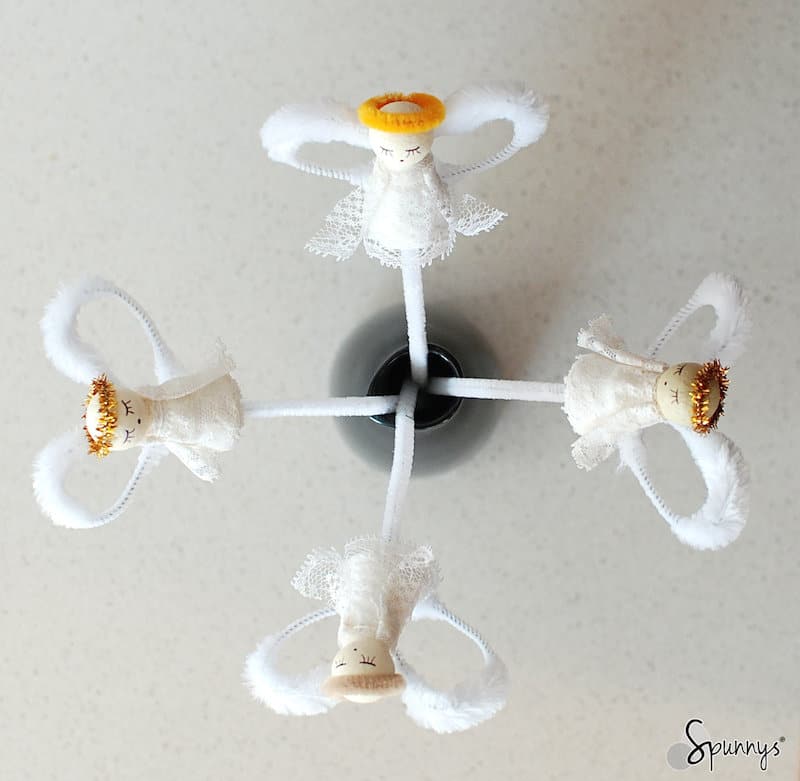
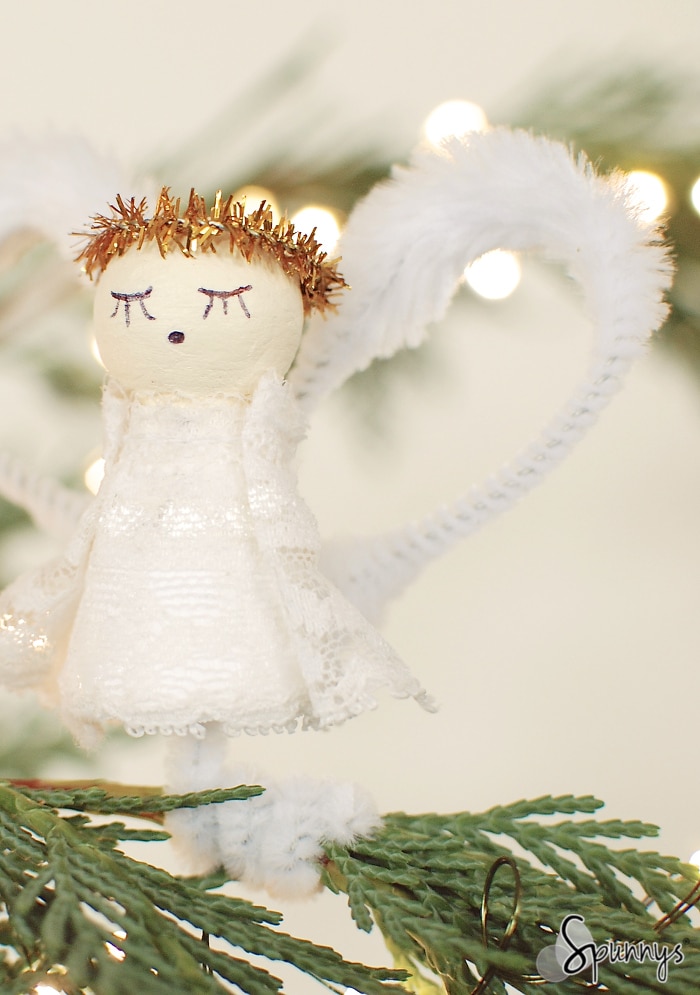
YOU ARE DONE :)
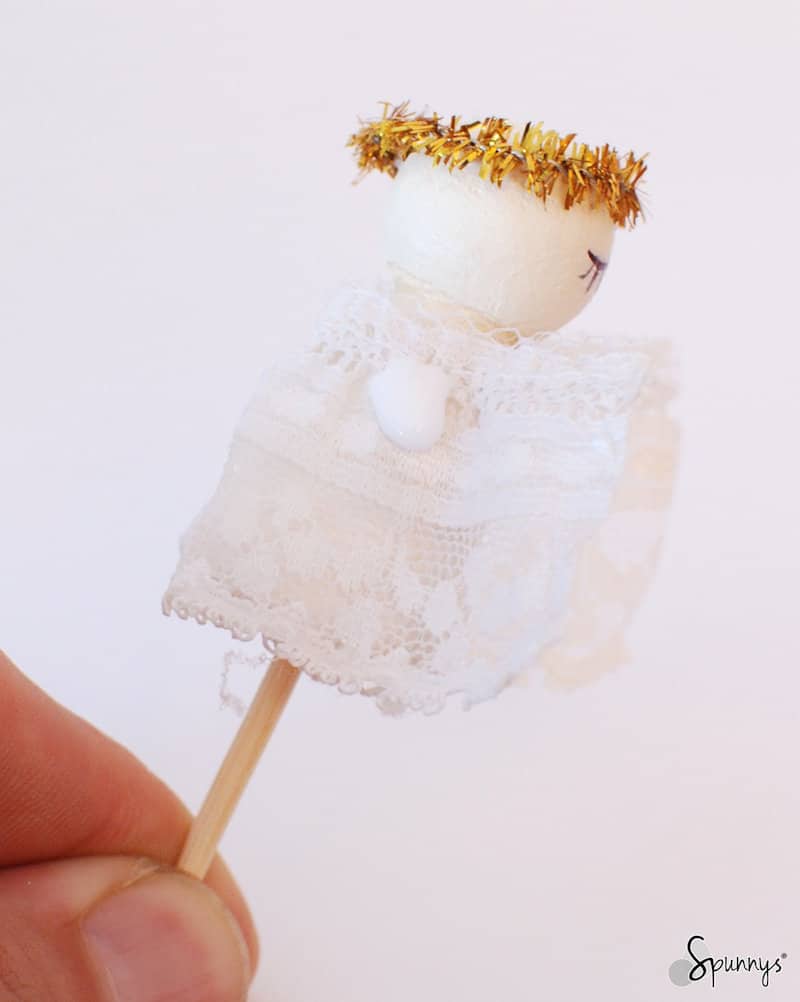
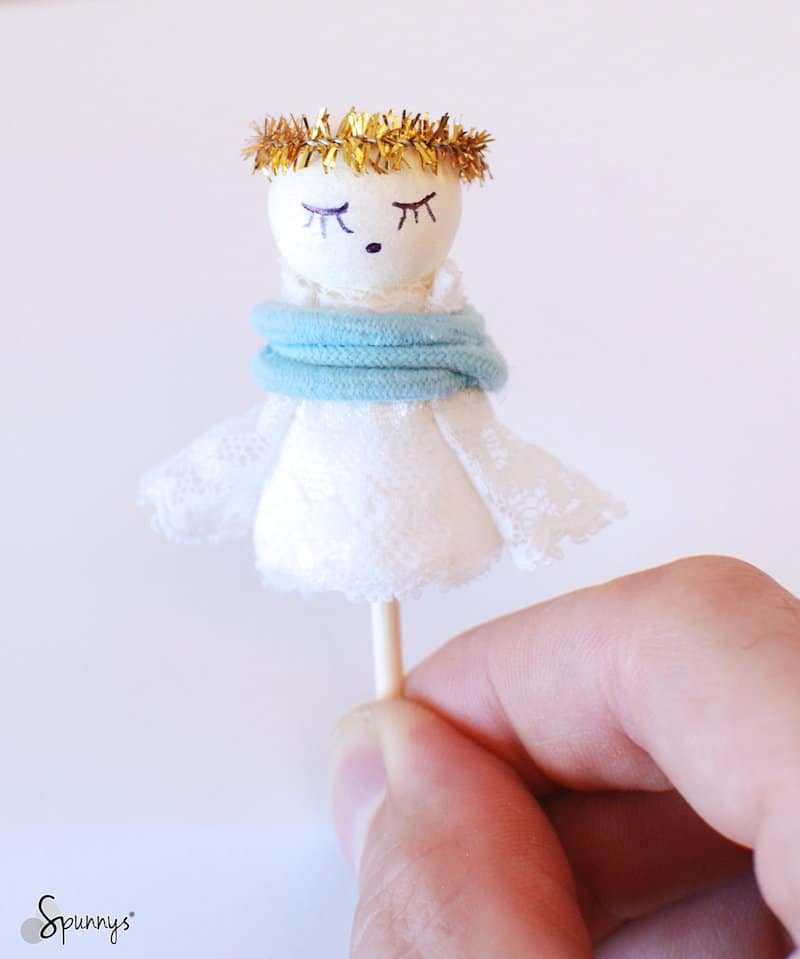
Tutorial 2: Traditional Vintage Angel Ornament
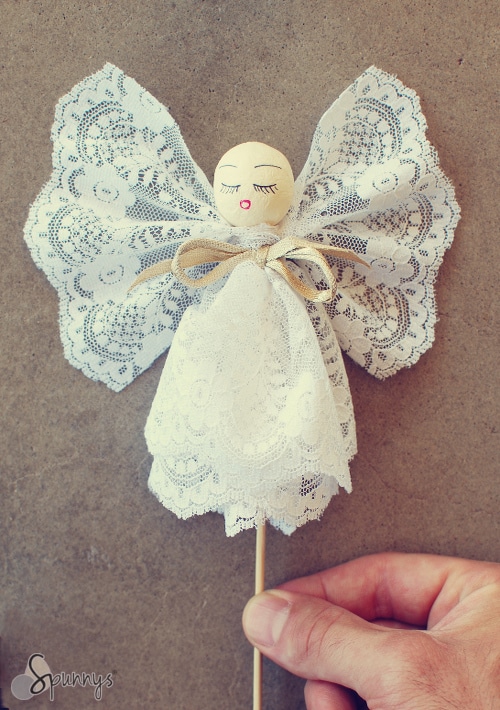
Vintage inspired angel ornaments DIY

Project Materials:

– A 30mm spun cotton ball for the head. They are lightweight and easy to draw on.
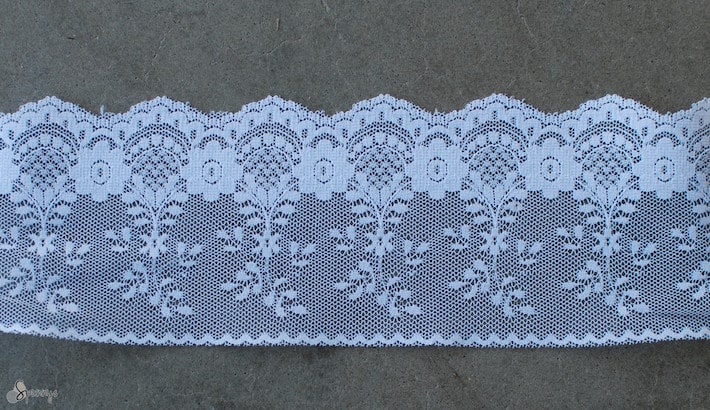
– A piece of lace about 2 feet long and 3 1/2″ wide.
– A crylic paint for the head (I used a pale yellow color).
– A black ball pen (for the eyes) and a red ball pen (for the mouth).
– A piece of ribbon (about 10″ long)
– A bamboo skewer (a toothpick would work too).
– A pair of scissors and a stapler.
vintage angel ornaments lace
The lace I used

Step by step directions:

  1. Paint the ball in one solid color and let it dry. To give the skin color a vintage look, use a pale washed off color such as pale brown, yellow or pink.
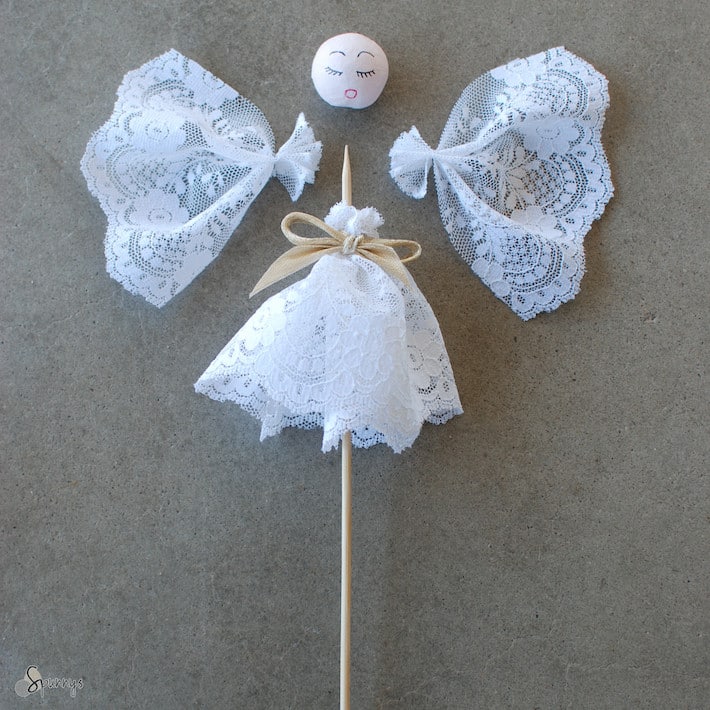
  2. Cut your lace into three pieces:  one long 12″ long piece (the body) and two short 5″ long pieces (the wings).
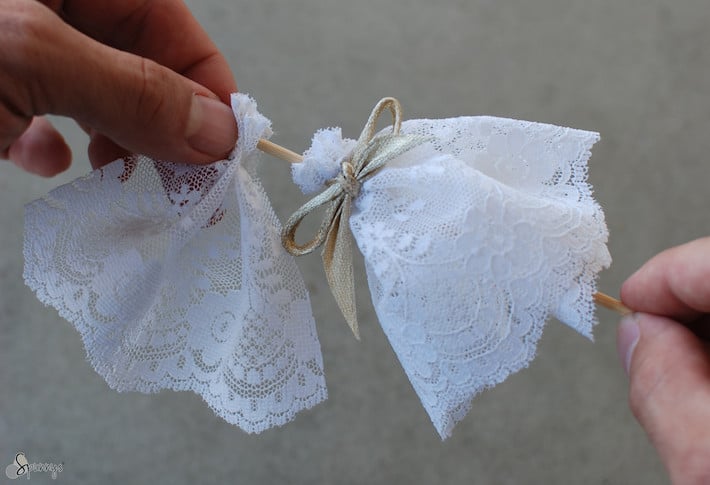
  3. Prepare the wings. Fold a short piece of lace into an accordion fold and staple one end. Repeat with the other wing.
  4. Prepare the body: Wrap the long piece of lace around the bamboo skewer making sure to create pleats as you go. Tie a piece of ribbon around the lace to secure it into place.
  5. By now the head should be dry. With the two pens, draw the eyes and mouths.
  6. Slide the wings down on the pointy end of the bamboo skewer. Roll the bamboo skewer through your fingers to help.
  7. Add the angel’s head

You are done :)

I hope you enjoyed these angel tutorials and are ready to embark on your own vintage angel ornament projects. As usual, do not hesitate to ask questions, we are always happy to help. Happy crafting!
Posted on 34 Comments

How to paint peg dolls (wooden or paper): tips and tricks

Painting peg dolls is fun and addictive. Check out our list of tips, tricks and advice and learn how you can paint beautiful peg doll people. All of our tips apply to both wooden peg dolls and spun cotton.

Peg dolls can be painted after family members, pets, super heroes, school teachers….The sky is the limit. Peg dolls can also be accessorized with materials such as felt, pipe cleaners, fabric…

How to paint peg dolls – our best tips, tricks and advice

1: Have faith in yourself, it’s much easier than you think

There is no need for fancy paint, fancy brushes, and there is certainly no need to be an artist. Actually I know several people who are famous for their work with peg dolls and who were not artists in the first place. The learning curve is fast. And there is no shortage of ideas out there  to get inspired. So trust in yourself, you will do awesome!

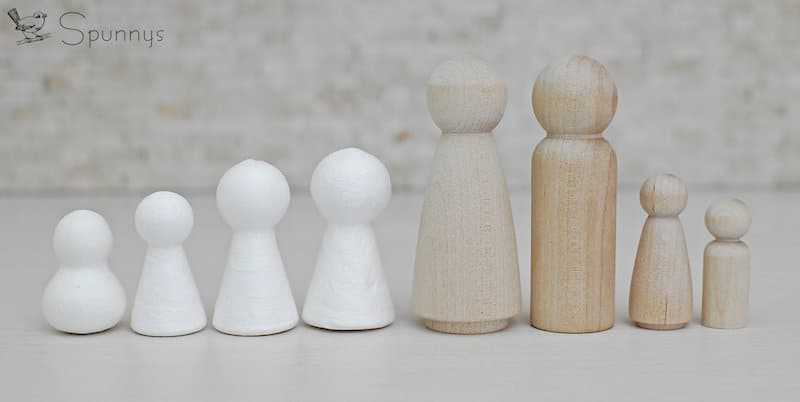
2: Know what doll shapes are out there.

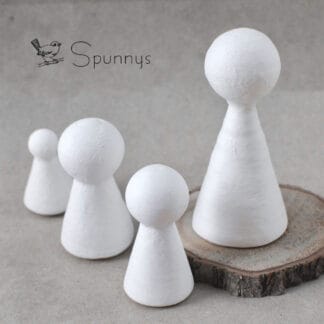
There are many different shapes and sizes out there so make sure to use the ones that fit your project the best. You will find female shapes, man shapes, shapes with a large head, shapes with a small head, shapes with rounded bodies, shapes with slender bodies….If for example you are painting peg dolls after your family, make sure to use different size peg dolls to differentiate between adults and children.

How to paint peg dolls tips

3: Prep your doll shapes.

If you are painting a wooden doll, make sure it is smooth. You may have to sand it a little bit. Always sand in the direction of the wood grain.

4: It’s much easier to outline first.

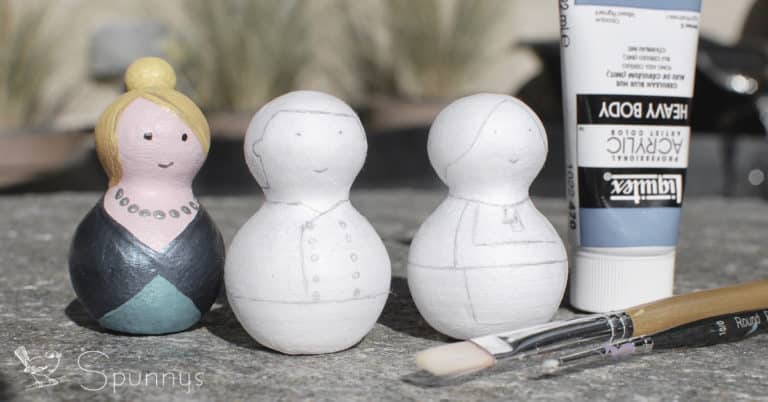
I have painted hundreds of dolls but I still use a pencil to outline things like the eyes, the mouth, the clothes, the details..You can use a pencil eraser directly onto a wooden peg doll or a paper peg doll. If you don’t outline and make a mistake while painting, it will take a long time to correct this mistake.

How to outline peg dolls

5: How to make peg doll hair buns

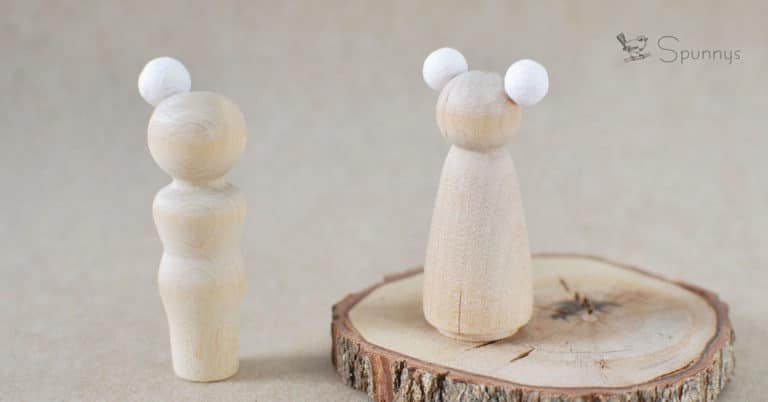
You have several options. I recommend spun cotton balls (ø8, 10 or 12 mm). Use tacky glue to fix the balls to your dolls (wooden or spun cotton), it works very well. You can also gently squeeze the balls to flatten them a little and make the bun more of an oval.

The other way to make hair buns is to use wooden balls. However it’s not as easy because you will have to drill a hole in the wooden ball, a hole in the doll head, and join them together with a toothpick and wood glue.

Peg doll hair buns DIY tutorial
ø 10 mm ball (left) and ø 8 mm balls (right)
Peg doll on left is 2″1/4 tall, Peg doll on right is 2″ tall.

SHOP AT SPUNNYS

6: Learn to position your facial features.

peg doll facial features placement

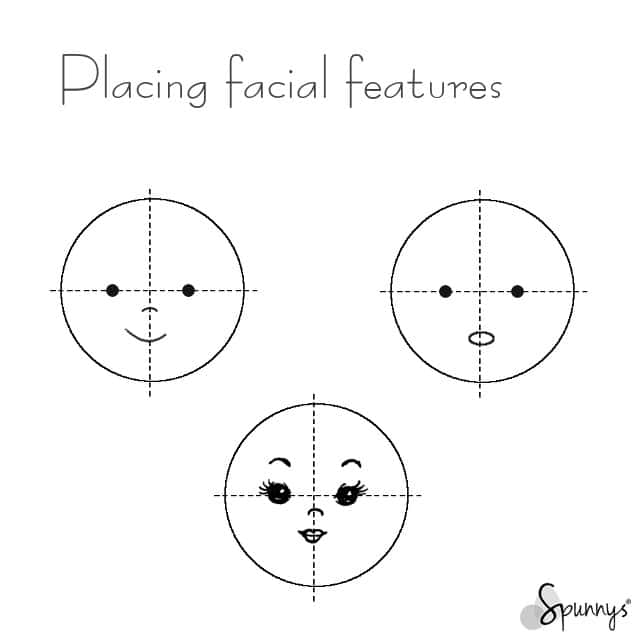
Too often the eyes are positioned too high on a peg doll face. To help you position all the facial features where they belong, there is a simple trick. Just imagine (or draw with a pencil) two intersecting lines dividing the peg doll’s head in 4 equal parts.  Position the eyes on the horizontal line. Then, use the vertical line to position the nose and the mouth.  That’s it. The eyes may seem too low this way but they aren’t. After you draw the hair or add a hat to your doll, your peg doll will look perfectly normal and well proportioned.

7: Small details are better achieved with a small brush.

This sounds obvious but it is so true. You got to have the right tools. I made a $5 investment 2 years ago in a tiny size #10/0 round brush and today I cannot imagine myself without it. I use it for almost all my peg doll projects. You can also make a small brush by cutting the bristles of a small round brush.

8: Save money. You don’t have to buy too many paint tubes.

If you are on a budget, it’s much better to buy only a few tubes of high quality paint than to buy many tubes of low quality paint. High quality paint is easier to work with (creamier), makes for a more even coverage, and will look much better once the paint is dry. I like to use acrylic paint. I was once told that the following eight colors are enough for most purposes: yellow ochre, gamboge, light red, crimson lake (carmine), Van Dyke brown, ultramarine blue, Hooker’s green, and Payne’s gray. I would definitely add white to this list.

9: Watch your paint consistency. 

Paints that are too thick in consistency may be very difficult to work with, especially when painting details, or when painting a clean border between 2 colors. Acrylic paint for example can get thicker with age. I notice this with some of my old tubes. You can use a little water on your brush to thin it and make it more workable.

10: To paint small dots, you can use a tooth pick.

Dip the tip of a toothpick in a small amount of paint and gently dab a dot onto your doll. Bamboo skewers and pencils also work great. Pencils are actually my favorite tools to make eyes. To make eyes, I use the lead tip of a pencil that has a slightly worn out tip. If the pencil was freshly sharpened, it wouldn’t work as well, the dots would be too small.

11: Paint clothes in a logical order.

It’s easier to paint clothes that are closest to the body first (shirt before jacket). And if you paint your shirt before your jacket, your final project will also look better this way. It’s also easier to paint light colors before dark colors.

12: Keep it simple.

Often, simple just looks better. Add too many details or try to be too realistic and you may lose this little something special that make painted peg dolls look so adorable. For example, consider Waldorf inspired peg dolls. Their appearance is intentionally simple. It makes for a cute look and fosters creativity.

13: Keep your brushes clean.

Don’t let the paint dry up on your brushes or they will be harder to clean later. Keep a paper towel and a cup of water handy.

14: Protect your finished dolls.

Finish your project with a clear coat varnish. This will protect it from finger prints and prevent the paint from chipping. You can choose to use a glossy or matte varnish.

How to paint peg dolls – from theory to practice

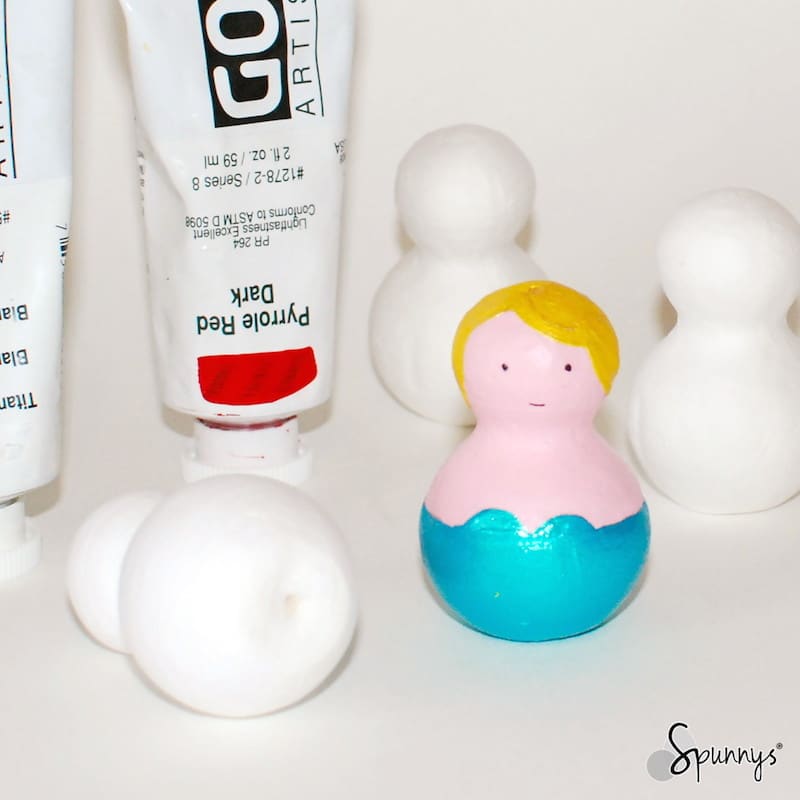
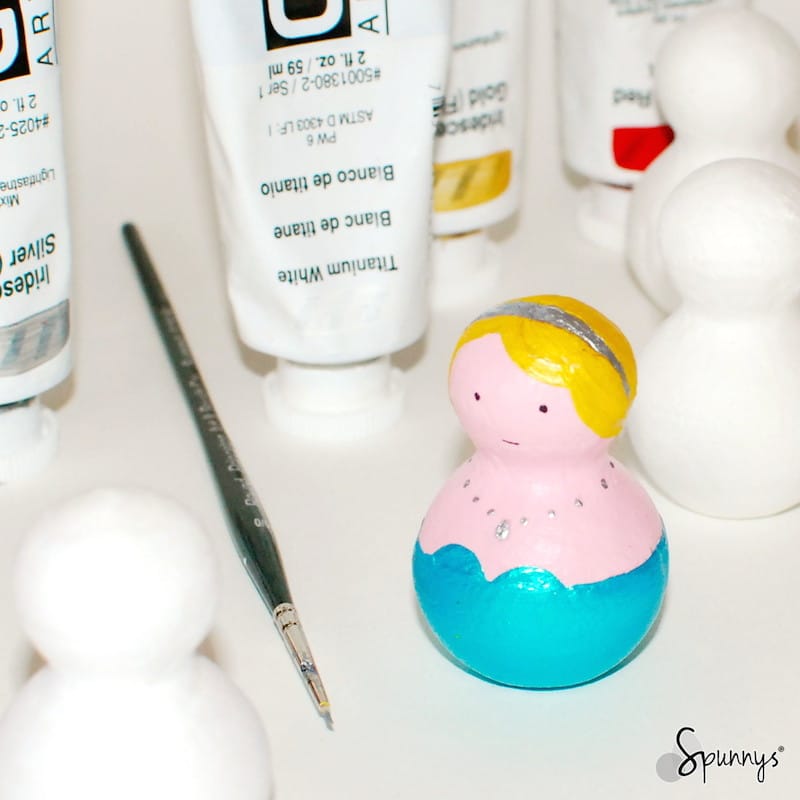
Follow our step by step tutorial and learn how you can easily paint your own peg doll. We’ll use a princess as an example. You can use wooden peg dolls or spun cotton peg dolls.

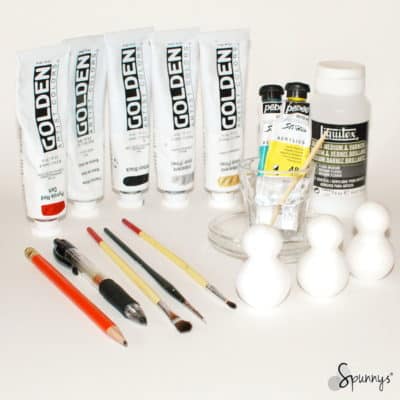
Step 1 – Gather your materials. Acrylic paint works great for both wooden peg dolls and spun cotton peg dolls. I also always have a pencil handy. It’s useful to outline but also to dab little dots of paint (to paint the eyes for examples).

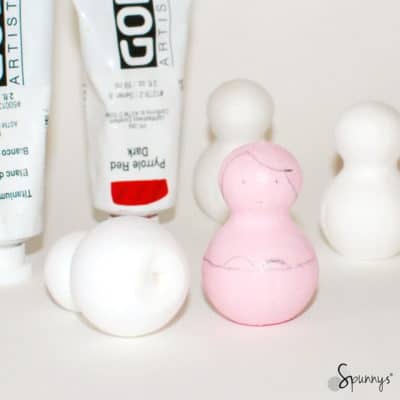
Step 2 – Paint the skin color first. When dry, outline the dress, the face (the eyes and mouth), and the hair with a pencil

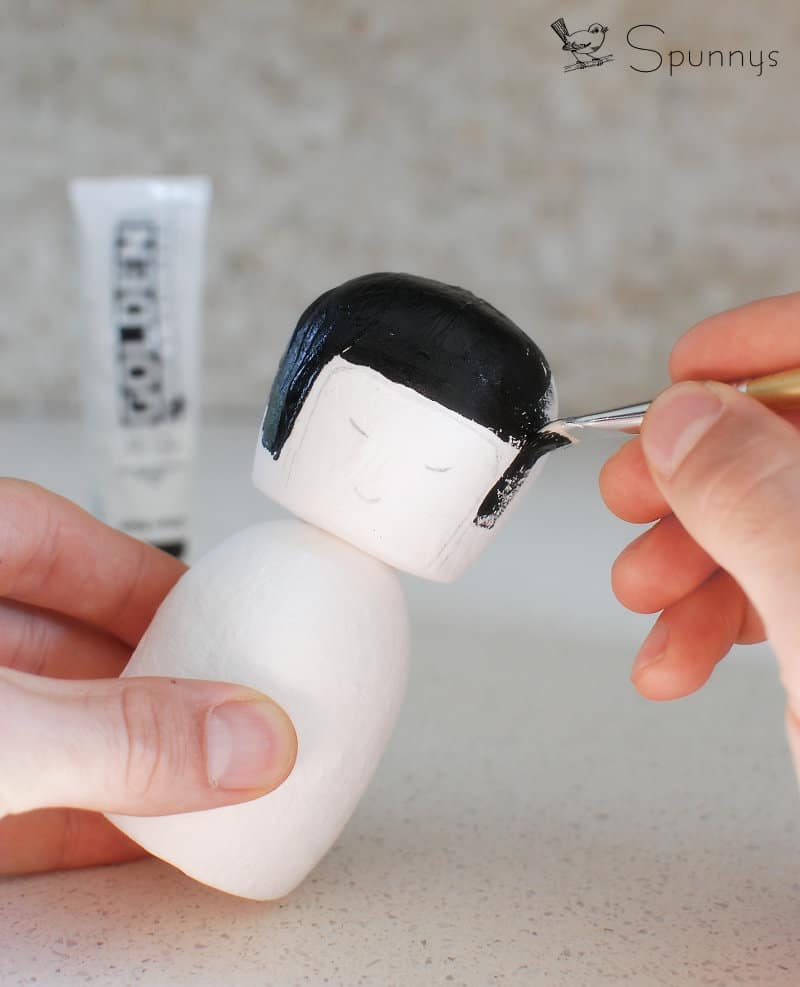
Step 3 – Paint the hair (you can hold your peg doll by its body while you paint the hair). When you are done, paint the eyes and draw the mouth. To paint the eyes, you can dip the tip of a pencil into black paint and gently dabbed little dots onto the doll. To draw the mouth, I simply used a black ball pen. Let dry. When the hair and the face are dry, paint the dress. To paint the dress, you can hold the doll by its head.

Step 4 – Outline and paint the accessories: hair band and necklace. To paint the necklace dots, I used the same technique as the one I used for the eyes (the pencil technique).

You are done :)

Don’t worry if your first painted peg dolls don’t look all perfect, the learning curve is quick and your next dolls will look fantastic. Thank you for reading and I hope you enjoyed this page. As always, if you have any questions, do not hesitate to get in touch.

SaveSave

SaveSave

Posted on Leave a comment

How to make your own BLANK KOKESHI DOLLS

Kokeshi doll blank bodies DIY tutorial

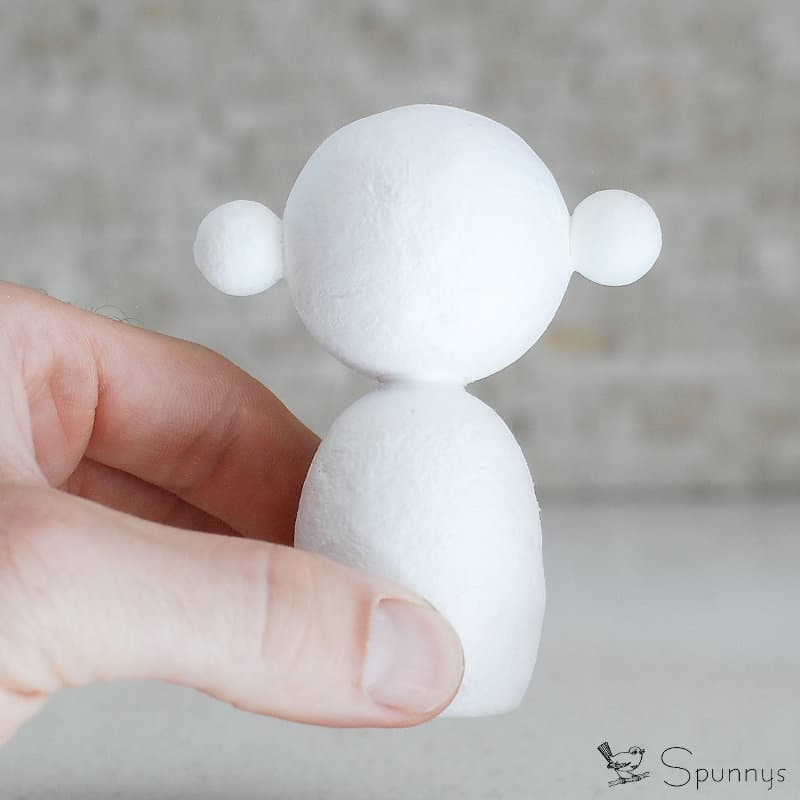
In this tutorial, learn how you can make your own blank kokeshi dolls from spun cotton shapes – a fun and creative DIY project for all ages.

Blank Kokeshi Dolls DIY – Project materials

  • Glue gun or tacky glue, both work well.
Blank Kokeshi Dolls

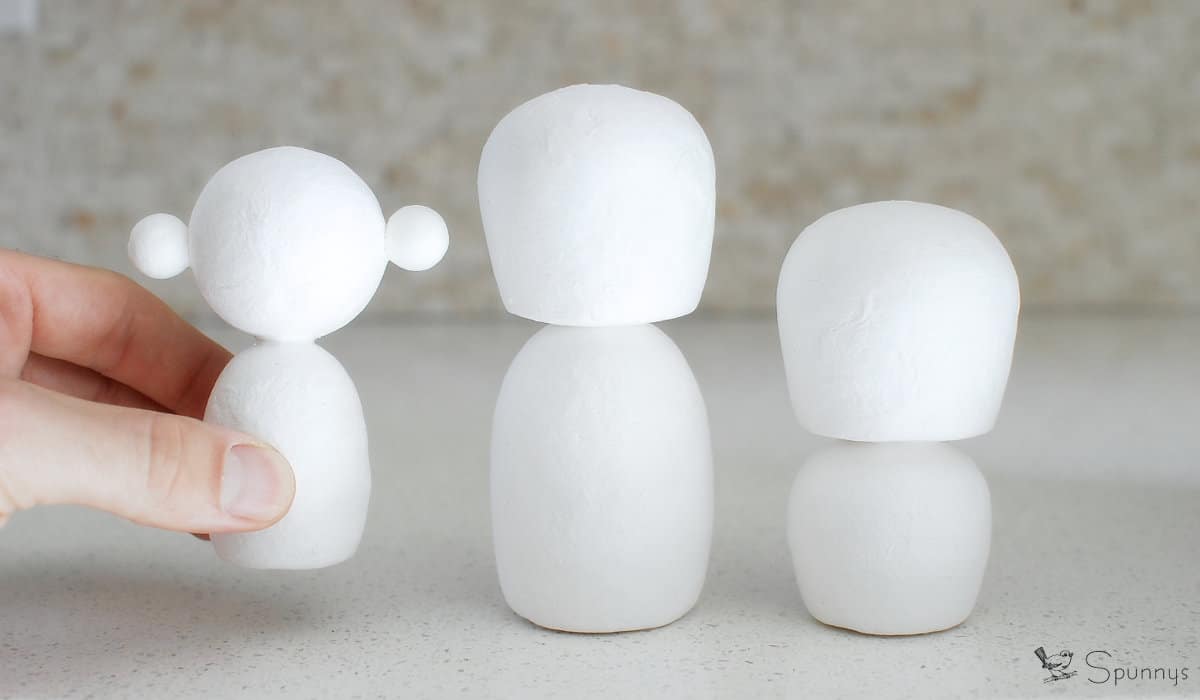
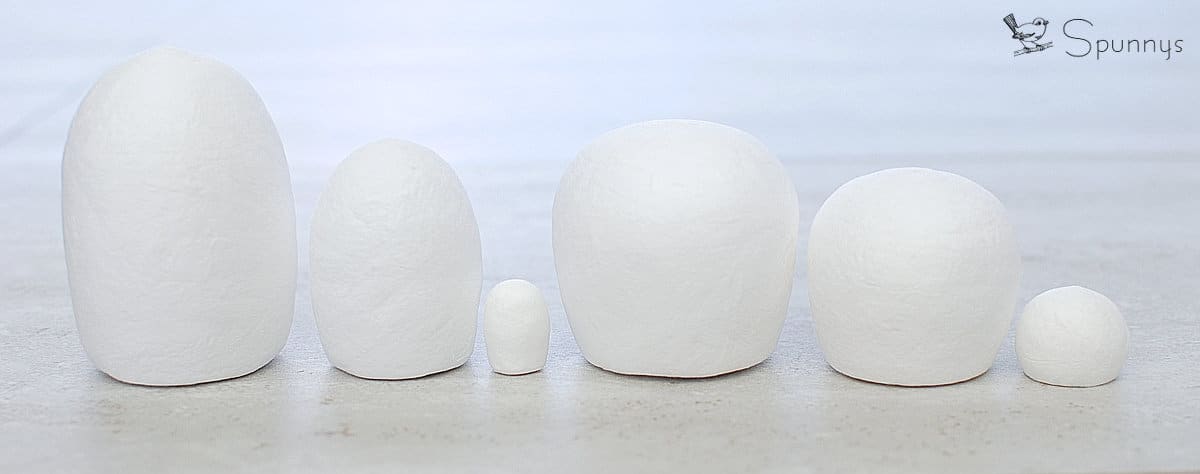
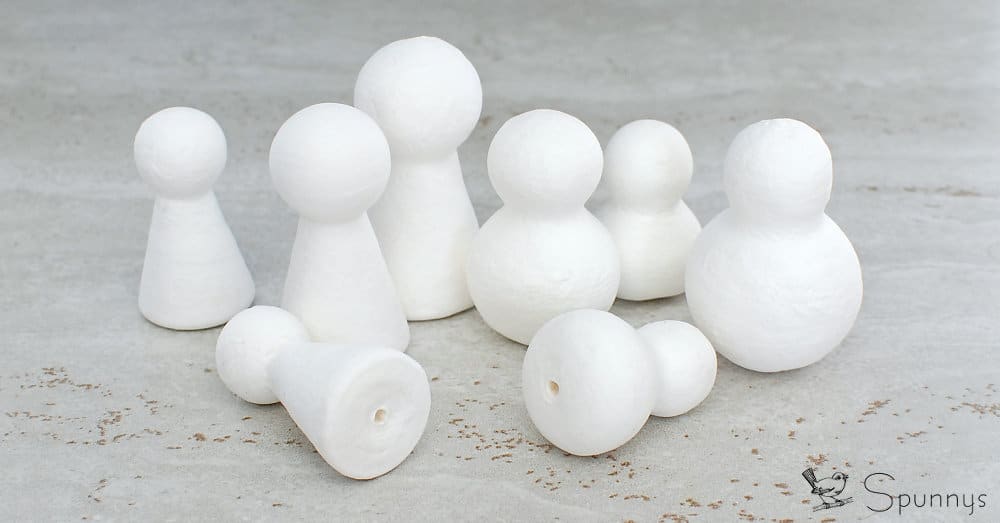
You can also create you own blank Kokeshi dolls by using different shape combinations. Below are a few shapes that you can use together. From left to right: Eggman Figurine Large, Eggman Figurine Small, Eggman Figurine miniature, Figurine Torso Large, Figurine Torso Small, ø 25mm Truncated Ball.

Kokeshi blank bodies spun cotton

Step by step directions

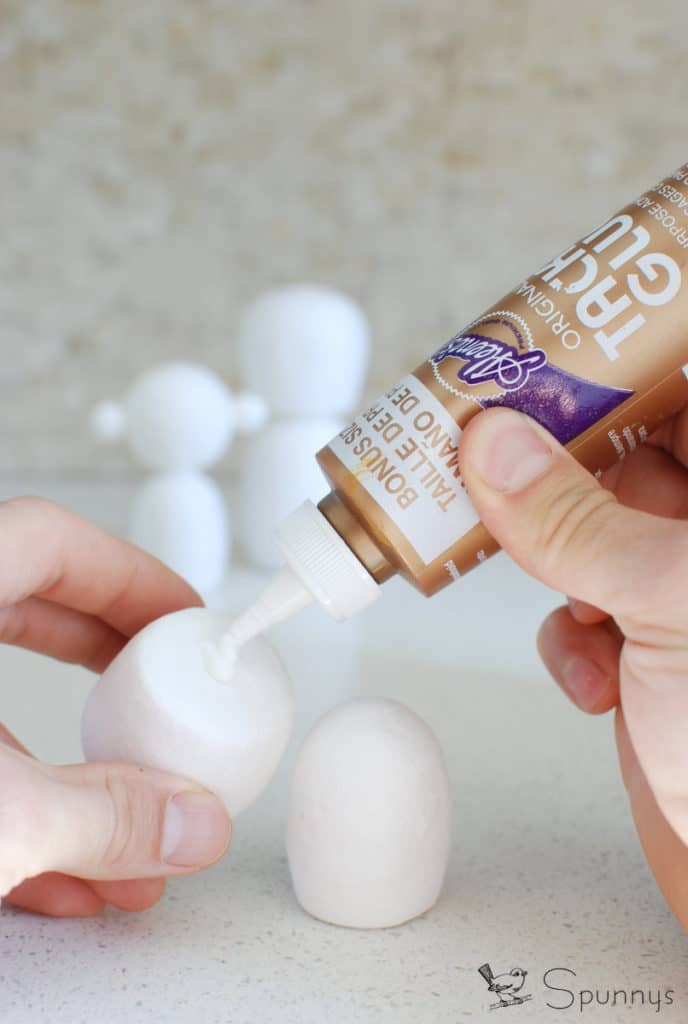
Kokeshi Dolls Blank Bodies DIY step by step
  1. Choose a combination of blank shapes that you like.
  2. Simply glue the shapes together. For a strong hold, make sure to pour glue in the little holes underneath the shapes.
  3. It is now time to get your paintbrushes and paint colors ready :)

Painting Suggestions.

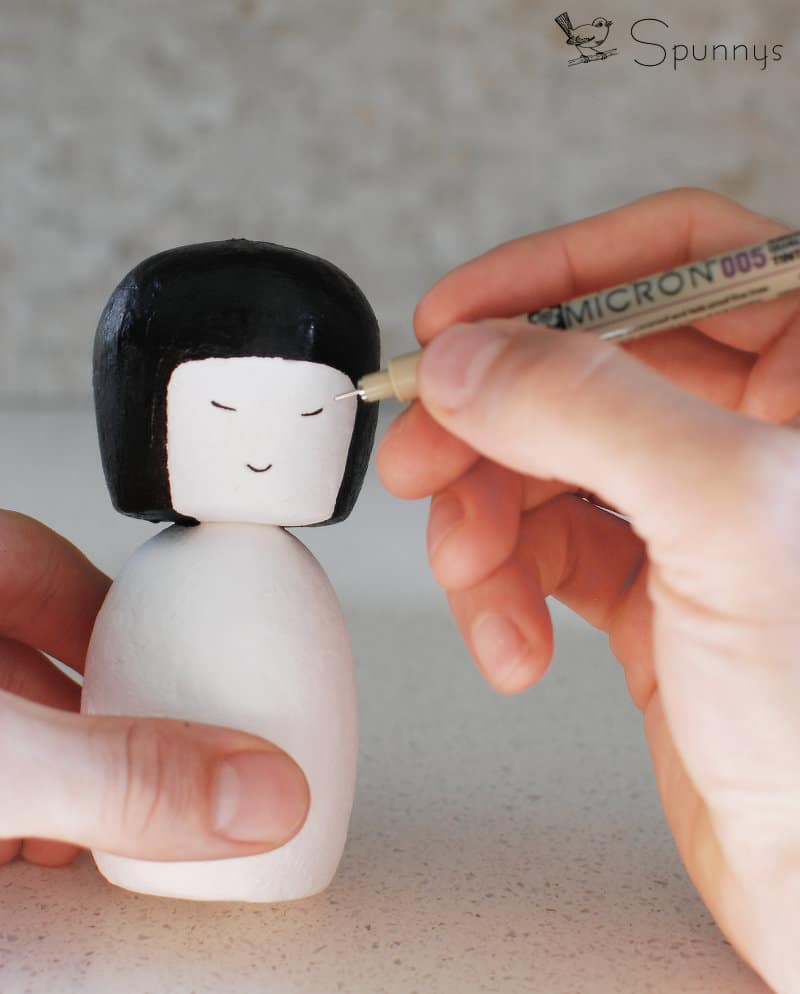
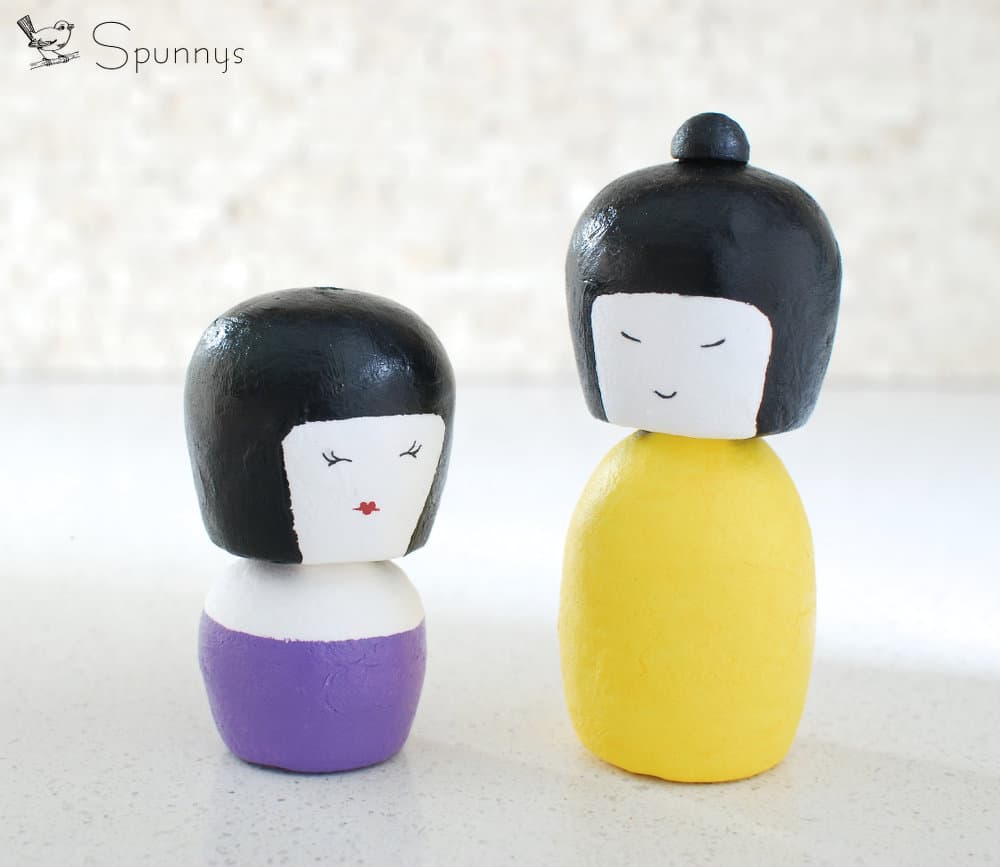
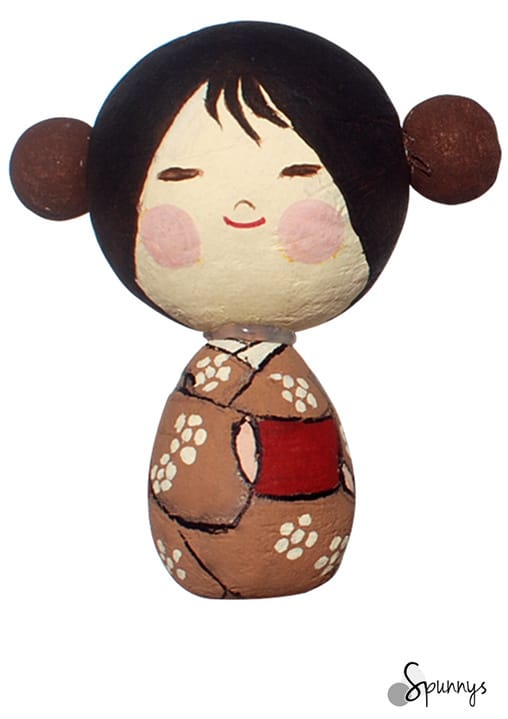
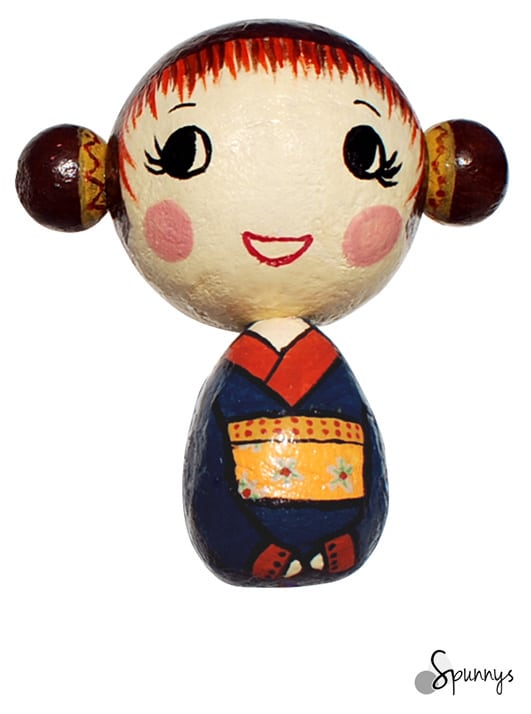
Now that you have created your Kokeshi doll bodies, it is time to grab your paintbrushes. Here are a few painting designs you can use for inspirations.

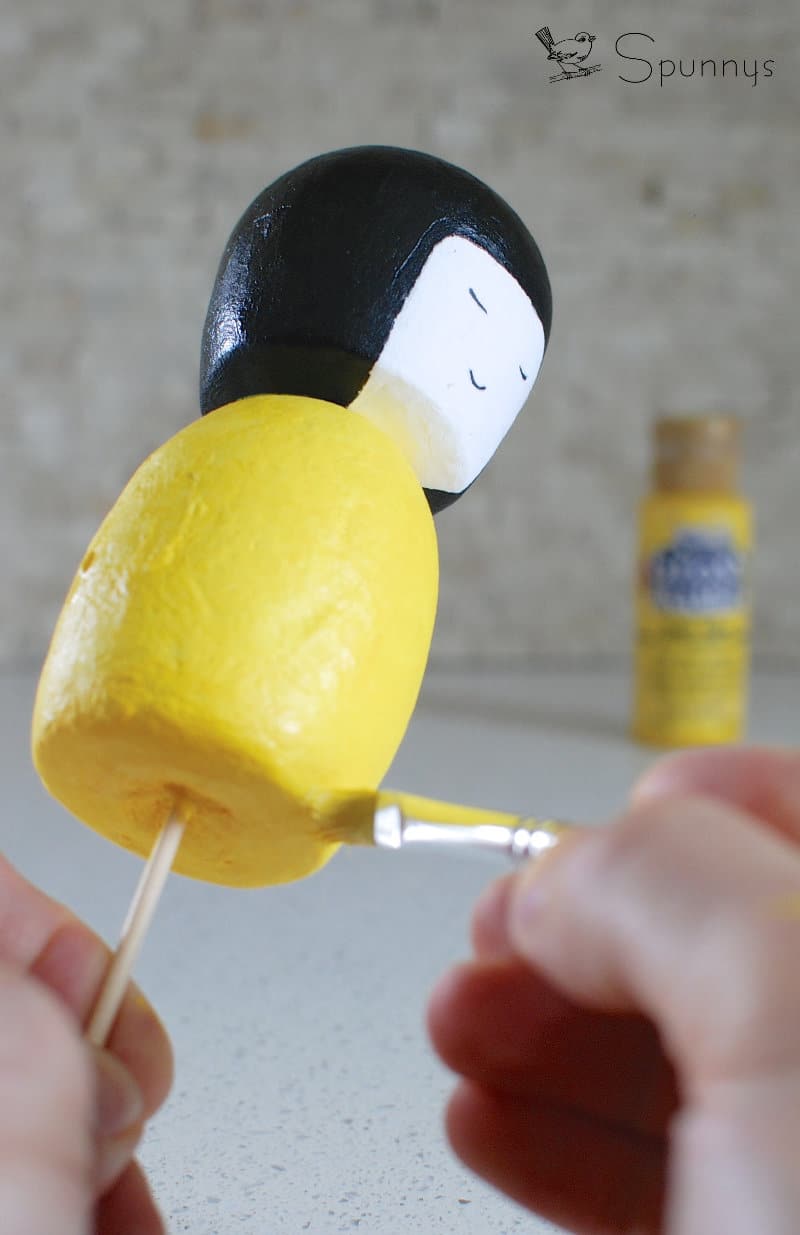
To paint the blank dolls, I like to use acrylic paint because it dries fast, and it’s easy to work with. However, any paint that works on paper will also work on spun cotton shapes. For your kokeshi dolls to look nice and shiny, you can finish them with a clear coat varnish. Mod podge for example works very well.

You can also check out our “how to paint peg dolls tutorial” for more general painting tips and advice (link).

The last two Kokeshi painting suggestions are a little more elaborate. We used 40mm tall spun cotton eggs for the bodies, ø 45mm spun cotton balls for the heads, and ø 15mm spun cotton balls for the hair buns.

I hope you enjoyed this tutorial. As always, if you have any questions, feel free to comment, we are always here to help.

Happy crafting!
Posted on Leave a comment

How to make decorative owl figurines – DIY tutorial

Owl figurine craft DIY tutorial

Follow our tutorial and learn how you can easily make beautiful, decorative owl figurines from our blank figurine shapes.

DIY Owl Figurines – Project Materials

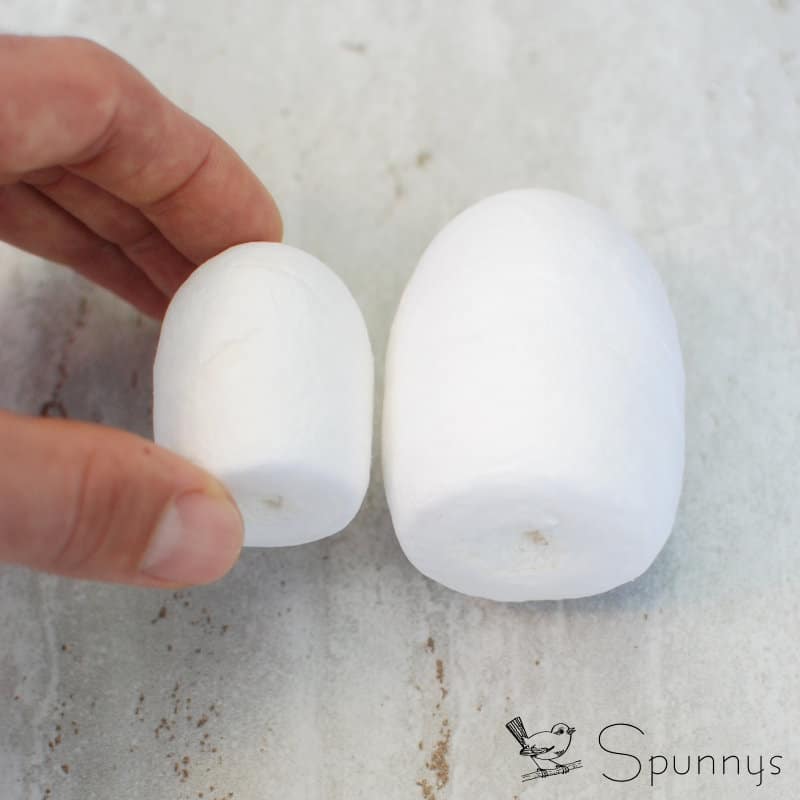
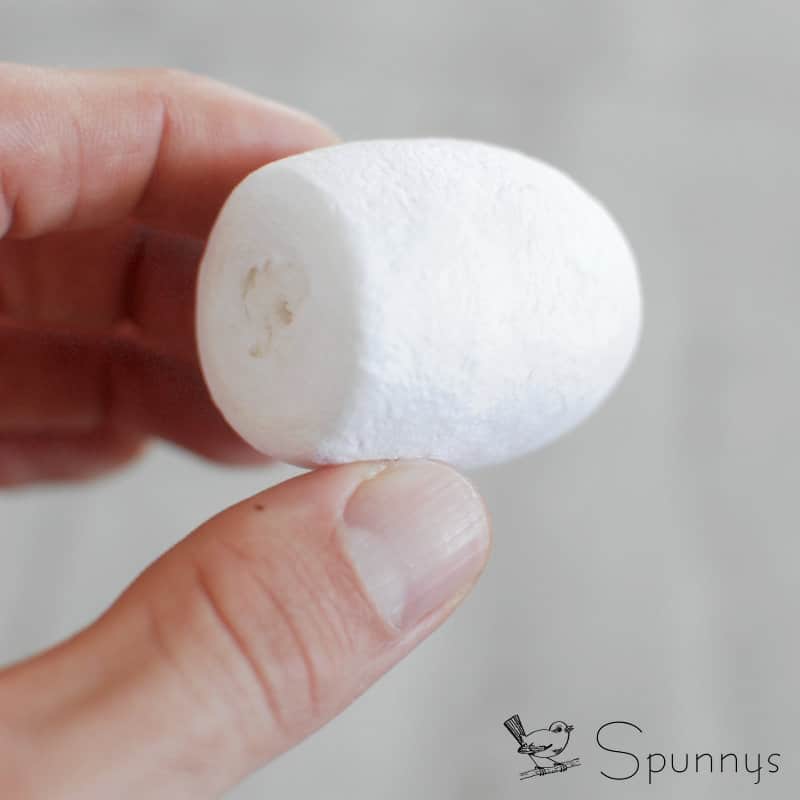
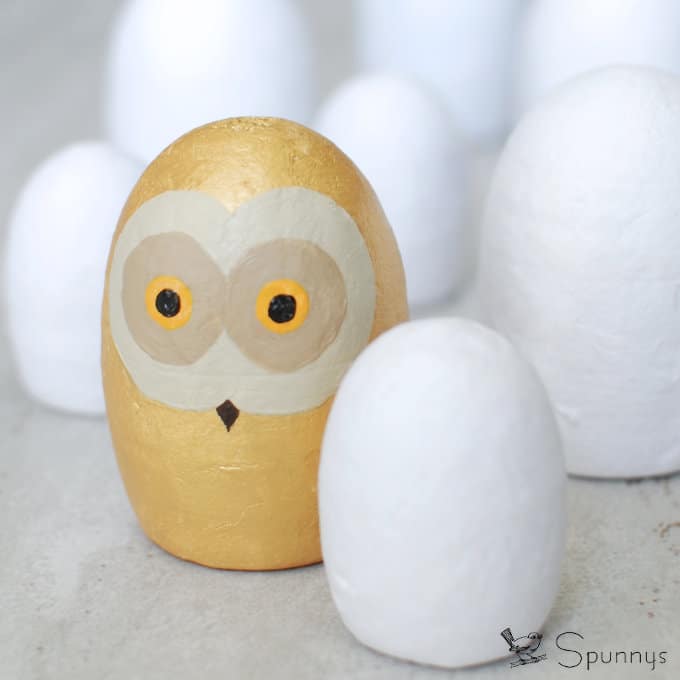
  • SPUNNYS EGGMAN BLANK FIGURINE – large (72mm which is about 2 3/4 inches). The Eggman shape looks like an egg with a flat bottom.
  • Paint and brushes. I used 5 paint colors (Gold, Ivory, light brown, saffron, and black). You can use the same colors or pick your own. Most types of paints work but I typically use acrylic or enamel.
  • A pencil to outline the facial features of the owl prior to painting.
  • A bamboo skewer to hold the blank shapes while you paint and decorate them.

Step by step tutorial 

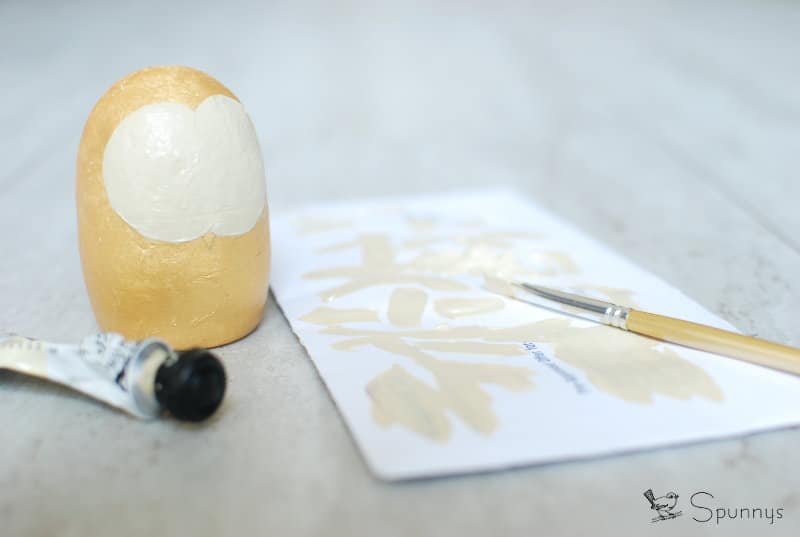
1: Body painting

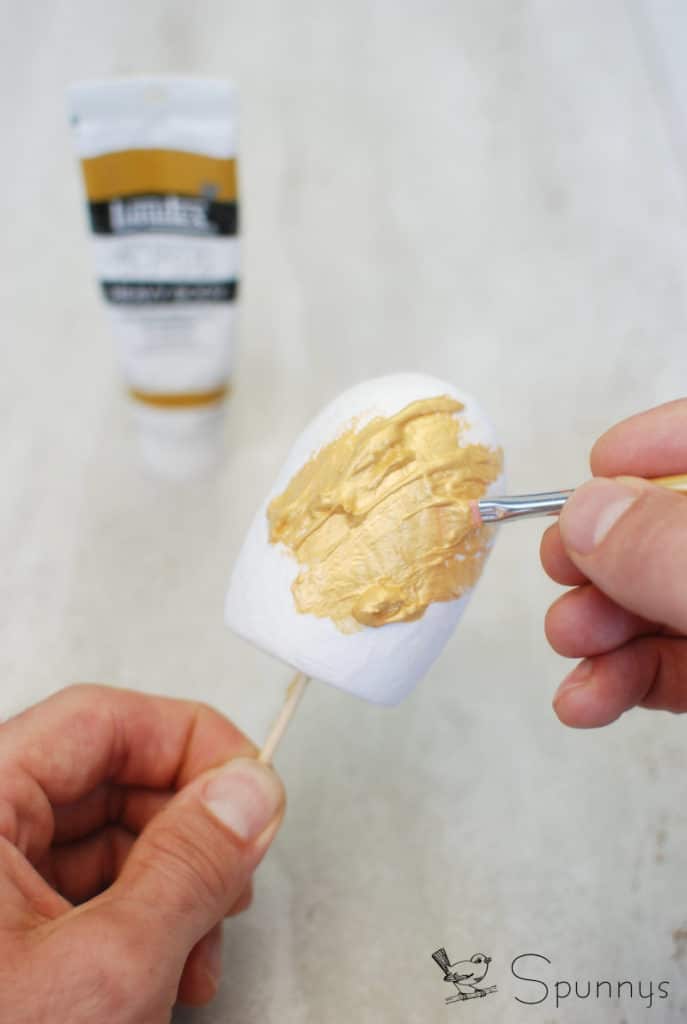
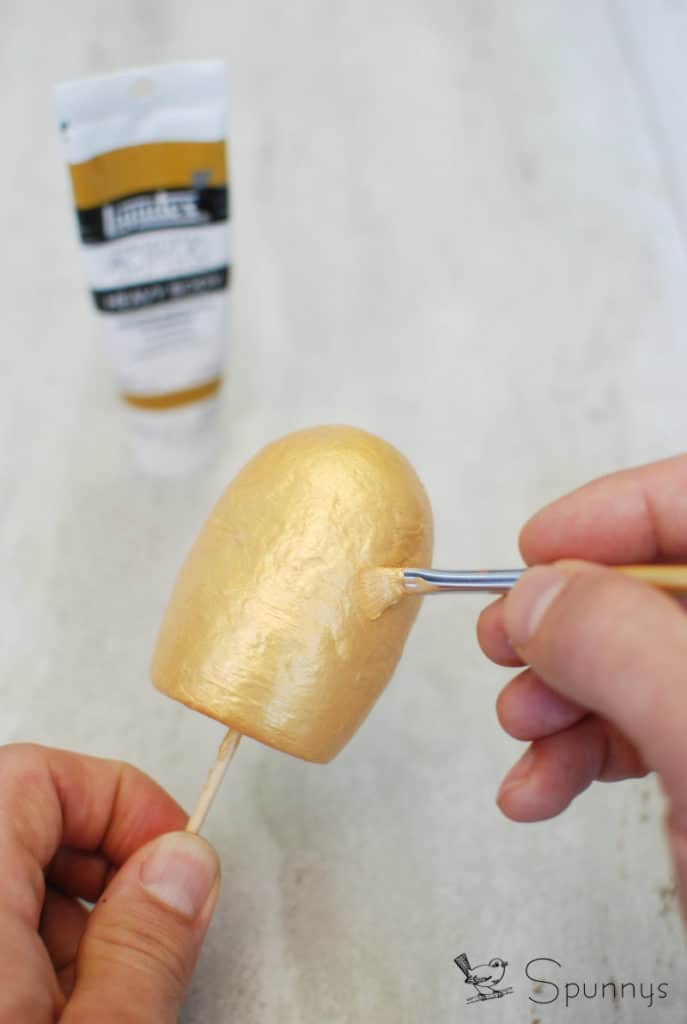
Paint the whole spun cotton shape one solid color.

Tip: You can squeeze the paint directly from the tube onto the shape.

2: Paint the face and beak

Outline the face of the owl and the beak with the pencil. Don’t press too hard on the pencil or it may dent the spun cotton (and if you are using a light paint color, the pencil marks may show through). When you are done outlining, you can paint the face and the beak.

Tip 1: For your first owl, I recommend using the paint straight out of the tube (vs making a custom color by mixing two colors). This way if you have to touch up your owl later on, the same exact color can be used again.

Tip 2: A small tiny brush works best for the beak. If you do not have one, a black fine point marker works fine too.

Spun cotton owl figurine DIY

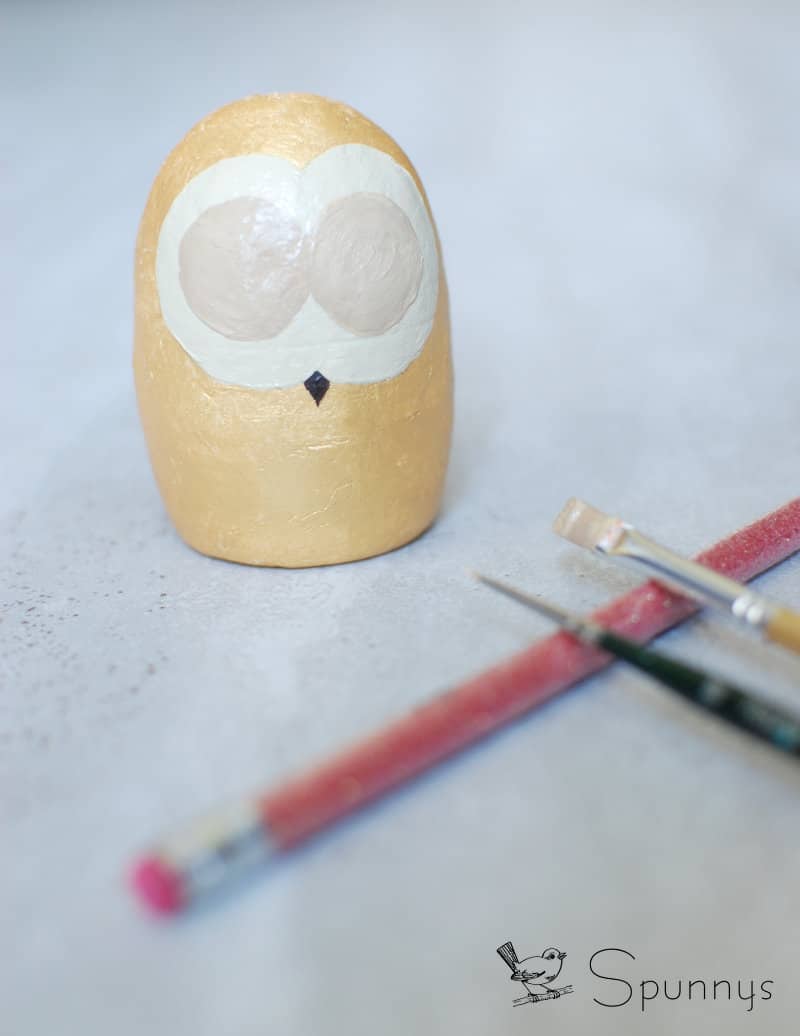
3: get started with the eyes

When the face and the beak are dry, paint two discs (outline first with a pencil).

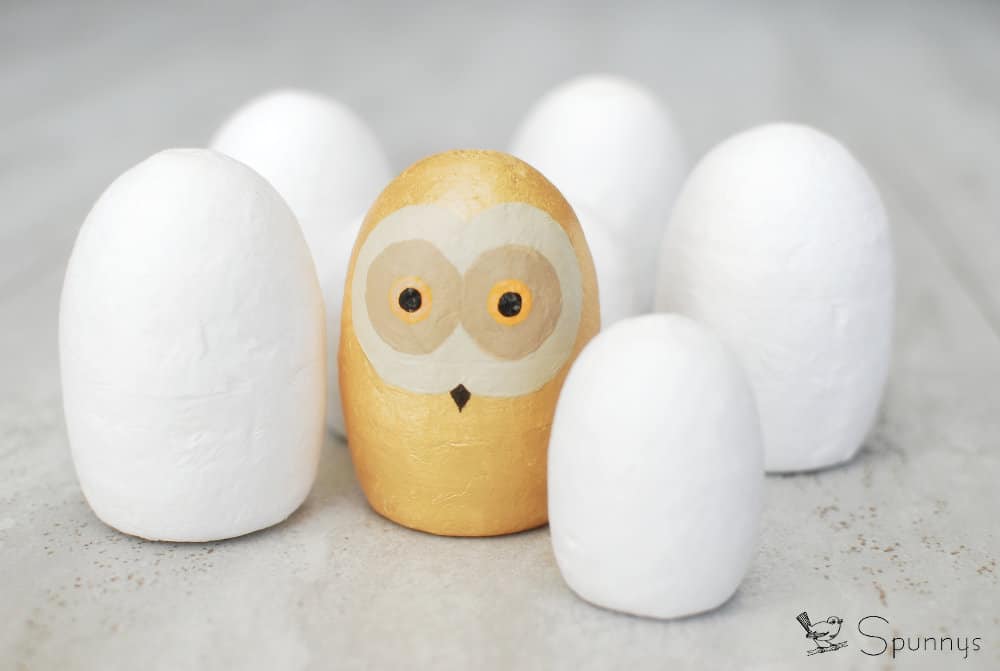
Blank unpainted owl figurines

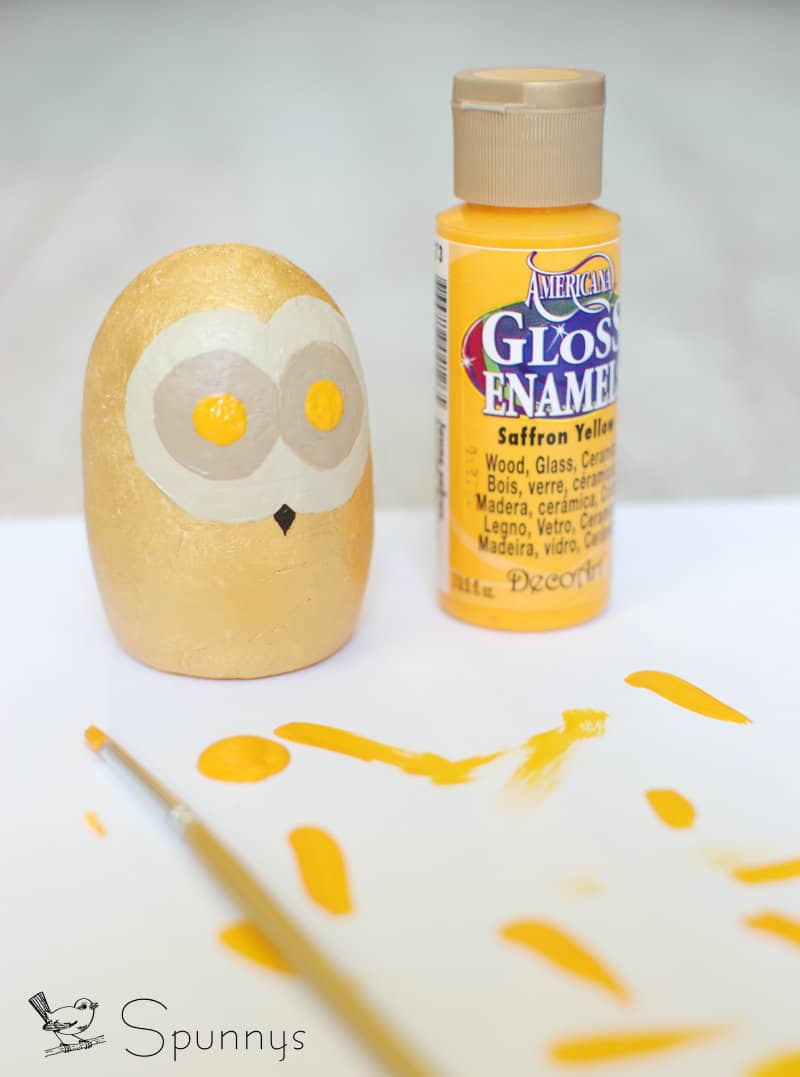
4: The irises

When the two discs are dry, paint the eye irises. I painted mine yellow. Without the pupils, the owl figurine looks pretty scary :)

Owl figurine DIY tutorial

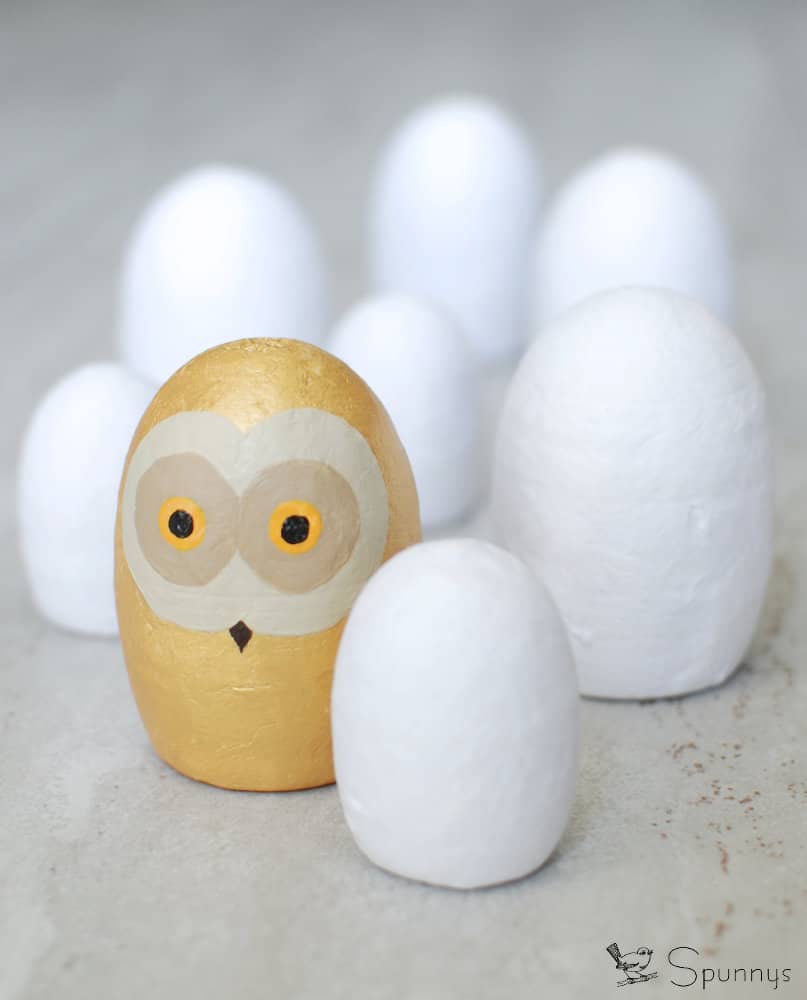
5: The pupils.

Finish your owl figurine by painting the eye pupils. I painted mine black so they stand out.

Owl figurine DIY tutorial home decor

You are already done :) A beautiful Homemade Owl Figurine

I hope you enjoyed this tutorial and I hope you found some inspiration for your own owl figurine projects.

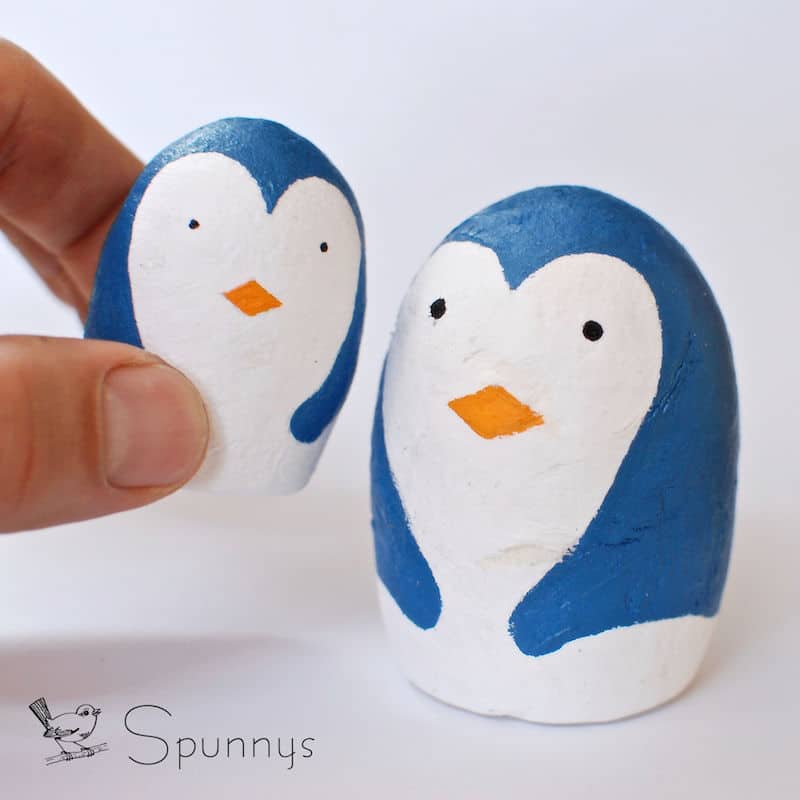
Note that SPUNNYS figurine bodies can be used for many more DIY Craft Projects beside owls. Use them to make penguins, walruses, woodland animals, super heroes, and much more.

As  always, if you have a questions, do not hesitate to use the comment section below. Happy crafting!