Posted on Leave a comment

How to make your own BLANK KOKESHI DOLLS

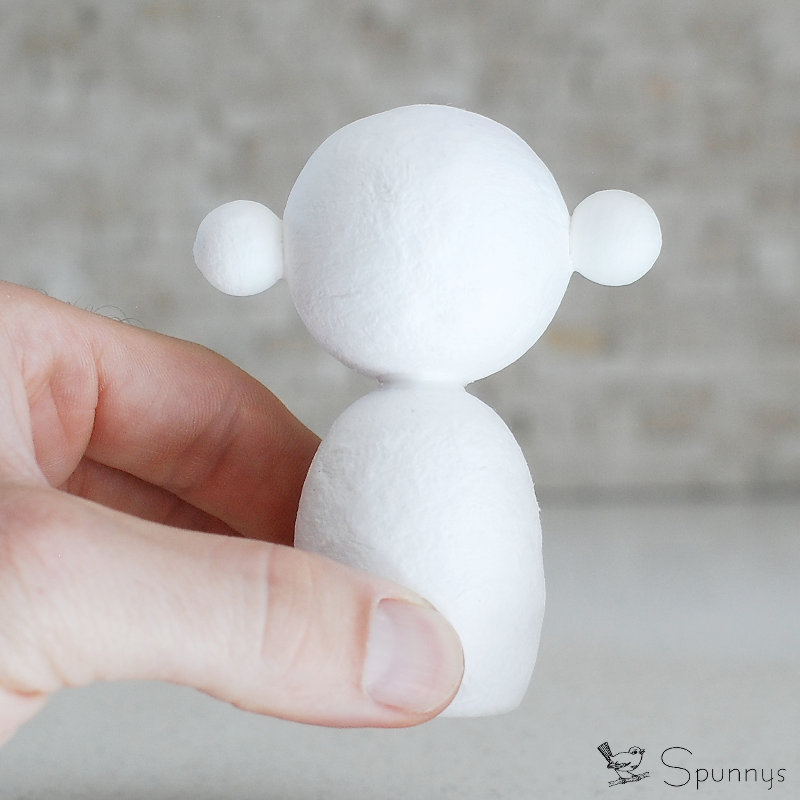
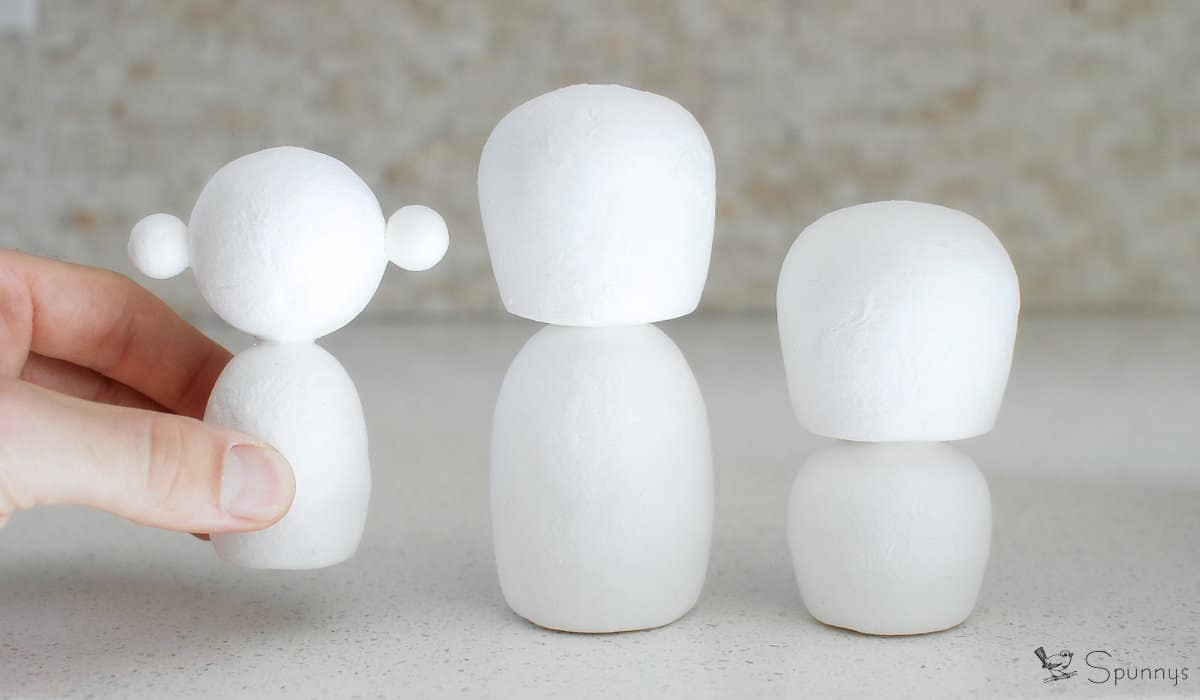
Kokeshi doll blank bodies DIY tutorial

In this tutorial, learn how you can make your own blank kokeshi dolls from spun cotton shapes – a fun and creative DIY project for all ages.
Blank Kokeshi Dolls DIY – Project materials

  • Glue gun or tacky glue, both work well.
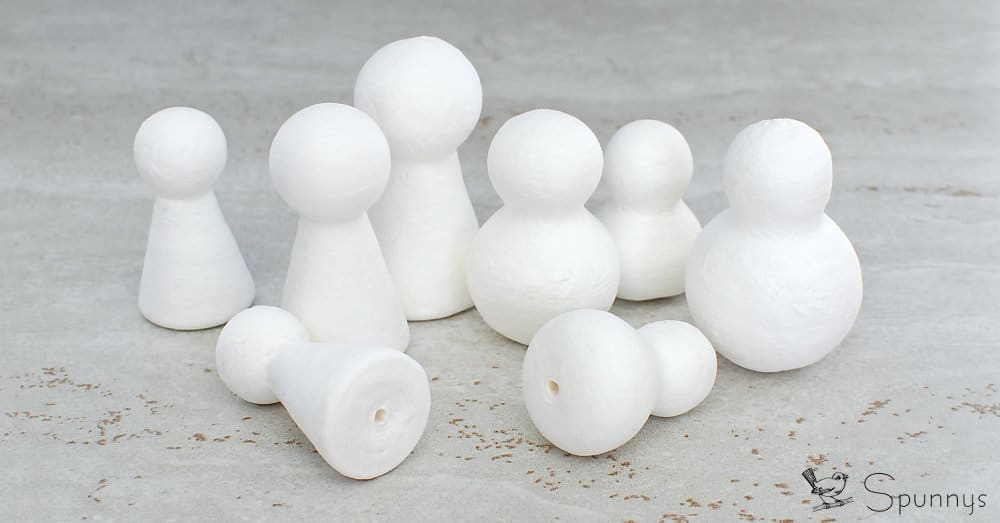
Blank Kokeshi Dolls

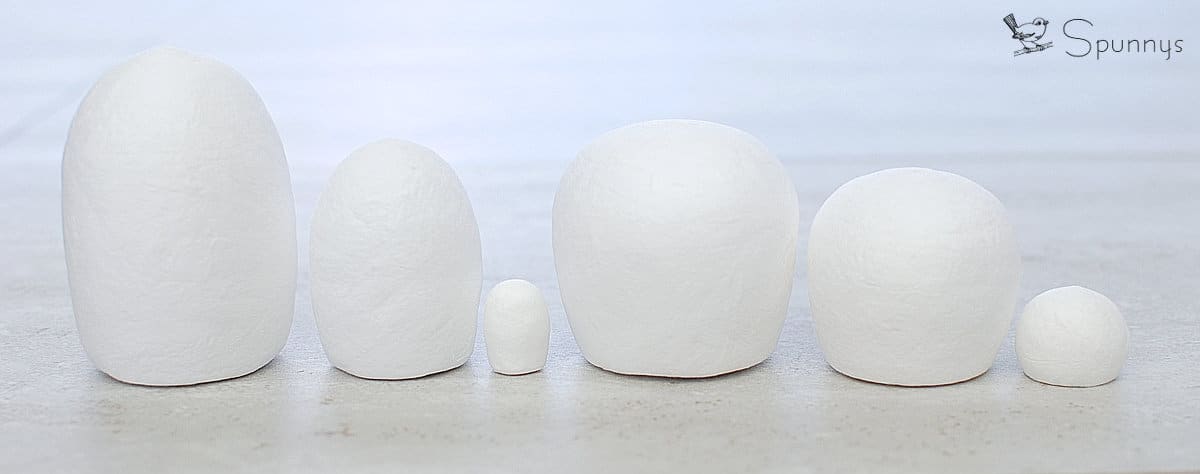
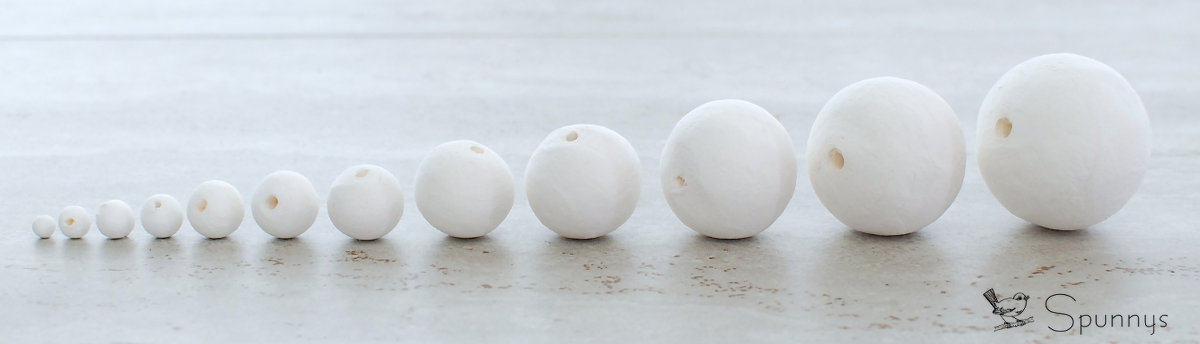
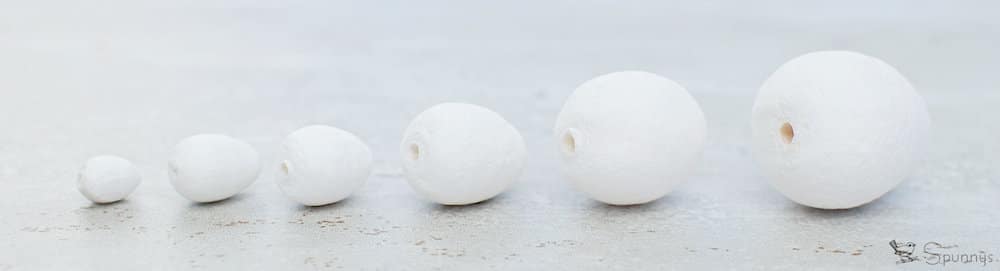
You can also create you own blank Kokeshi dolls by using different shape combinations. Below are a few shapes that you can use together. From left to right: Eggman Figurine Large, Eggman Figurine Small, Eggman Figurine miniature, Figurine Torso Large, Figurine Torso Small, ø 25mm Truncated Ball.

Kokeshi blank bodies spun cotton

Step by step directions

Kokeshi Dolls Blank Bodies DIY step by step
  1. Choose a combination of blank shapes that you like.
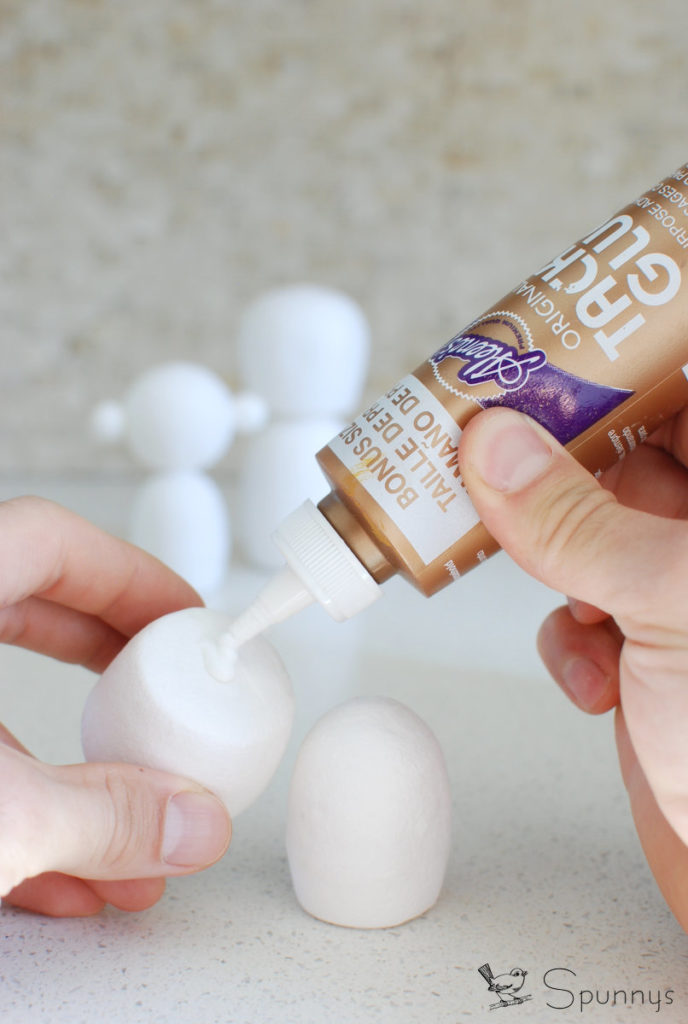
  2. Simply glue the shapes together. For a strong hold, make sure to pour glue in the little holes underneath the shapes.
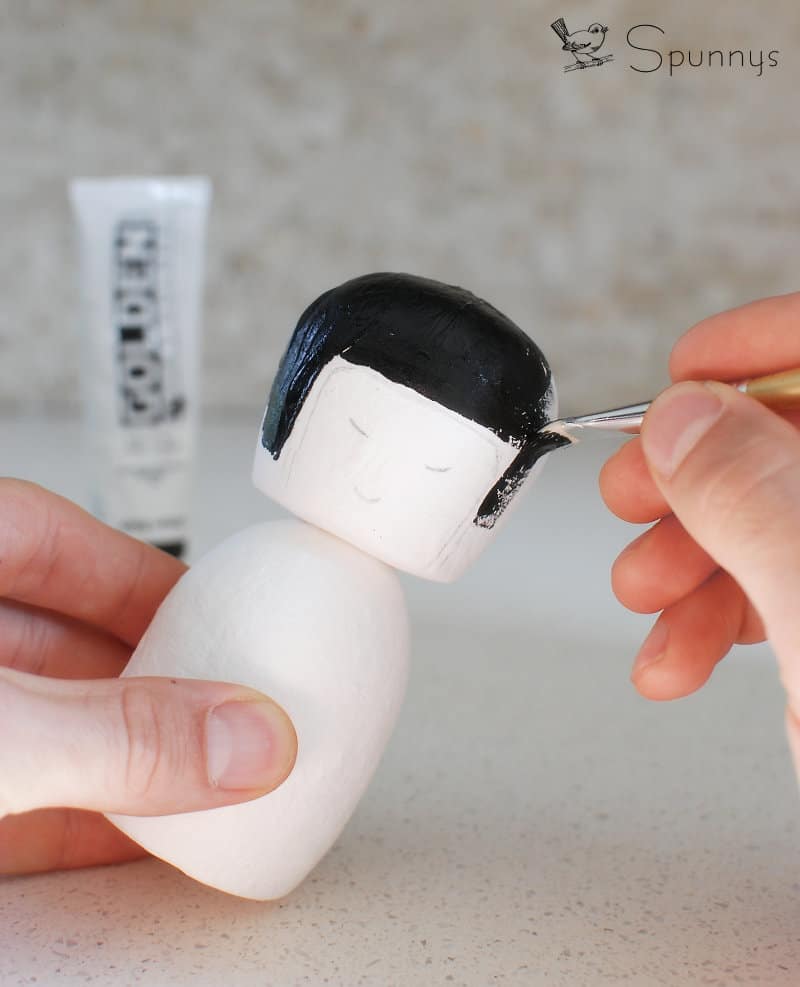
  3. It is now time to get your paintbrushes and paint colors ready :)

Painting Suggestions.

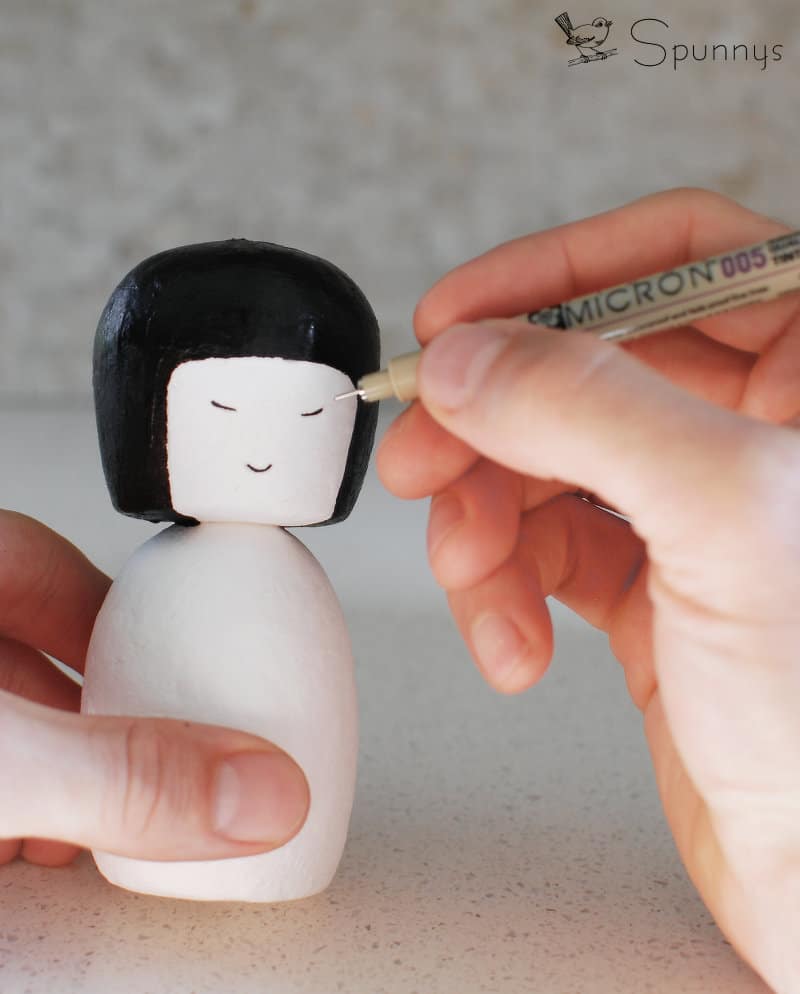
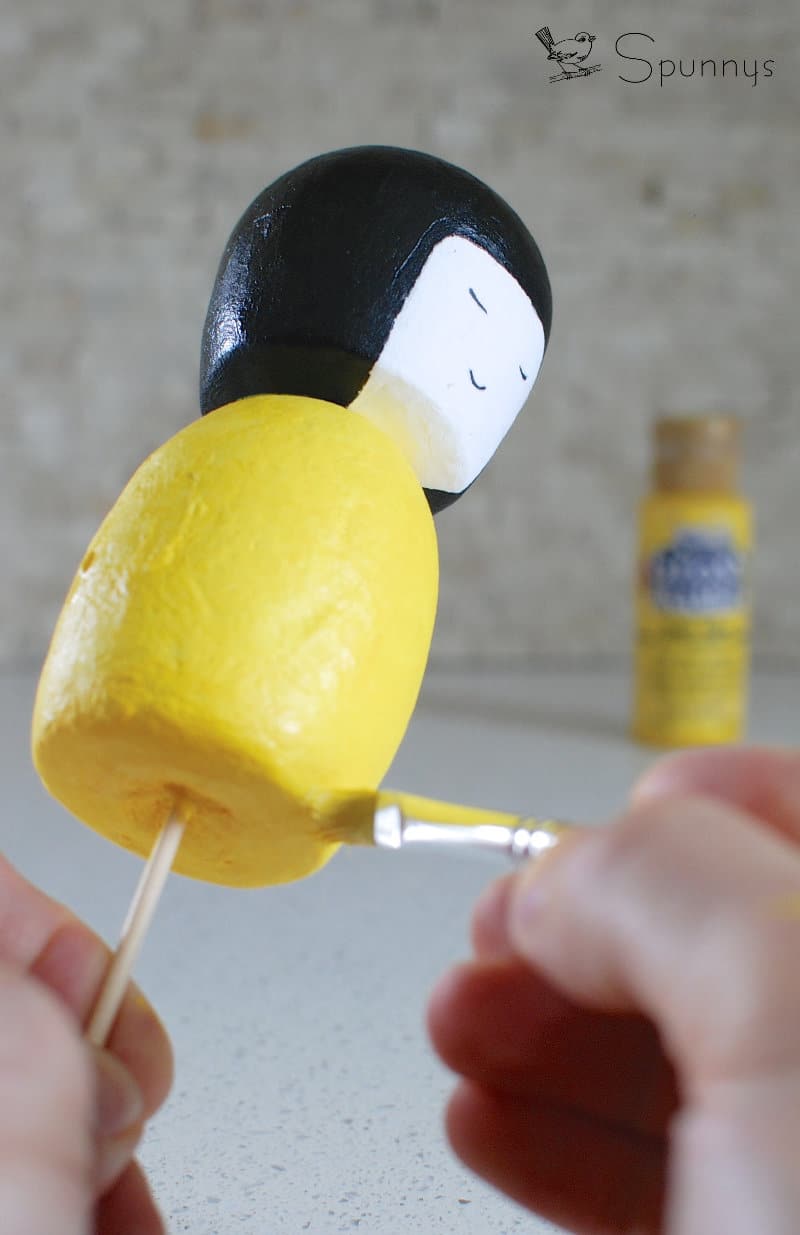
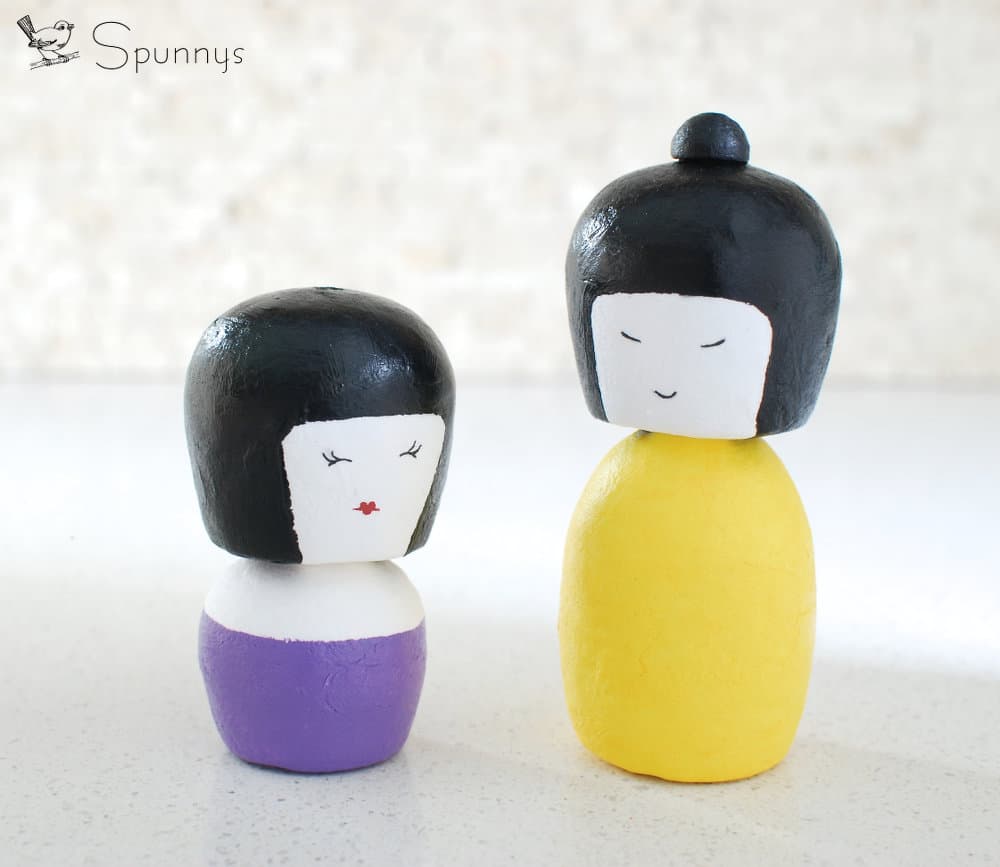
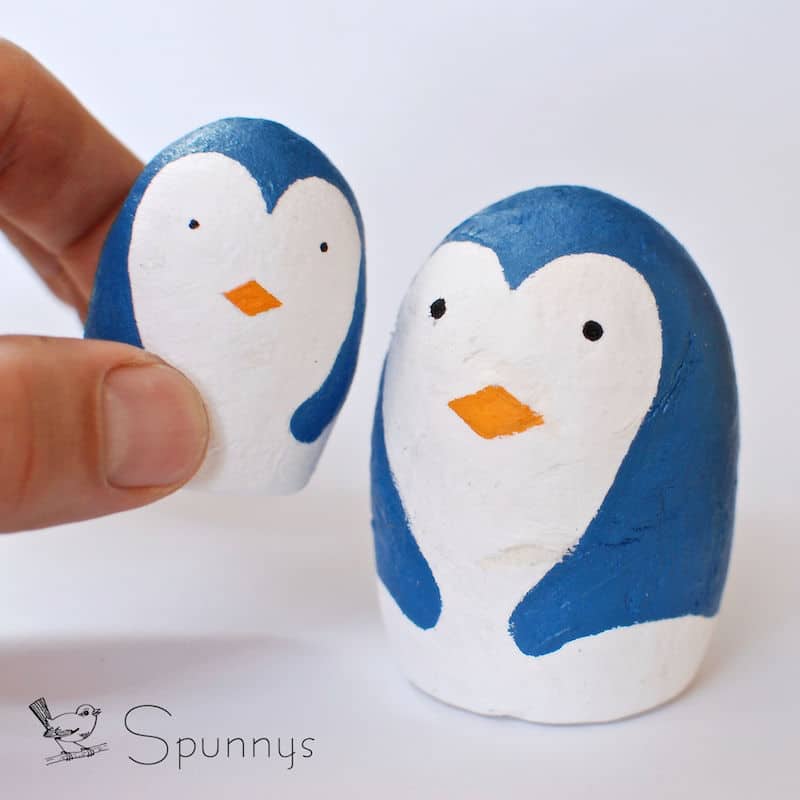
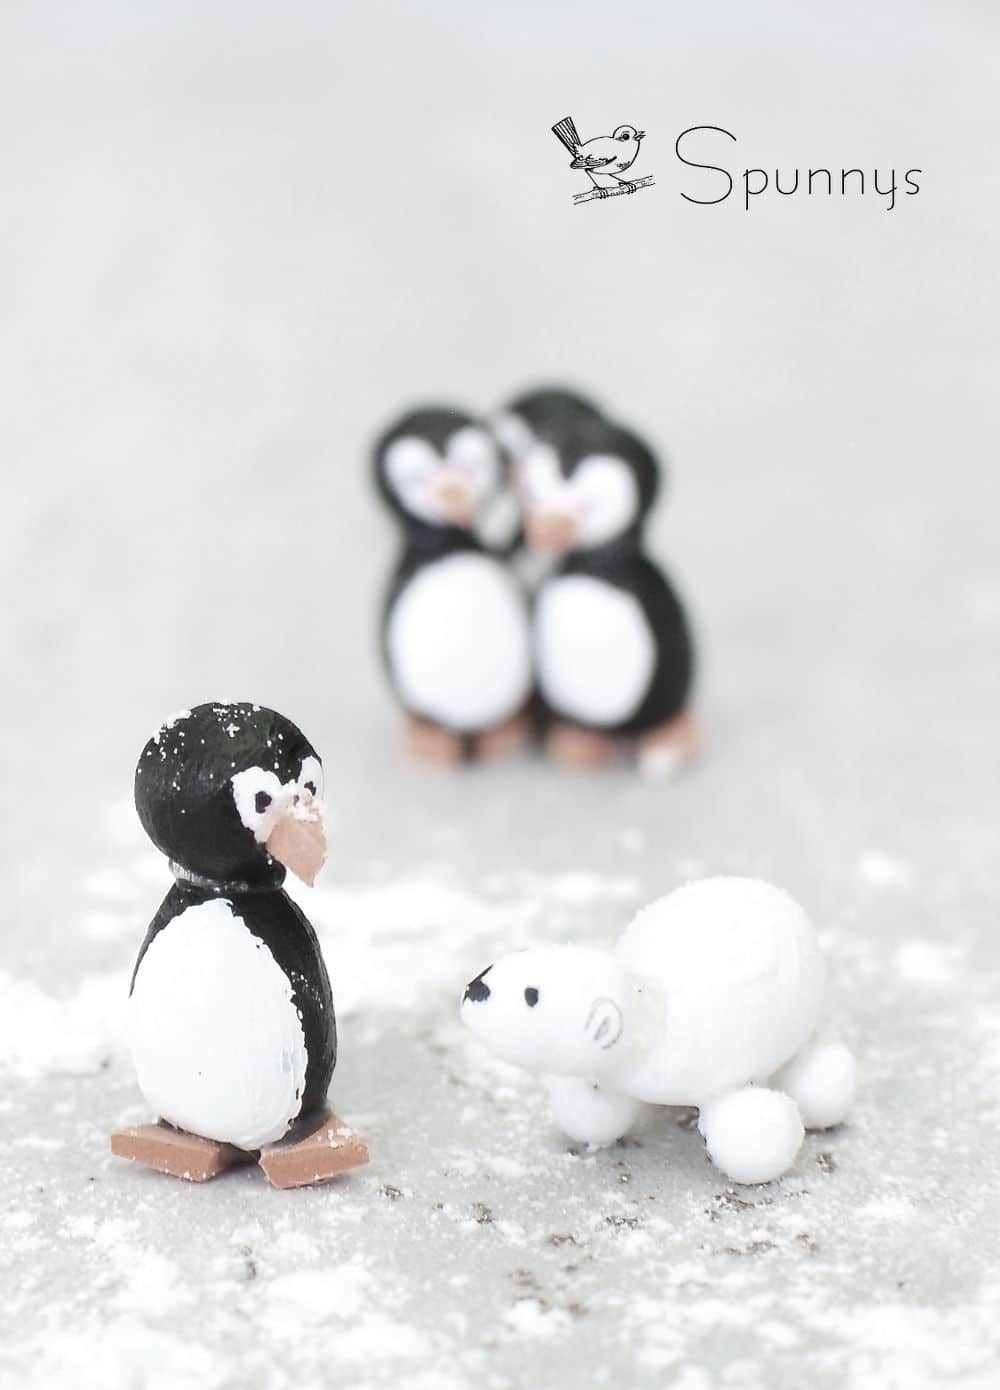
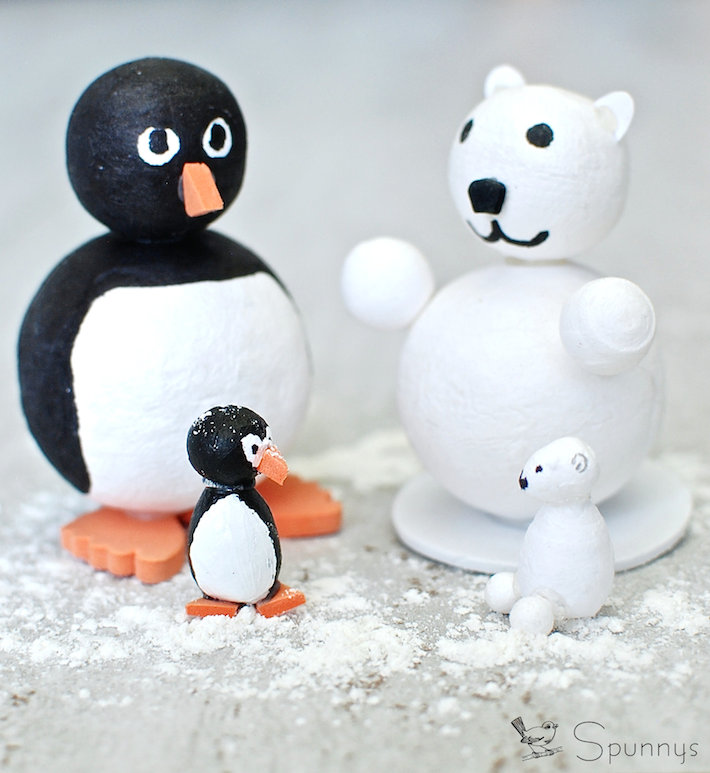
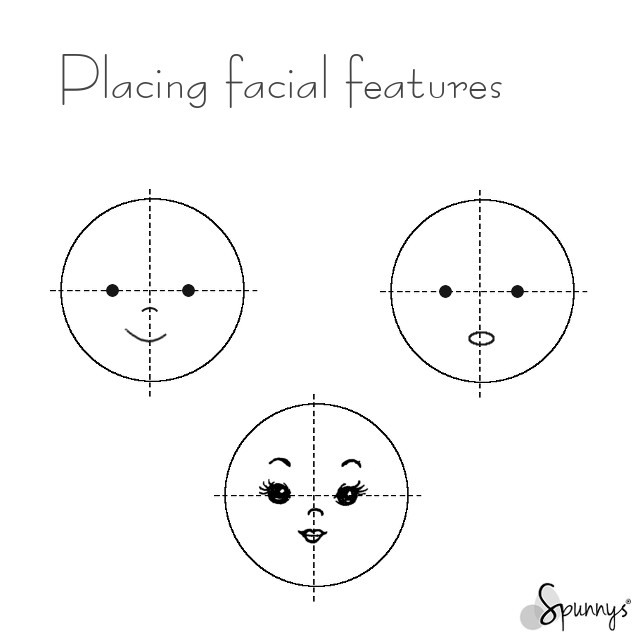
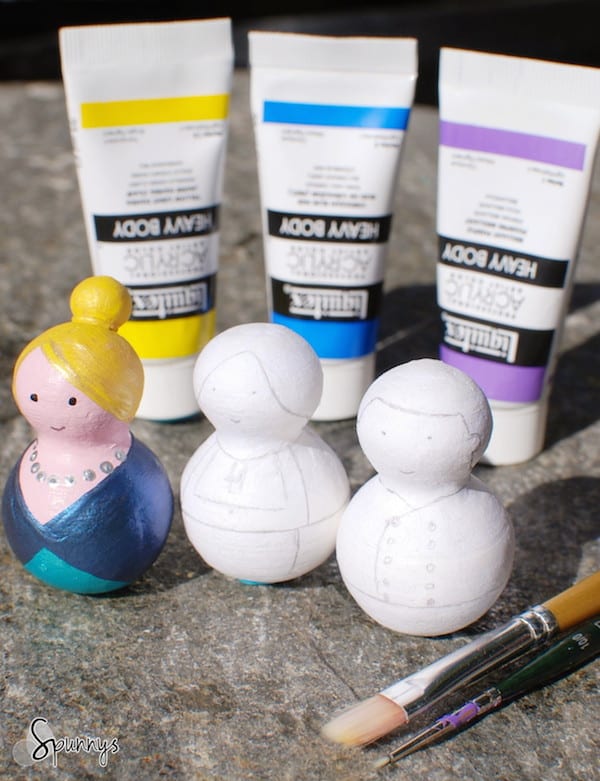
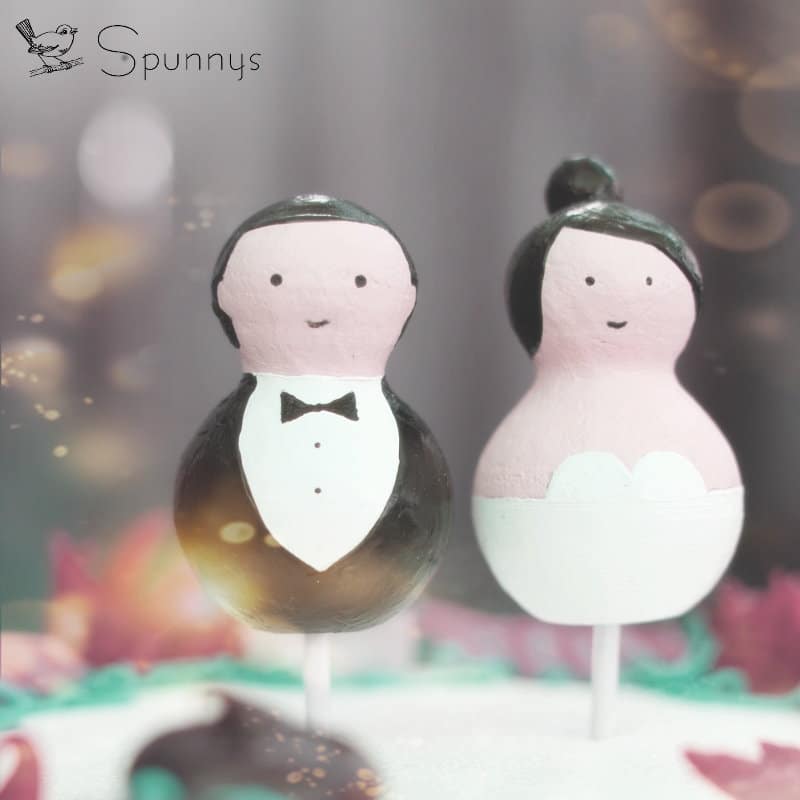
Now that you have created your Kokeshi doll bodies, it is time to grab your paintbrushes. Here are a few painting designs you can use for inspirations.

To paint the blank dolls, I like to use acrylic paint because it dries fast, and it’s easy to work with. However, any paint that works on paper will also work on spun cotton shapes. For your kokeshi dolls to look nice and shiny, you can finish them with a clear coat varnish. Mod podge for example works very well.

You can also check out our “how to paint peg dolls tutorial” for more general painting tips and advice (link).

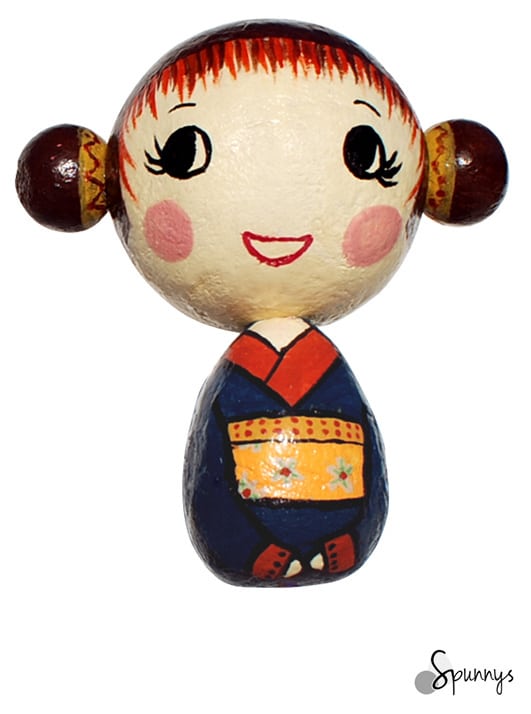
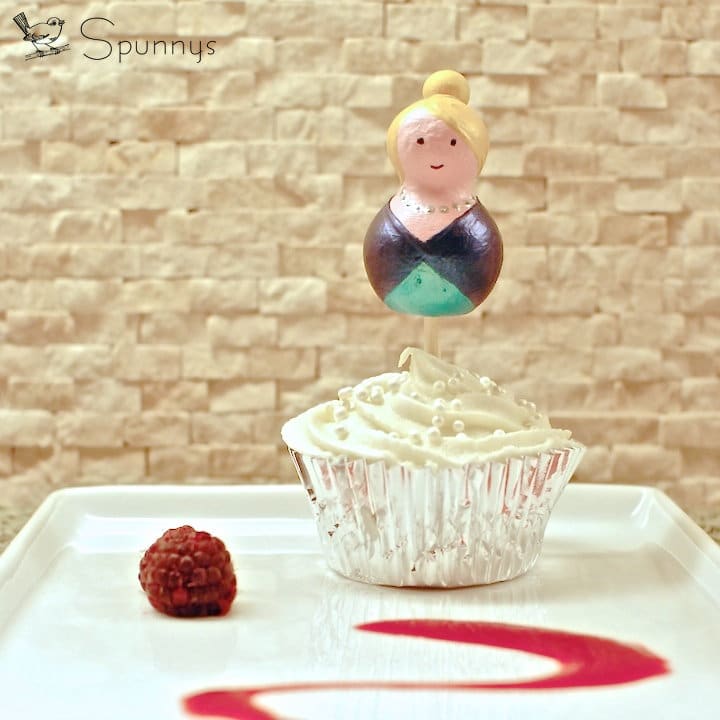
The last two Kokeshi painting suggestions are a little more elaborate. We used 40mm tall spun cotton eggs for the bodies, ø 45mm spun cotton balls for the heads, and ø 15mm spun cotton balls for the hair buns.

I hope you enjoyed this tutorial. As always, if you have any questions, feel free to comment, we are always here to help.

Happy crafting!

Posted on Leave a comment

How to paint and decorate Spun Cotton Eggs

Easter egg ornaments pattern ideas

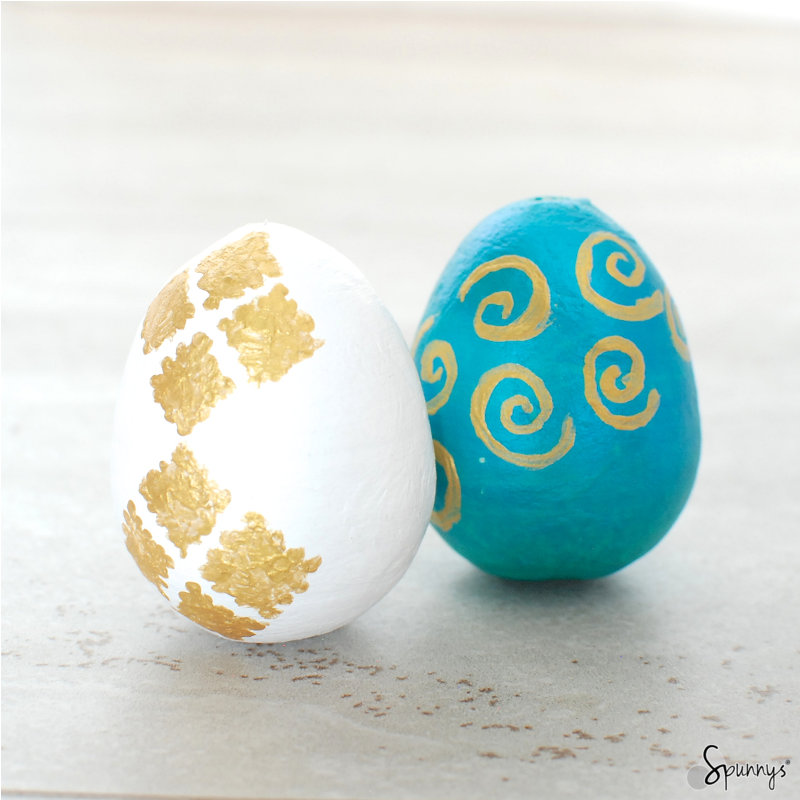
Check out our tutorial and learn how to paint and decorate Spun Cotton Eggs. We’ll also share with you some of our painting projects for inspiration purposes. Decorating eggs is a fun family friendly activity for Easter or anytime of the year.

Painting Spun Cotton Eggs – the basics

Spun Cotton Eggs are made of paper and are very easy to paint and decorate. You can use any acrylic paint that you find at craft stores.

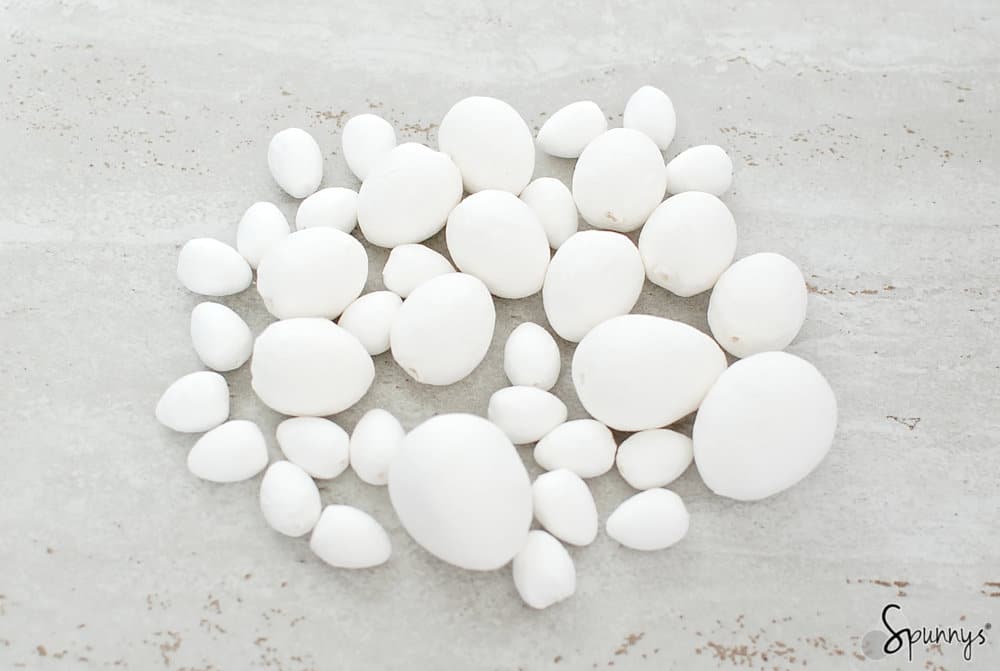
Blank spun cotton egg ornaments

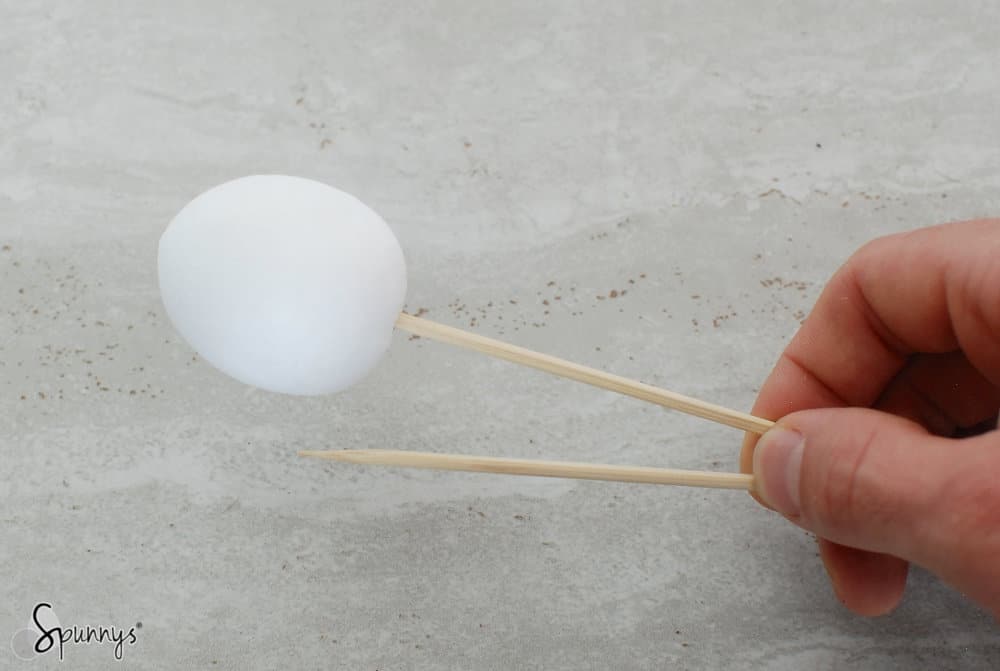
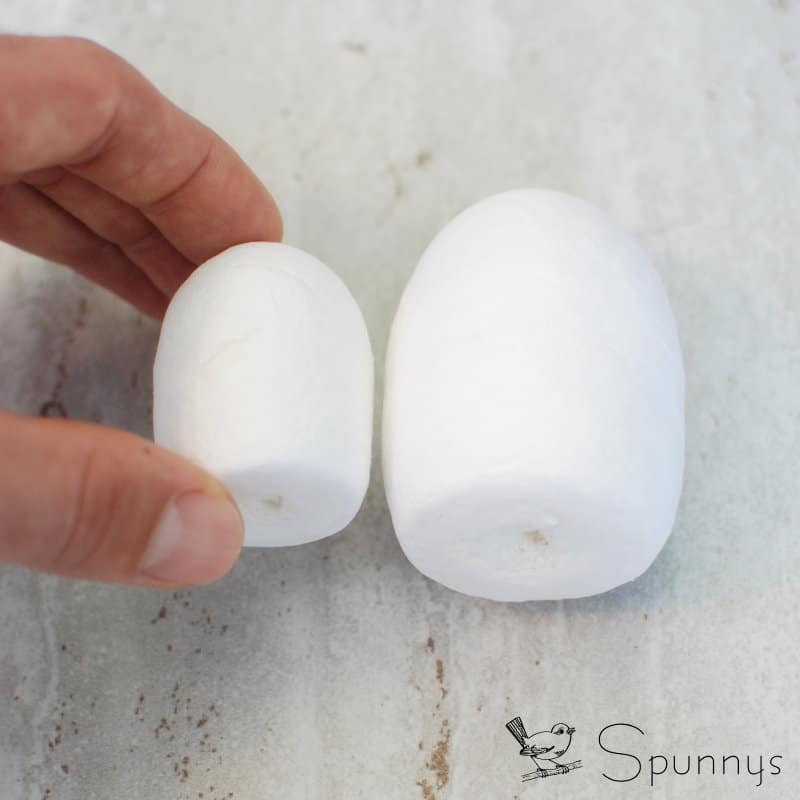
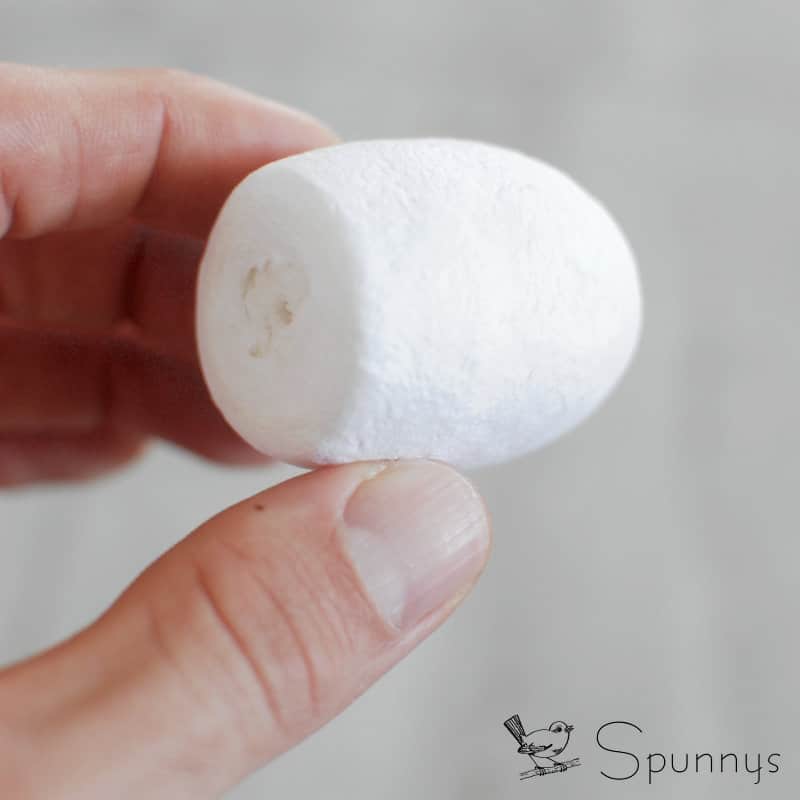
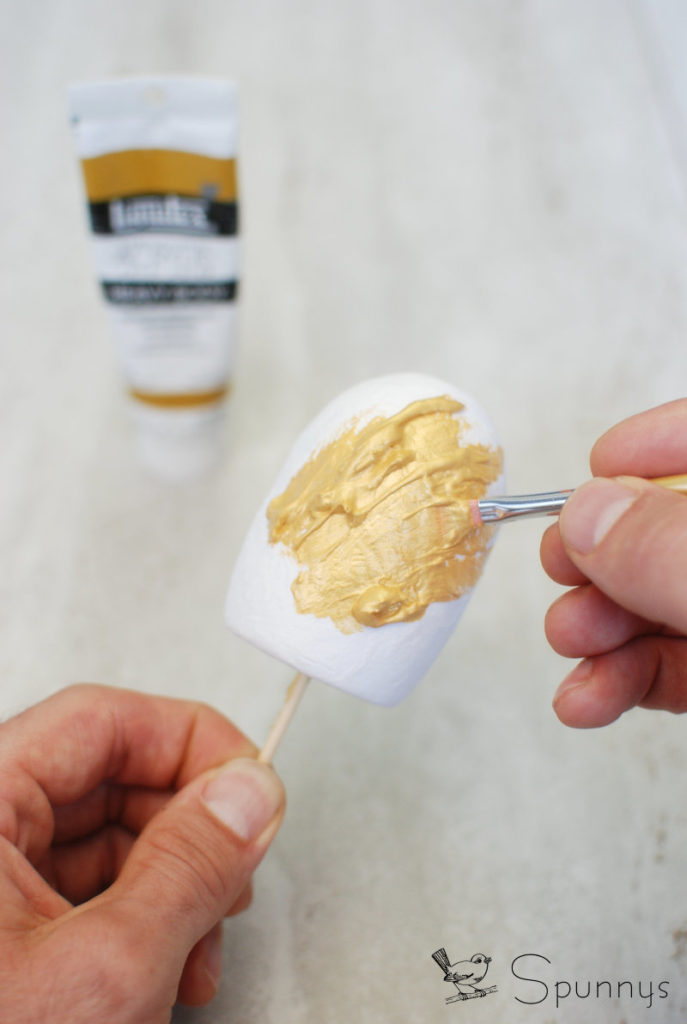
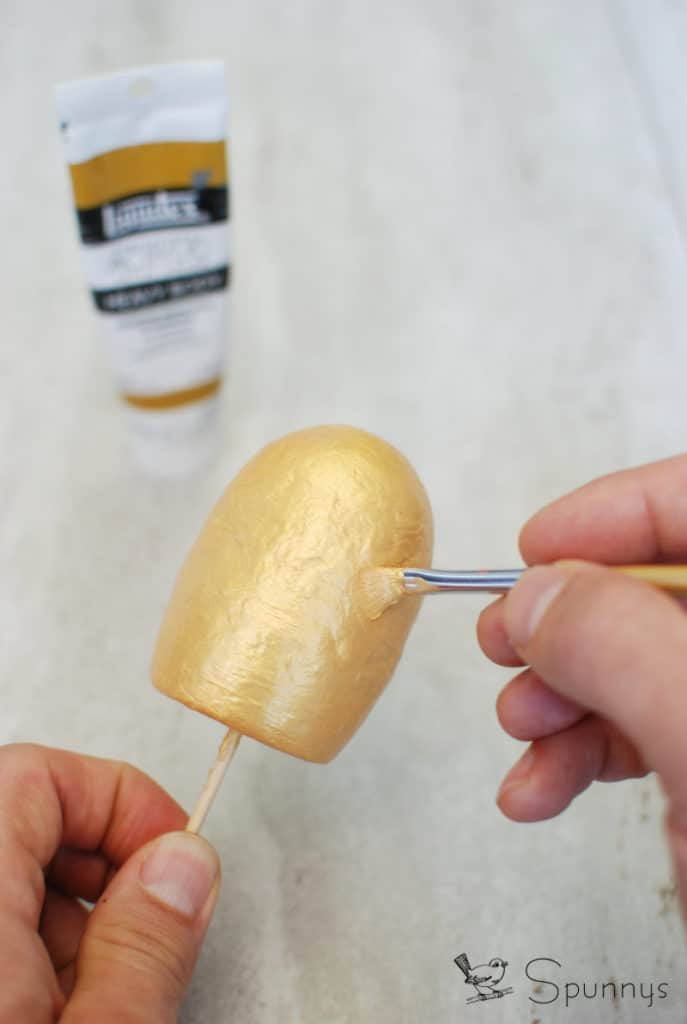
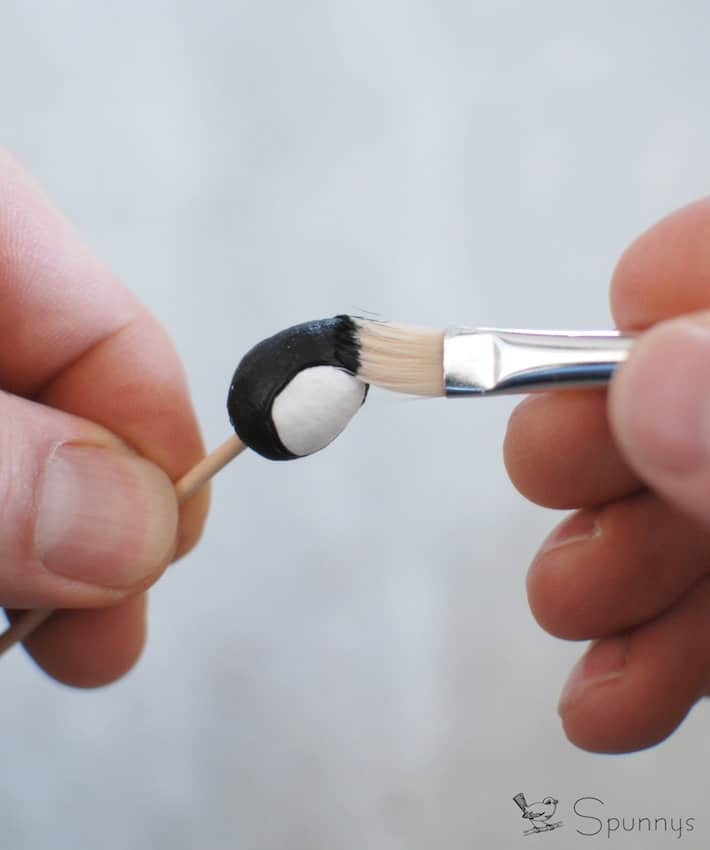
To paint a spun cotton egg, start with inserting a wooden pick (a bamboo skewer for example) at the bottom of the egg (they all have a small hole at the bottom). When this is done, simply hold the bamboo stick in one hand, and your paintbrush in the other hand. This way, you can paint the egg without getting paint on your fingers.

Spun cotton Easter egg ornaments

If you want to paint a straight line around the egg, simply spin the bamboo stick between your fingers while you hold the brush steady against the spun cotton egg.

You can also decorate the eggs with Glitter, trims of paper, Dresden… To do so, you can simply use regular white tacky glue, it works very well.

You can visit our online store Spun Cotton Egg Page to browse through our large collection of sizes and styles.

Project idea #1: Solid color Easter egg ornaments

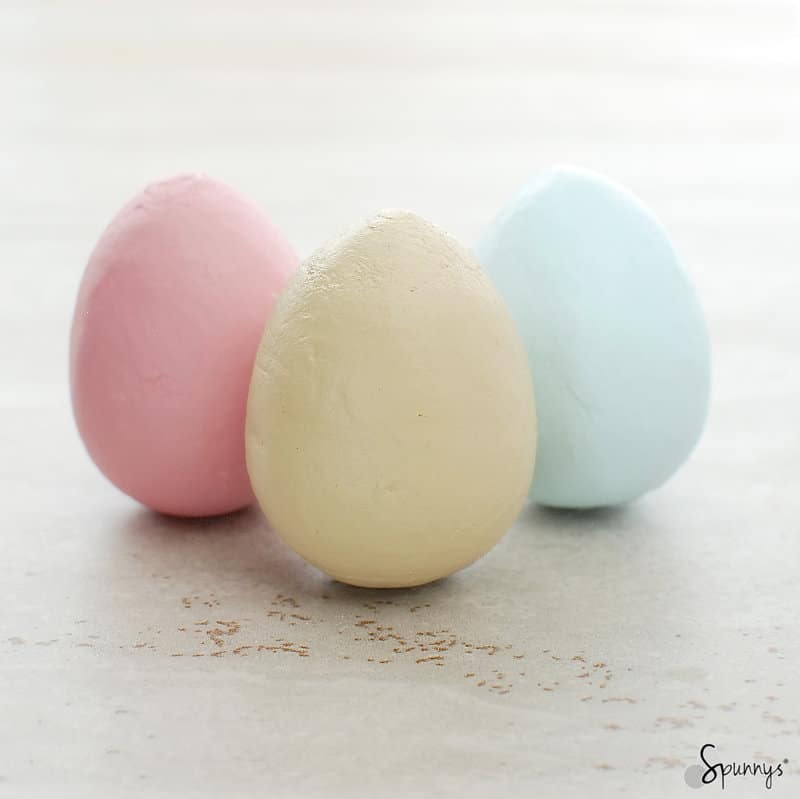
These are the easiest of all Easter egg ornament projects. We used 60mm spun cotton blank eggs and covered them with one layer of regular acrylic paint. 60mm eggs are a popular size because they are the size of real eggs.

How to paint spun cotton eggs for Easter

Project Idea #2: Solid color eggs with patterns

Below are a few patterns that you can use for inspiration.  

Easter egg ornaments pattern ideas

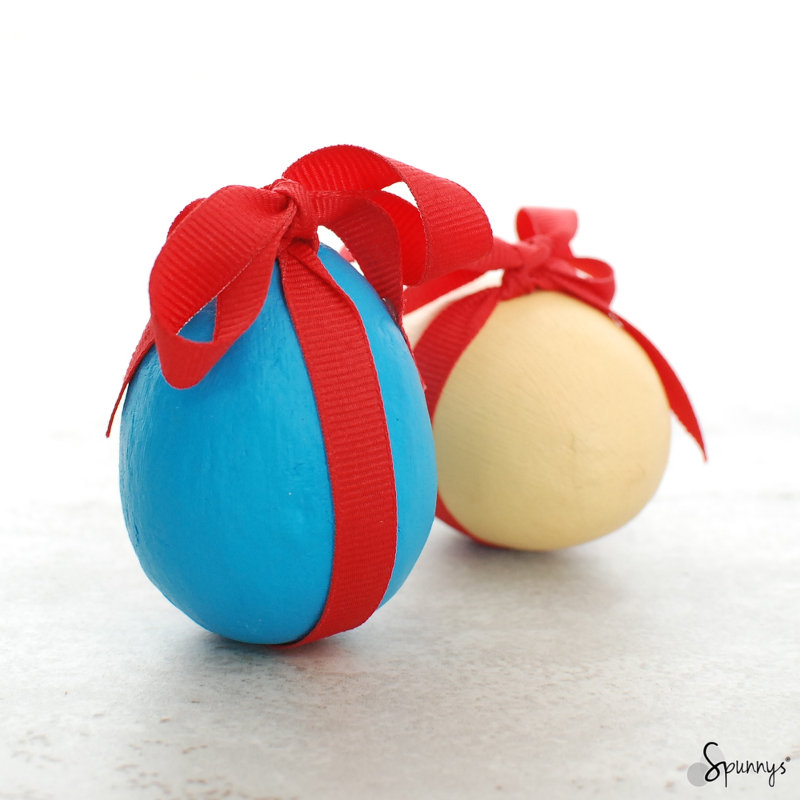
Project Idea #3: Eggs tied in ribbons!

Easter egg ornaments can be decorated with almost anything: ribbon, paper, fabric, felt, crystals, beads, glitter. For the picture below, I used a simple red ribbon and tied it into a knot.

Easter egg ornaments craft ideas

Project idea #4: Eggs decorated with homemade decals

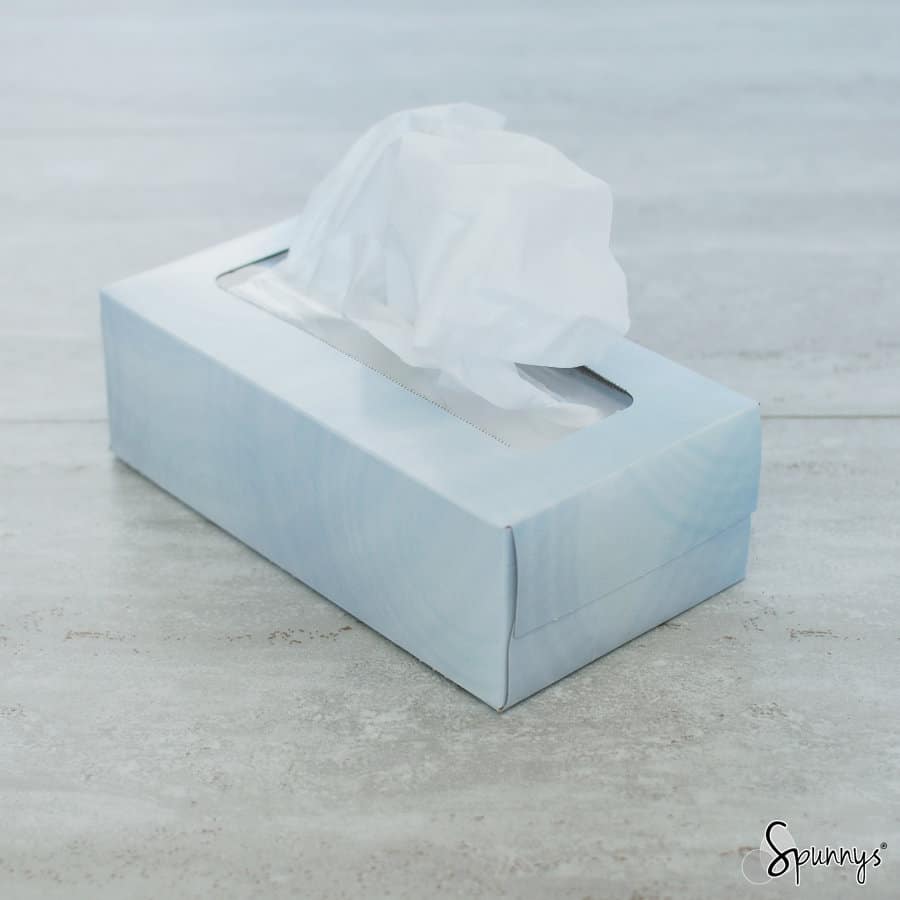
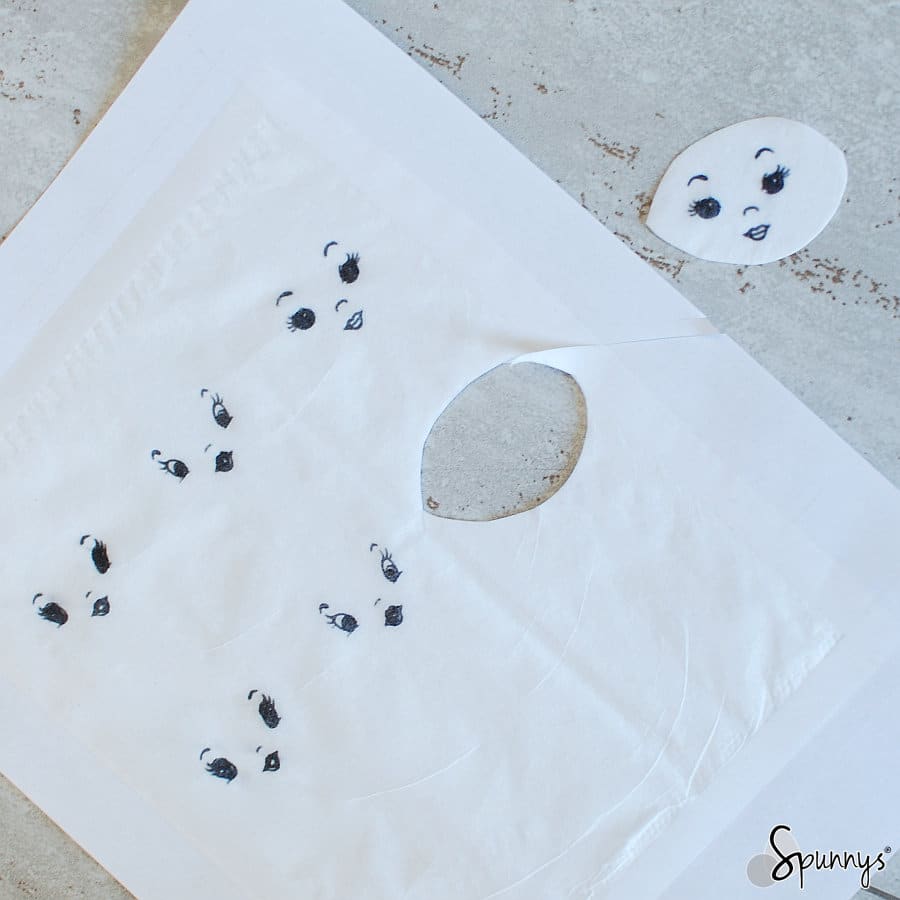
It is possible to make your own decal, with just a printer and a box of tissues.

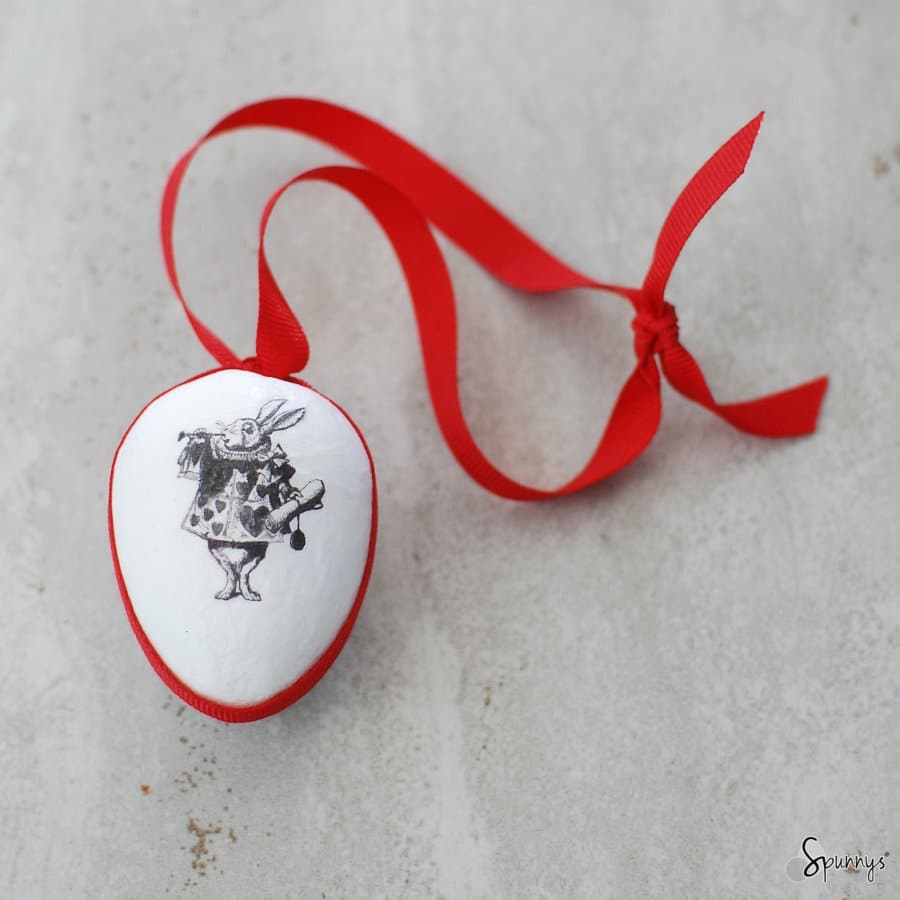
Vintage spun cotton egg ornament DIY

Vintage Rabbit decal on 60mm Spun Cotton Egg

Here is the technique:

  • Search the internet for an illustration that you like. Make sure not to use any copyrighted work.
  • Open your image in an image editor. Adjust the size of your image so that it fits the size of your spun cotton egg. Verify that the size is right by printing the image and comparing it to the size of your egg.
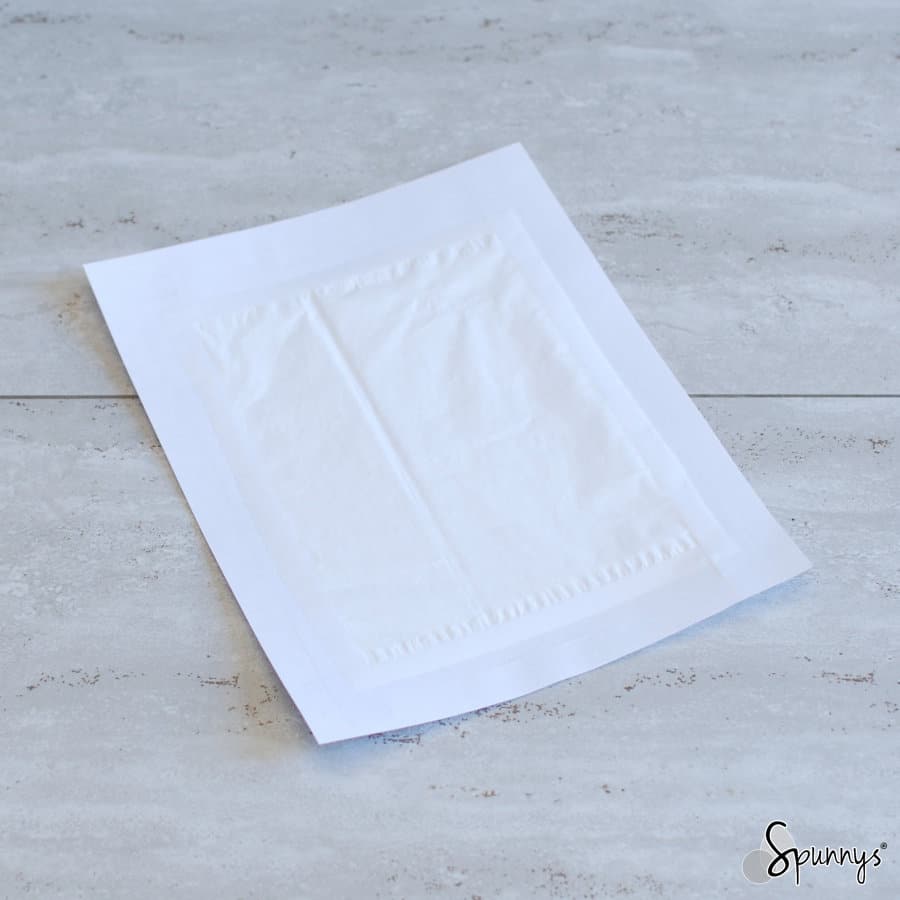
  • Tape a tissue (the kind we blow our noses in) onto a piece of printing paper. It is important to use a thin type of tissue, like the ones that come in boxes. Feed this paper to your printer and print your illustration on the tissue side of the paper.
  • Cut out your illustration. To do so, just imagine an oval line going around your image and cut out along this line. Leave about 1/4″ between the edges of your image and the edges of your oval shape.
  • Only use the upper ply of your tissue (the one with the print on).
  • Brush mod podge or tacky glue over your spun cotton shape.
  • Gently lower your print onto the egg.
  • With a clean finger, tap around the print to make sure it is flush against the shape. Be careful not to tap on the ink or you may smear it.
  • Brush a little more mod podge or tacky glue over the tissue. Don’t brush directly onto the ink. It will smear.
  • Brush over the wrinkles to make them disappear.
  • When the mod podge or the glue are dry and clear, you will not see the tissue over the spun cotton egg anymore. Instead, it will look like a decal.

Note: The print transfer technique works with both color and black and white prints.

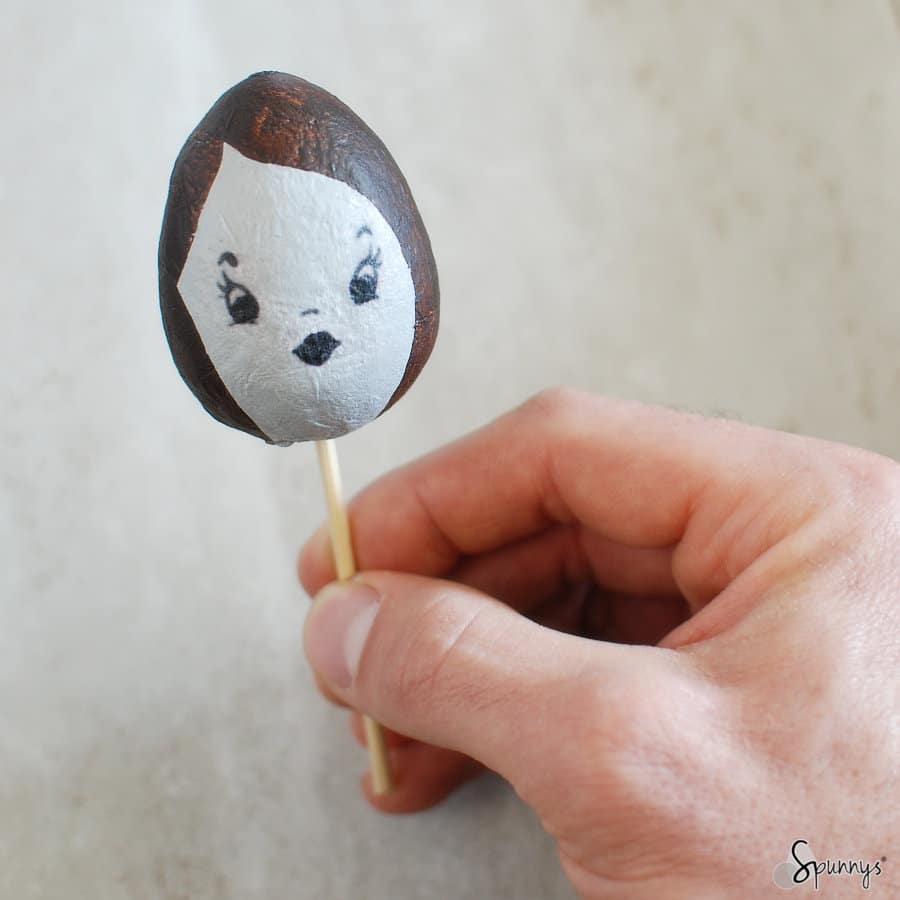
retro doll head egg spun cotton ornament DIY

Vintage Doll face Decal

Displaying your work of art

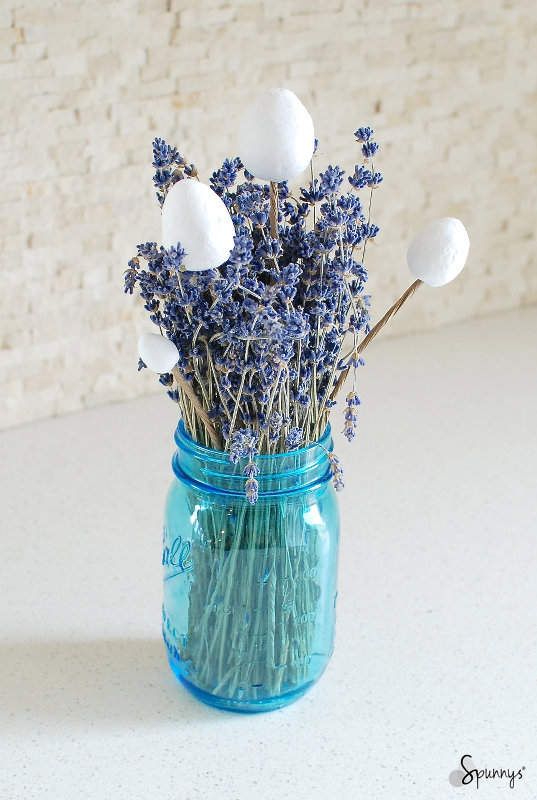
You could display your painted eggs in little nests made of straw or small twigs, hang them from a door handle or a kitchen hook, or display them in vases (picture below).

Easter egg ornaments display ideas

We hope you enjoyed this tutorial and found some ideas for your own projects.

Do you have any questions about this page? Please feel free to leave a comment below!

Posted on Leave a comment

How to make decorative owl figurines – DIY tutorial

Owl figurine craft DIY tutorial

Follow our tutorial and learn how you can easily make beautiful, decorative owl figurines from our blank figurine shapes.

DIY Owl Figurines – Project Materials

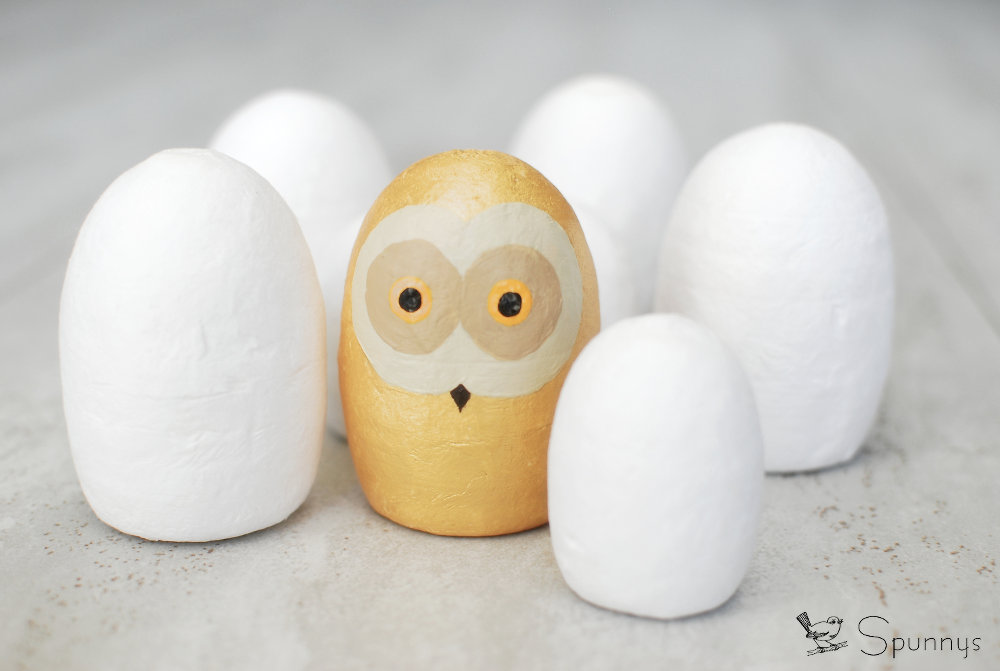
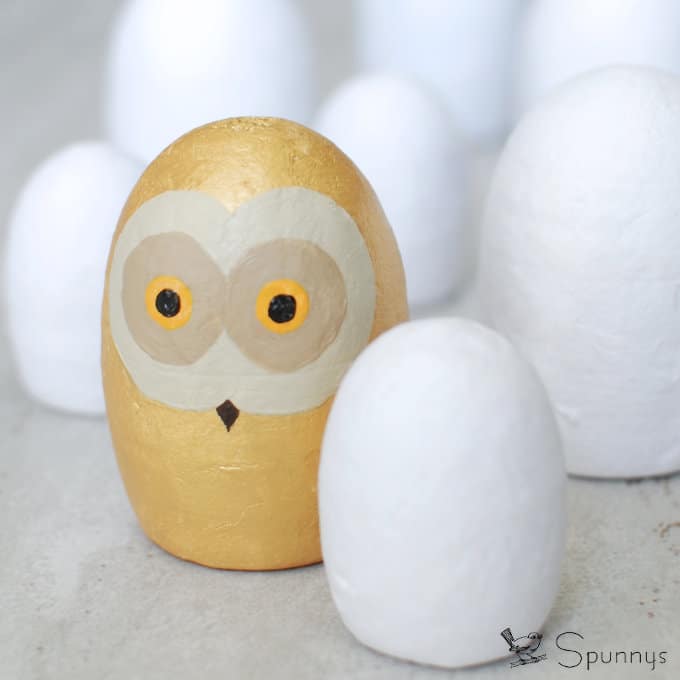
  • SPUNNYS EGGMAN BLANK FIGURINE – large (72mm which is about 2 3/4 inches). The Eggman shape looks like an egg with a flat bottom.
  • Paint and brushes. I used 5 paint colors (Gold, Ivory, light brown, saffron, and black). You can use the same colors or pick your own. Most types of paints work but I typically use acrylic or enamel.
  • A pencil to outline the facial features of the owl prior to painting.
  • A bamboo skewer to hold the blank shapes while you paint and decorate them.

Step by step tutorial 

1: Body painting

Paint the whole spun cotton shape one solid color.

Tip: You can squeeze the paint directly from the tube onto the shape.

2: Paint the face and beak

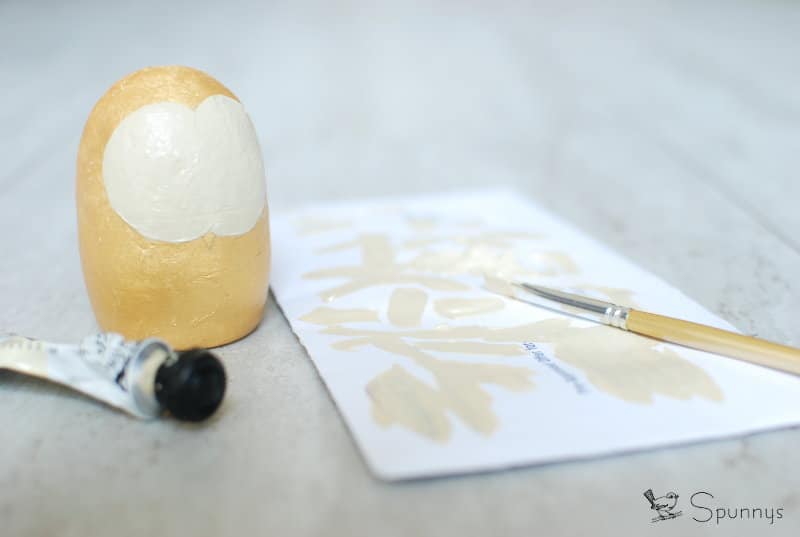
Outline the face of the owl and the beak with the pencil. Don’t press too hard on the pencil or it may dent the spun cotton (and if you are using a light paint color, the pencil marks may show through). When you are done outlining, you can paint the face and the beak.

Tip 1: For your first owl, I recommend using the paint straight out of the tube (vs making a custom color by mixing two colors). This way if you have to touch up your owl later on, the same exact color can be used again.

Tip 2: A small tiny brush works best for the beak. If you do not have one, a black fine point marker works fine too.

Spun cotton owl figurine DIY

3: get started with the eyes

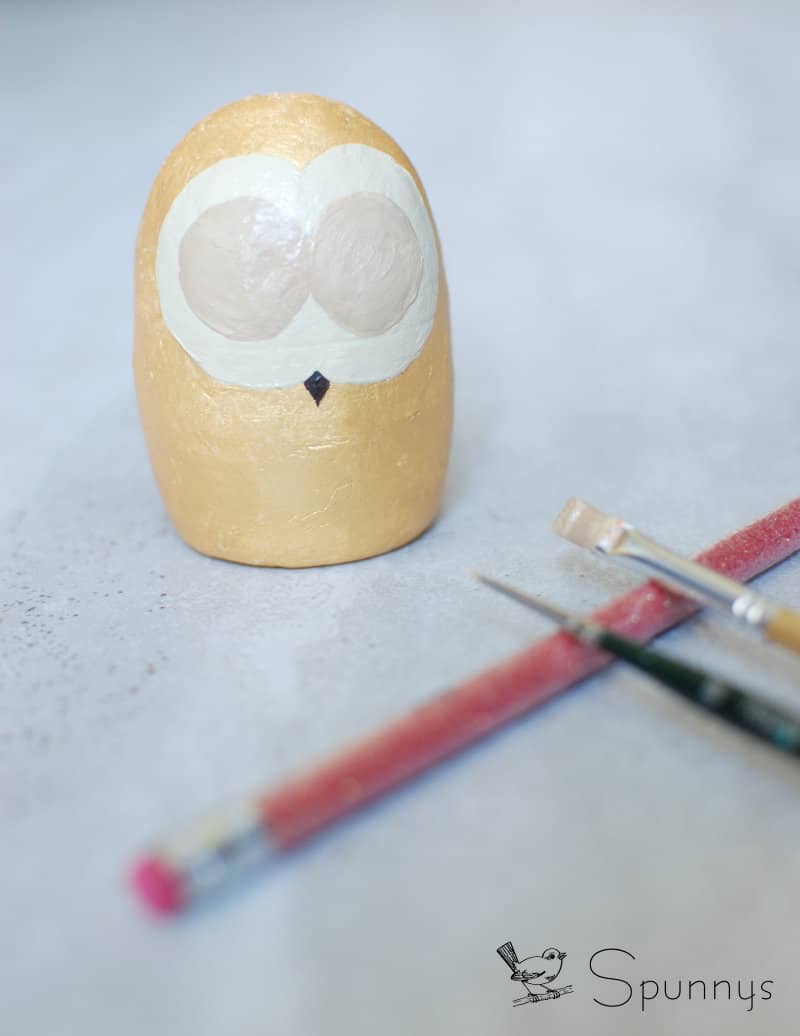
When the face and the beak are dry, paint two discs (outline first with a pencil).

Blank unpainted owl figurines

4: The irises

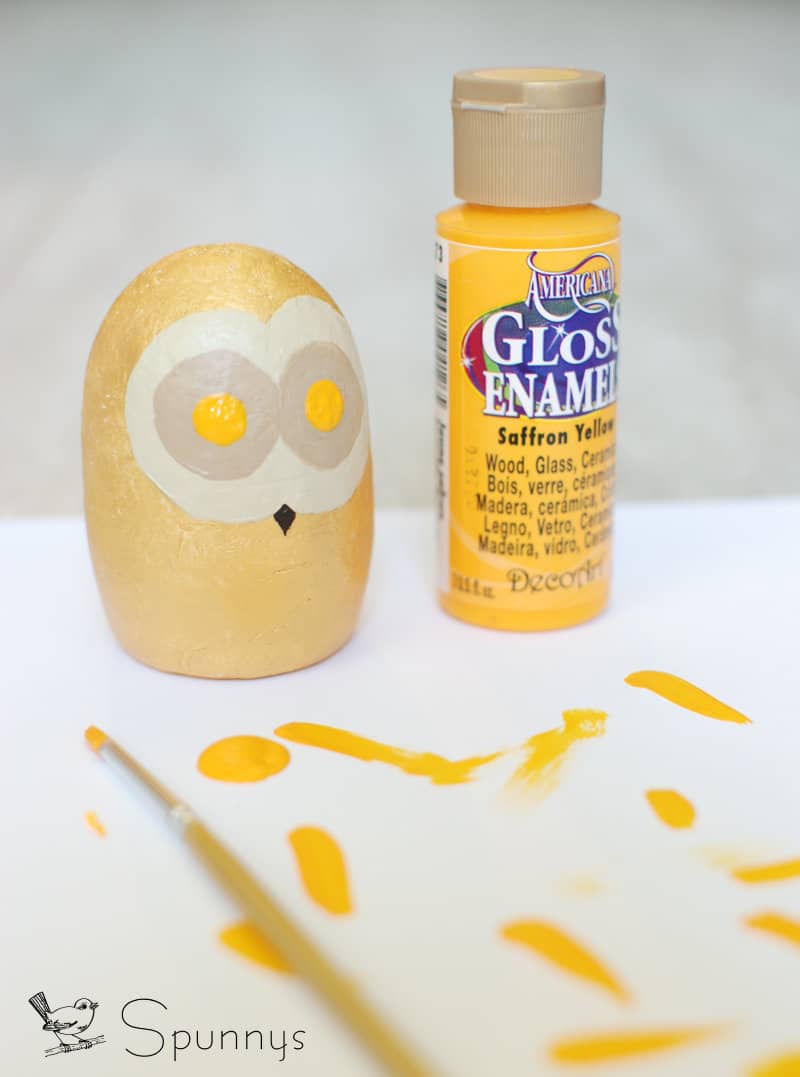
When the two discs are dry, paint the eye irises. I painted mine yellow. Without the pupils, the owl figurine looks pretty scary :)

Owl figurine DIY tutorial

5: The pupils.

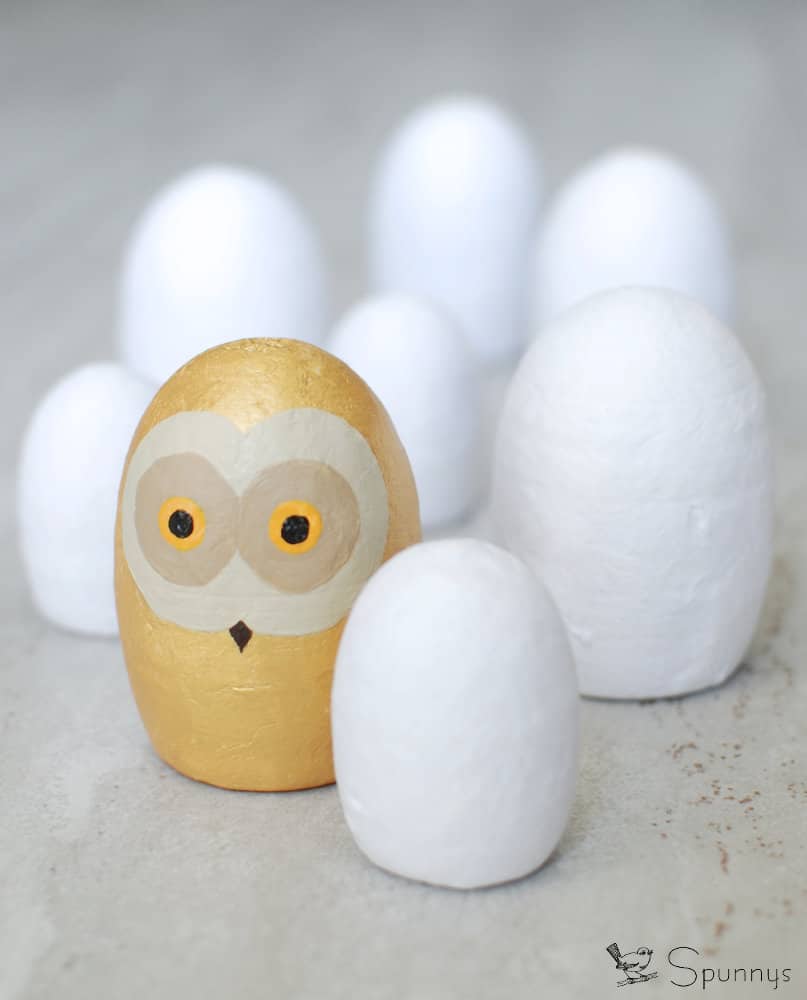
Finish your owl figurine by painting the eye pupils. I painted mine black so they stand out.

Owl figurine DIY tutorial home decor

You are already done :) A beautiful Homemade Owl Figurine

I hope you enjoyed this tutorial and I hope you found some inspiration for your own owl figurine projects.

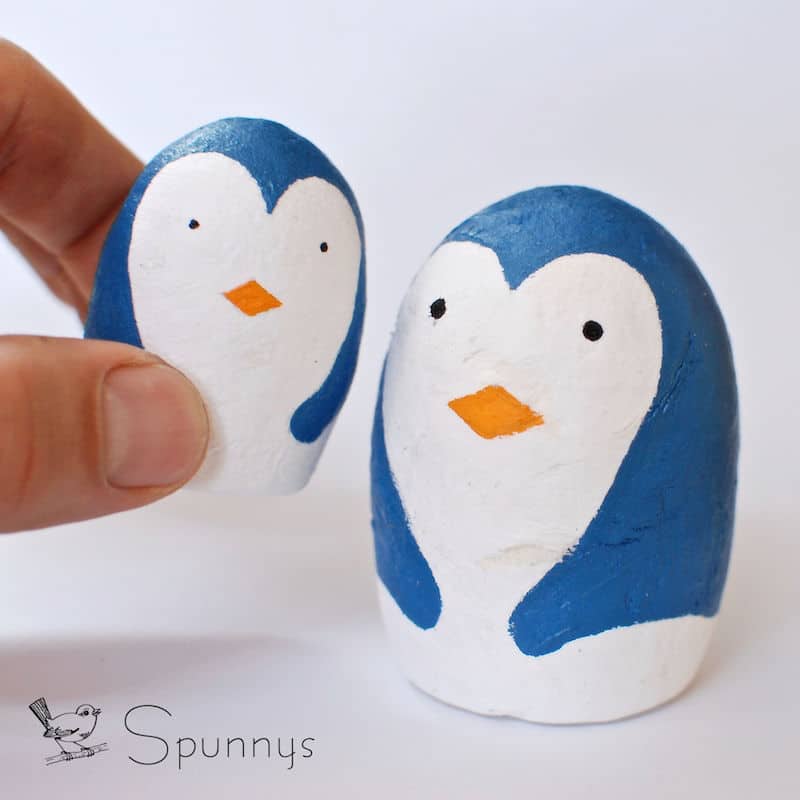
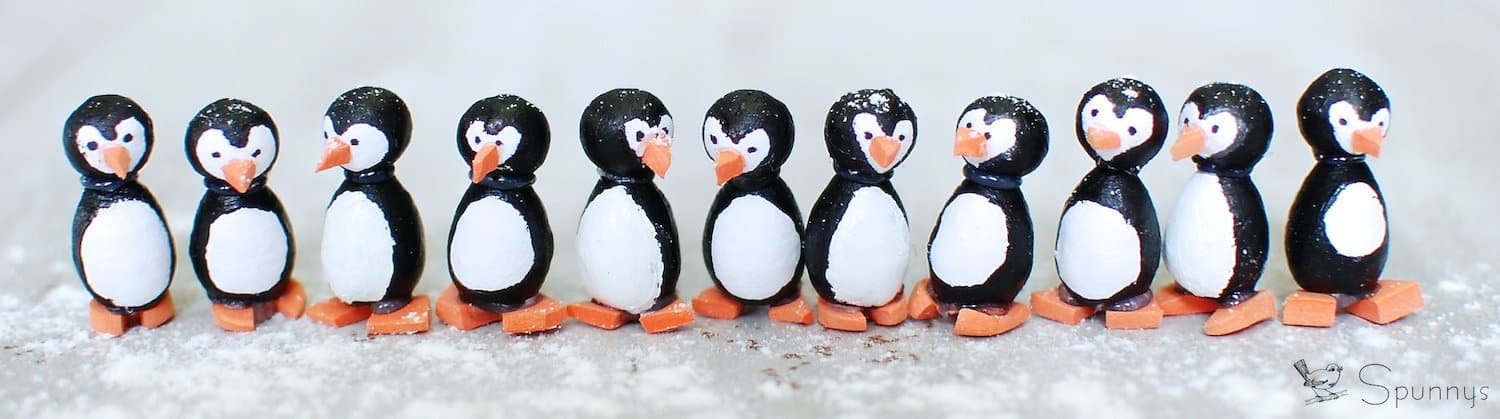
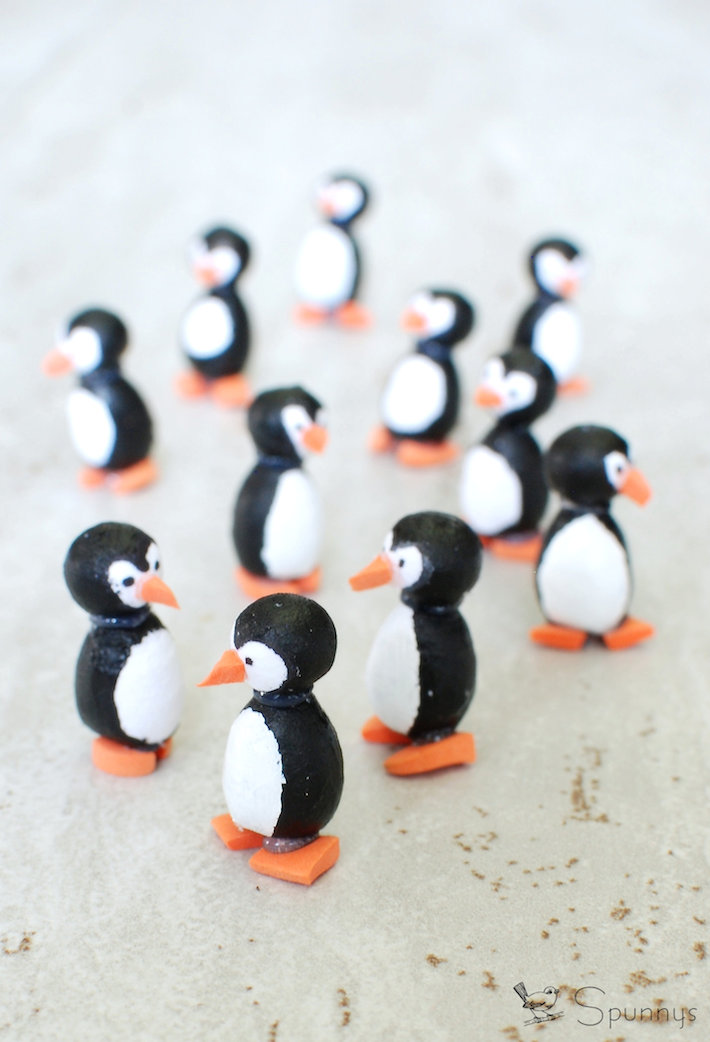
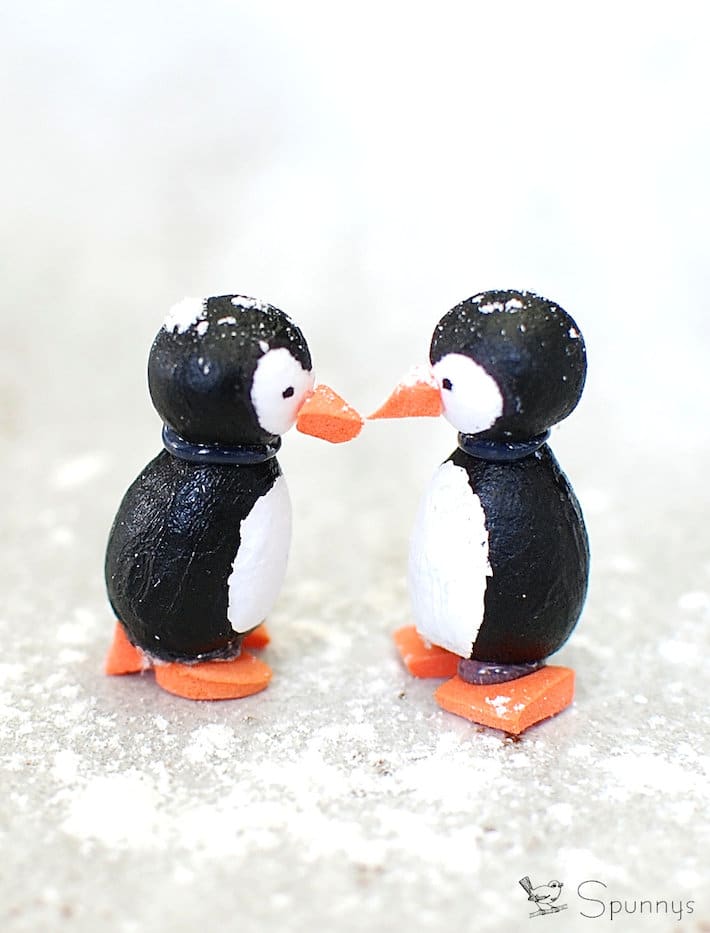
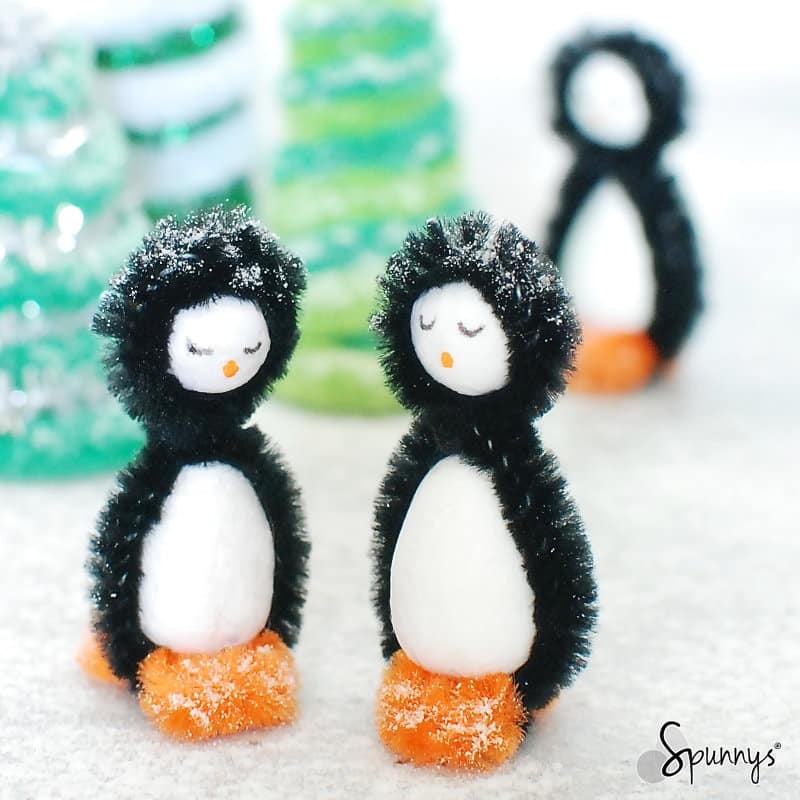
Note that SPUNNYS figurine bodies can be used for many more DIY Craft Projects beside owls. Use them to make penguins, walruses, woodland animals, super heroes, and much more.

As  always, if you have a questions, do not hesitate to use the comment section below. Happy crafting!

Posted on Leave a comment

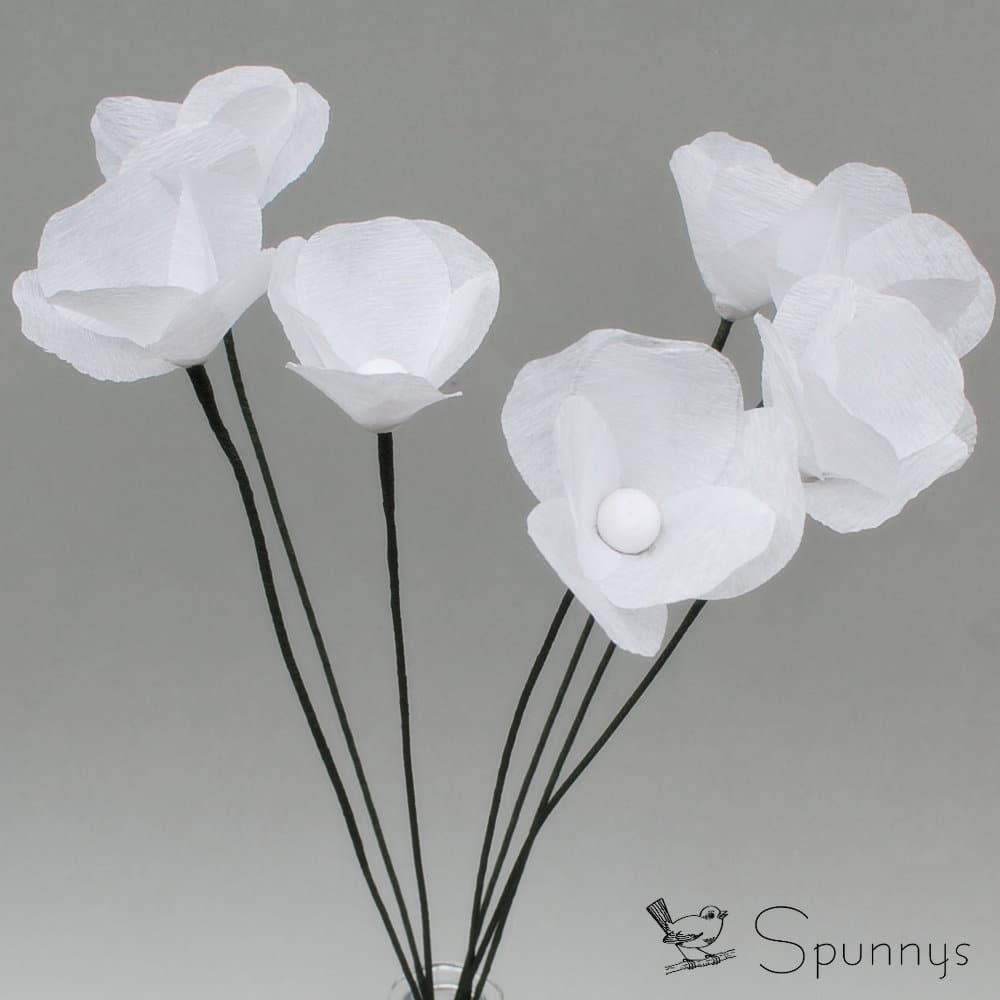
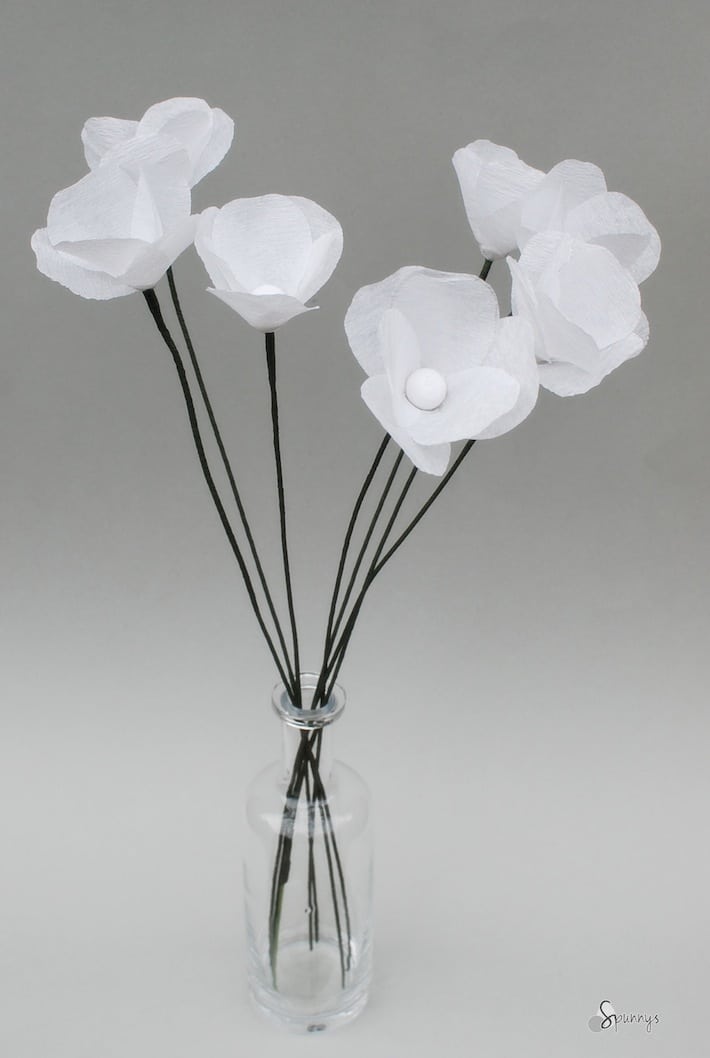
How to make Crepe Paper Flowers – Streamers Poppies

Paper flower tutorial step by step

Follow our detailed tutorial and learn how you can make beautiful and elegant crepe paper flowers out of streamers. We will use poppies as example and will provide plenty of pictures to help you along the way.

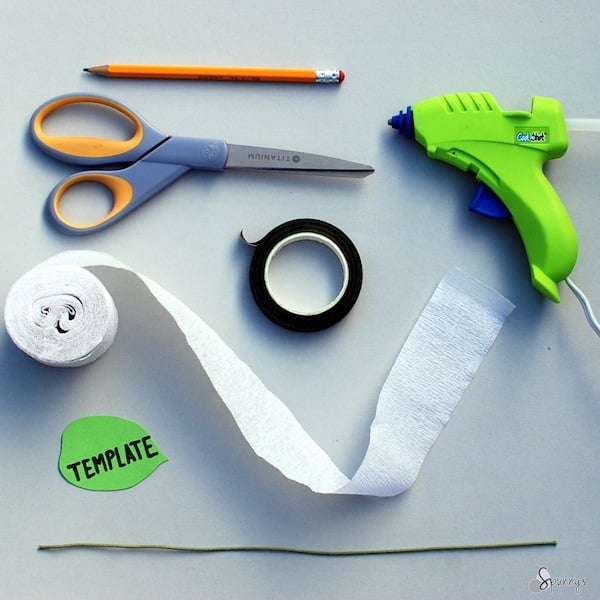
Crepe Paper Poppies – List of Materials

  • Crepe paper streamers – 1 roll (1 – 3/4″ wide). You can make dozens of flowers with a single roll. I recommend white to start because glue spills don’t really show on white.
  • Spun cotton balls – white – 15 mm diameter (.59 inches). 1 ball per flower.
  • Sharp scissors.
  • Pencil.
  • Low temperature glue gun and glue sticks.
  • Stem wire. The wire I used for these flowers is 18 gauge and 18″ long. I found it at Michaels.
  • Floral tape.
  • A small piece of cardboard to make your petal template. Or you can just print my template on regular paper and cut it out (link below).[/threecol_two_last] [divider_flat]

Directions

Note: I recommend a low temperature glue gun so you don’t burn your fingers.

Step 1: Gather all your materials.

Make sure to set up in a location where there is no air circulating (the petals fly off easily).

Step 2: Make one petal template for all your future crepe paper flowers

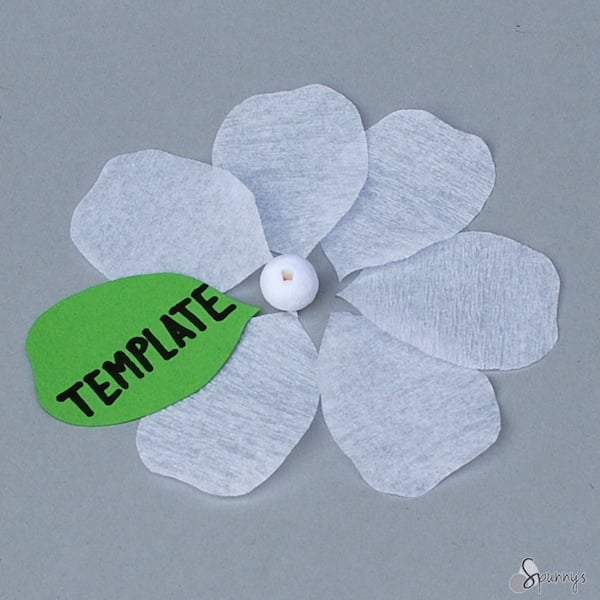
You can download the template (link below) or just copy from the picture. (It is not an exact science). My petals are 1-11/16″ wide and  1-1/2″ tall.

Click here to Download the petal template. When printing, make sure to set the scale at 100%. 

paper flower materials
handmade paper flowers

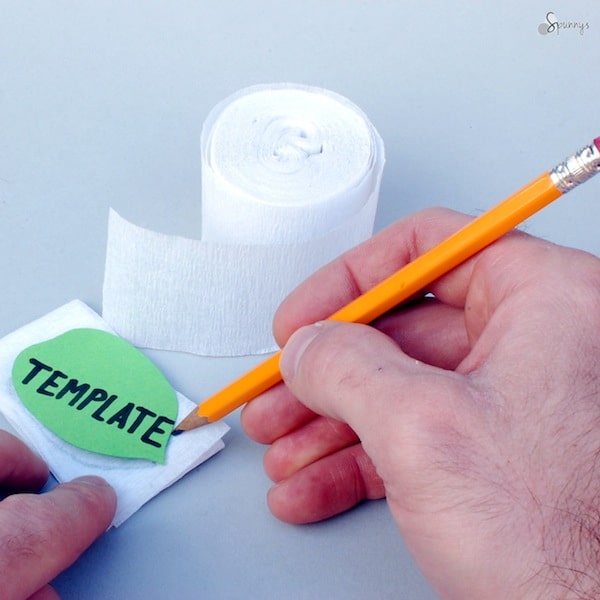
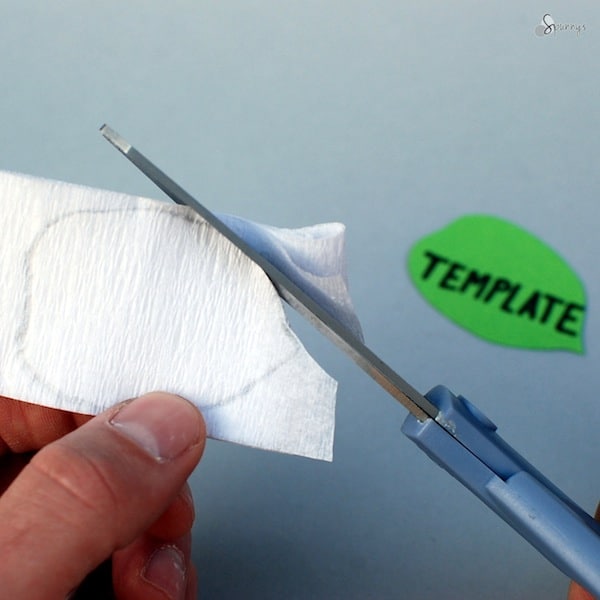
Step 3: Cut out 6 identical petals.

Fold the crepe streamer 6 times onto itself. Outline the shape of a petal on the top layer. Cut out all layers at once with a sharp pair of scissors.

paper flowers DIY
paper flower template

Step 4: Glue the spun cotton ball onto the stem wire.

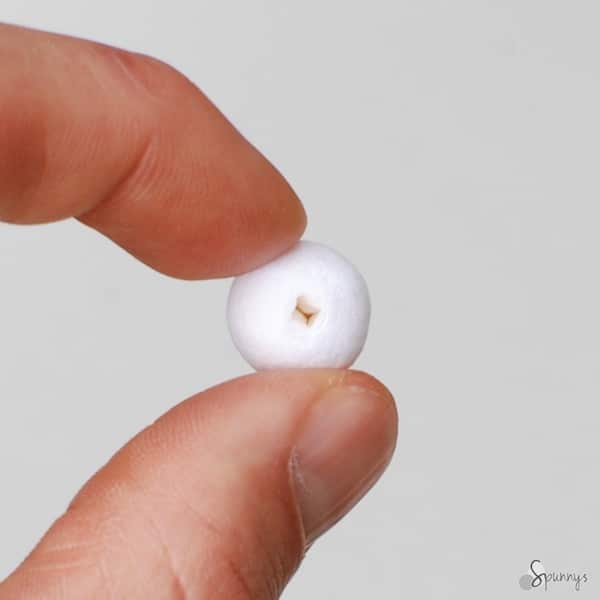
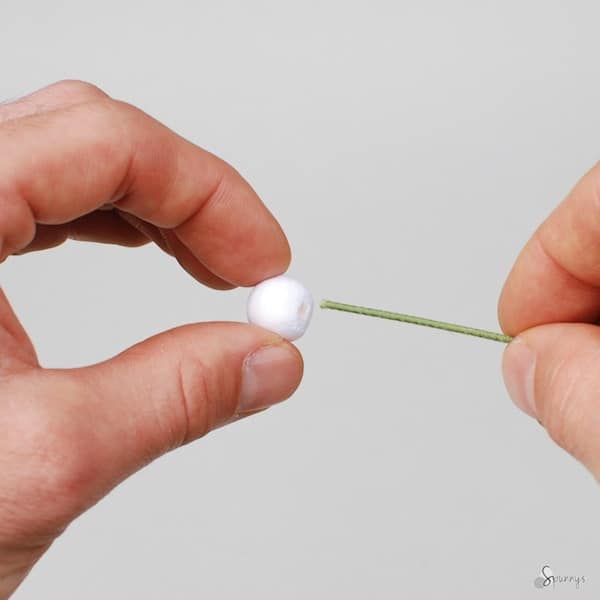
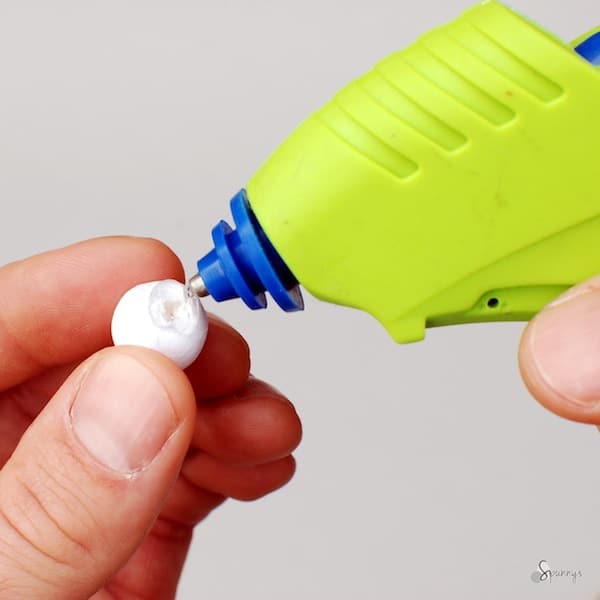
Pour a generous amount of glue over the hole and immediately insert the stem (all spun cotton balls have a little hole). Wait 5 seconds for the glue to become moldable. Quickly, shape the glue into a cone shape with your index and thumb fingers.

spun cotton ball 15 mm
floral stem wire project ideas
paper flower pistil ideas
floral stem wire craft ideas

It is important to create a little “cone” of glue under the ball.
It will make for a nice surface to glue the petals to. 

Step 5: Make the support cone a little bigger

Pour a little more glue all around the cone, wait 5 seconds for the glue to become moldable, press down with your thumb and index fingers to shape as a cone.

floral craft ideas
spun cotton ball flower how to

Step 6: Add petal #1.

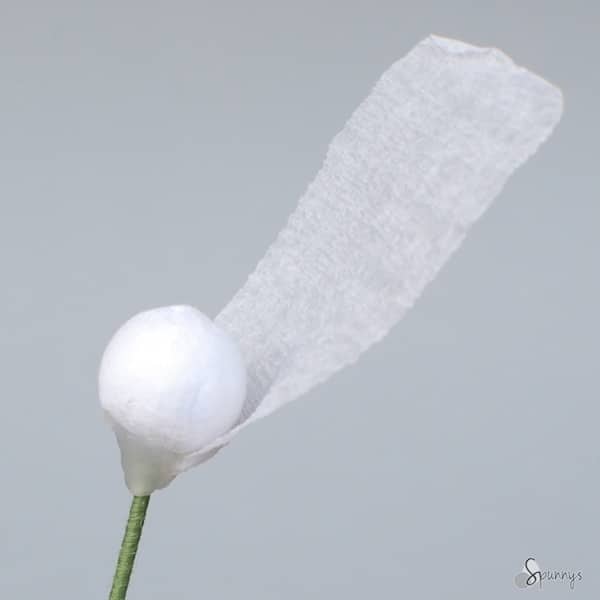
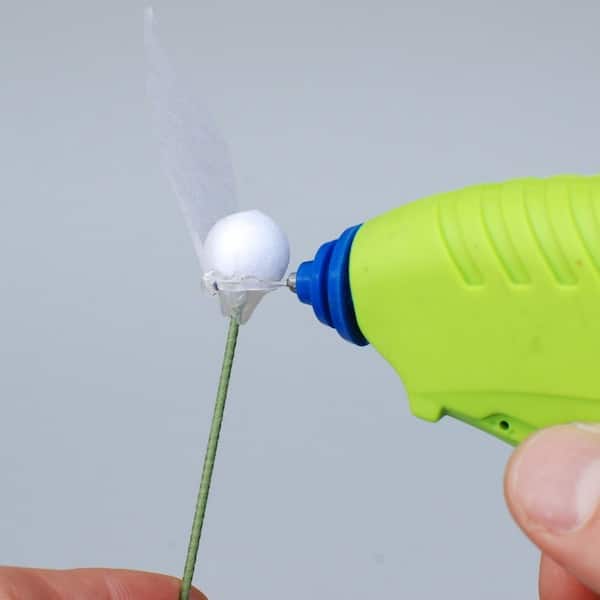
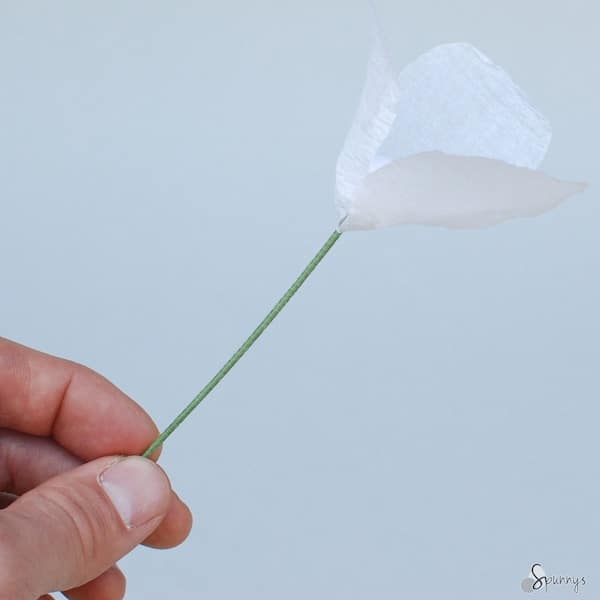
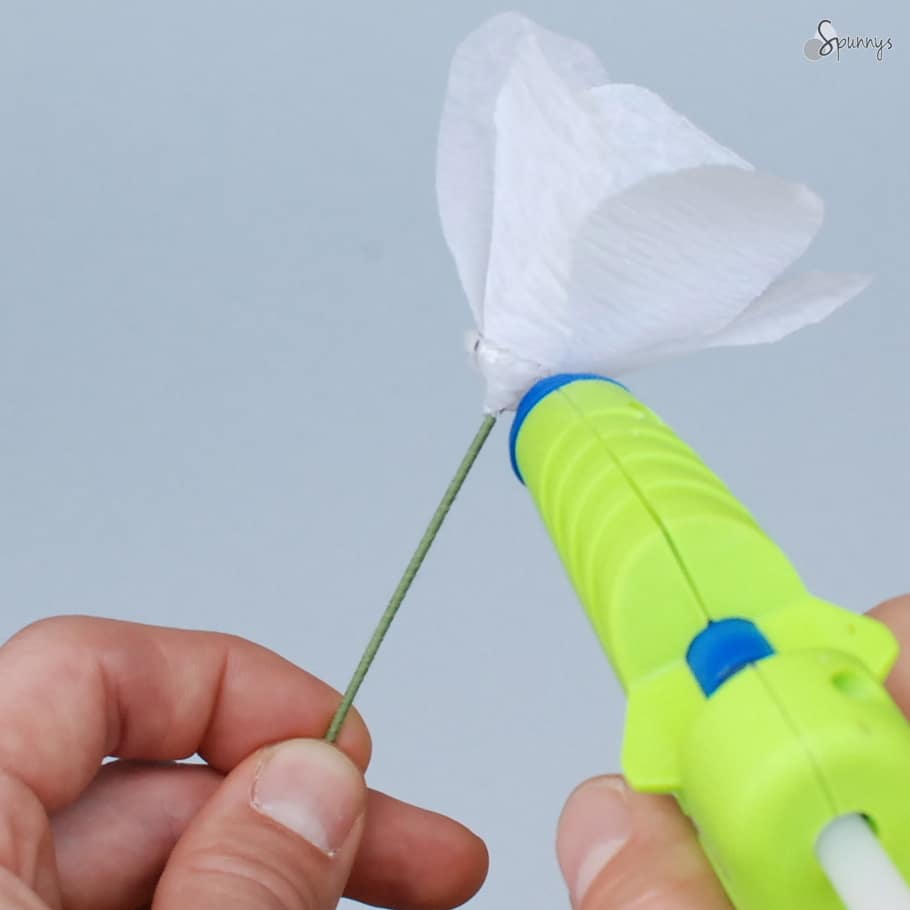
Pour a horizontal bead of glue about 3/8″ long right at the junction between the spun cotton ball and the support cone. Line up the bottom of the petal with the bottom of the cone and press the petal against the glue. The petal should cup around the ball.

glue gun flower crafts
DIY paper flowers

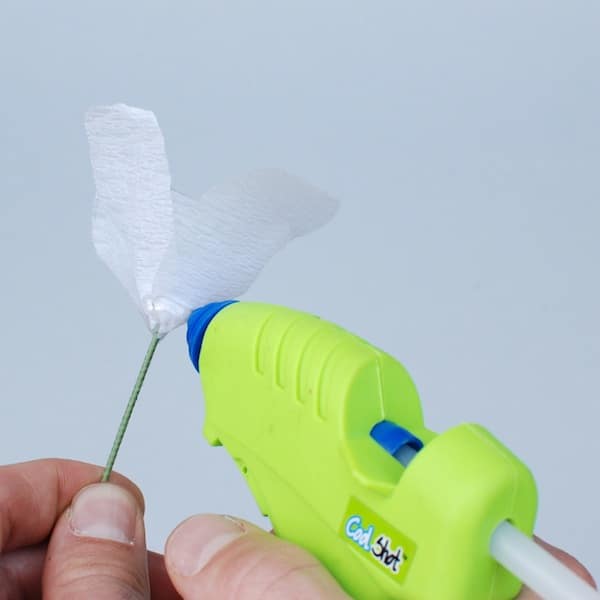
Step 7: Add petal #2.

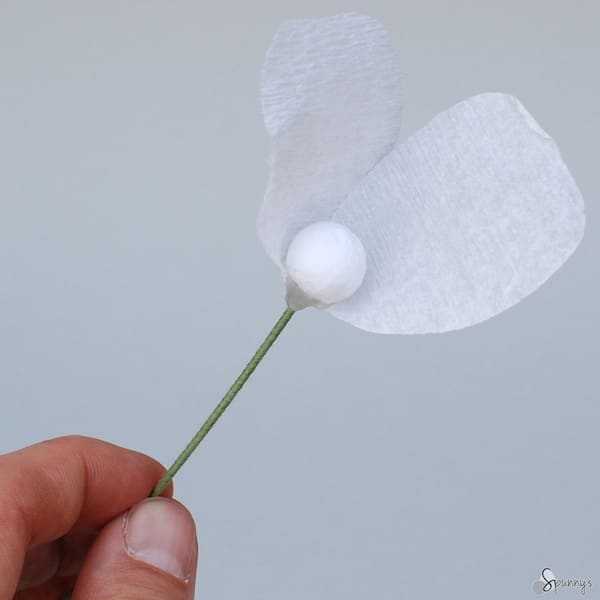
Petal #2 needs to overlap petal #1 by a little bit (about 1/3 “).

paper flower instructions
tutorial paper flowers

Step 8: Add petal #3.

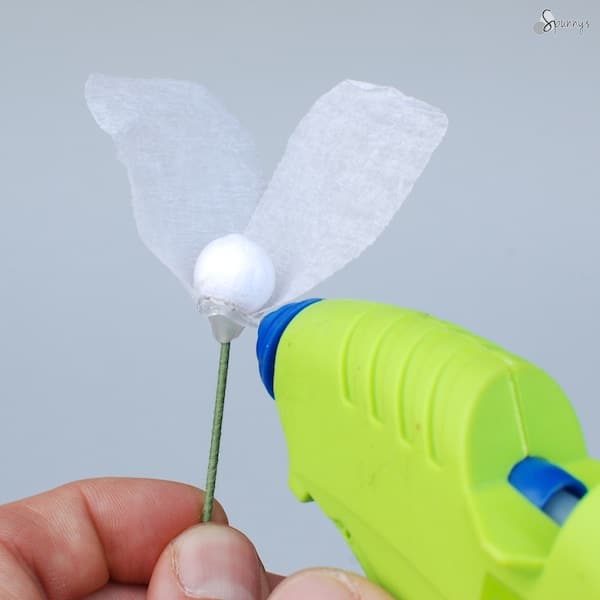
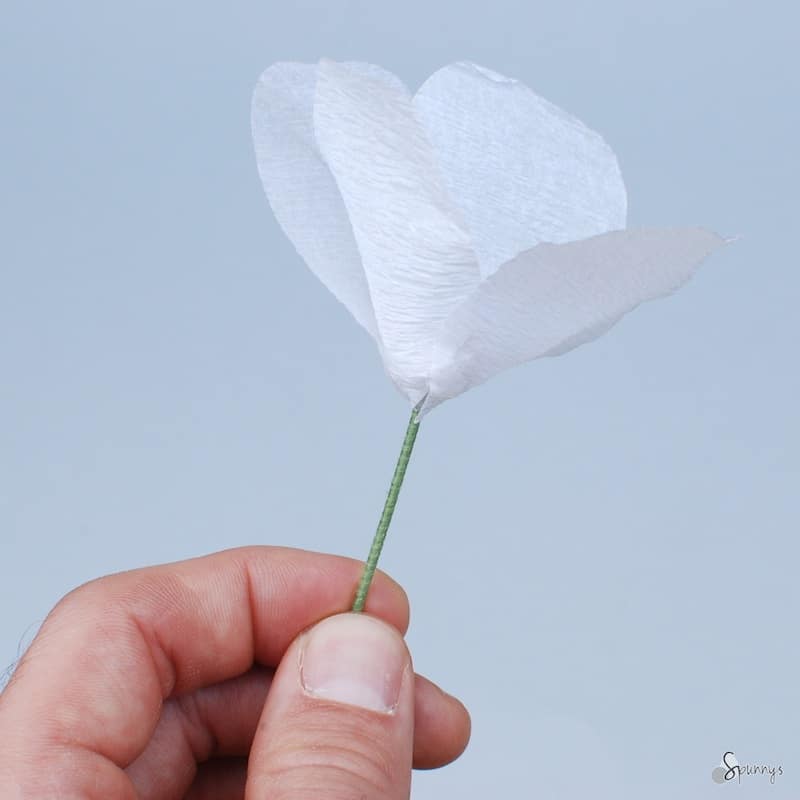
Petal #3 should fit right between petal #1 and petal #2, overlapping them a little bit on each side. Glue into place using the same technique as for petal #1 and 2. When done, your three first petals should look evenly distributed around the ball.

paper flowers simple instructions
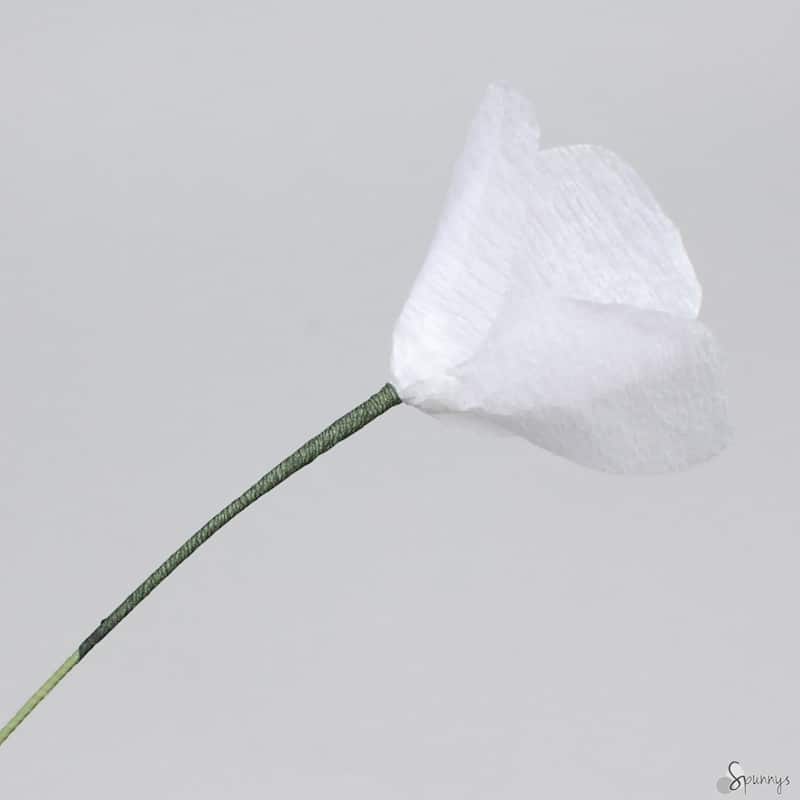
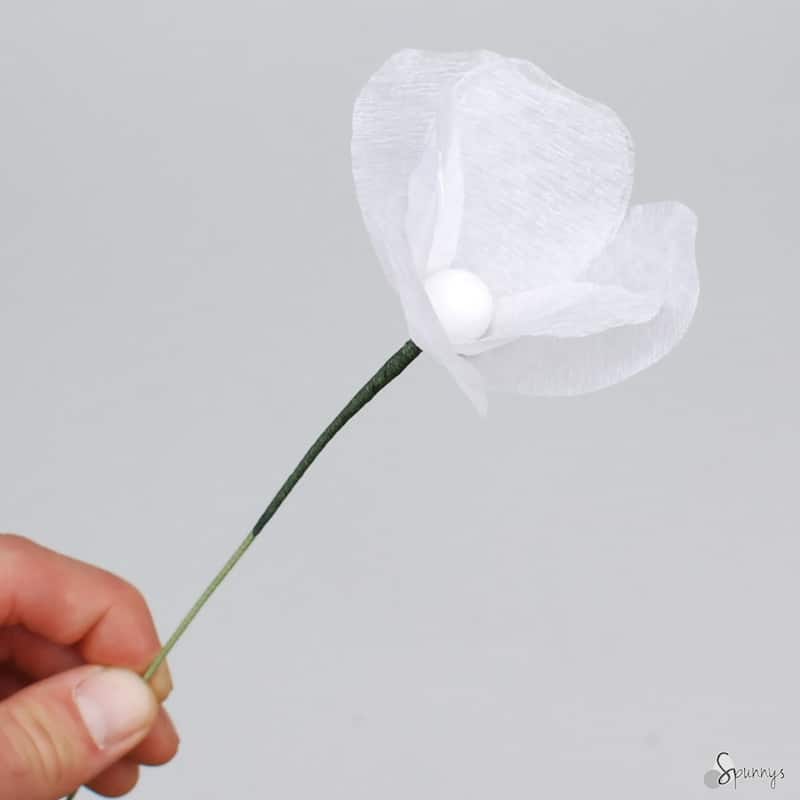
crepe paper poppies

Step 9: Add petal #4.

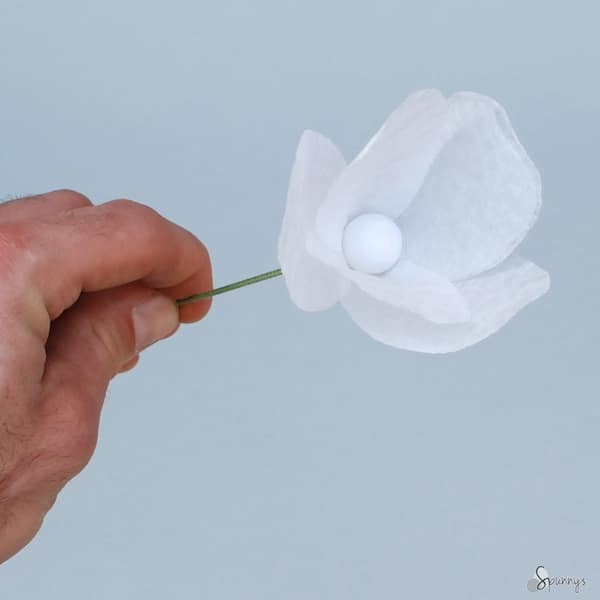
Pour a 3/4″ horizontal bead of glue across petals #1 and 3. This glue line should be a little bit higher up (maybe 1/4″) than the first 3 petals glue lines. Position petal #4. Press down against the glue. Petal #4 should cup around the ball

how to glue paper flowers
crepe paper flowers

Step 10: Add petal #5.

Following the same technique, glue petal #5 exactly between petals #2 and 3.

paper flower crafts

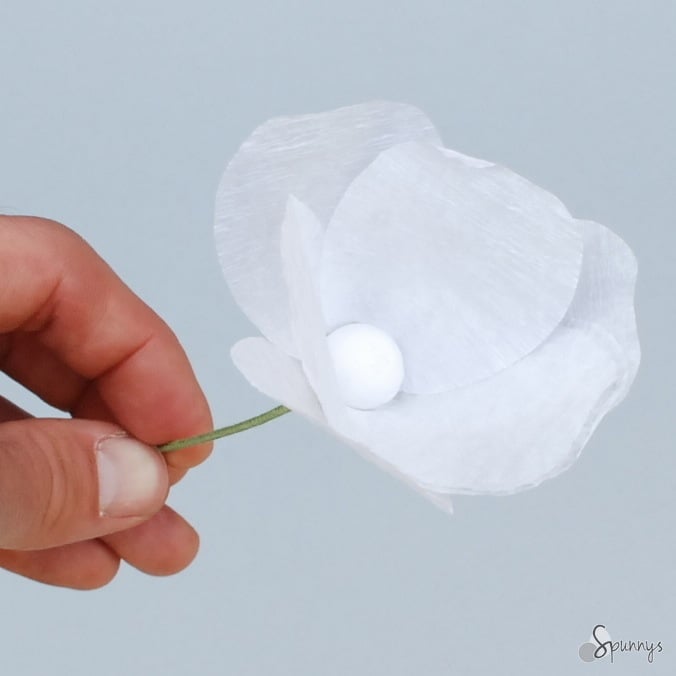
Step 11: Add petal #6.

Still with the same technique, glue petal #6 exactly between petals #3 and 1.

how to make paper flowers
paper flowers

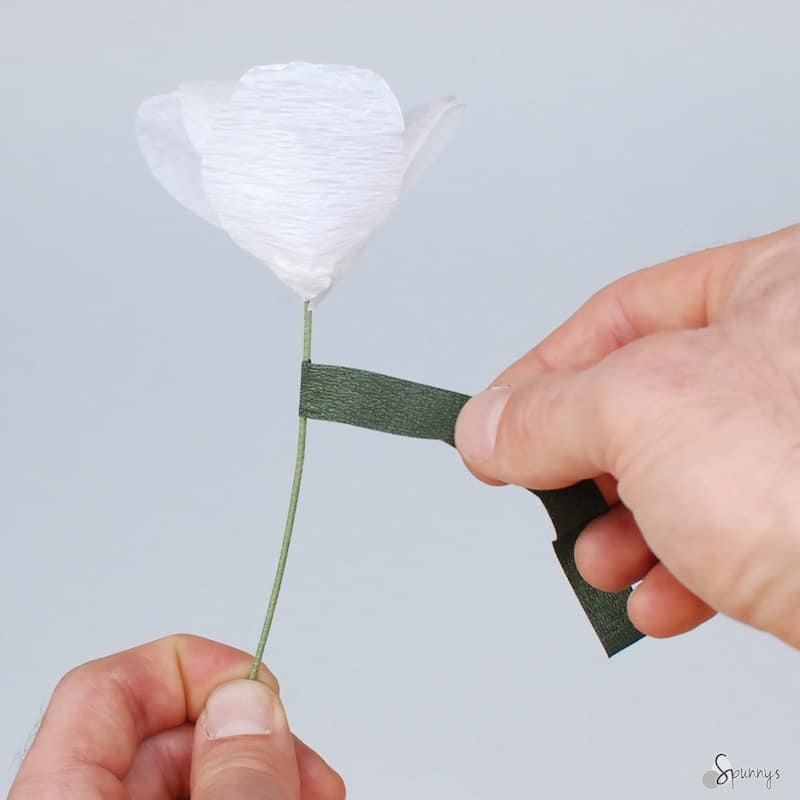
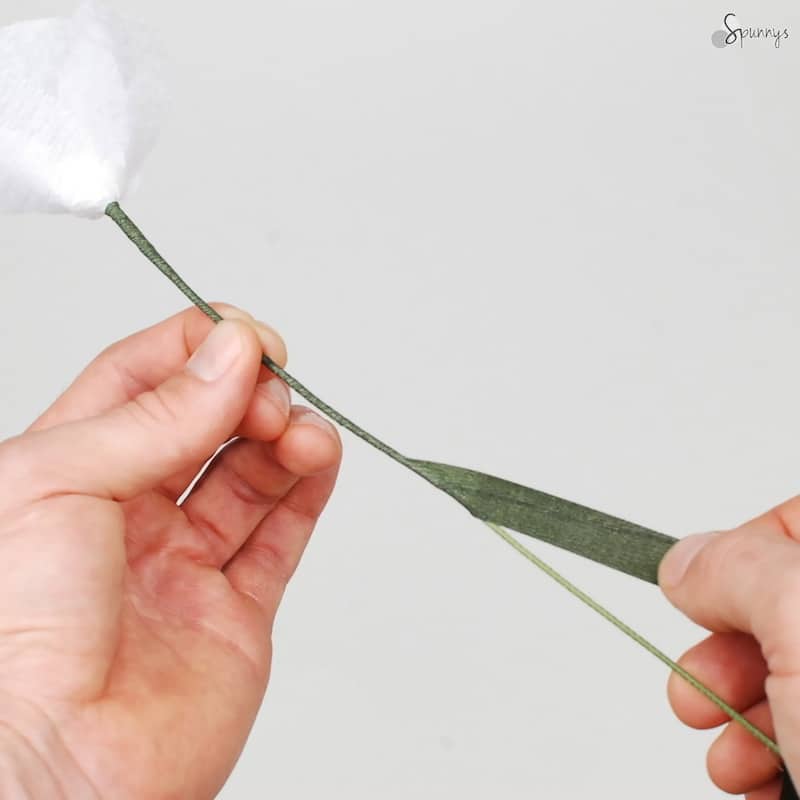
Step 12: Apply the first piece of floral tape.

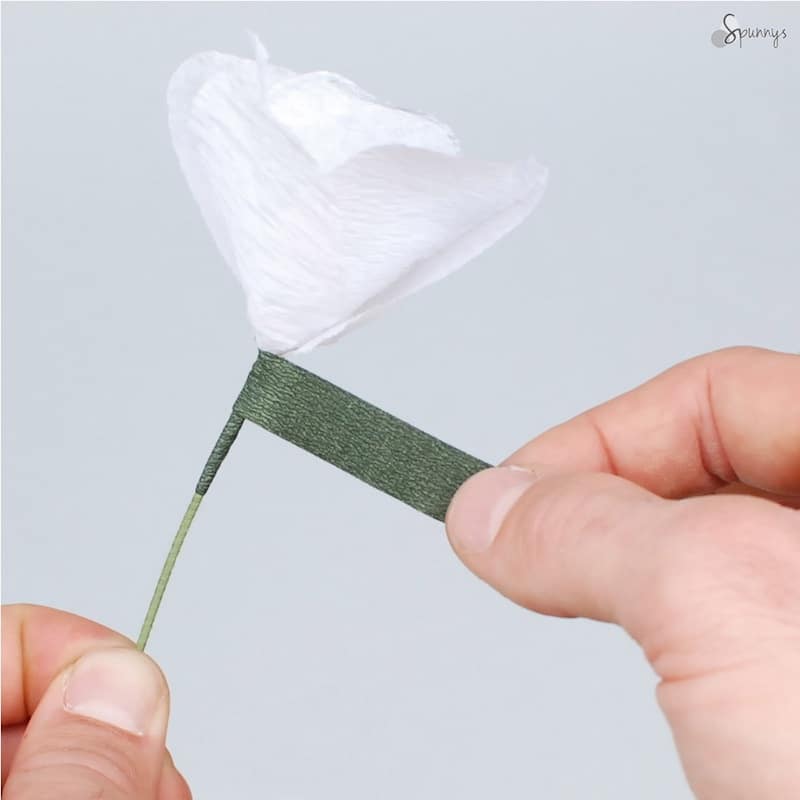
We want to give the crepe paper flower a clean look by covering the very bottom of the petals and hiding all the imperfections. Cut a 5″ long piece of tape. Start twisting the tape around the stem at about 1/2″ below the flower. Go about 2 turns. Then work your way up the stem until the tape covers the very bottom of the petals. Stay up for about 3 turns. Work your way down until you run out of tape.

how to use floral tape
make paper flowers
easy paper flowers
tissue paper flowers

Step 13: Finish wrapping up the stem with floral tape.

Cut a 16″ long piece of tape, start where you ended, and work your way down. Maintain a sharp angle and moderate tension.

paper flower DIY

This is it
You made it! 

crepe streamer paper flower tutorial

Try to make another crepe paper flower, you will be an expert in no time. For variety,  you can try different color crepe paper rolls. You can also paint the spun cotton balls.

I hope you enjoyed this tutorial and found some inspiration for your next projects. As usual, do not hesitate to get in touch if you have any questions.

Crepe Paper Flowers – same technique, more project ideas:

Posted on Leave a comment

How to make Vintage Easter Rabbit and Chicken Ornaments – DIY Crafts

Vintage Easter Ornaments DIY Chicken Rabbit

Follow our tutorial and learn how you can make Vintage Style Easter Ornaments from spun cotton balls and colored card stock.

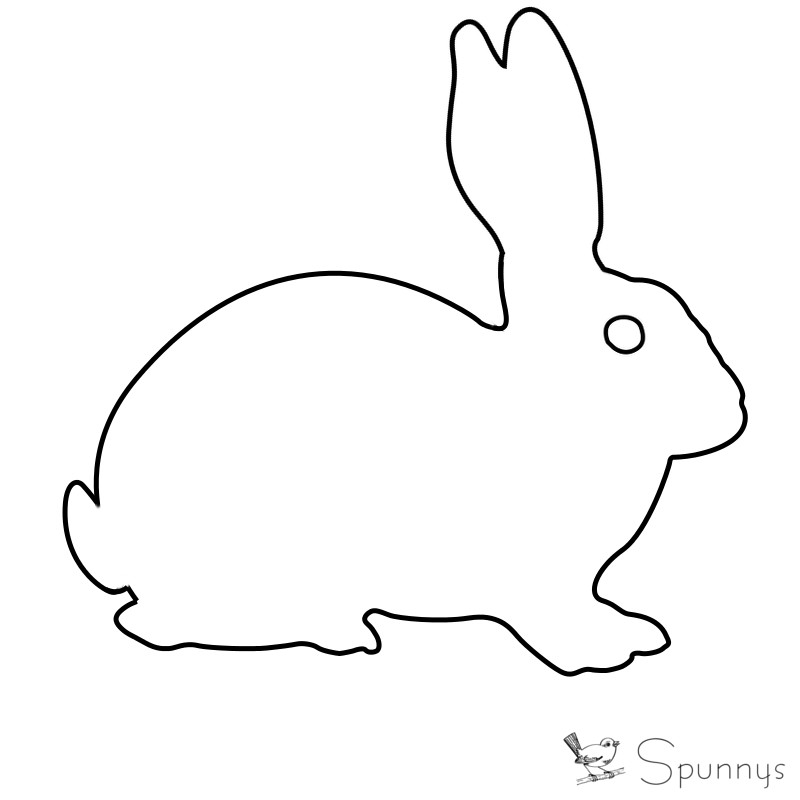
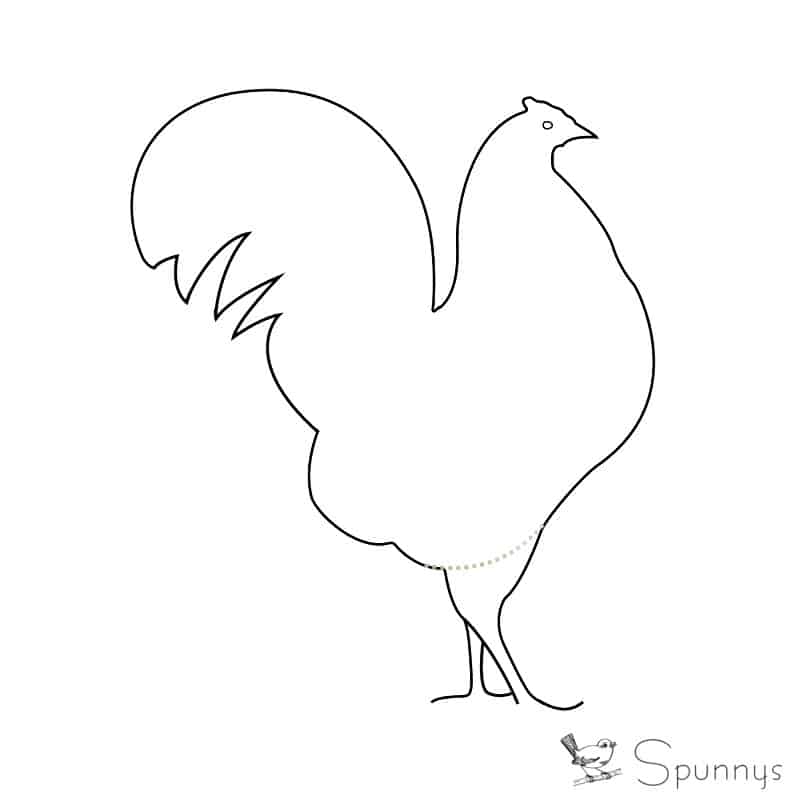
The templates for the bunny and chicken silhouettes can be downloaded below.

PROJECT MATERIALS

  • Colored stock paper or cardboard (make sure the two sides are colored).
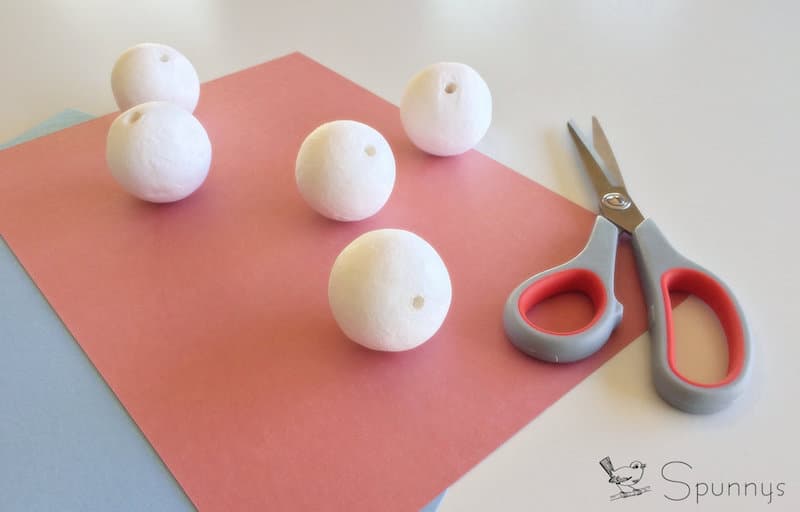
  • 40mm spun cotton balls. The downloadable silhouette templates below are just the right size to work with 40mm balls.
  • A good pair of sharp scissors
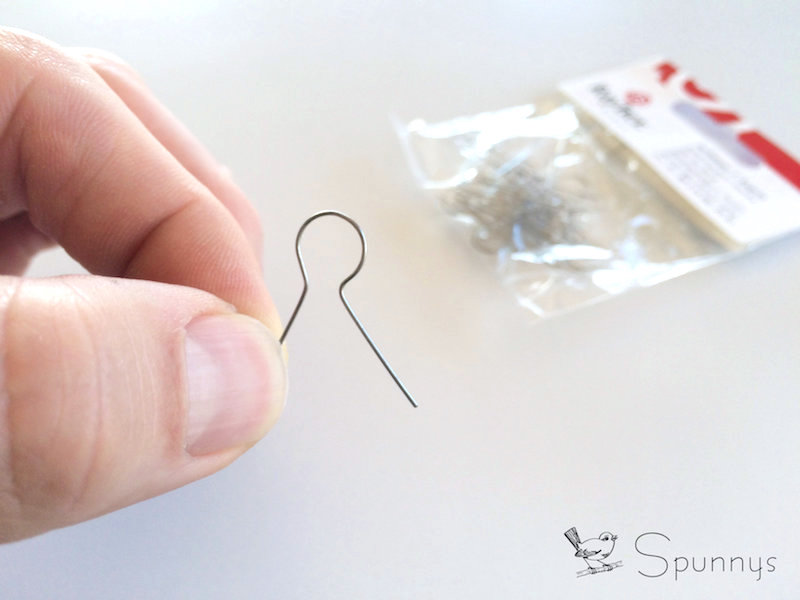
  • A pack of Christmas ornament hooks (see picture below). You could also make your own with small gauge metal wire.
  • A few pieces of colored ribbon
  • Paint and paintbrush.
  • A glue gun or tacky glue.
  • A rubber band.
  • A bread knife.

STEP BY STEP TUTORIAL

Step 1: Gather all your materials

spun cotton balls 40mm

40mm diameter spun cotton balls

Spun cotton ball ornament hook

A pack of hooks

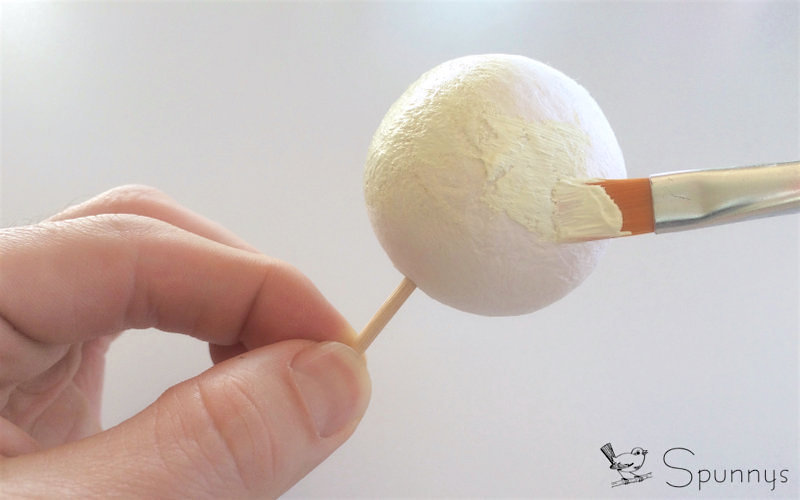
Step 2: Paint the spun cotton balls. We created our own off-white color by mixing a little bit of yellow paint into white paint.

Ball ornament DIY

A toothpick comes in handy to hold the balls. 

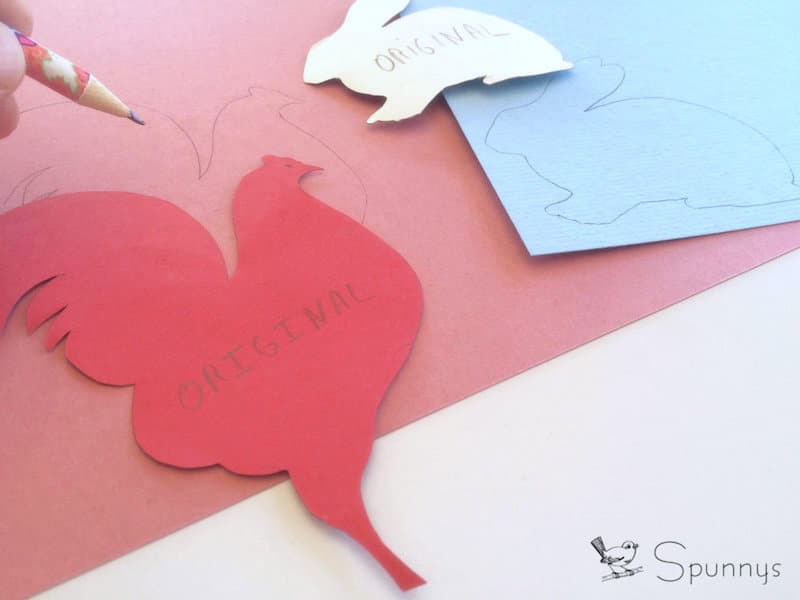
Step 3: Outline the chicken and rabbit silhouettes onto the colored stock paper (you can download our silhouettes or create your own). Once the silhouettes are outlined, carefully cut them out with the pair of scissors.

vintage Easter ornaments handmade

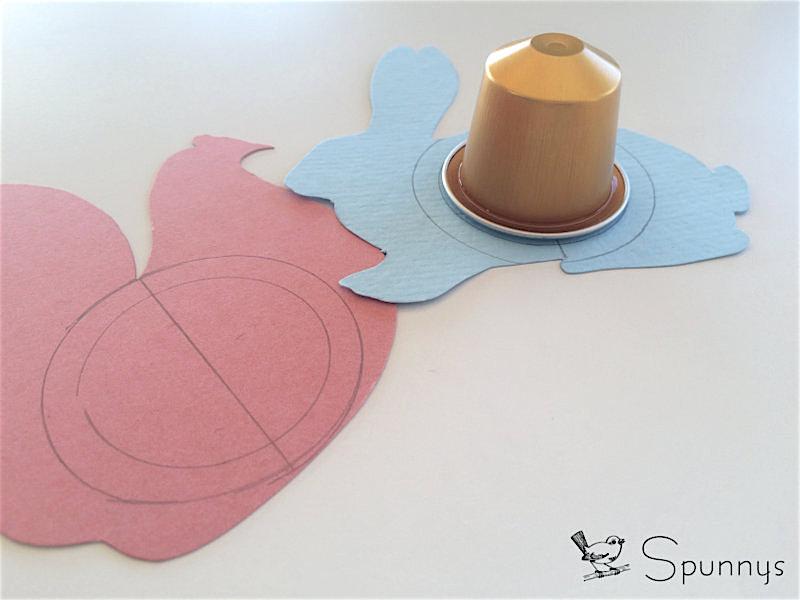
Step 4: Draw ø 40 mm circles on the silhouettes to mark where the balls will ultimately be positioned. Then draw a second smaller circle within the larger circles. Finally draw a vertical line in the middle of your circles.

How to make Easter ornaments

You can use a coffee pod to draw the inner circles.

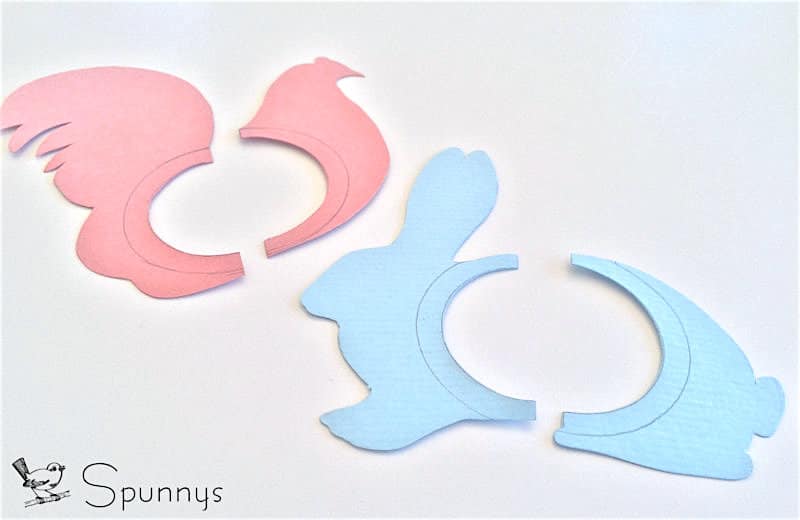
Step 5: Cut each silhouette in half. Then cut out the inside part of the inner circles.

Chicken and rabbit ornaments DIY

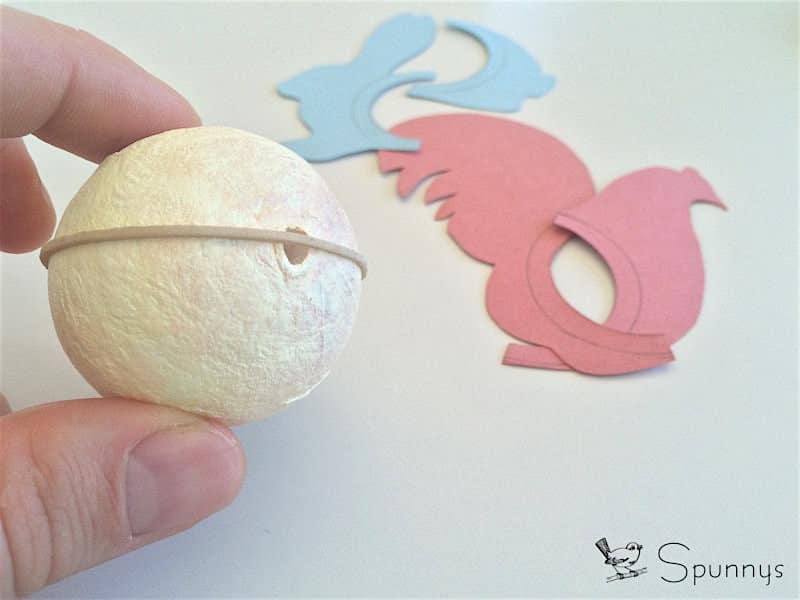
Step 6: Tie a rubber band around a ball so as to create two identical halves. Draw a pencil line along the rubber band, remove the rubber band, and with the bread knife, make a quarter inch incision along the line.

Repeat with the other ball.

Easter ornaments tutorial

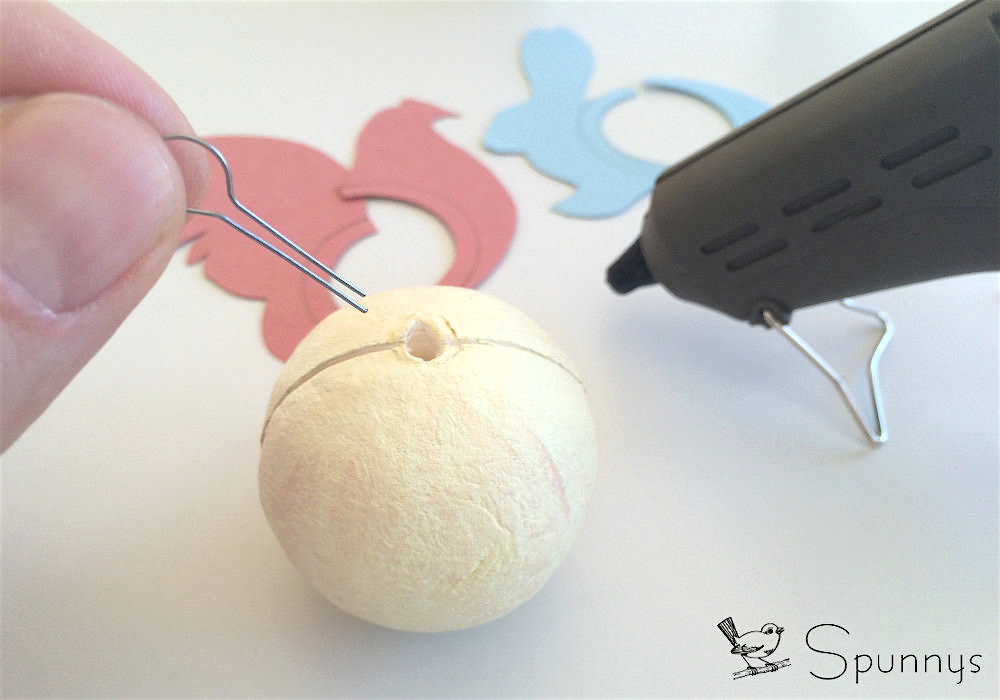
Step 7: Pour a little glue in the holes and insert the metal loops. Hold the loops in position for about 15-30 seconds until the glue is dry. If you are using tacky glue, you will have to wait a couple hours for the glue to dry.

Easter ornaments to make

You can re-shape the metal loops a little bit so that they are easier to insert in the holes. 

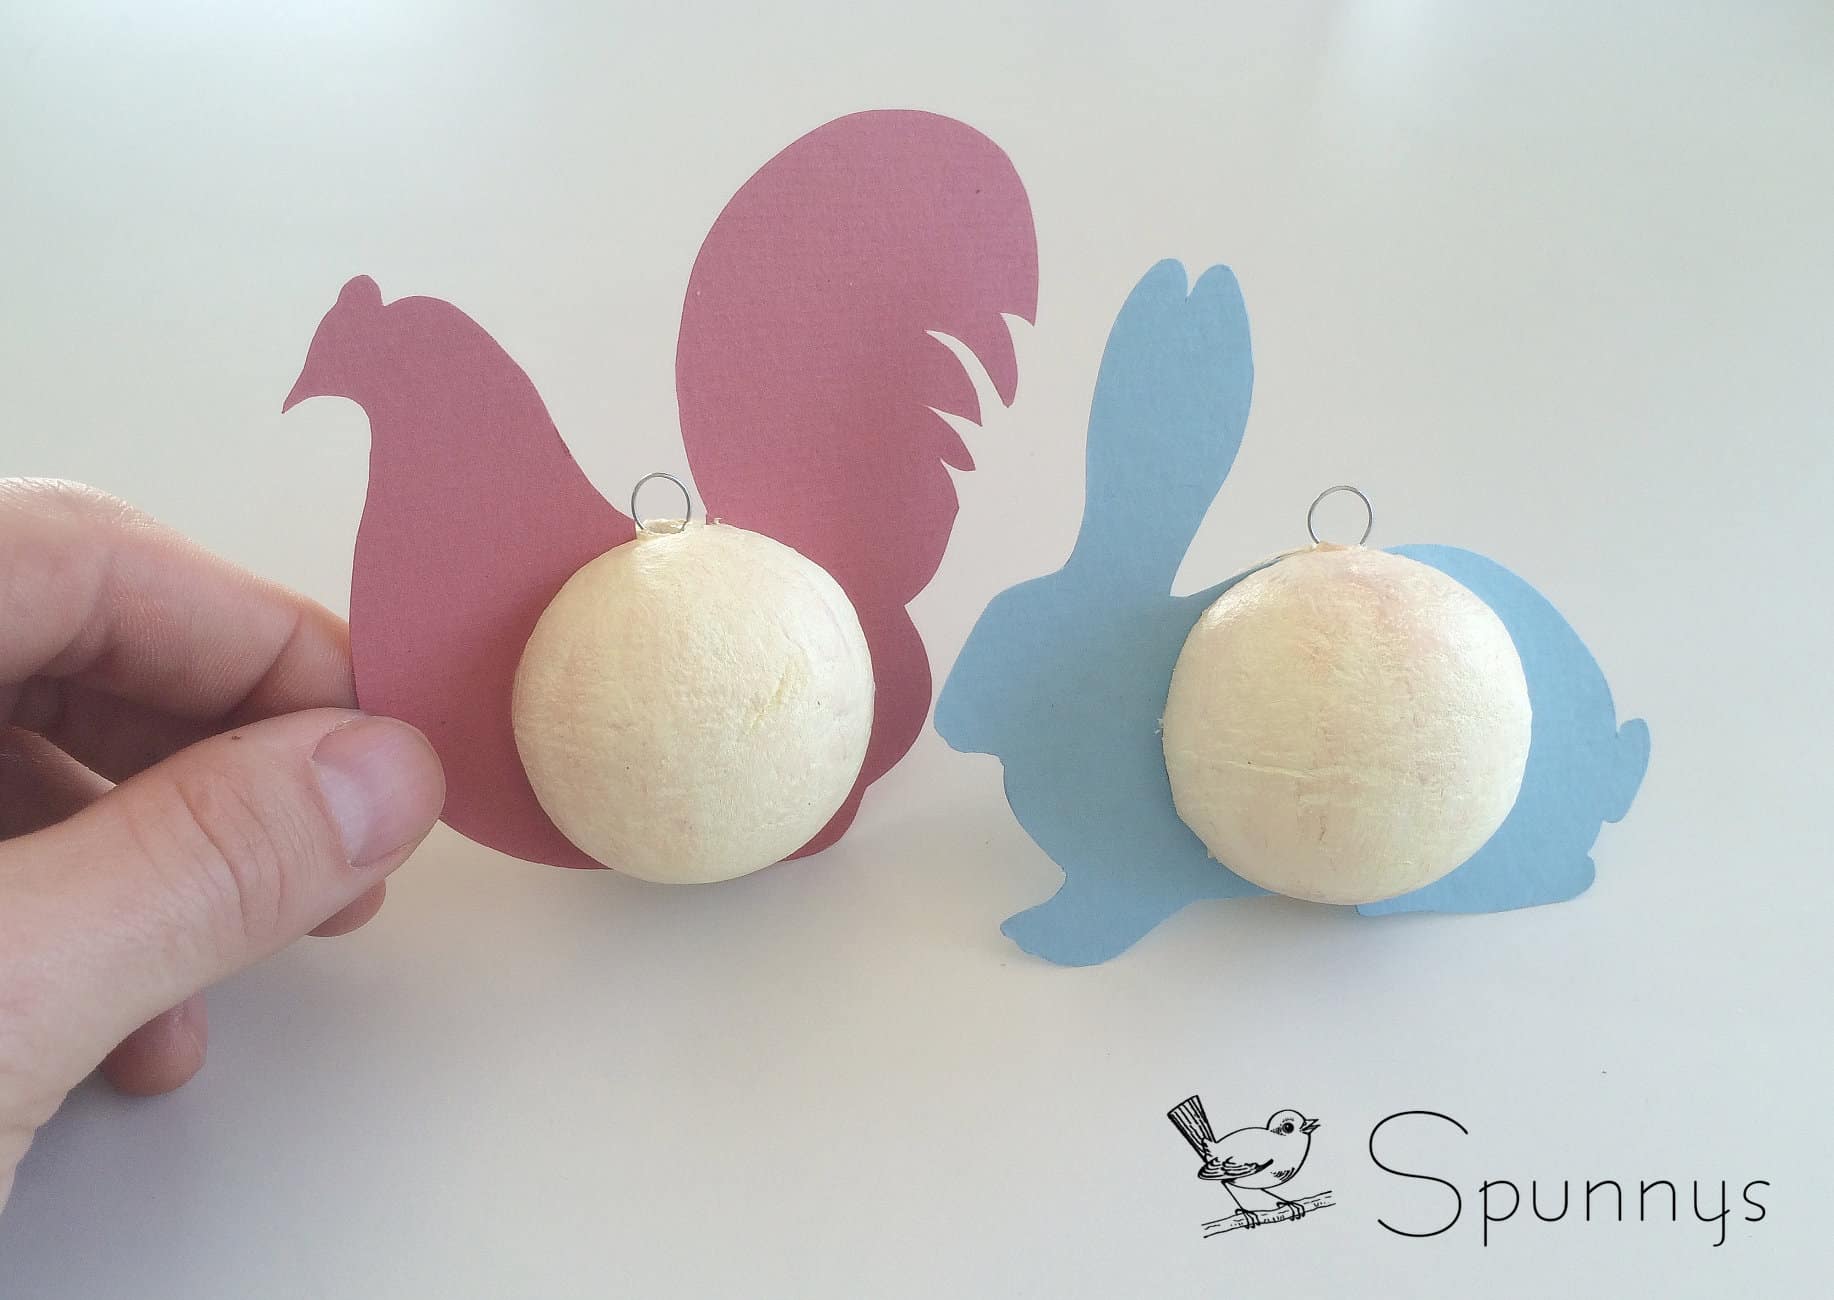
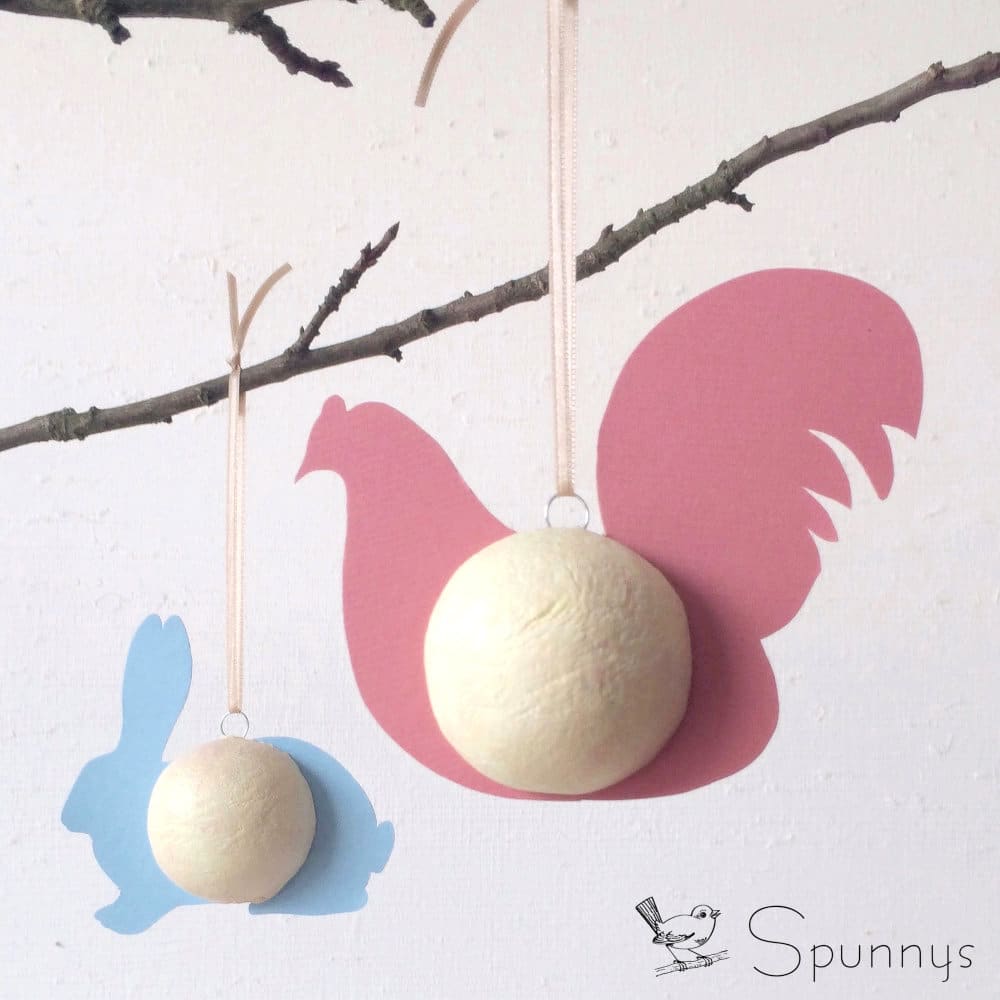
Step 8: Simply slide the cardboard silhouettes into the incisions.

Vintage Easter ornaments DIY craft ideas chicken rabbit

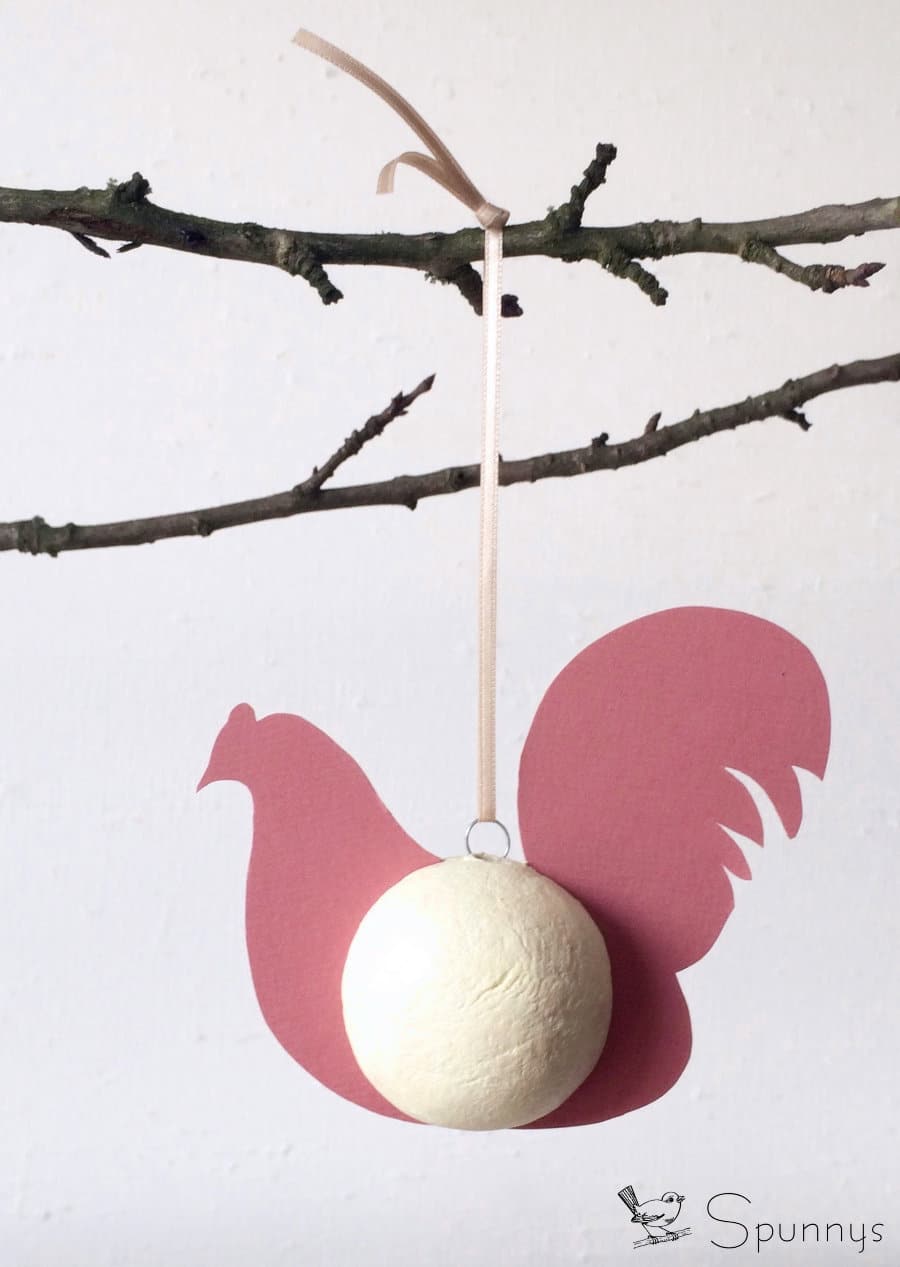
Step 9: Use little pieces of ribbon to hang your finished ornaments.

Vintage Chicken ornament spun cotton DIY

You are done :)

I hope you enjoyed this tutorial and and as usual, do not hesitate to send us your questions or use the comment fields below.

Posted on 4 Comments

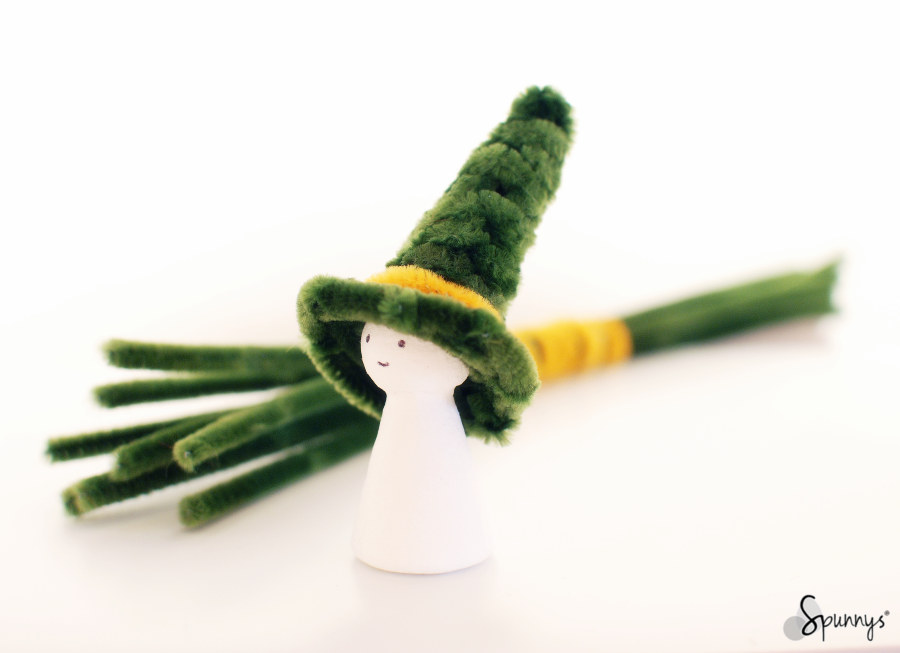
Miniature Pipe Cleaner Hats – Easy DIY Tutorial for Crafts & Ornaments

miniature pipe cleaner hats DIY tutorial

Looking for a fun and creative craft project? In this step-by-step DIY tutorial, you’ll learn how to make miniature pipe cleaner hats using simple materials and an easy weaving technique.

With just a little practice, you can create beautiful mini hats in about 5 minutes each — perfect for:

  • Peg dolls and figurines
  • Holiday decorations
  • Miniature ornaments
  • Gnomes, elves, and craft characters

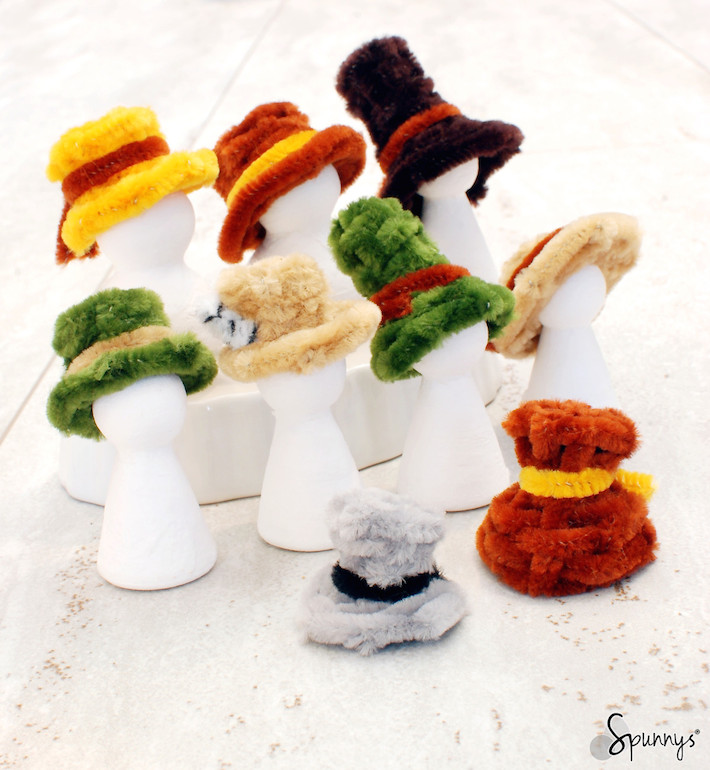
Once you master the basic technique, you’ll be able to make many different hat styles for all seasons and themes.

One Simple Technique – Endless Hat Styles.

Using this easy pipe cleaner weaving method, you can create:

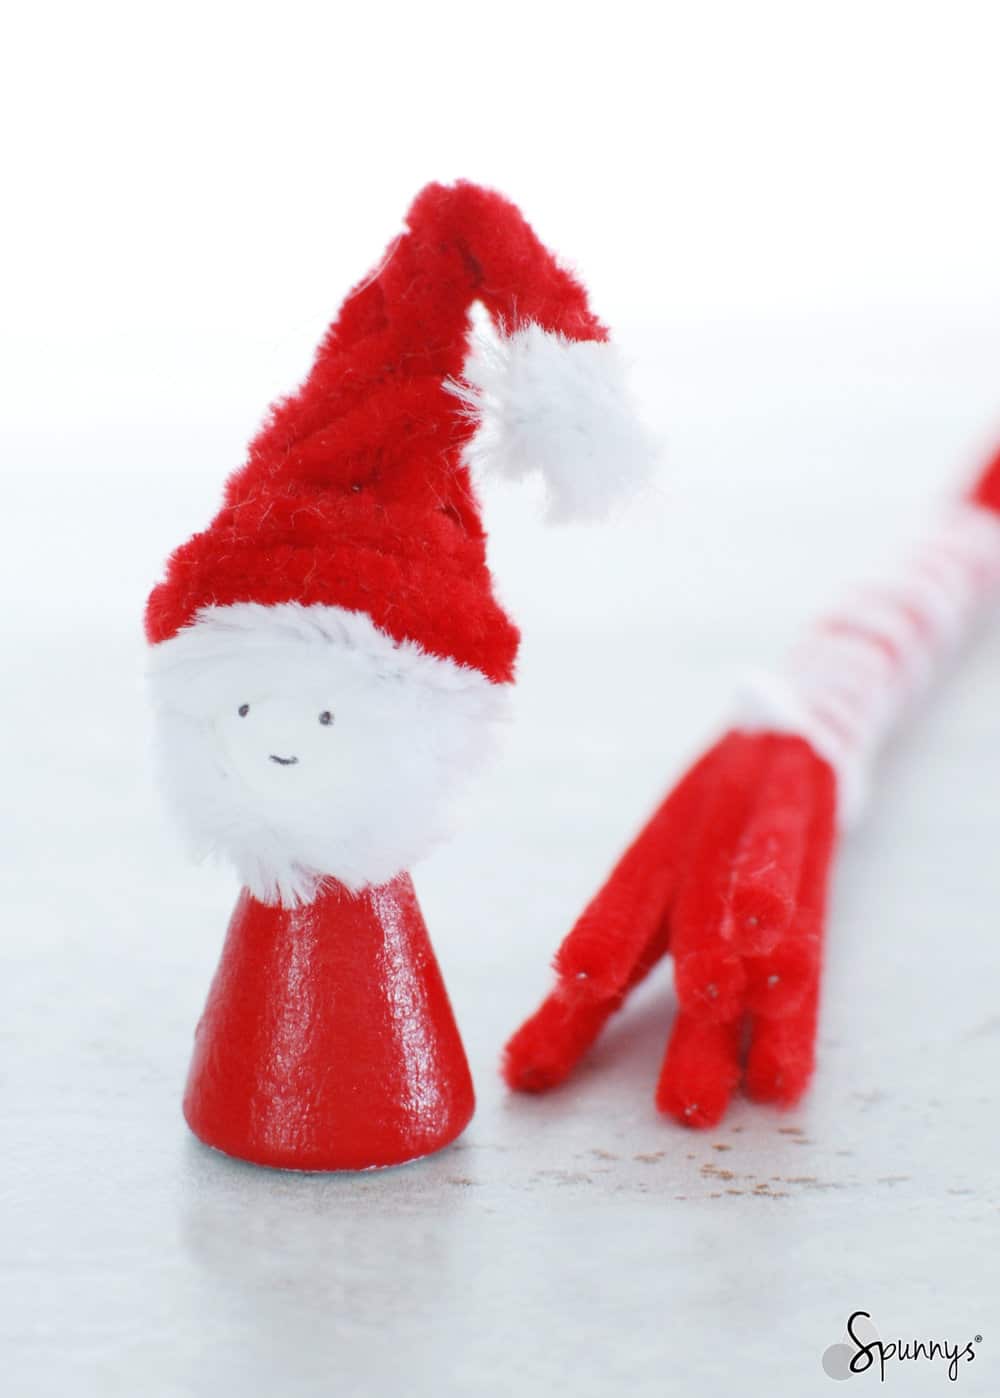
🎅 Santa hats
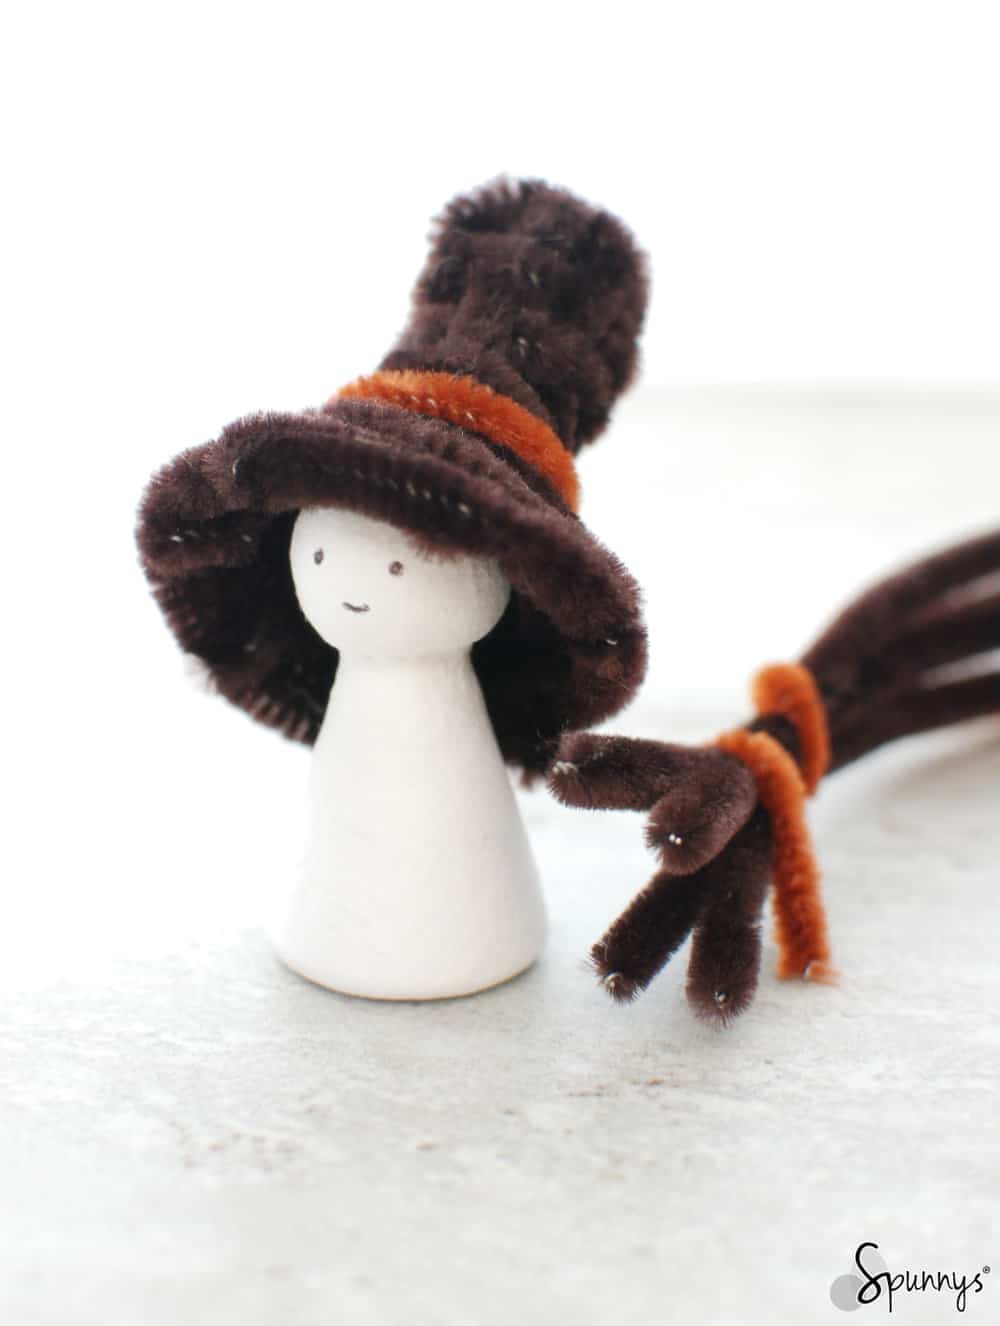
🧙 Wizard hats
🍀 Leprechaun hats
🎩 Mini top hats
☀️ Sun hats
🧢 Beanie hats
👒 Cloche hats
🚣 Boater hats
…and many more creative designs!

Just adjust the crown height, brim width, and shape to customize each miniature hat.

pipe cleaner hats minis miniature ornaments DIY

Materials Needed for Mini Pipe Cleaner Hats

Each miniature hat requires:

  • 4 to 5 pipe cleaners (chenille stems)
  • Wire cutters
  • Pliers

That’s it — no glue or extra supplies needed!

Choosing Your Pipe Cleaners

You can use many different types of pipe cleaners, such as:

  • Regular pipe cleaners
  • Plush or fuzzy pipe cleaners
  • Glitter pipe cleaners
  • Bump pipe cleaners
  • Narrow or wide stems

For this tutorial, we used standard pipe cleaners (12 inches long, about 6 mm wide).

Pipe cleaners are inexpensive and great for experimenting with colors, textures, and patterns.

Step-by-Step Miniature Pipe Cleaner Hat Tutorial

To illustrate the technique, we are going to make a simple hat. You can then modify this basic technique to make different styles of hats.

Step 1: Gather Your Pipe Cleaners

Start with 5 full-length pipe cleaners.


Step 2: Cut Two in Half

Cut 2 pipe cleaners in half, leaving you with:

  • 4 half-length strands
  • 3 full-length strands

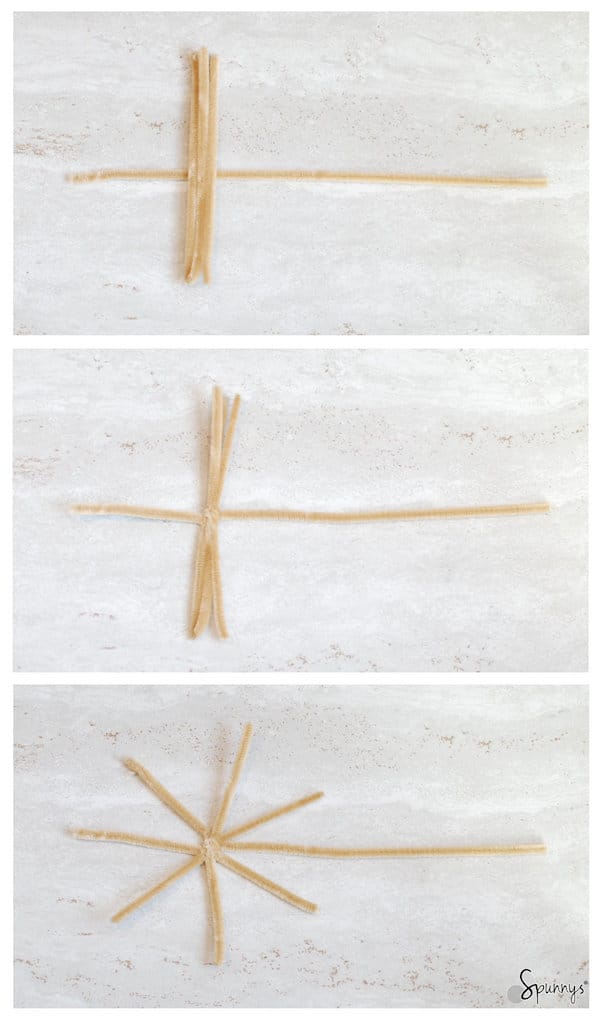
Step 3: Build the Hat Frame

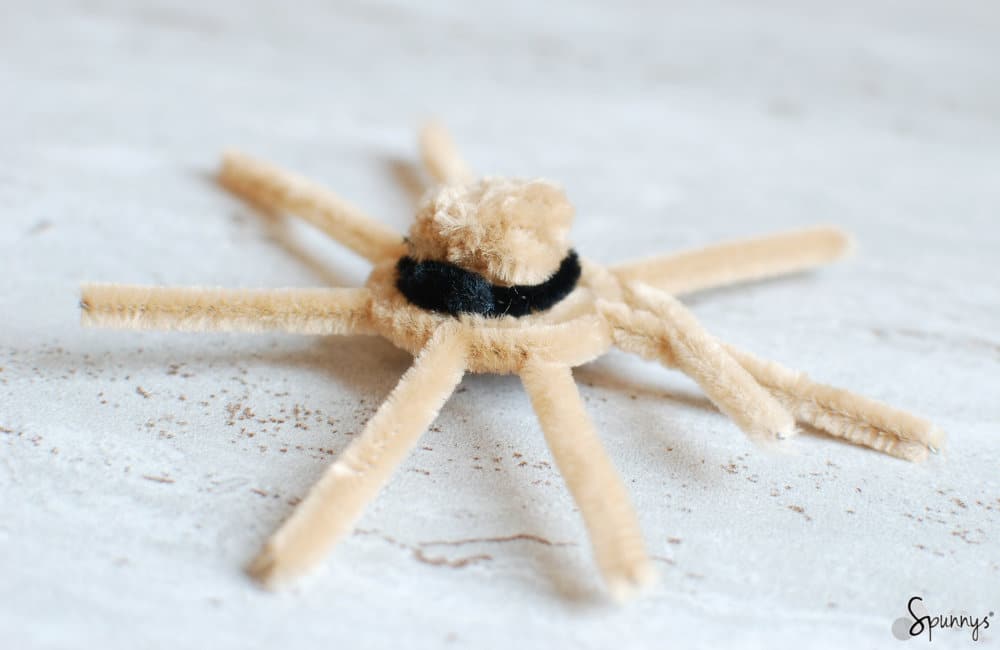
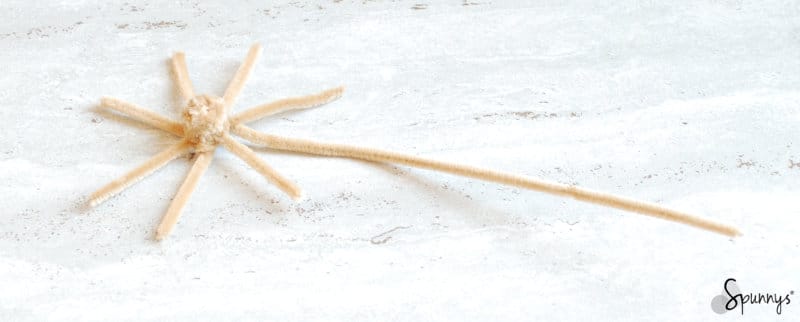
You’ll create a 7-arm star shape, plus one long weaving strand.

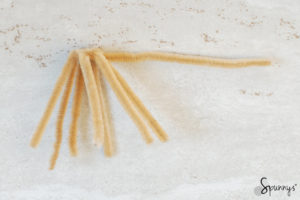
  1. Lay three half strands perpendicular across one full strand
  2. Wrap the full strand tightly around the center
  3. Pull to secure
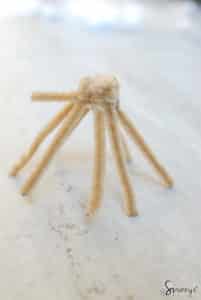
  4. Spread the strands evenly to form a star

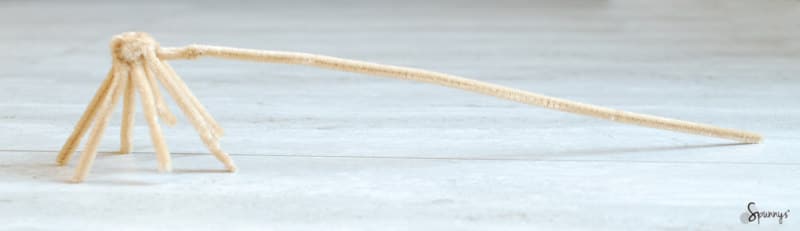
This star shape is the base frame of your hat.
The extra long strand will be used to weave the hat.

chenille stem hat DIY

Step 4: Weave the Crown of the Hat

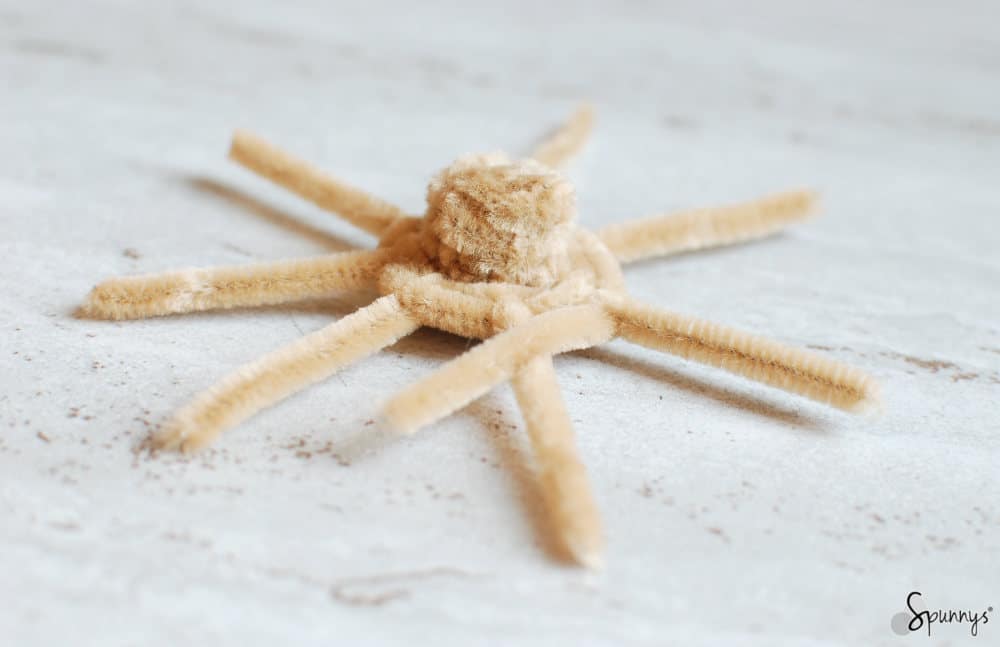
Take the long strand and begin wrapping it clockwise around the center:

  • Go over one strand, then under the next
  • Continue alternating over and under as you circle

After a few rounds, you’ll form a small woven disc — this is the top of the crown.

pipe cleaner hat crown 1

Once the disc is formed:

✔ Bend the 7 arms downward
✔ Continue weaving around them to build the height of the crown

pipe cleaner hat crown 2
pipe cleaner hat crown 3

When you reach the end of a pipe cleaner, simply twist on a new one and continue weaving.

pipe cleaner hat crown 4

Step 5: Weave the Brim

When the crown is the height you like:

  1. Bend the frame arms outward
  2. Continue weaving using the same over-and-under pattern

This creates the brim of the hat.

pipe cleaner hat brim 1

Finishing Touch

Before trimming the ends:

👉 Fold all loose ends under the brim first
(This prevents metal tips from sticking out)

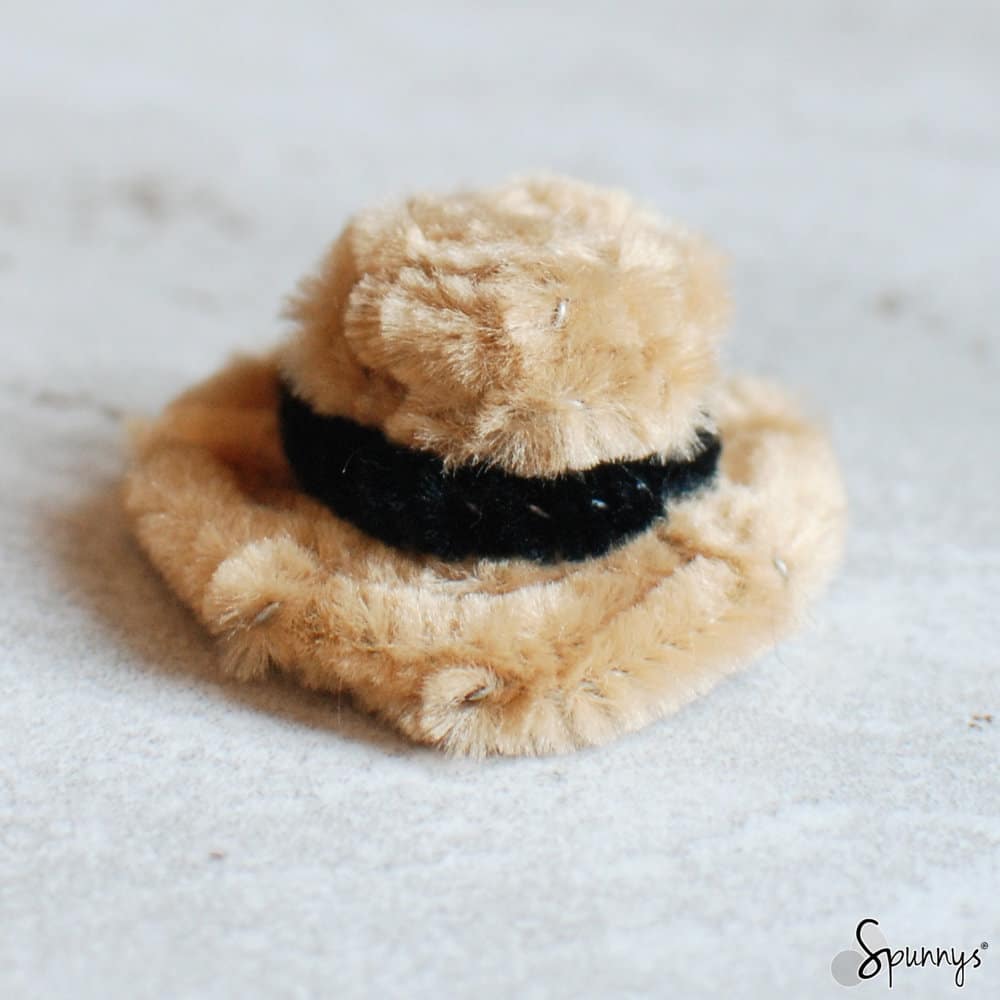
You can also add a decorative band using another pipe cleaner wrapped around the crown.

🎉 Your miniature pipe cleaner hat is complete!

Now try:

  • Taller crowns
  • Wider brims
  • Pointy hats
  • Flared shapes
  • Mixing pipe cleaner textures

Take Your Mini Hats Further with Craft Shapes & Decorations


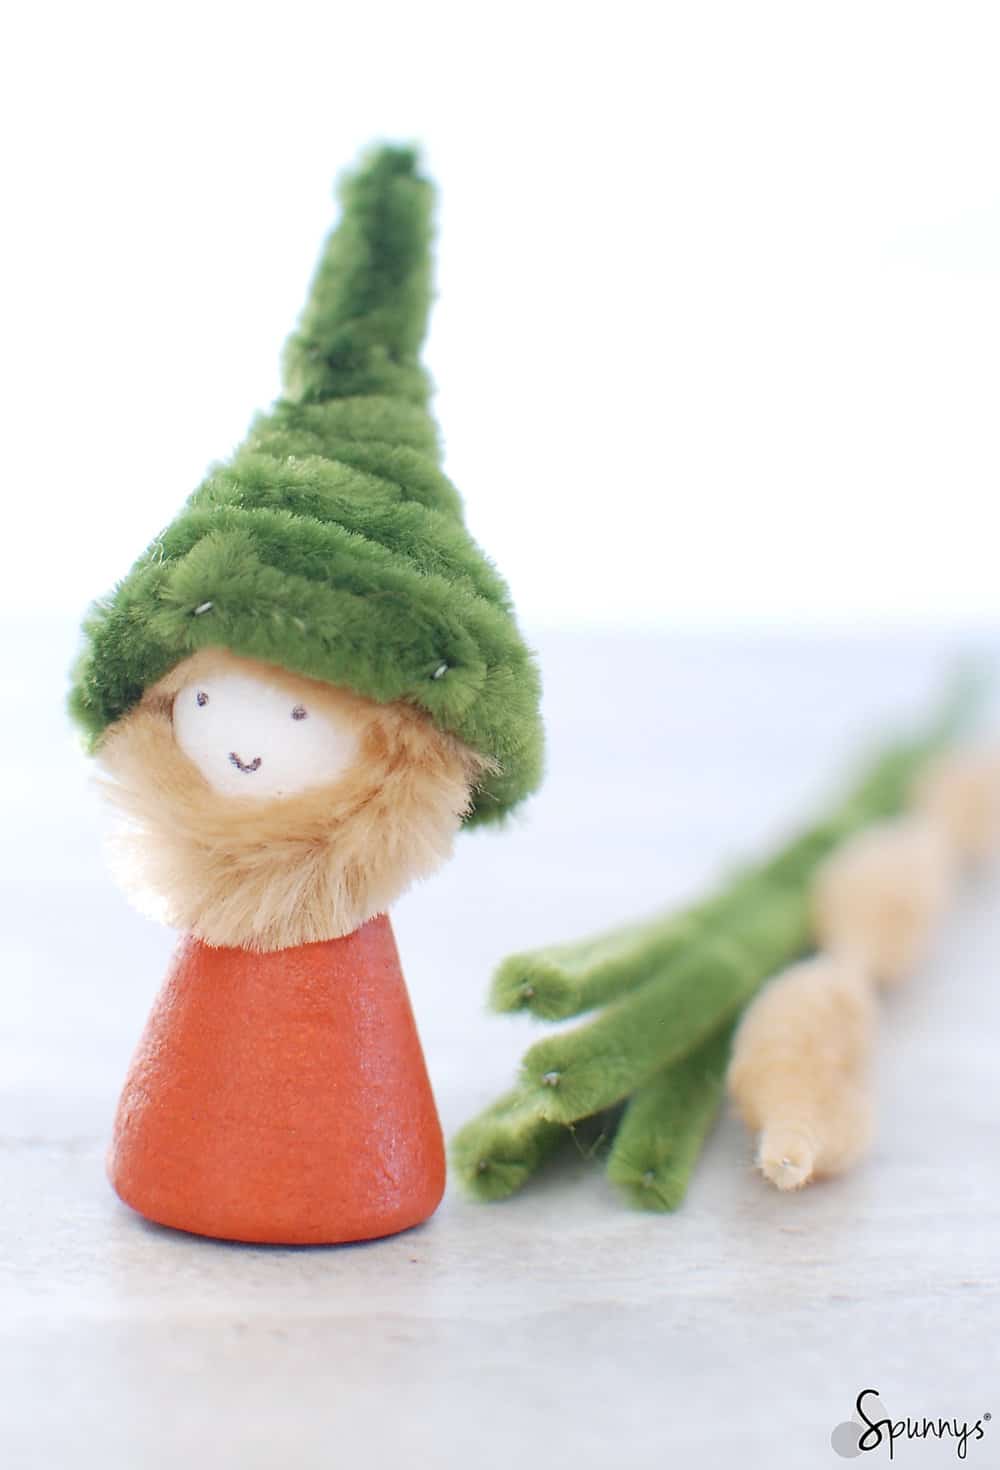
Spun cotton head happy face one inch with hat
Spun cotton head 1 with hat

Mini pipe cleaner hats look even better when paired with:

  • Peg dolls and figurines
  • Spun paper balls for heads and ornaments
  • Craft shapes for characters, gnomes, and holiday décor

Using lightweight spun paper balls makes it easy to create:

🎄 Christmas ornaments
🎃 Halloween figures
🐰 Easter decorations
🧝 Mini gnomes and elves

They’re perfect for turning your miniature hats into full craft projects.

More Miniature Craft Ideas

Here are a few fun ways to use your mini pipe cleaner hats:

  • Santa peg doll ornaments
  • Gnome decorations
  • Mini character figurines
  • Holiday table décor
  • Handmade gifts

We hope you enjoyed this miniature pipe cleaner hat DIY tutorial!

If you have any questions, feel free to leave a comment below — we’re always happy to help.

Happy crafting!

Posted on Leave a comment

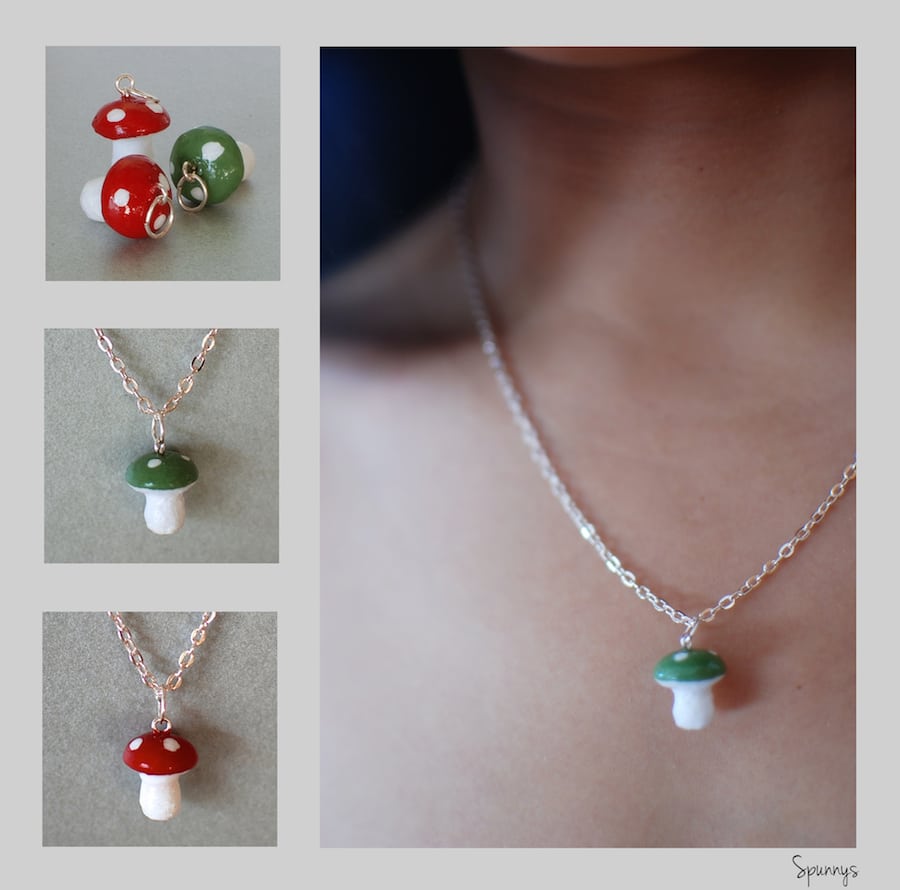
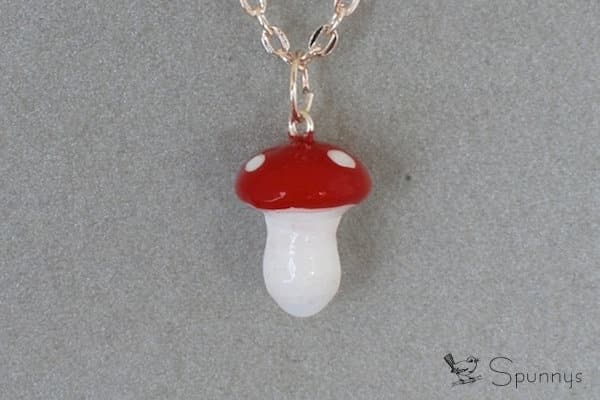
How to make mushroom necklace pendants from spun cotton mushroom blanks.

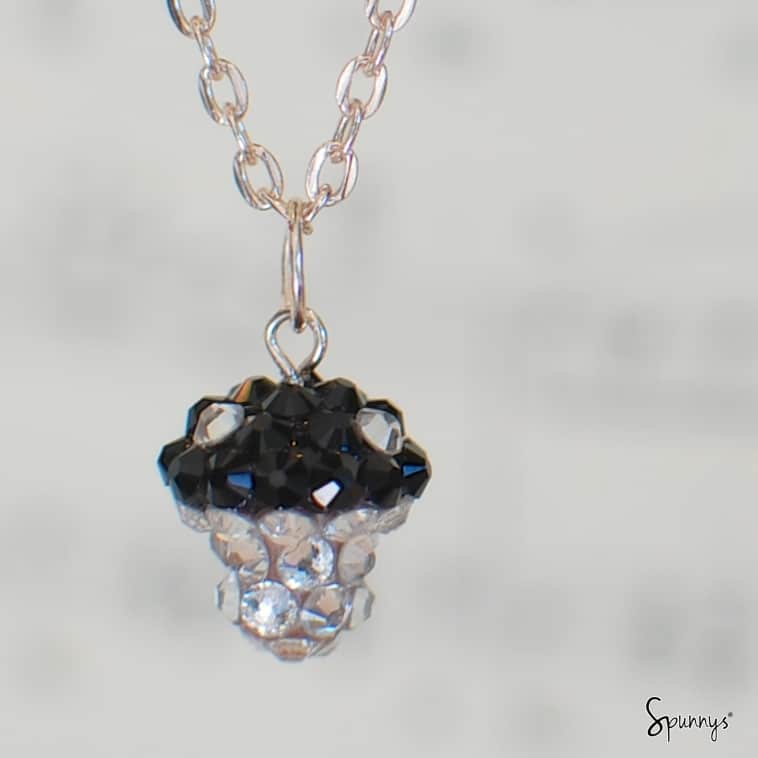
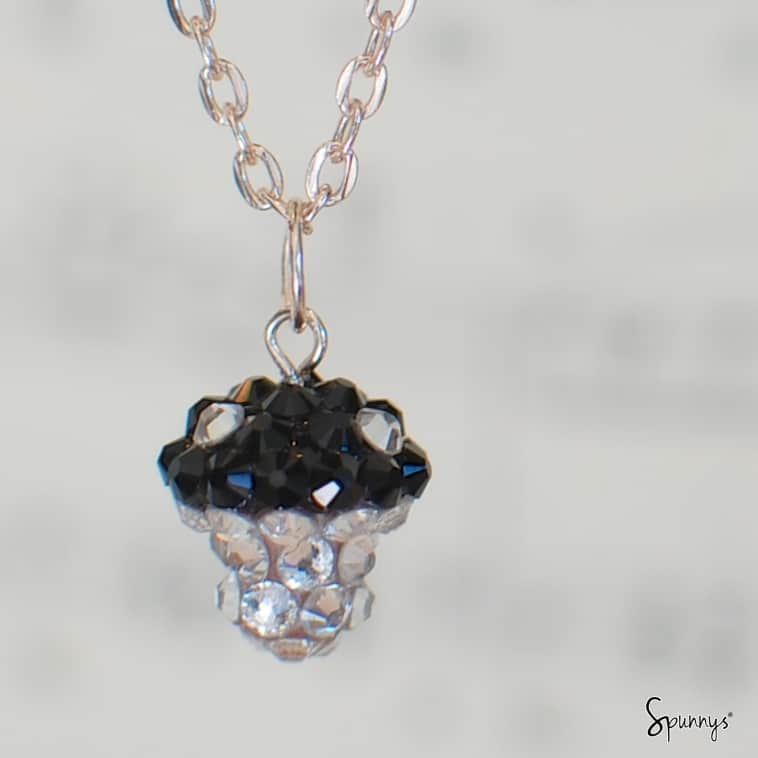
homemade Swarovski crystal encrusted mushroom pendant

Check out our tutorial and learn how you can easily make beautiful mushroom necklace pendants from Spun Cotton Mushroom blanks. 

mushroom necklace pendant tutorial

Project materials: 

– Small size Blank spun cotton mushrooms.
– Your choice of acrylic paint colors (any paint that works on paper will also work on spun cotton).
– A high gloss varnish.
– A few jewelry eye pins.
– A jewelry plier set (flat nose, round nose and side cutters). You could get away with just a pair of wire cutters.
– A few toothpicks or bamboo skewers.
– A safety pin.

Step by Step Directions: 

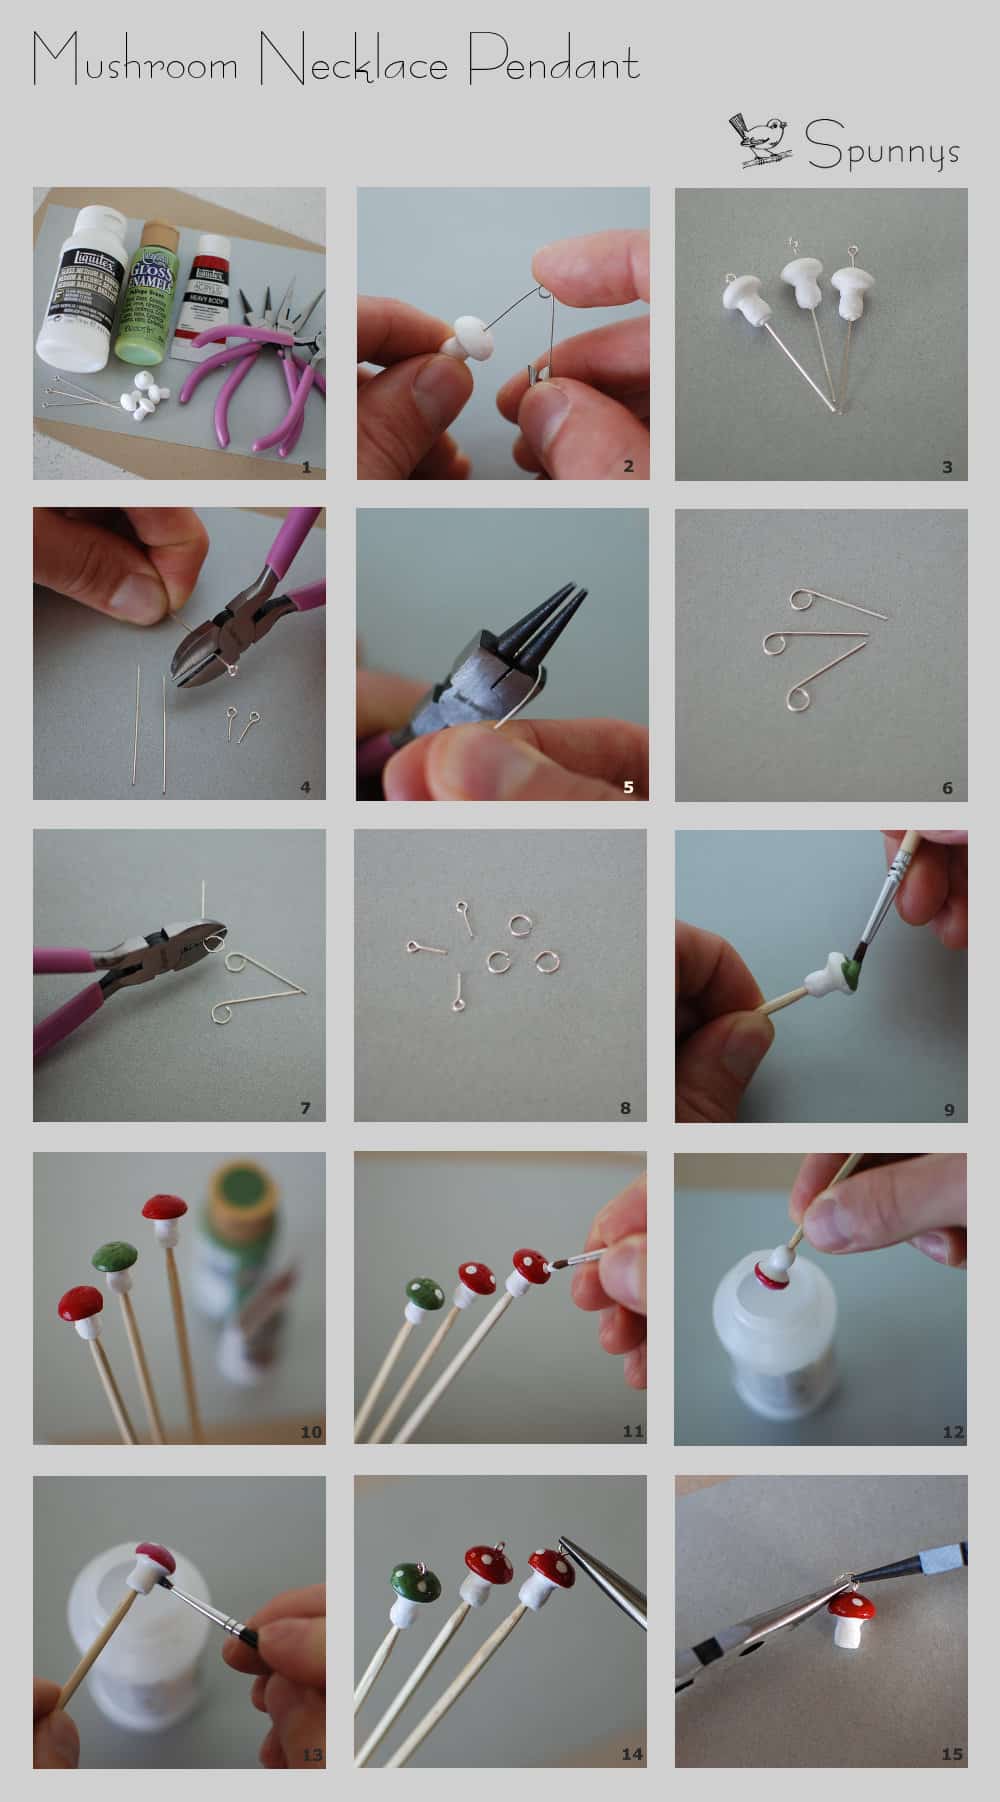
Below is a detailed pictorial followed by written instructions.

mushroom necklace pendant DIY pictures

1/ Gather all your materials.

2/ With a safety pin, pierce the mushrooms from one end to the other.

3/ Slide the eye pins in the holes you just made to make sure they fit.

4/ With the wire cutter, shorten your eye pins. They need to be a little shorter than the mushrooms.

5 to 7/ Grab the cut-off portions of your eye pins. With the round nose plier, make little loops and cut them loose.

8/ Make sure you have all the hardware you need. For 3 mushrooms, you need 3 shortened eye pins and 3 little loops.

9 and 10/ Paint the caps of your mushrooms. I like to use a bamboo skewer to hold the mushrooms while I paint them. The skewers also double as neat resting stands.

11/ When the paint is dry, paint little white dots on each mushrooms.

12 and 13/ When the dots are dry, dip each of the mushrooms into a gloss varnish all the way to the bottom of the stems.

14/ While the varnish is still wet, insert the shortened eye pins into the mushrooms caps. Push down on the pins to make sure the eye parts get in contact with the varnish. While the varnish dries, keep your mushroom as upright as possible otherwise the varnish may be thicker on one side of the cap than on the other.

15/ When the varnish is dry (it may take a few hours, maybe even an entire day depending on what varnish you used) add the little loops to each of your mushrooms. I used two pliers to open and close the loops.

16/ Tear drop finish (OPTIONAL). When you are done, you can dip the bottom of the mushroom pendant into mod podge and let it dry in an upright position. It will cover the hole at the bottom of the mushroom and give it a nice tear drop finish.

mushroom pendant DIY ornament

YOU ARE DONE! 

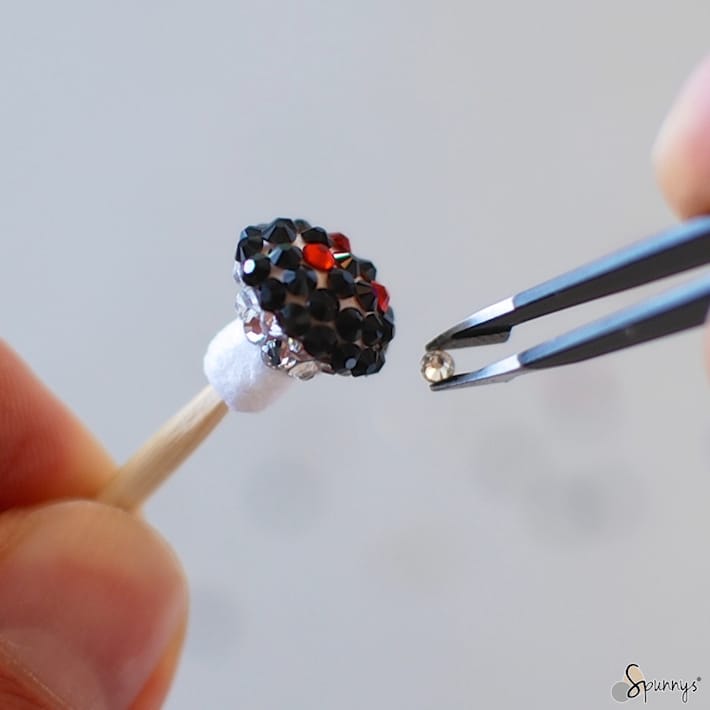
Project variation: Swarovski crystal mushroom necklace pendant. 

I hope you enjoyed this tutorial. Note that you can also use the same technique to make mushroom earrings or bracelet charms. Happy crafting and as always, let us know if you have any questions!

Posted on Leave a comment

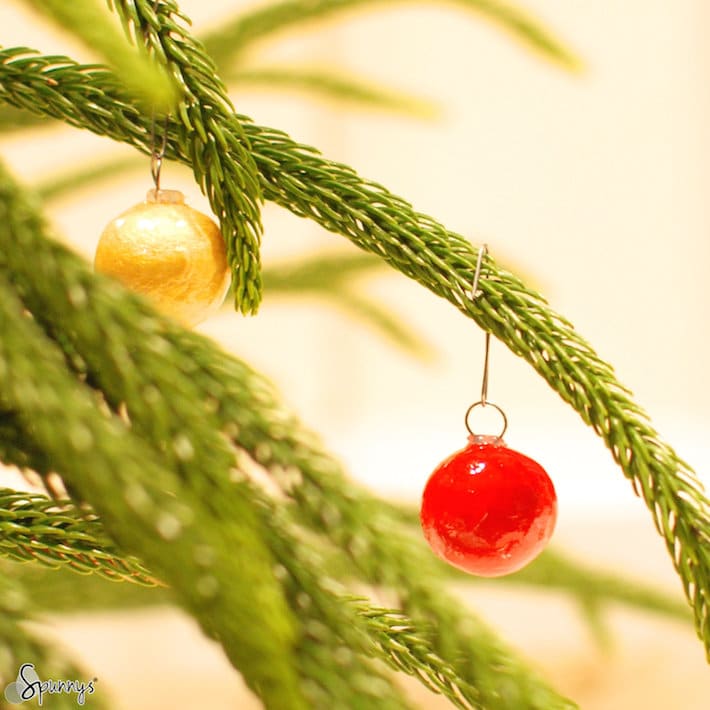
How to make mini Christmas Ball Ornaments – Holiday DIY Crafts

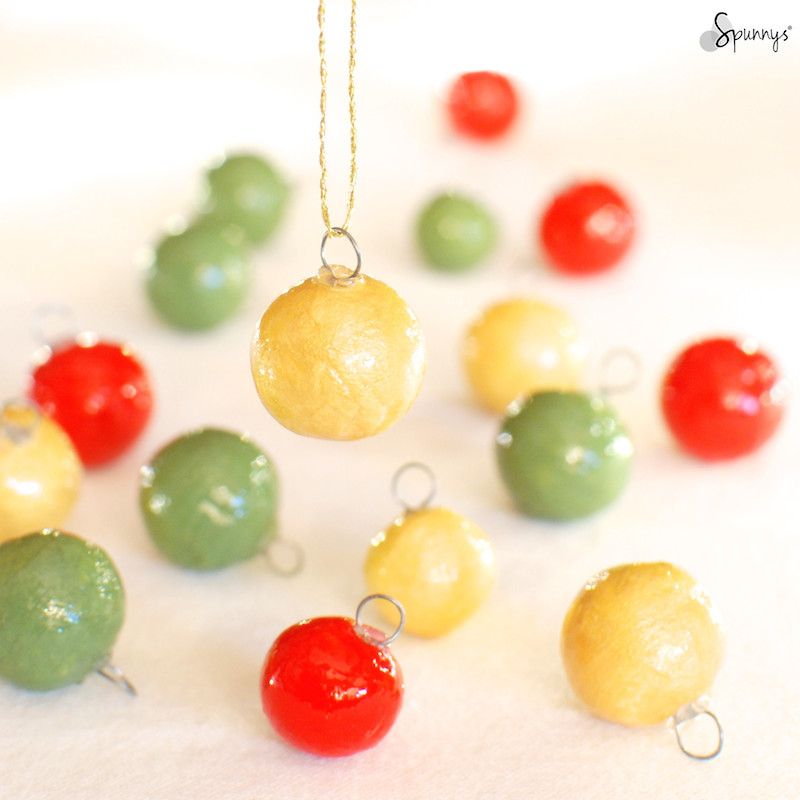
DIY mini christmas balls ornaments

Check out our tutorial and learn how you can make your own mini Christmas Ball Ornaments using spun cotton balls as lightweight / shatterproof fillers. Miniature ornaments are perfect to decorate small size Christmas trees or to make your own wreaths.

Mini Christmas Ball Ornaments Tutorial – The short version

To make one mini ball ornament, follow these three easy steps:

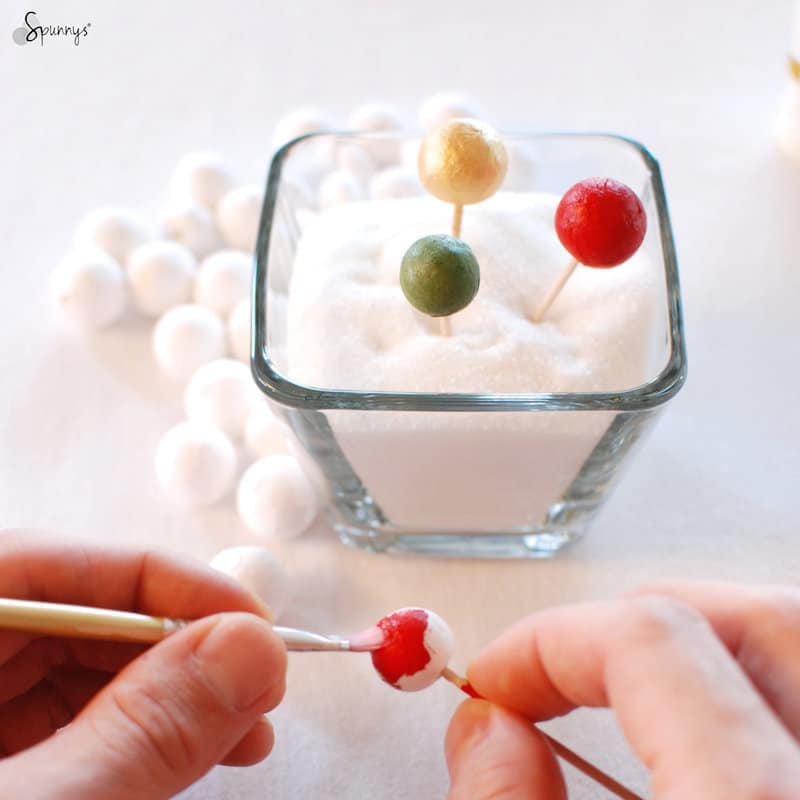
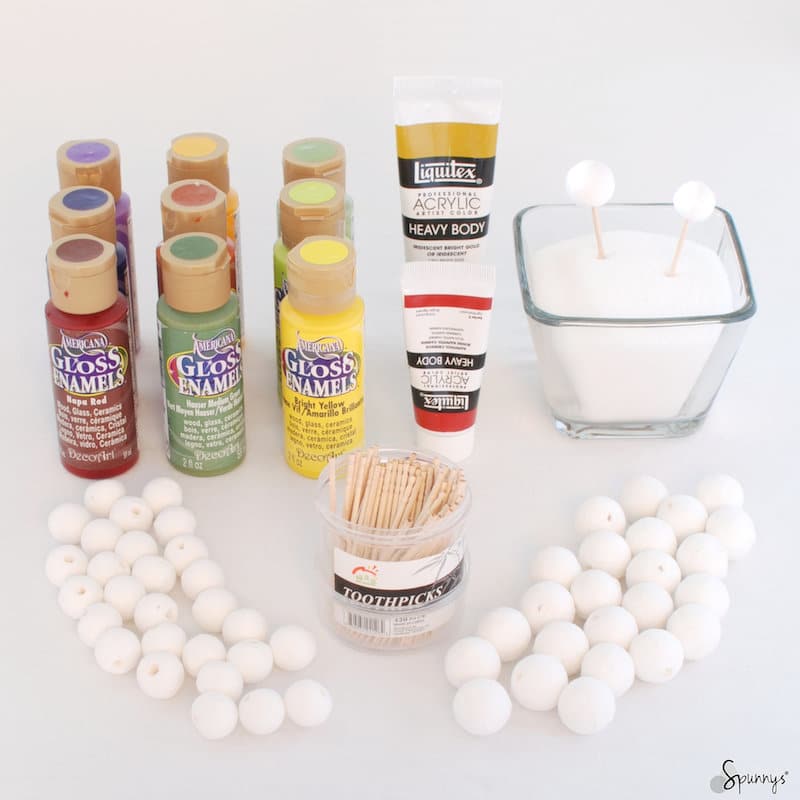
(1) Paint a spun cotton ball
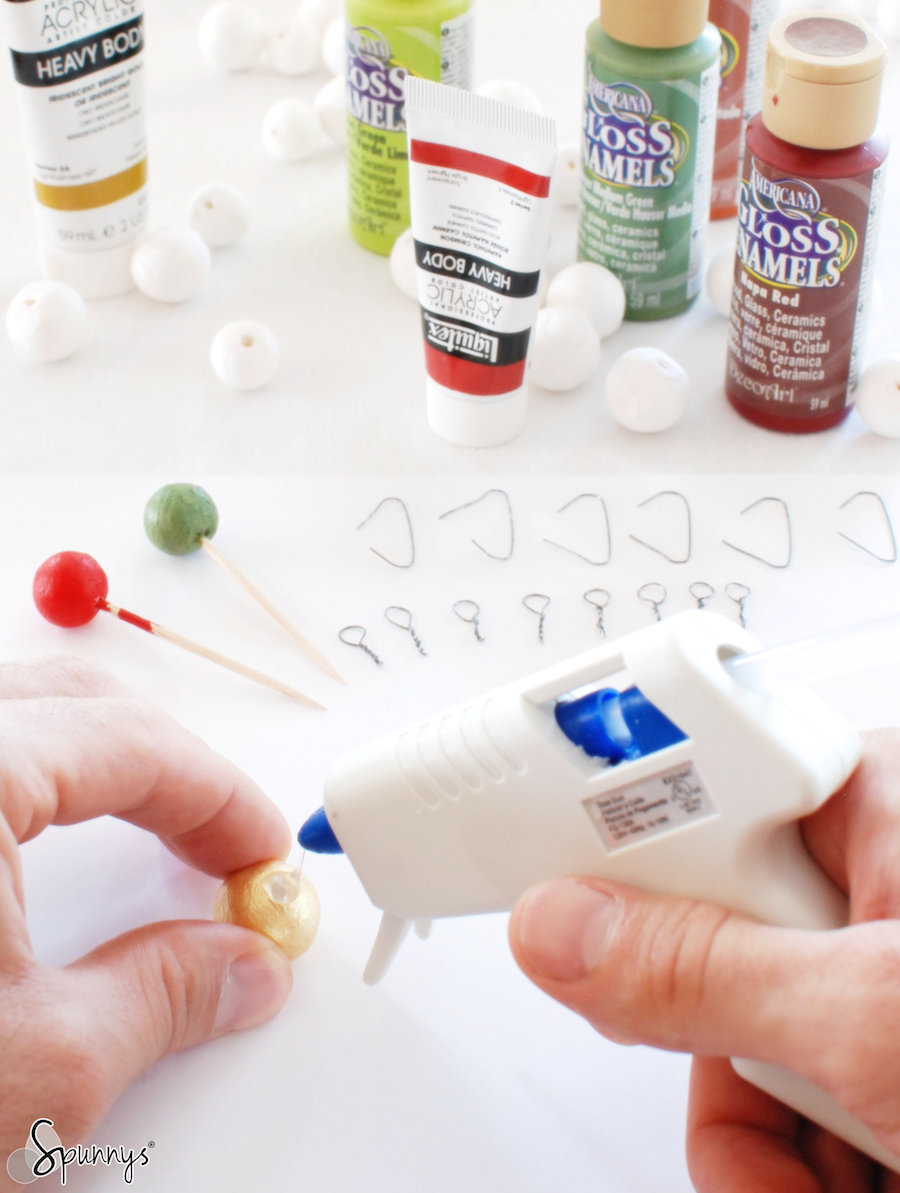
(2) Pour glue in the hole
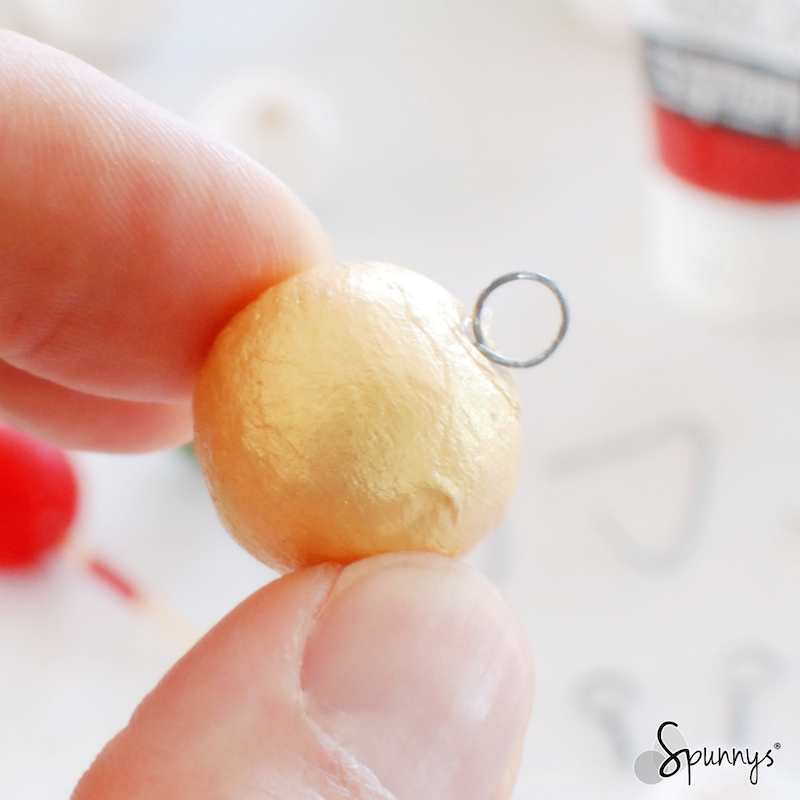
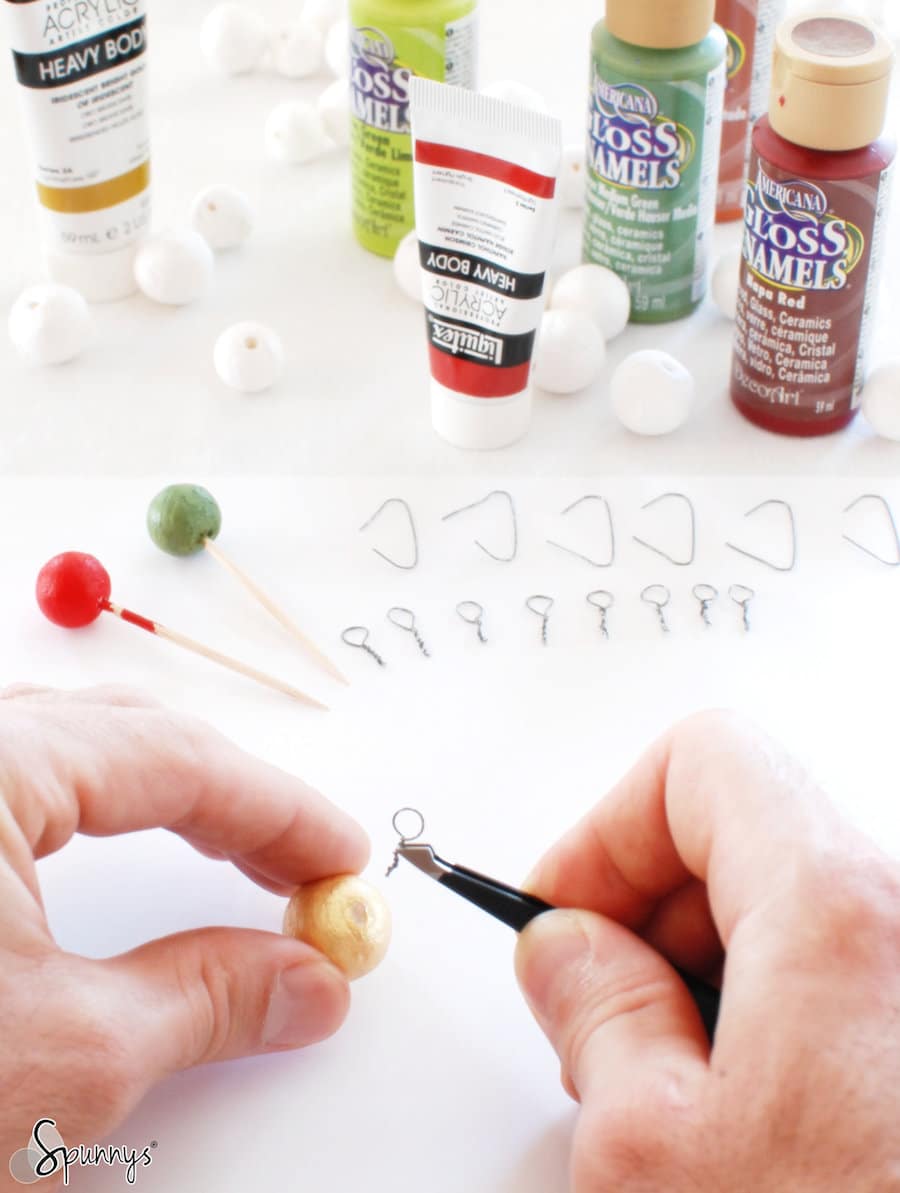
(3) Insert a metal loop.

Tutorial – The long version

Materials:

To make mini Christmas ball ornaments, you will need:

– Small gauge metal wire or a pack of ornament hooks.
– A pair of wire cutters and a pair of round nose pliers.
– 18mm and 20mm Spun cotton balls.
– Paint and a paint brushes.
– Toothpicks.
– A glue gun or some regular white craft glue.
– A glossy finish such as glossy mod podge
– OPTIONAL : glitter

1. Paint the balls.

DIY miniature christmas ball ornaments drying

Balls drying up on bamboo sticks

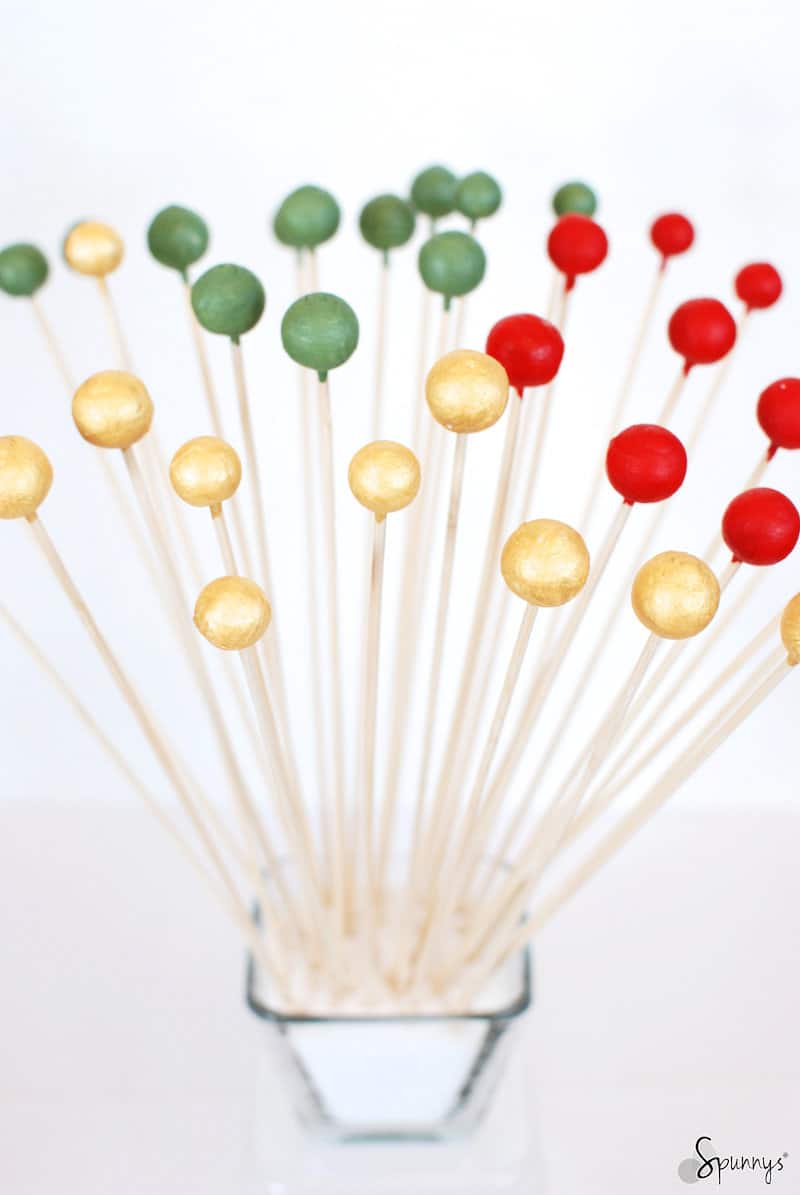
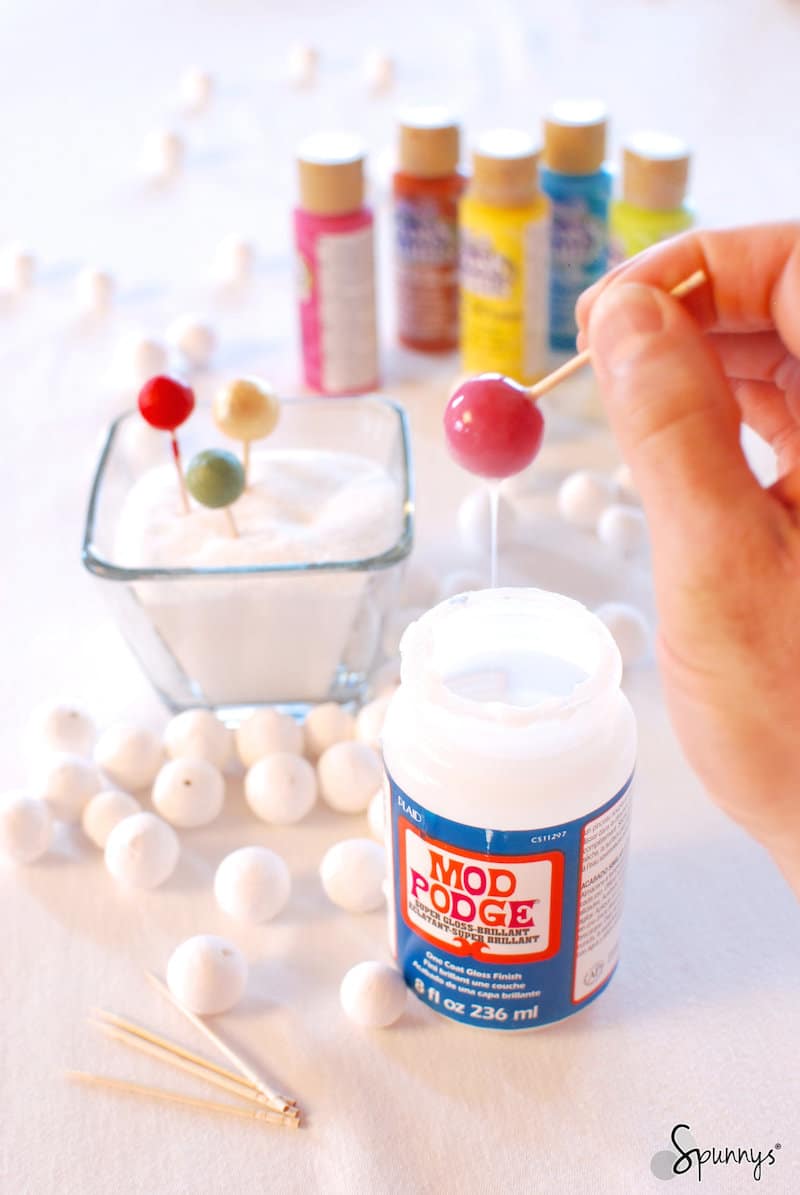
Mount the spun cotton balls on wooden picks and paint them with solid colors. Spun cotton balls are made of paper and paint very easy.

2. Add a gloss finish

For a shiny look, dip your mini Christmas ball ornaments in glossy mod podge and wait until it hardens.

3. Prepare your hanging loops:

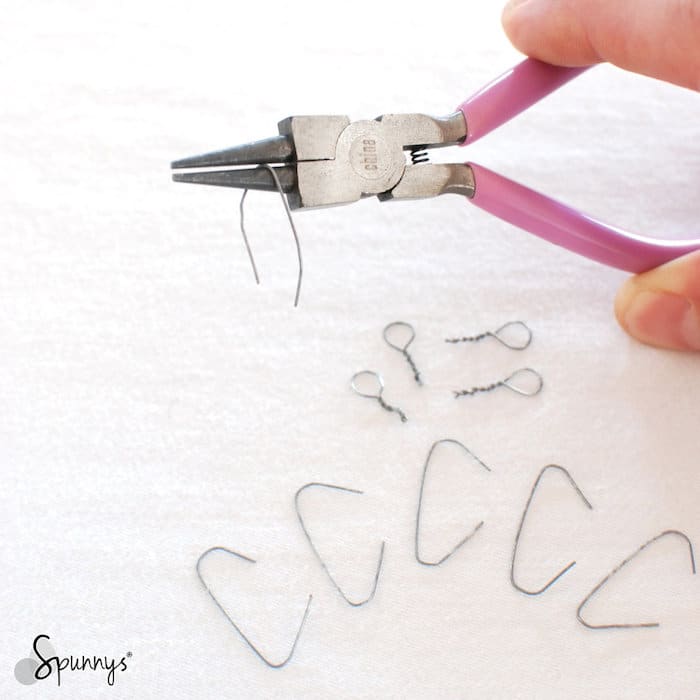
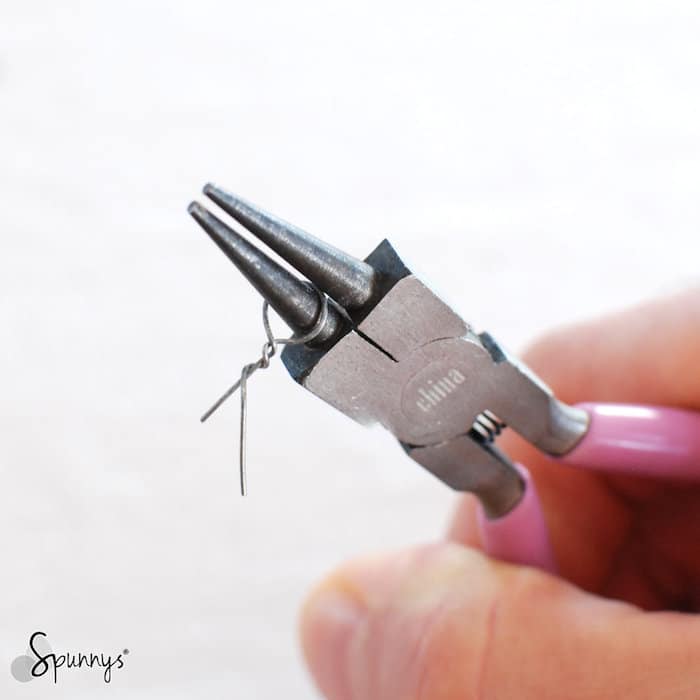
Loop short pieces of metal wire around your round nose pliers and twist the ends together. When done, cut off the excess wire with a wire cutter. If you do not have round nose pliers, you can loop wire around the handle of your painbrush to create the loop.

4. Glue the hanging loops to the balls.

You can use a glue gun or regular white craft glue. Both have pros and cons. With a glue gun, you will work a lot faster, but with regular glue, you won’t leave glue marks on top of the balls.

Pouring hot glue

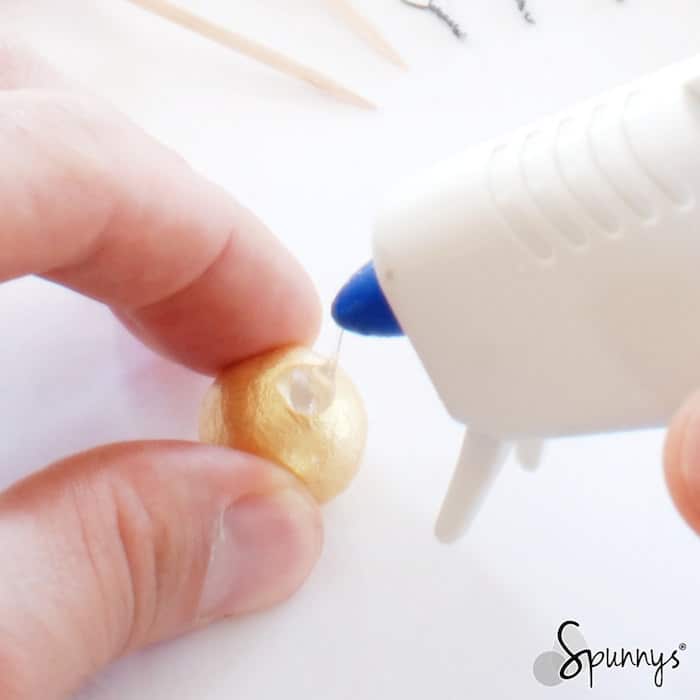
Pour a small amount of glue in the hole, and insert a metal loop right away. Note that all spun cotton balls have little holes.

You are done :)

I hope you enjoyed this tutorial. Note that spun cotton balls come in plenty of sizes and that you could use the same technique to make regular size Christmas ball ornaments as well.

Happy Holidays to all of you!

Posted on Leave a comment

How to make a lightweight paper bead necklace – Jewelry Craft DIY

paper bead necklace DIY

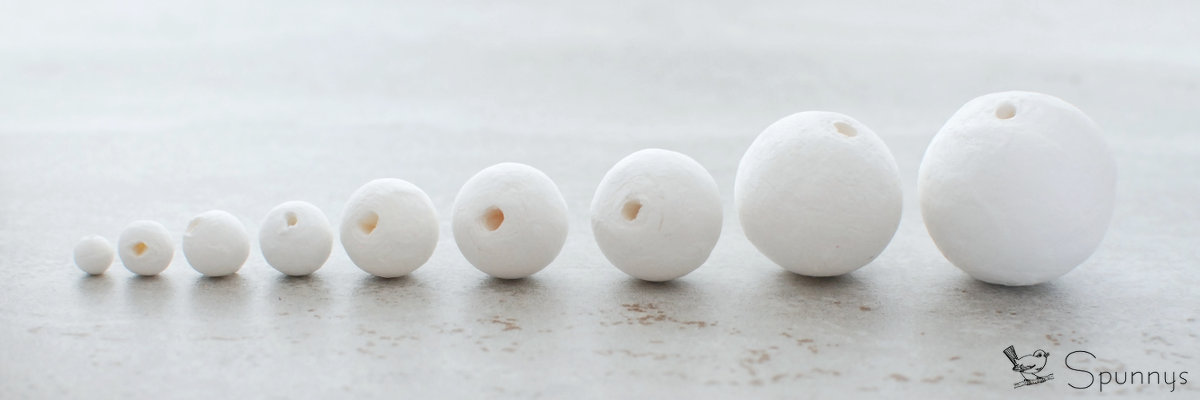
Check out our tutorial and learn how you can make a lightweight and comfortable paper bead necklace from ø 15 mm spun cotton balls.

Paper Bead Necklace – project materials

– ø 15 mm Spun cotton balls.

– Strong black thread and a needle.

– Acrylic Paint and a paint brush.

– Two pairs of pliers.

– A clasp mechanism such as the one pictured below:

clasp mechanism

Step by step tutorial

Step 1: Paint all the beads.

The beads are easier to paint if you mount them on sticks, toothpicks and bamboo skewers work great.

Step 2: Prepare your necklace line.

Make the line at least 6 inches longer than the desired length of your necklace because the knots will shorten the line and also because you need enough thread at the end to tie your last knot comfortably.

Double our quadruple your line to make it stronger.

Your line should look like the one in the picture below. Notice there are two knots on one side.

necklace craft tutorial

Cut off the excess thread.

Step 3: Thread the first bead.

Insert the needle into the pre-existing hole, and exit on the other side. Slide the ball until it covers knot #2 and tie a third knot just next to it.

Step 4: Thread the other beads.

For tall the other beads, insert the needle from the opposite end and exit from the pre-existing hole (like in the picture below). After each bead, tie a new knot to secure them into place.

paper bead necklace DIY

Step 5: The last bead.

When you thread your last bead, you should be left with at least 3 to 4 ” of line. At this point, cut the end of the loop to free up your needle and create a new loop by tying a new knot just next to the last bead. Trim the excess thread.

Step 6: Attach the clasp.

With two pairs of pliers, one in each hand, open the clasp rings and attach them to the thread loops. Close up the clasp rings.

YOU ARE DONE :)

paper bead necklace designs

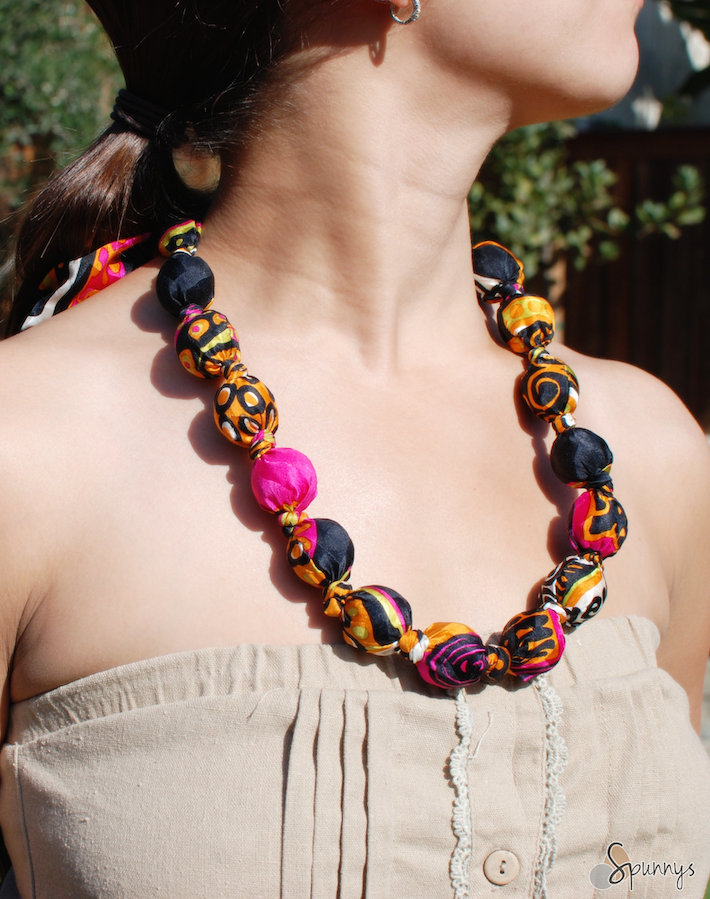
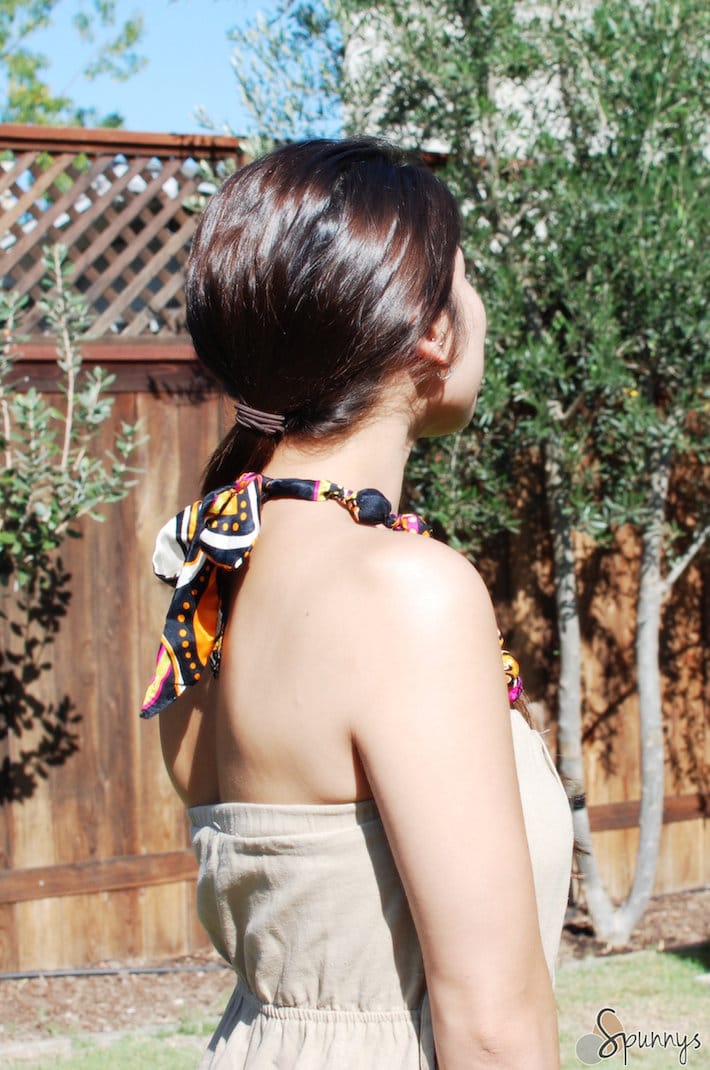
I hope you enjoyed this tutorial and as always, do not hesitate to comment below if you have any questions. For more DIY necklace projects, you can also check out our other tutorial : how to make a fabric covered bead necklace.

Posted on 2 Comments

Wooden Peg Dolls vs Spun Paper Peg Dolls: Craft Comparison

How to paint peg dolls tips

Peg dolls are a timeless craft shape used in DIY decorating, miniature figures, and imaginative projects.

This guide compares wooden peg dolls with spun paper peg dolls to help you decide which one suits your project style and technique best.

wooden peg doll cute fox
Paper peg doll fox (left) vs Wooden peg doll fox (right)

What Are Wooden Peg Dolls and Spun Paper Peg Dolls?

Wooden peg dolls are simple lathe-turned wooden figures that can be painted, decorated, or used in play. They have a solid surface and classic look that many crafters appreciate.

Spun paper peg dolls are made from soft, tissue-like paper spun tightly into a shape. They accept paint and decorations differently from wood because of their paper surface.


Sturdiness and Durability

Wooden peg dolls are generally more rigid and durable because of their solid wooden construction. This can make them ideal for projects where strength and handling are priorities.

Spun paper peg dolls are surprisingly sturdy for paper figures, but wood tends to hold up better under frequent handling.


Painting and Decorating Ease

Painting

Many crafters find spun paper peg dolls easier to paint because the paper surface can take acrylics quickly and dries fast. The paper shape may also be easier to hold with a skewer or stick while painting, making it convenient for detailed color work.

Wooden peg dolls are also paint-friendly, but paint may take slightly longer to dry on wood, and some techniques like holding the doll during painting require a careful grip.

wooden peg doll paper peg doll

Adding Details

Both shapes can be decorated with accessories like felt clothing, pipe cleaners, and other embellishments. Spun paper peg dolls may allow small details (like miniature ears or accessories) to be lightly inserted into the surface, while wood may require adhesive alone.


peg doll fox woodland animals

Transferring or Applying Images

Spun paper surfaces can be well suited for techniques like tissue image transfers, which adhere smoothly to the paper and allow for detailed features like facial images.

How to transfer prints on spun cotton

On wooden peg dolls, transferring images often involves more challenging techniques (e.g., wax paper transfer) because wood doesn’t absorb or bond imagery the same way paper does.


Which Peg Doll Should You Use?

Choose wooden peg dolls if:

  • You prefer a traditional toy-like feel.
  • Durability and solid construction are key.
  • You want a classic surface for acrylic paint.

Choose spun paper peg dolls if:

  • You want a smooth surface ideal for quick brush painting.
  • You plan detailed decoration or image transfers.
  • You like lightweight shapes that are comfortable to hold during craft work.

Both types of peg dolls are valid and fun craft tools; your choice depends on your project needs and creative style.


Final Thoughts

Wooden peg dolls and spun paper peg dolls each bring creative versatility to crafts. By understanding the difference in surface, handling, and decoration techniques, you can match the right peg doll to your project — whether that’s a simple painted figure, a decorated ornament, or a miniature collectible.


FAQ

What is a spun paper peg doll?

A spun paper peg doll is a craft figure made from soft tissue-like paper spun into a mold.

Are spun paper peg dolls easy to paint?

Yes — spun paper peg dolls have a surface that accepts acrylic paint well and dries quickly, making them a popular choice for detailed craft decorating.

Which peg dolls are better for adding tiny accessories?

Spun paper peg dolls can sometimes allow accessories to be inserted into the surface more easily than wood, but both types can be decorated creatively.


SaveSave

Posted on 14 Comments

Spun Paper Balls vs Foam Craft Balls: A Craft Comparison

craft foam balls vs spun paper balls


What Are Spun Paper Balls and Foam Craft Balls?

Spun paper balls are lightweight craft shapes made from soft paper (similar to tissue paper) that is spun into a mold to form a smooth, paintable shape. They’ve long been commonly called spun cotton balls, but the material is paper.

Foam craft balls are solid spheres made from lightweight polystyrene foam with a porous surface.

Both are popular for DIY crafts, decorating, and school projects—your best choice depends on the finish and technique you want.


Texture and Appearance

Spun paper balls have a smoother paper-like surface that accepts paint and markers easily.

Foam craft balls have a porous texture with small air pockets that create a bumpy finish.

While foam balls are usually perfectly round, spun paper balls may have slight variations depending on size and production.


cut a foam ball in half

Painting Craft Balls

Spray Painting

how to paint foam balls polystyrene

Both spun paper balls and foam craft balls can be spray painted.

craft foam balls glitter spray paint

Foam balls often show even coverage quickly due to their porous surface.
Spun paper balls dry faster and absorb less paint because of their paper structure.

Brush Painting

Spun paper balls are easier to paint with brushes and acrylic paints. The smooth paper surface allows for clean strokes and faster drying.

craft foam balls paint acrylic

Foam balls may require more paint because the texture absorbs paint into small cavities.


Craft foam balls paint watercolor

Drawing and Writing on Craft Balls

Spun paper balls can be drawn on with pencils, markers, and pens just like paper.

foam ball spun cotton polar bear arctic animal

Foam craft balls are more difficult to draw on because of their uneven surface.

For detailed designs or lettering, spun paper balls are usually easier to work with.


Gluing and Craft Assembly

Both materials hold glue well.

Foam balls work best with low-temperature hot glue to avoid melting.

foam balls glue gun

Spun paper balls bond easily with craft glue, tacky glue, and hot glue.


Water Resistance and Durability

Foam craft balls are water resistant and can be used in outdoor decorations.

Spun paper balls should not be soaked in water, as they are made from paper fibers and may lose shape if wet.


Choosing the Right Craft Ball for Your Project

Choose foam craft balls if your project needs water resistance or a firm structure.

Choose spun paper balls if your project involves painting, drawing, or detailed decorating.

Both materials are useful depending on the creative goal.


Final Thoughts

Spun paper balls and foam craft balls each offer unique benefits for crafting.

Understanding the surface, painting behavior, and durability of each craft shape helps you choose the best material for your DIY projects.


Frequently Asked Questions About Craft Balls

Are spun paper balls the same as spun cotton balls?
Spun paper balls were traditionally called spun cotton balls, but they are made from paper fibers rather than cotton.

Can you paint spun paper balls?
Yes, spun paper balls work very well with acrylic paint, spray paint, and craft paint.

Are foam craft balls waterproof?
Foam craft balls are water resistant and suitable for outdoor use.

Which craft balls are better for drawing?
Spun paper balls are easier to draw on because their surface is smooth like paper.

Can you glue decorations to both types?
Yes, both spun paper balls and foam craft balls work with common craft glues.

SaveSave

Posted on Leave a comment

How to make faux flower stamens from spun cotton balls

paper flower stamen DIY craft tutorial

In this tutorial, learn how you can make flower stamens from small size spun cotton balls. You can use these faux stamens to make artificial flowers such as paper flowers or fabric flowers.

paper flower stamens – the basic technique

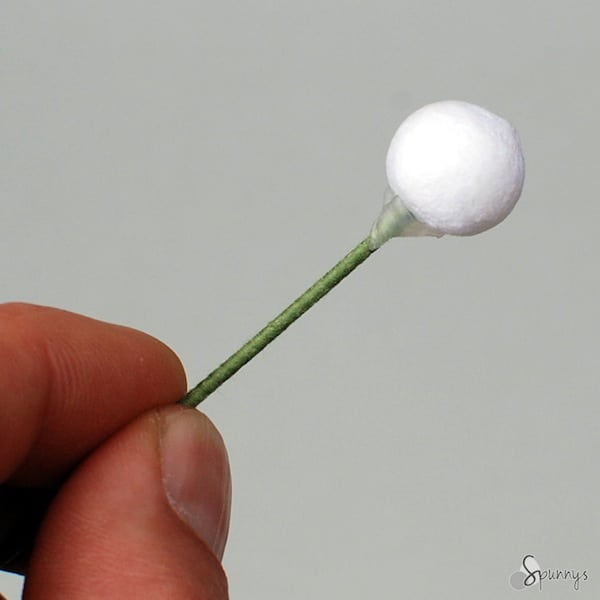
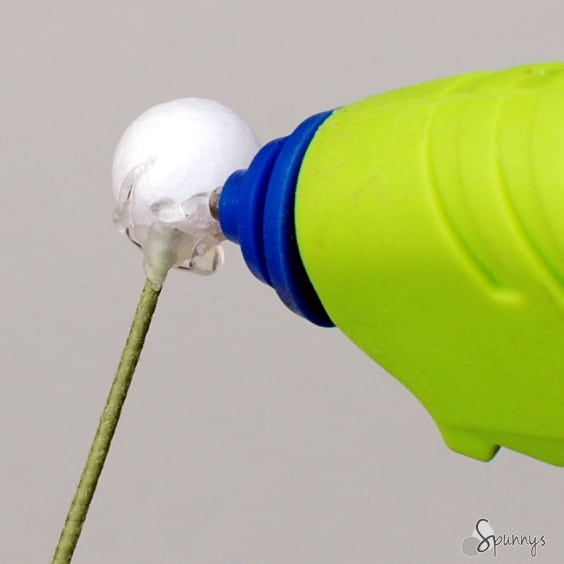
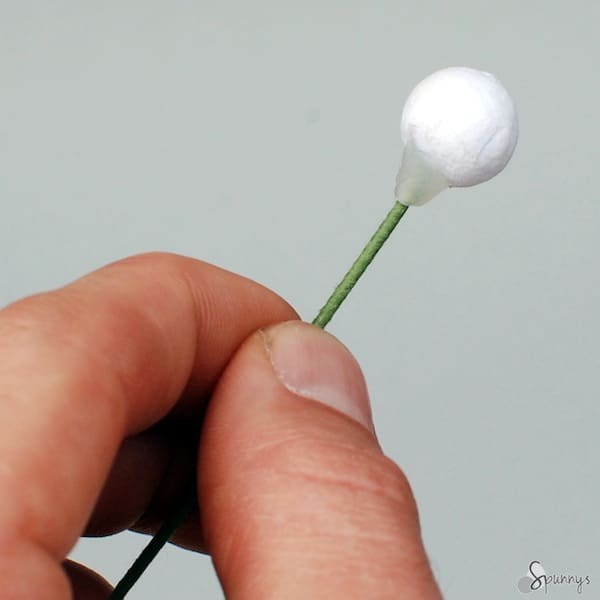
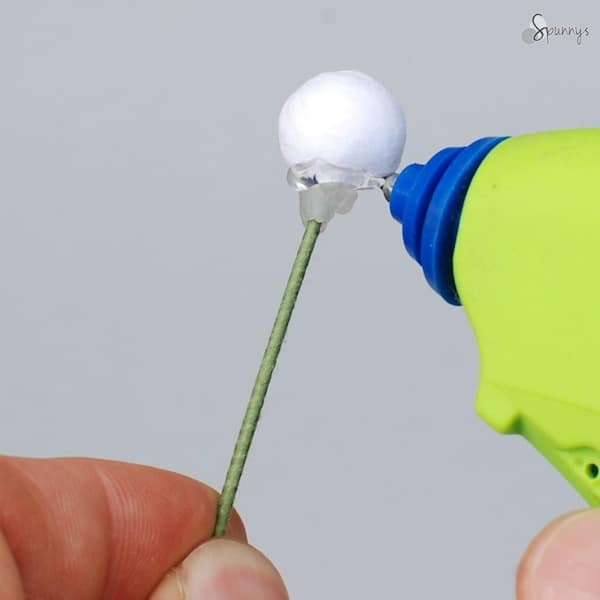
1. Grab a 15mm small spun cotton ball (you can also use smaller size balls).

2. Pour a little glue into the hole.

3. Insert a flower stem wire and wait a few seconds until the glue solidifies.

You are already done :)

Adding color or glitter

You can paint spun cotton balls with acrylic paint to make colored stamens.

You can also add glitter to the stamens by dipping the balls directly into glittered mod podge. Another way of adding glitter would be to brush the balls with tacky glue and sprinkle glitter over the glue. The tacky glue will harden to a clear finish and let the glitter shine.

Tips and tricks

You can use a small spun cotton egg instead of a spun cotton ball for a pointier style stamen.

You do not necessarily need to paint or glitter the stamens. The artificial flower can still look beautiful with an unpainted stamen.

If you do no have any floral wire to make the stems you can use bamboo skewer sticks for a modern minimalist look.

how to make stamens paper flower 1

From paper stamens to faux flowers

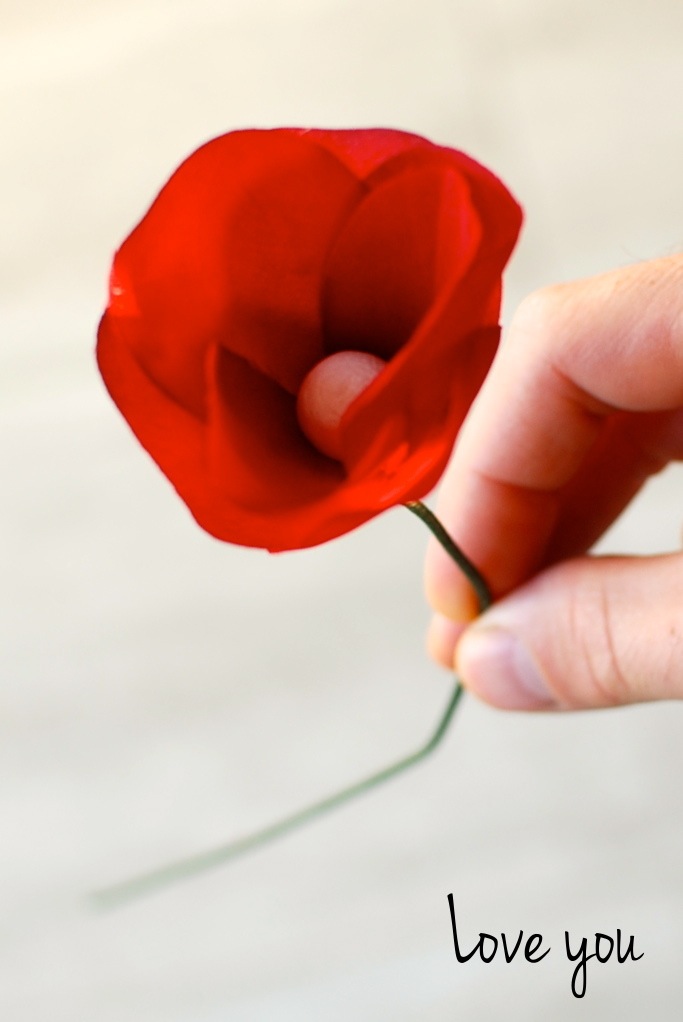
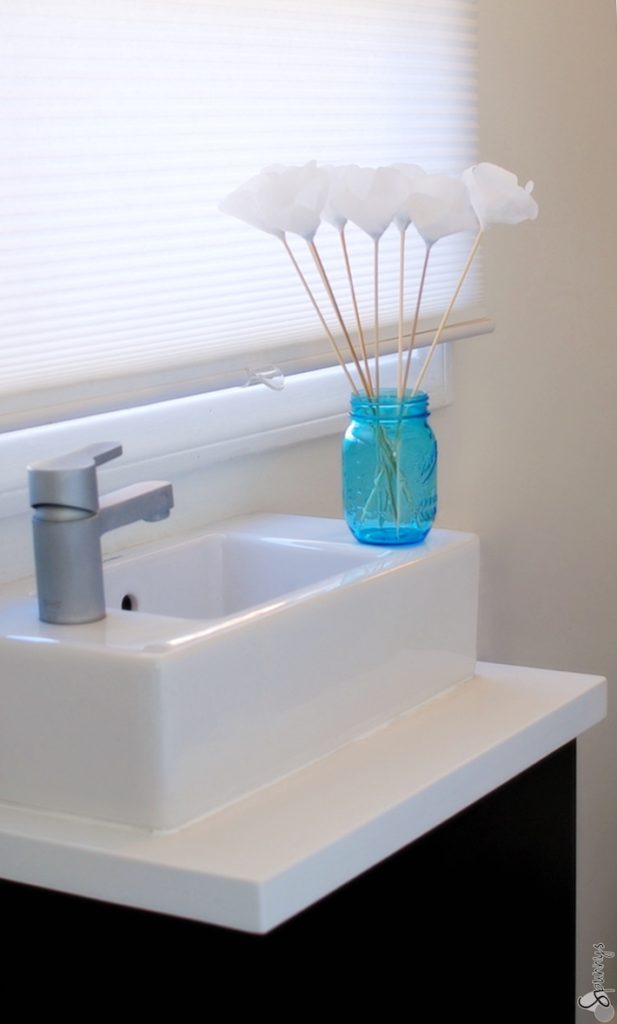
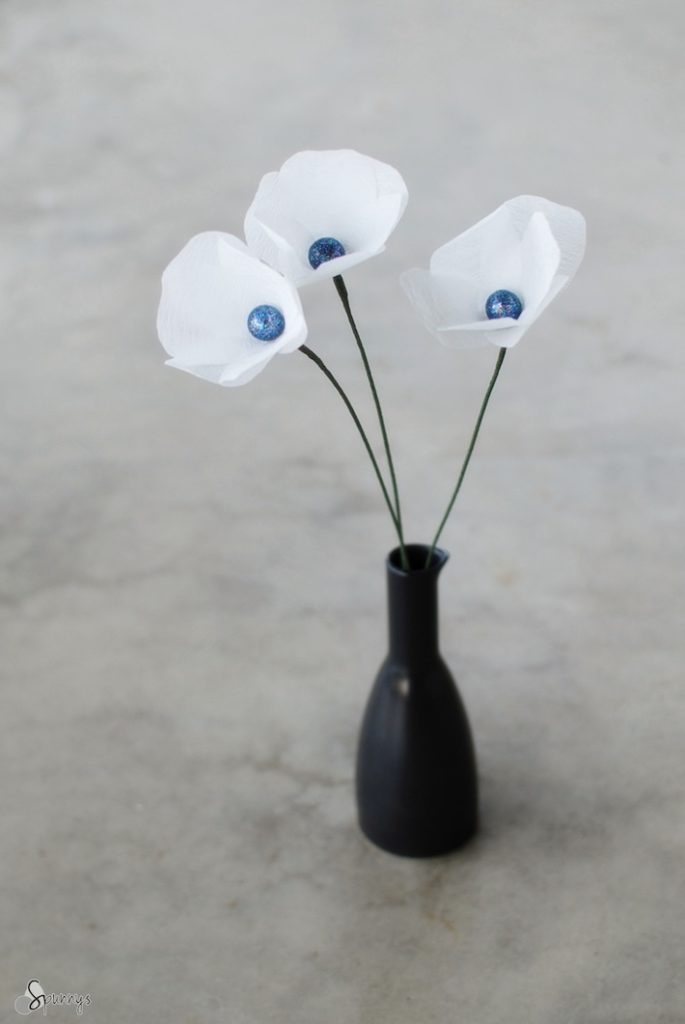
Here are a few faux flowers fashioned with spun cotton balls stamen.

If you would like to learn to make your own artificial flowers, you can check out our tutorial: how to make paper flowers.

I hope you enjoyed this tutorial. As always, if you have any questions, do not hesitate to get in touch via the comments section below. Happy crafting!